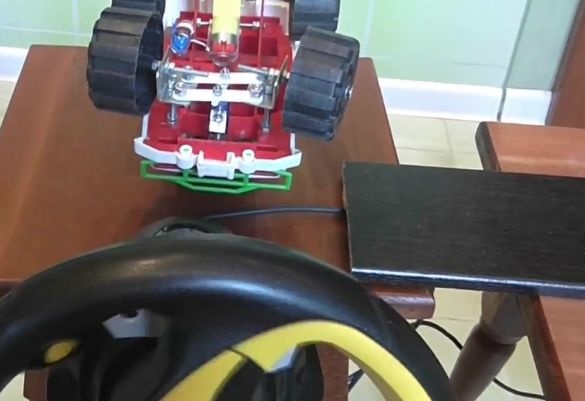
In past materials on the manufacture of radio-controlled toys, we presented to your attention several ways of self-assembly of a radio-controlled car. We suggest slightly improving it by connecting a steering wheel to it, which will add realism to the control.
Let's start by watching the author’s video
We will need:
- game steering wheel;
- Arduino;
- a large board for the base;
- a small board for the pedal itself;
- analog joystick;
- screwdriver;
- soldering iron.
Start by disassembling the game steering wheel. Inside there are a lot of wires and mechanics. In all this, you need to find the potentiometer and understand how it is installed in the steering wheel. This is necessary in order to find out where the ends for soldering are.
On the potentiometer, which is installed in the steering wheel used by the author, two wires were soldered - red and brown. In the process of improvement, it is necessary to use all three contacts, so you should solder another wire. In the case of the author, this is a white wire. Note that if possible, it is advised to get a potentiometer and carefully solder an additional wire to it.
Factory wires coming from the potentiometer are soldered to the board at the rear of the steering wheel. They should be unsoldered, and an additional wire must be inserted into the hole through which all the wires go. During further work, you will need to use these three wires.
In the cable that connects to the computer, there are several wires that are also soldered to the board. We select any three wires, solder them and solder to the main three, well insulating everything with heat shrink. Thus, the wires from the potentiometer are in the cable, the end of which, together with the plug, is simply cut off.
We find the necessary wires in the cable, to which the main ones are soldered, since in the future they will need to be soldered to the Arduino board.
The steering wheel is ready. For greater realism, you can make a pedal. We take a large board, which we will use as the basis, and make 4 through holes on it for attaching the joystick.
We fix the joystick on the board with bolts and nuts.
Apply hot glue to the top of the joystick and glue the smaller board, which was chosen as the pedal. The uniqueness of the pedal is that when pressed forward, the machine will drive forward, and when pressed backwards, in the corresponding direction.
Physically, the work done consists in replacing the rotary joystick of the remote control with a potentiometer in the steering wheel, and the second joystick responsible for movement - on the pedal. The following is a modification diagram to simplify operation.

