

Good day to all the residents of our sites. As you know in the distant 90s, our ancestors were engaged in such art as wood burning, it looked beautiful and had its own direction in art. Since from that time the burners did not remain or simply failed, and many wooden things I want to somehow embellish, in this article I will tell you how to make a burner do it yourself.
To assemble our burner we need:
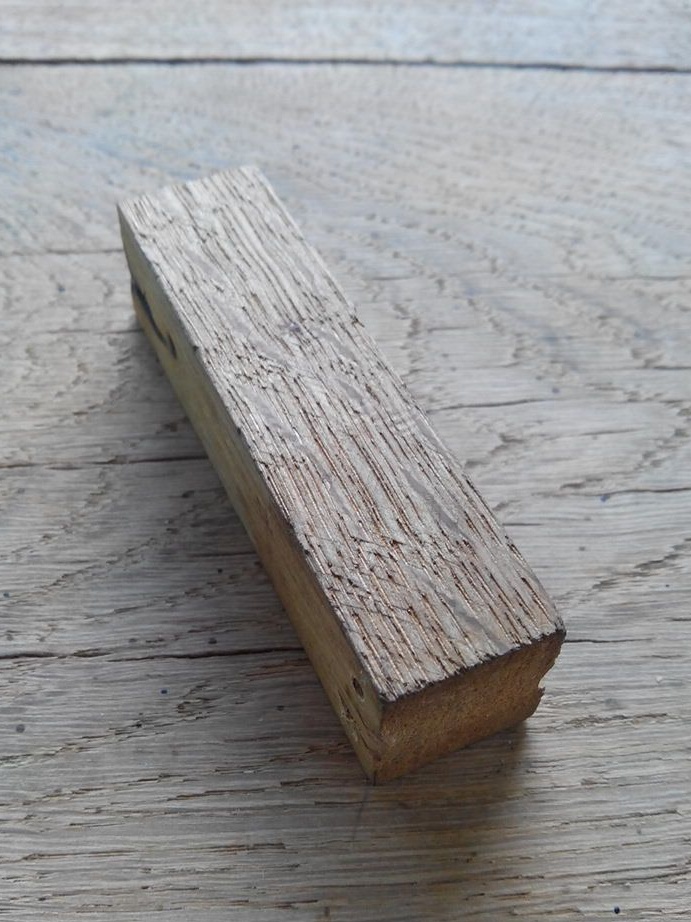
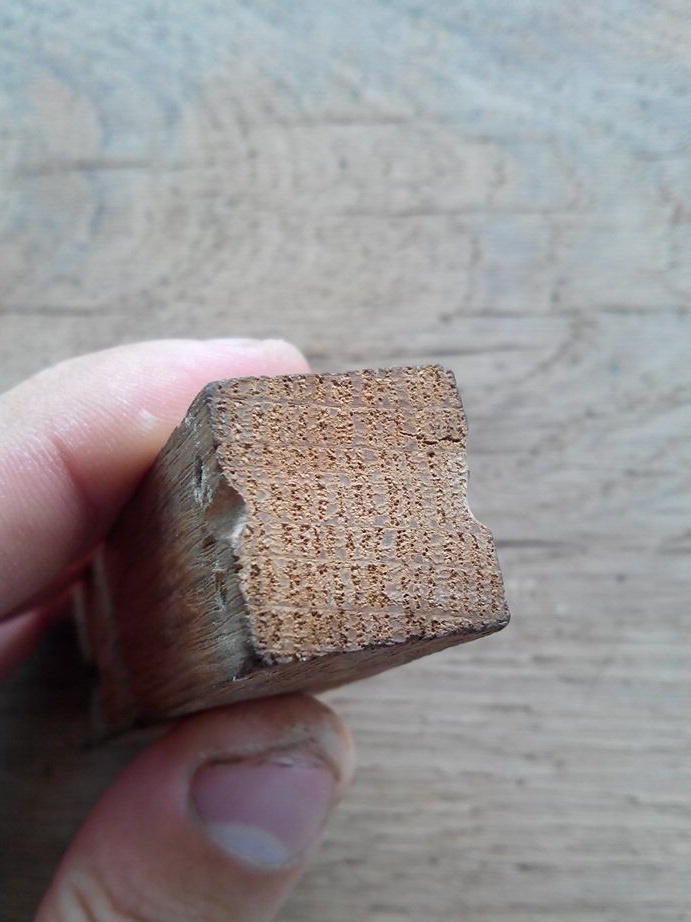
* Oak plank 12 cm long.
* 4 medium-sized bolts no longer than 10mm.
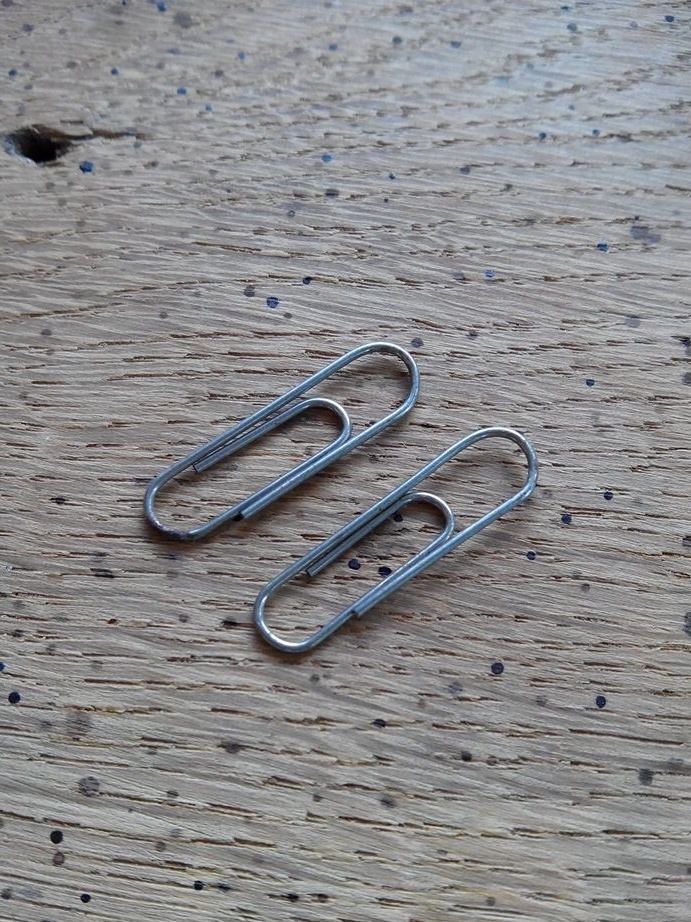
* A pair of paper clips.
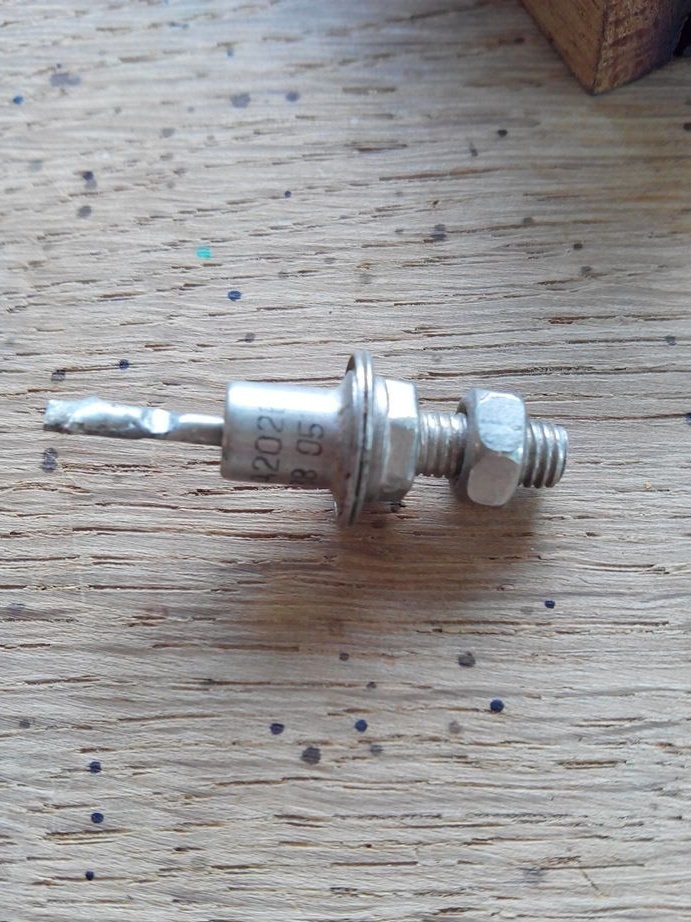
* 2 diodes twisted from the old diode bridge.
* Nichrome wire.
* Copper wire.
* Two wires capable of withstanding heavy loads.
* Pliers, screwdriver and soldering iron.
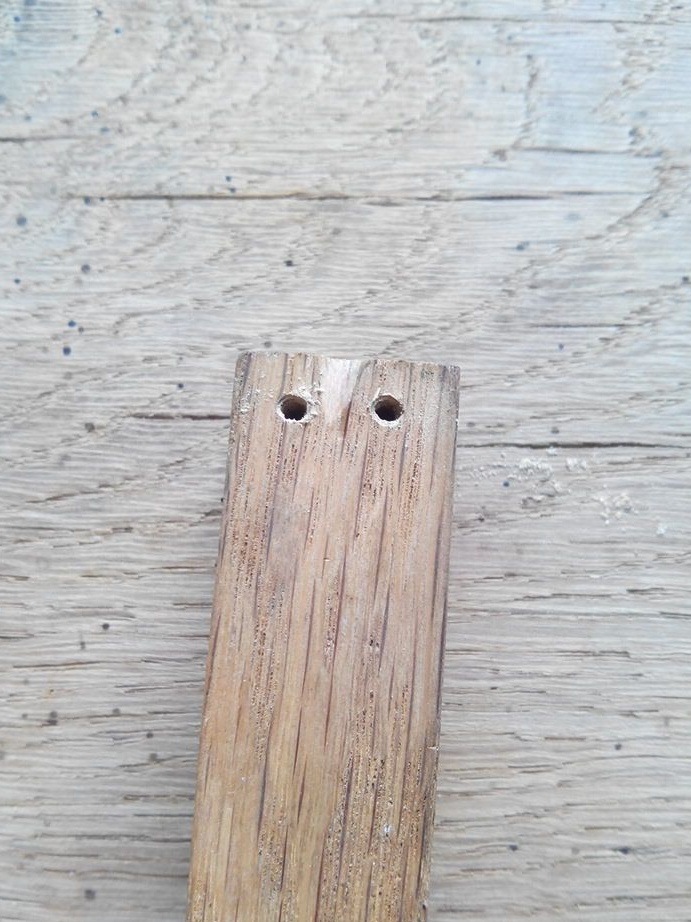
The first step is to drill holes in our handle for the burner, this is done with a drill and a small drill, which is selected according to the diameter of the screw bolts.
We drill them in pairs on two sides.
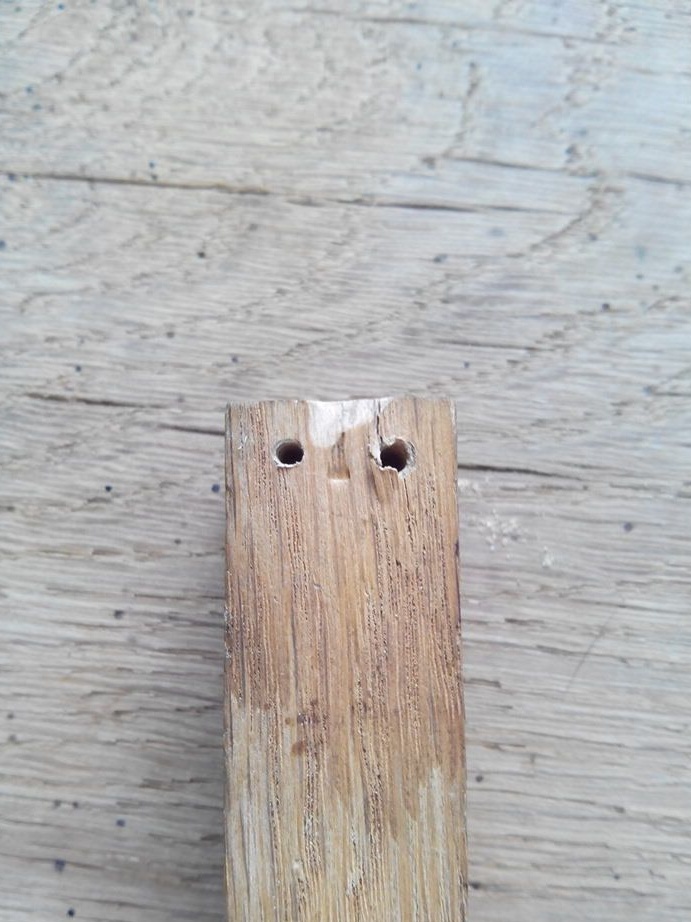
With the help of a round file, we’ll do a little rounding, as in the photo, our diodes will be held firmly there.
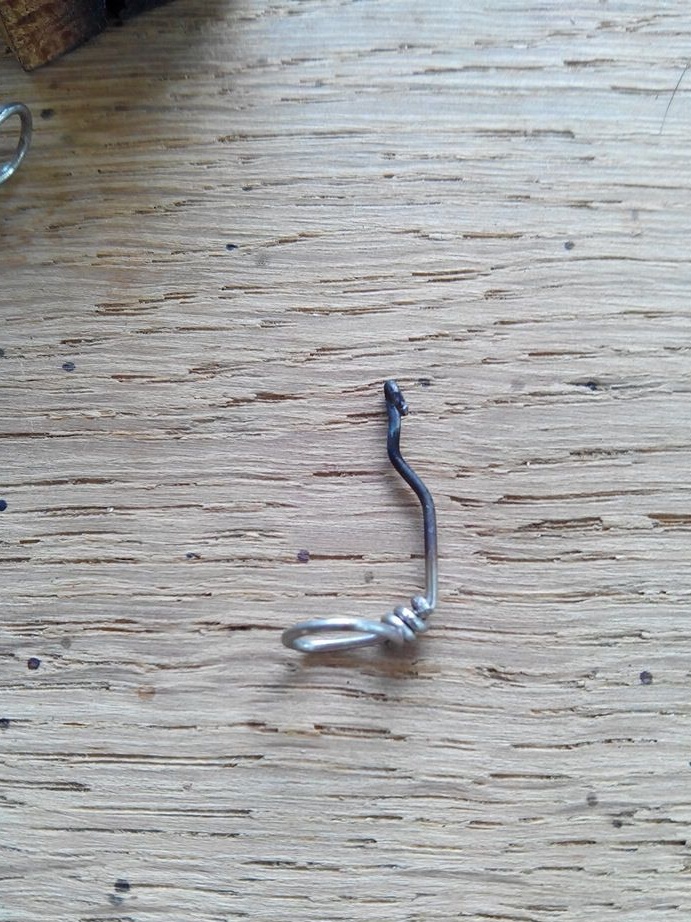
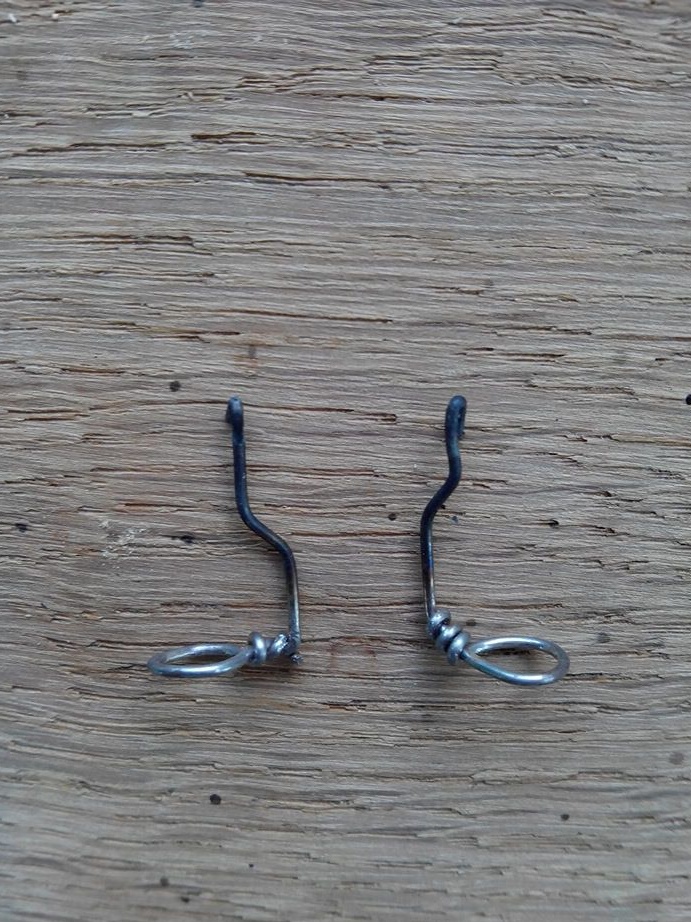
Two staples need to be bent and made of them similar to what is in the photo, this is a ring for twisting onto a diode and a hook at the end.
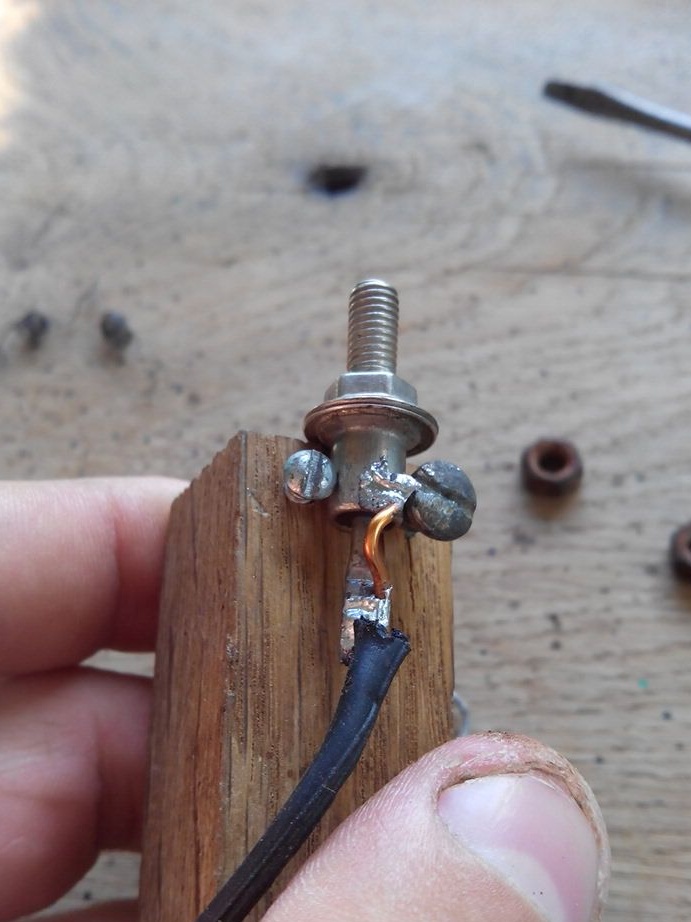
Since the diode serves as a converter from AC to DC, we need to exclude this property of the diode, so we solder the jumper from the copper wire between the mass of the diode and its contact. We do the same with the second.
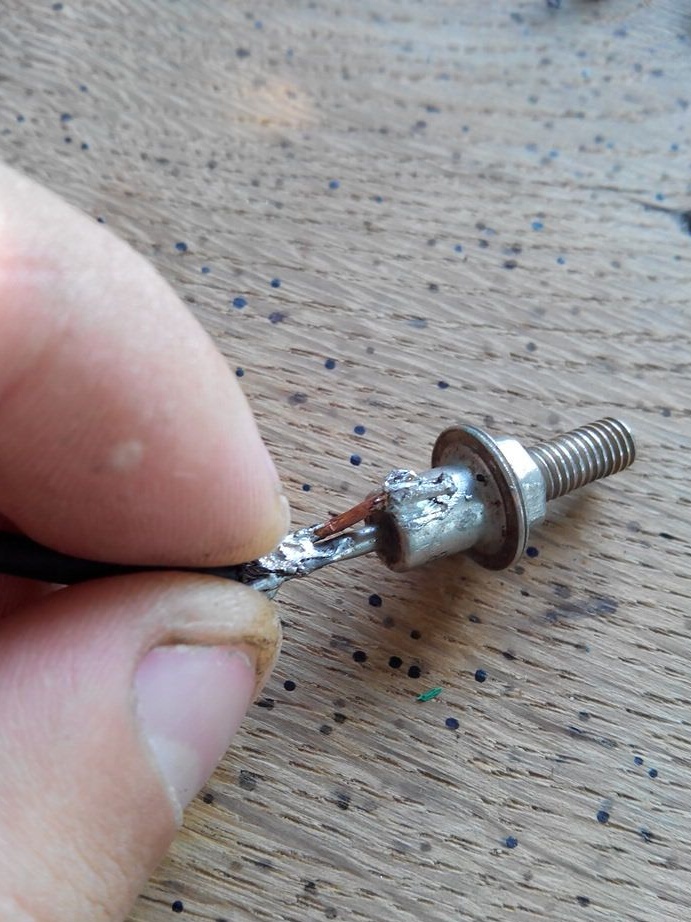
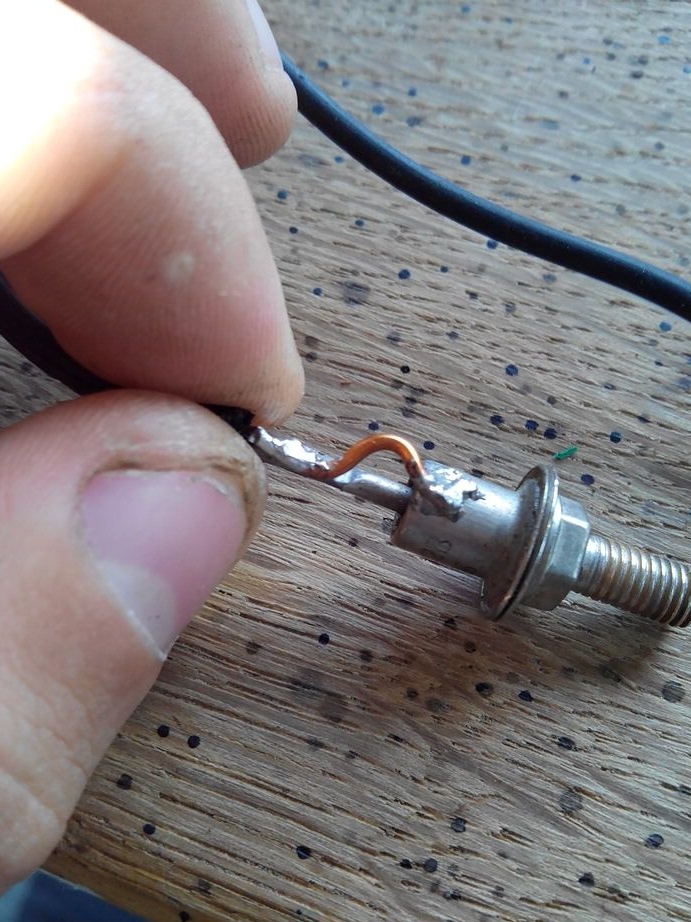
Next, solder the two wires to the diodes, select the wires thicker, with a section of 2 mm, at least, since when using the burner the wires will overheat, which is not very good.
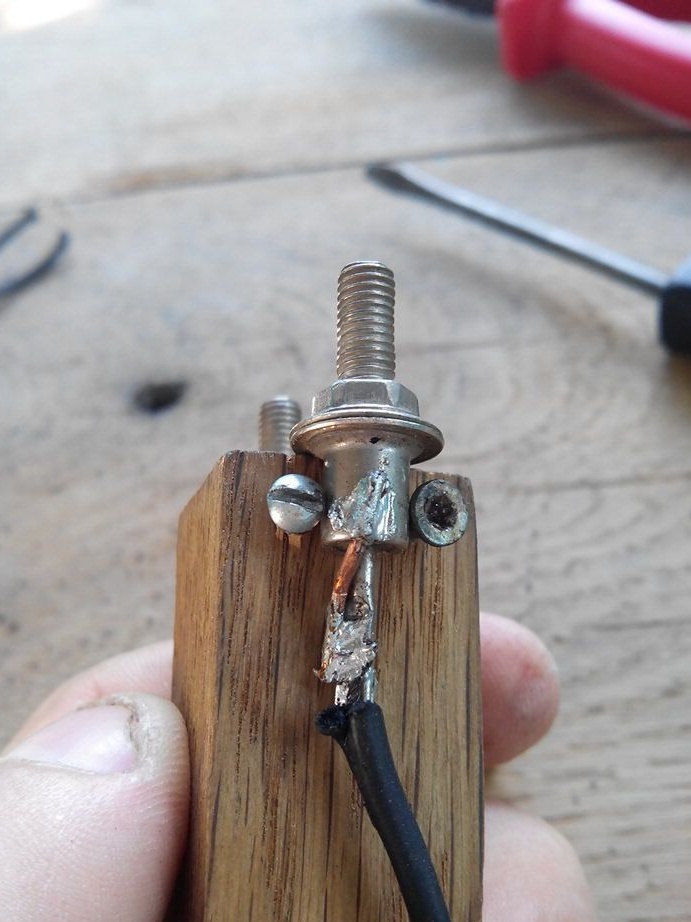
Using bolts, we fasten the diode from two sides, thereby clamping it.
We fix the second one identical to the first one; the bolt caps do not allow the diode to rotate freely, which is very important.
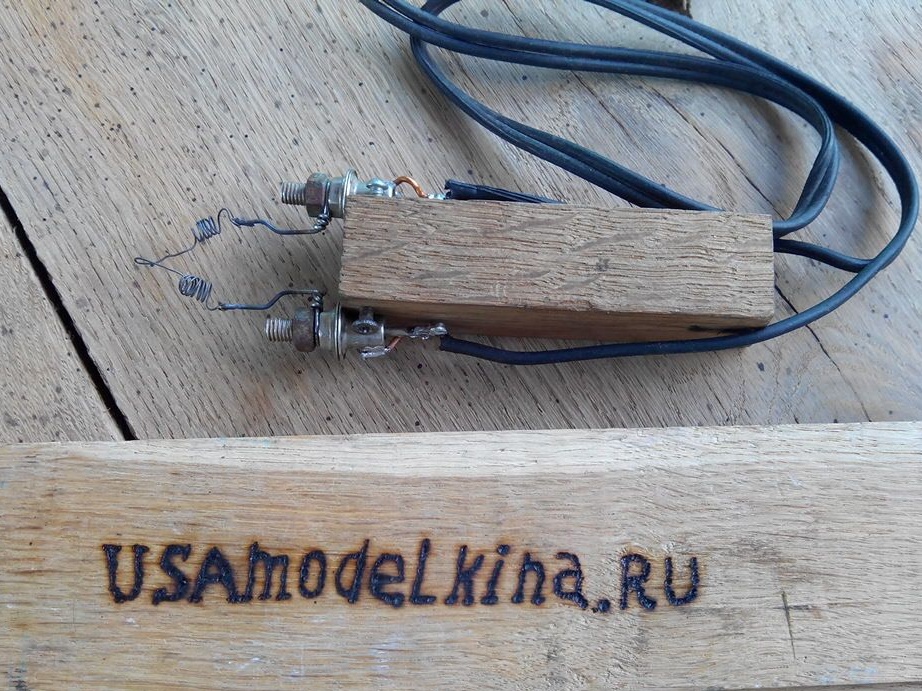
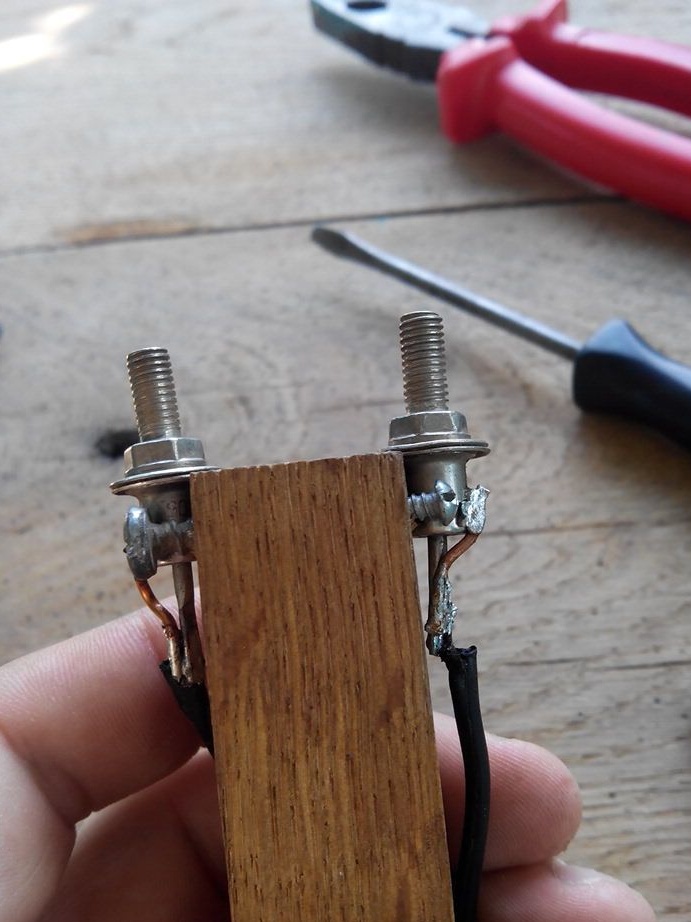
Two diodes fixed on a wooden handle look like this, we still do not grab the filament and fastenings under it.
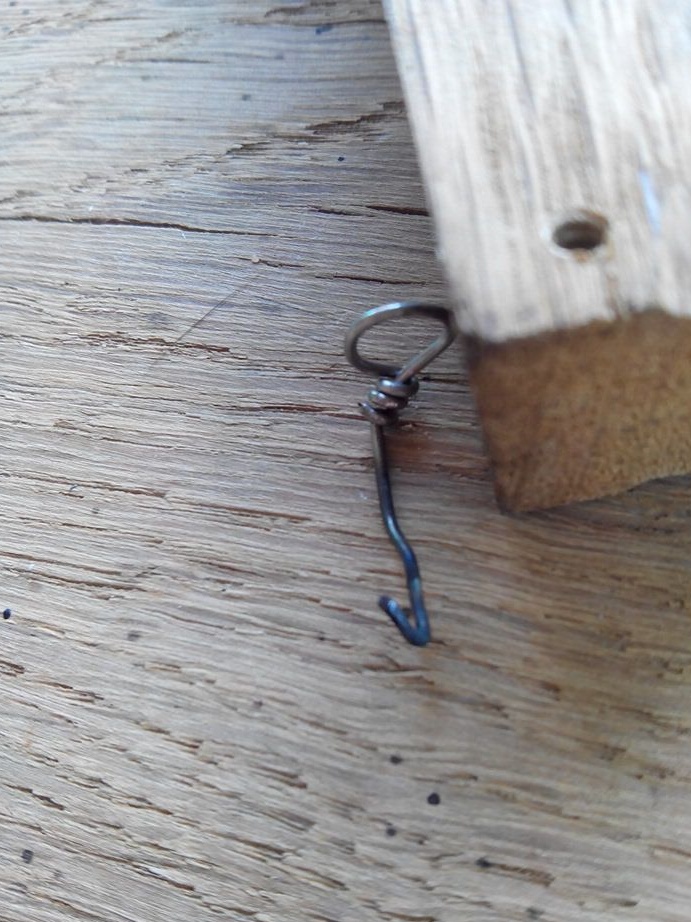
Add to them our hooks from paper clips, they will be turned inward.
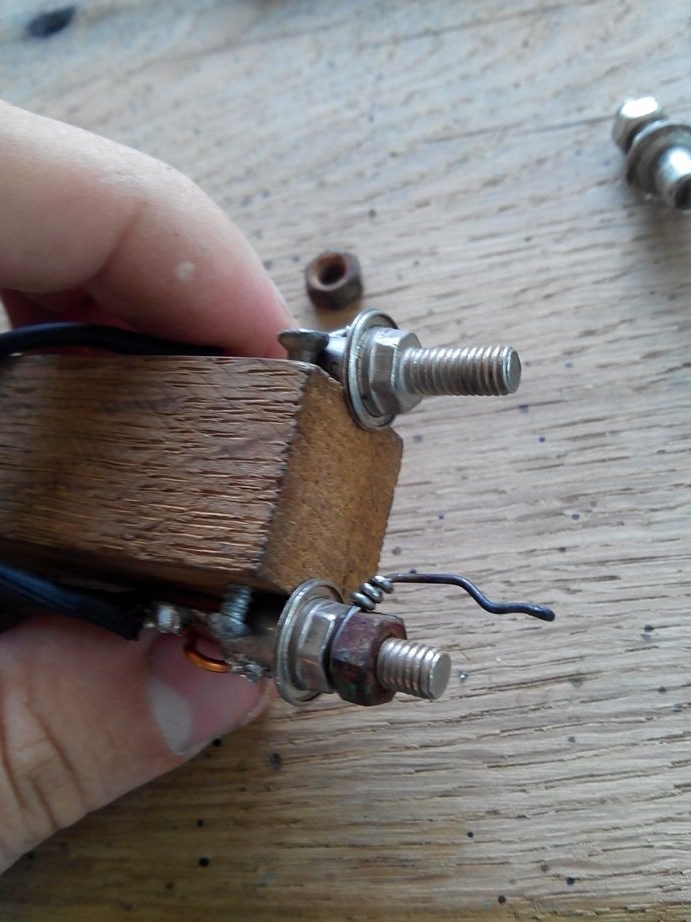
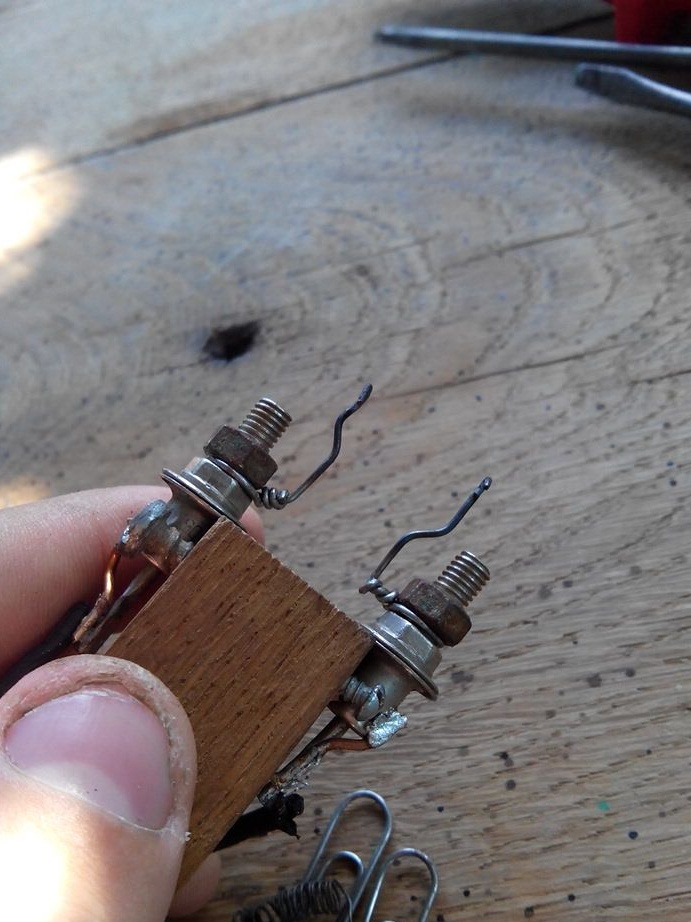
It can be seen from the side that the hooks under our filament are already ready, so the next step will be to clamp them on the hooks.

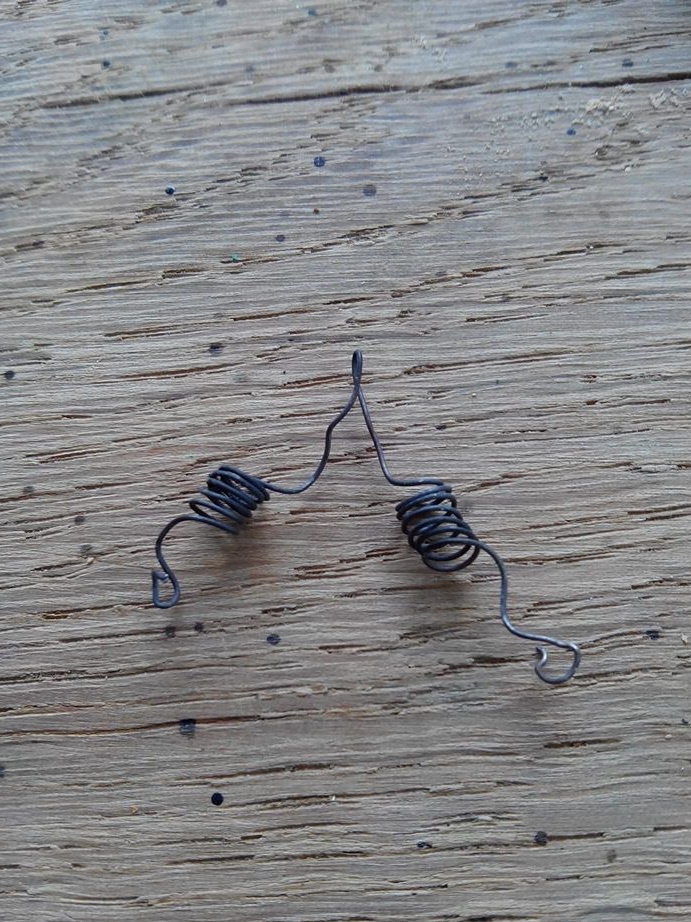
The incandescent thread should contain two spirals on the sides and a small flat area, with the help of which burning will take place.
We clamp this thread with pliers into hooks, try not to squeeze and bite it when squeezing.
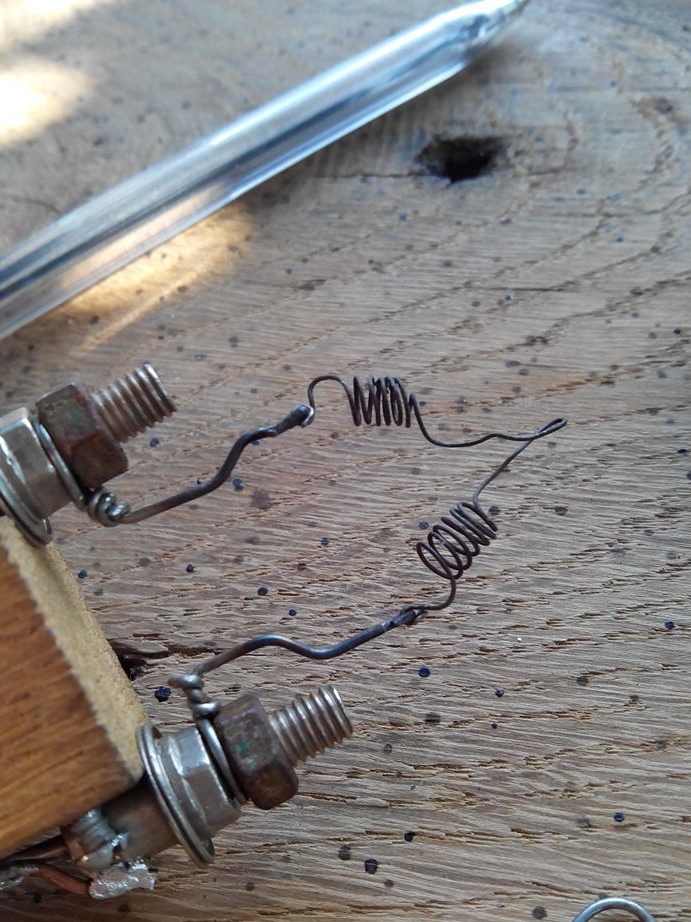
Since the thread can burst when pressed hard, try to exert great effort on the burner.
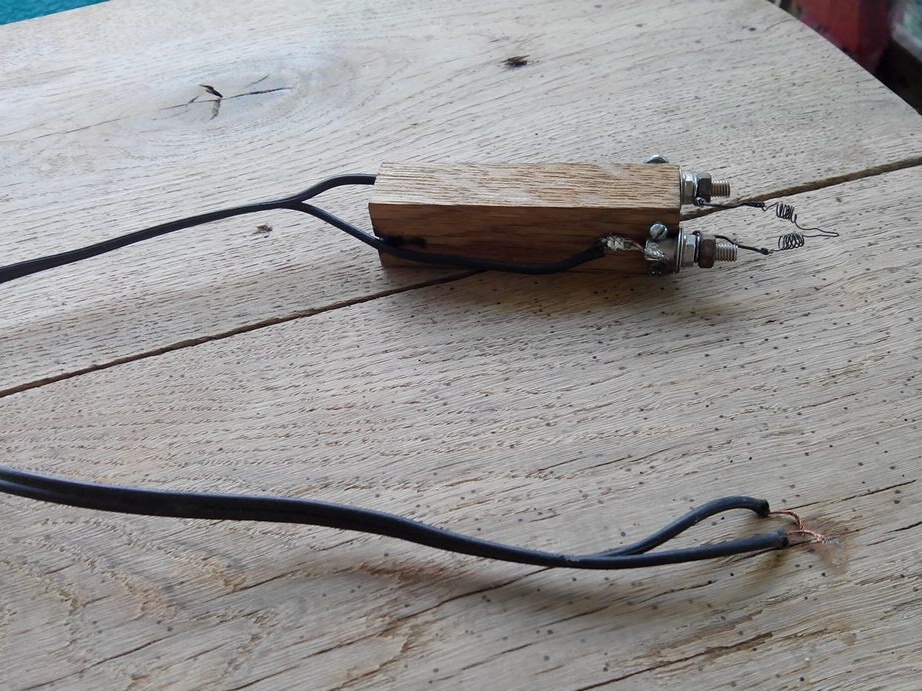
The burner is ready for this, but before using it you need to test it.
The test is to check its wear resistance, as the thread is heated to a high temperature that can melt lead.
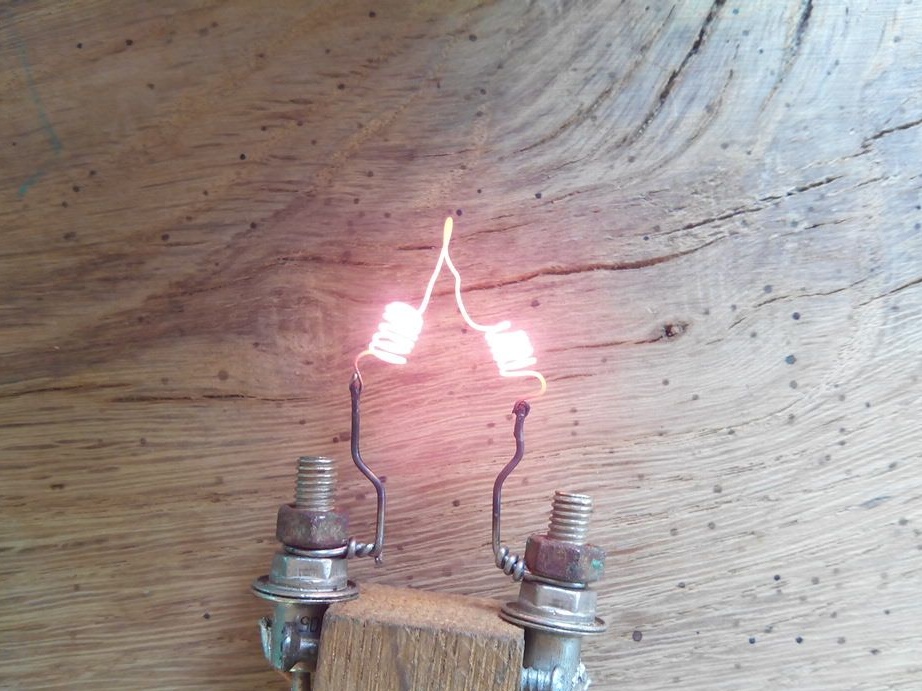
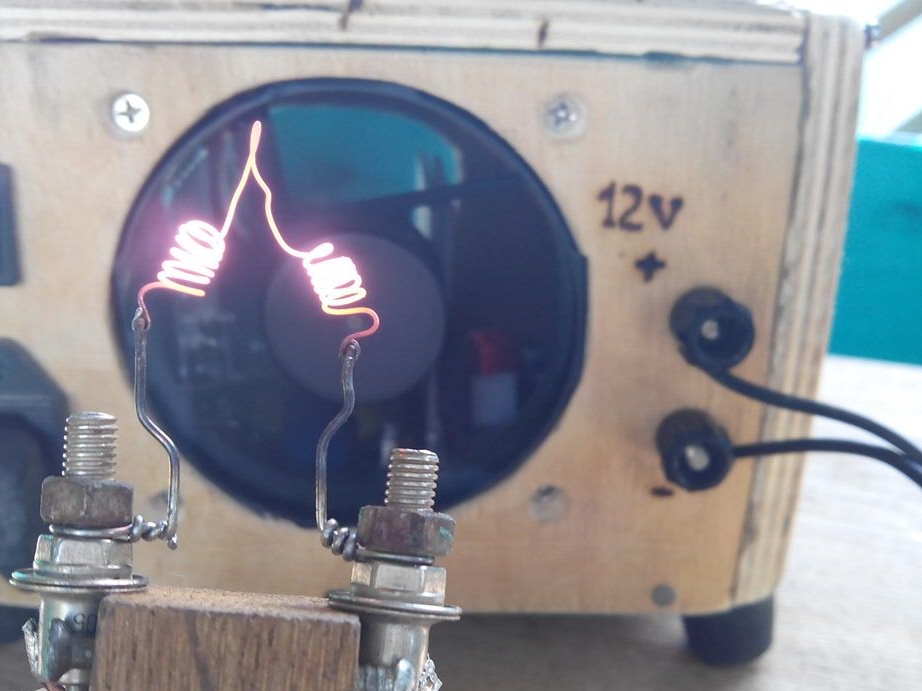
The burner is connected to a current source at the output of which there will be direct or alternating current with a voltage of 12 volts and a power of at least 20 watts, for a better glow.
After the burner can calmly lie in working condition for more than 5 minutes, it can be considered suitable for burning.
To start my burner, I used my laboratory power supply.
On this homemade ready, all successful inventions and a bunch of interesting ideas for them.