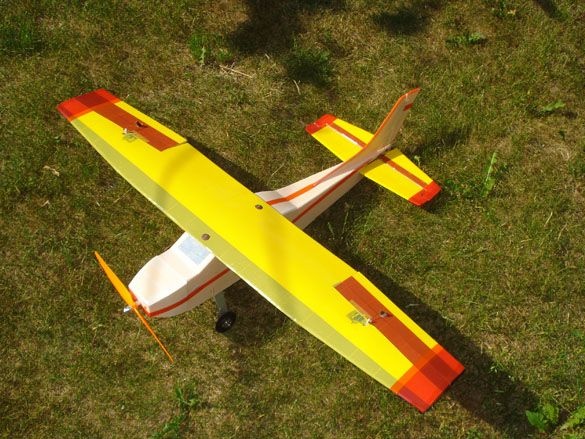
This model It is considered one of the easiest to manage, therefore it is suitable for a novice model-pilot and can be used as a trainer, that is, as the first model for flight training.
For the manufacture of an aircraft model, the following materials are needed:
• Smooth ceiling tiles or underlay for laminate, 3-5 mm thick.
• Ceiling glue, this is Titanium or any analogue of it, a 5-10 ml disposable syringe.
• Scotch tape in different colors, glue for paper.
• A piece of thin but stiff wire, such as a piano string, wire for a semiautomatic welding machine, diameter D = 0.8-1mm.
• Smooth base for working with a knife, for example a sheet of plexiglass, a laminate board.
Required Parts:
• Receiver and transmitter for 4 teams or more.
• Electric motor for an airplane of 1100 rpm or more.
• Servos of 5-9 grams 4 pcs.
• 12 volt LiPo battery 1000-2000 mA \ h. 1 PC.
• Propeller size 8040-9060.
Tools required:
• Modeller’s knife or clerical knife with spare blades.
• Ruler metal 50-100 cm.
• Sandpaper, sandpaper (stone).
Point 1. Preparation for work.
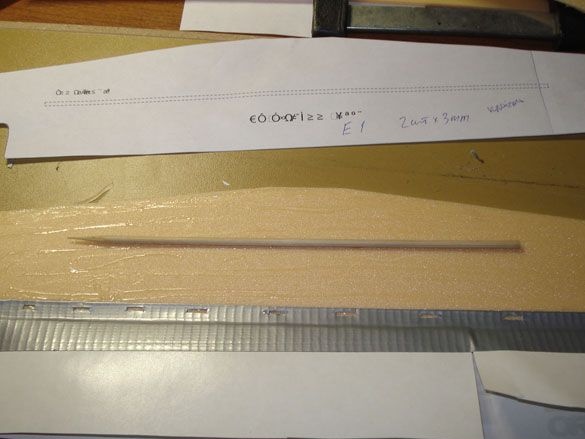
First you need to find on the Internet, or take here ( ) drawings of the aircraft model itself, then print them on a printer in A4 sheet format.
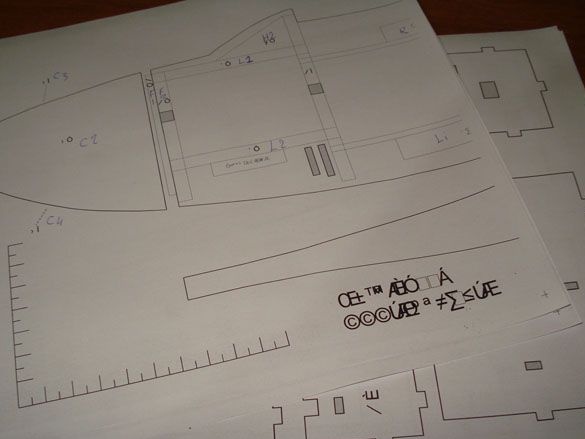
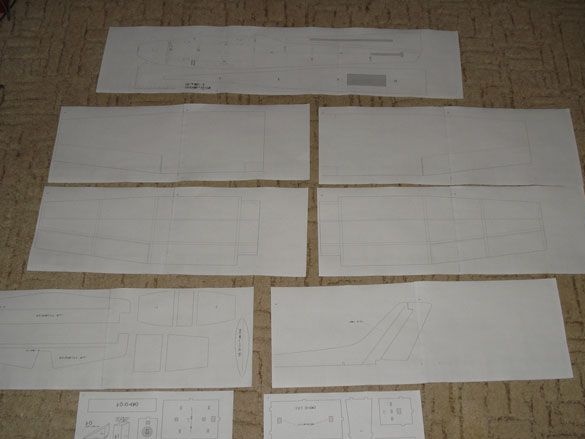
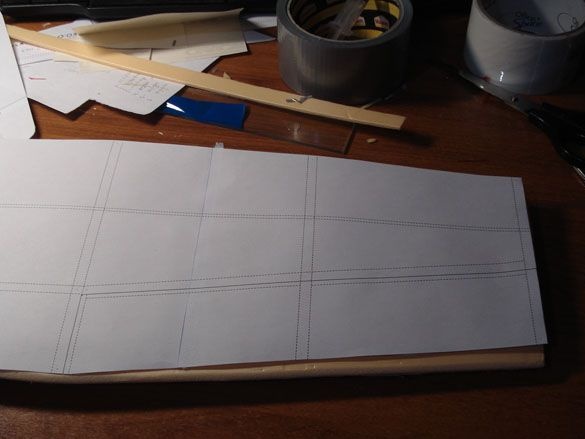
To lay out the received printouts on a flat surface in accordance with serial numbers, as a result, a related image of the finished elements of the aircraft should be obtained.
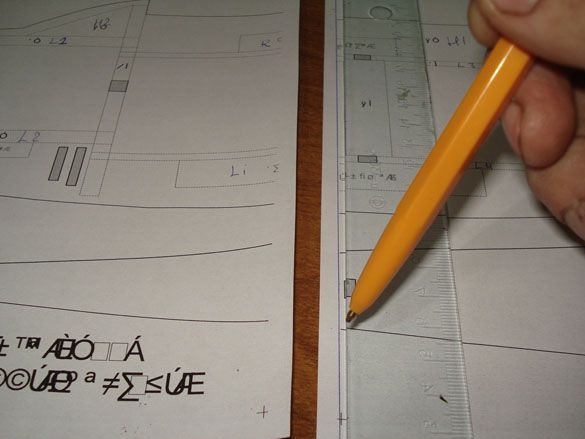
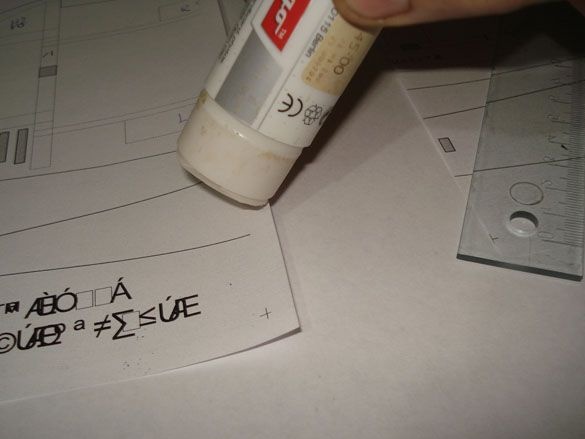
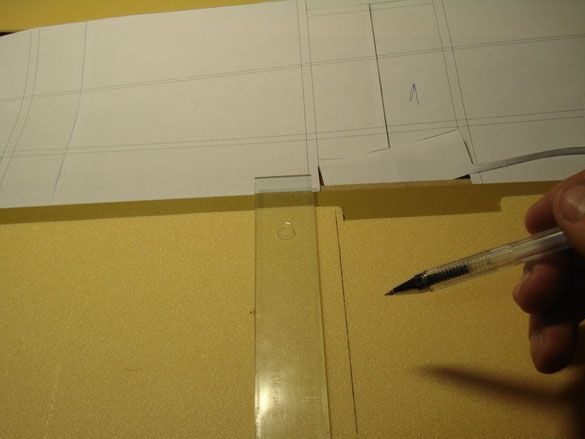
Now you need to glue the necessary sheets together. For proper gluing of sheets, so as not to violate the size and geometry of the future aircraft, you need to cut off the extra edges on each sheet of the drawing, for the convenience of determining cut lines at the corners, special crosses are drawn on the border, it remains only to decide which side we will cut, connect the two corner crosses with a line and get line for cutting.
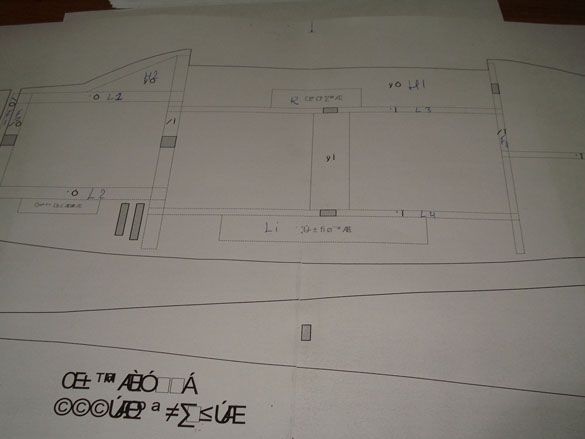
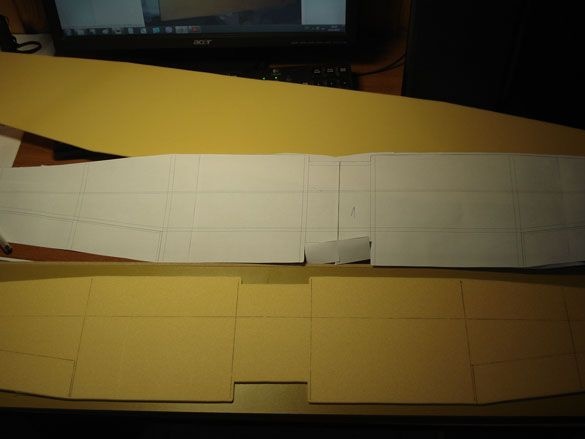
After removing the extra sides with scissors, we connect the obtained fragments of the drawing together, evaluate how everything fits together, after which you can apply glue to the uncut edges of the sheet and glue it.
Joints must match very precisely.
Thus, we glue all the fragmented elements of the drawing. The result should be seven glued and two single sheets (for drawing Cessna182).
Point 2.Cutting blanks.
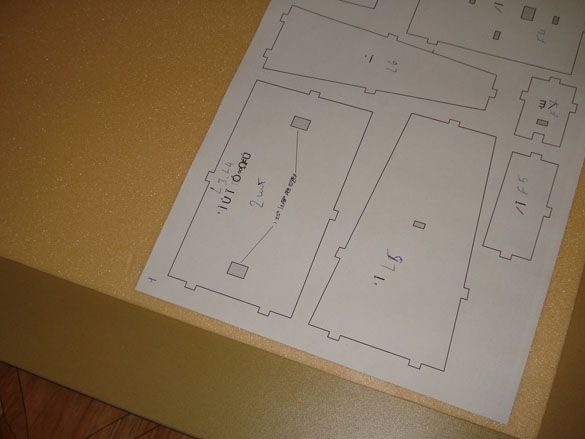
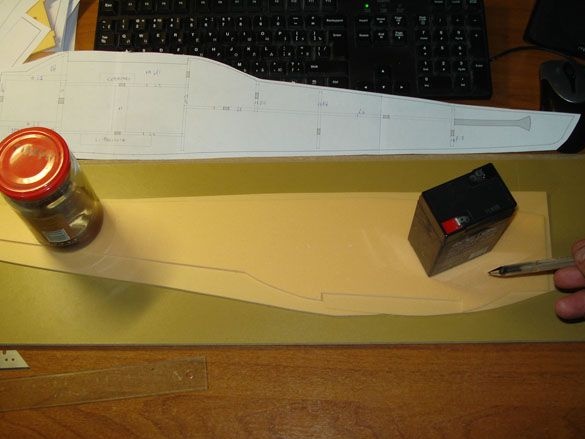
Now you can lay out a “sandwich” from the substrate and the drawing. For the convenience of holding the sheet on the substrate, you just need to glue it a little with glue with a pencil. During further manipulations, he will not have time to completely dry out and therefore paper (stencil) from the finished part will be easily removed without completely being damaged for reuse.
Then you can do it in different ways, as you like.
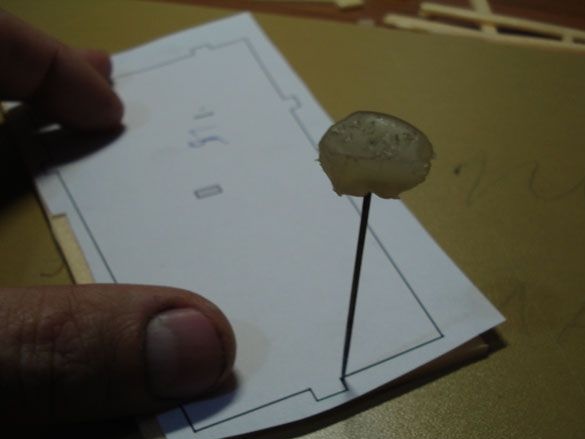
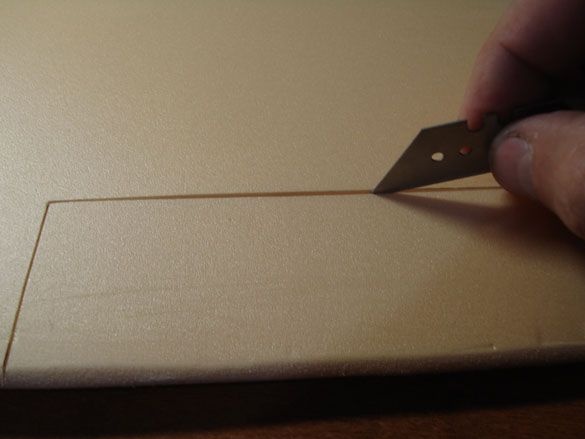
If the part is simple, with a large number of straight lines, then it is enough to outline all the corners of the part with a needle, then remove the stencil paper and applying a ruler from the puncture point to another point, cut the knife with the tip, then shift the ruler to the following points and so on until you finish full cutting of the part.
If the part is complex in shape, with rounded sides, then you can immediately cut it on a stencil and completely cut the workpiece.
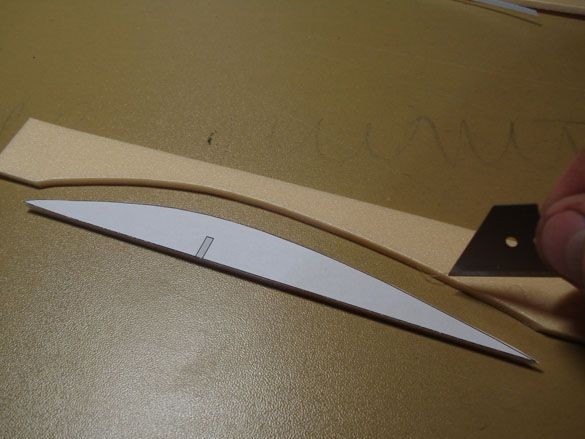
Thus, all the details of the model airplane are cut out. If you are making your first model, then you need to lay out or mark each of the details in order to easily determine its purpose from the drawing.
Item 3. Bonding of the aircraft body, assembly.
You can start by gluing double partitions, that is, consisting of several identical parts glued together for additional strength.
Like for example this fuselage partition.
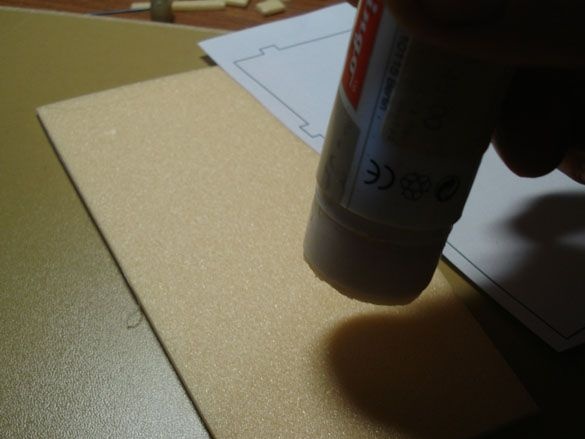
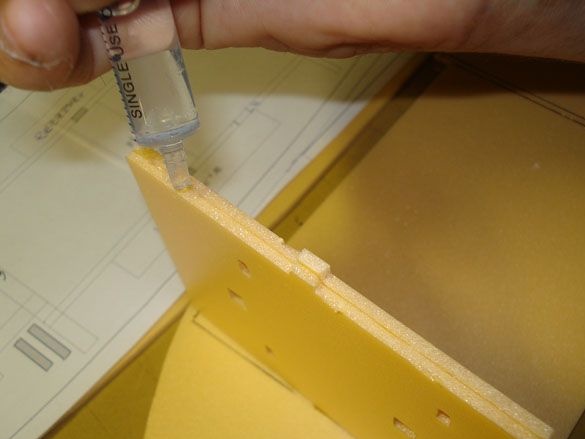
We will use glue Titanium, as the most affordable for most beginner modelers, and for applying glue it is convenient to use a syringe without a needle, fill it with glue and use it as a convenient dispenser.
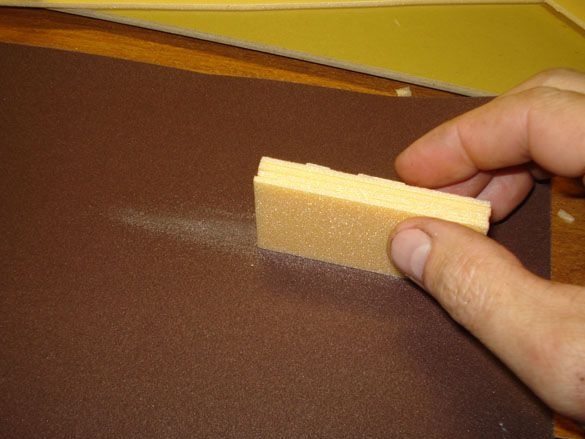
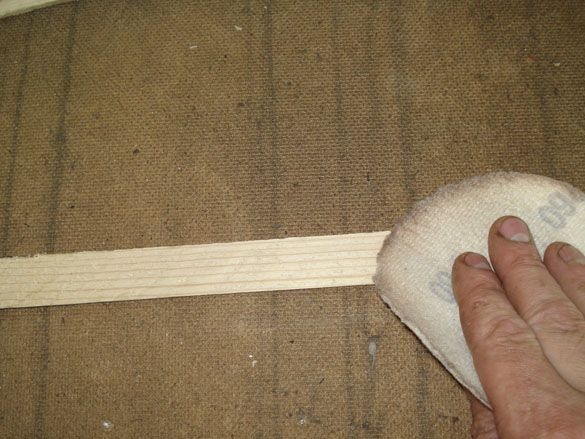
The cut parts are not always quite even, this can easily be fixed with sandpaper.
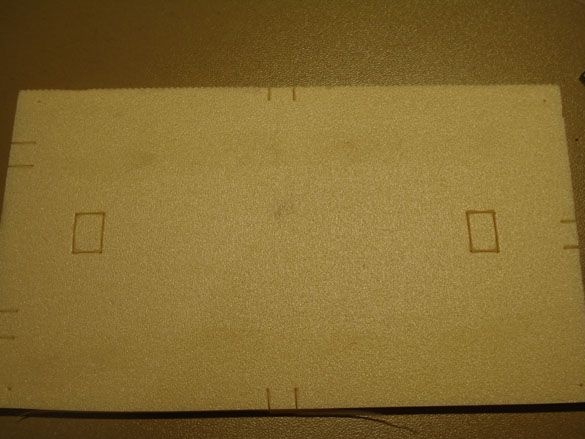
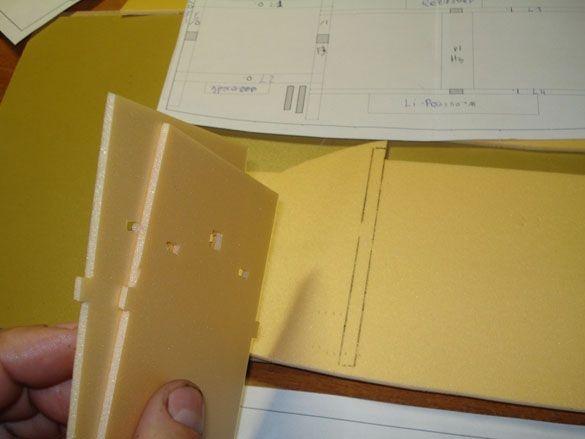
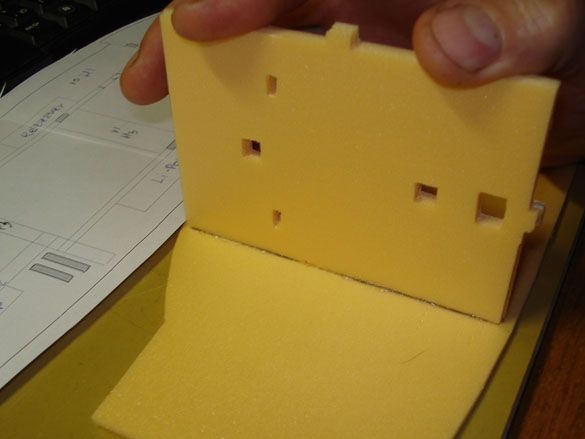
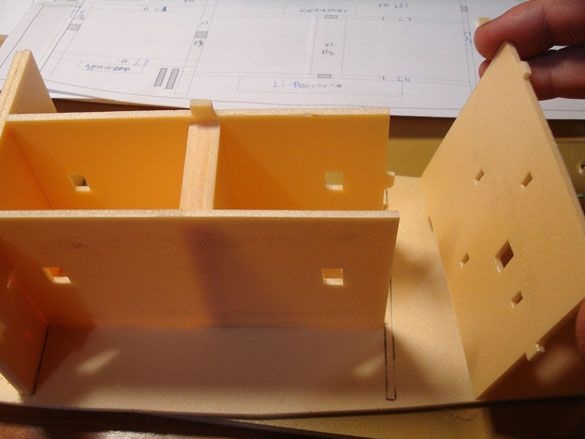
Now we take one side of the fuselage, lay it with its right side on the table so that the laminated side is out of the plane. We cut out all the docking and mounting holes in the sidewall, then we attach the second half and copy the same holes on it.
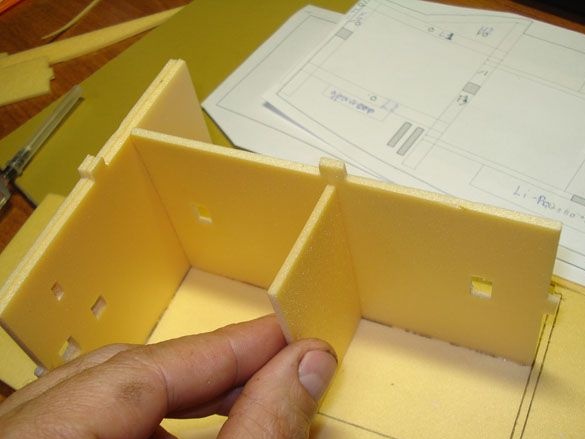
We take the front partition of the compartment, apply glue to the glued side of the workpiece and press it to its installation location, slightly move the workpiece in different directions, so that the glue spreads well and again we disconnect the workpieces to dry the glue for 10-30 sec. (to accelerate, you can wave, blow), then again connect the parts and press with a force for 5-10 seconds.
Now you can let go and engage in other workpieces, periodically checking how the first workpiece is glued and, if necessary, press it still.
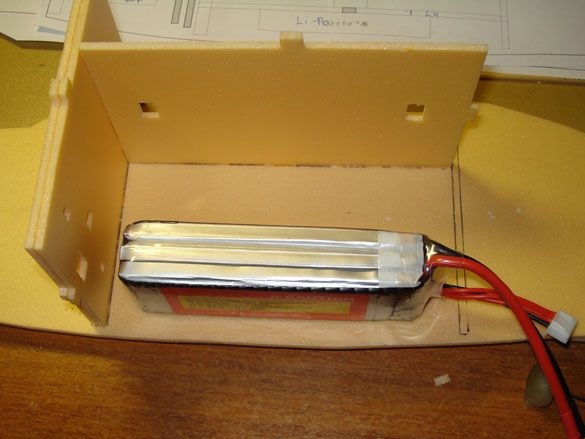
In the process of building an airplane, it is important to keep track of things such as the size of your battery (it may be larger than planned in the drawing) and accordingly independently adjust the compartment dimensions if necessary, constantly check the perpendicularity of the parts to be glued, do it with a square or ruler.
So gradually assembled all the partitions of the front, middle and rear of the fuselage.
When all the partitions are installed, you can stick the second side of the fuselage.
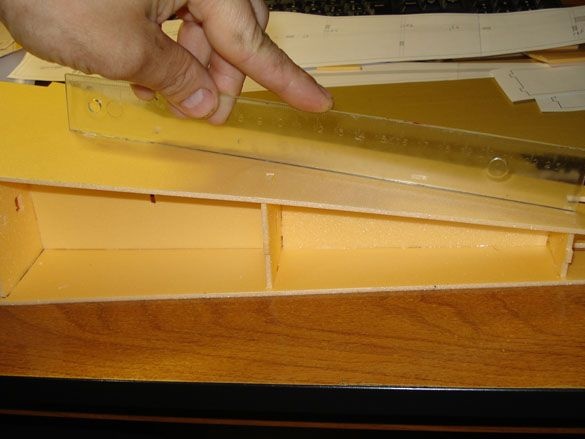
We finish the face and mount under the mount.
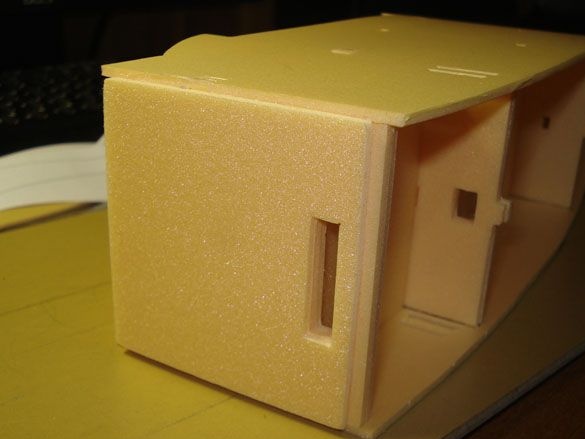
Set the top of the fuselage with a slot under the tail (rudder).
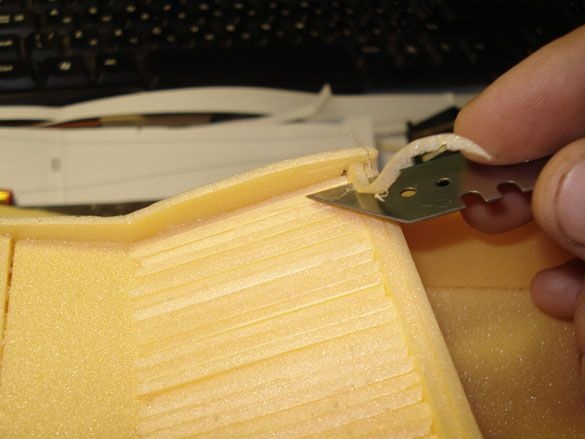
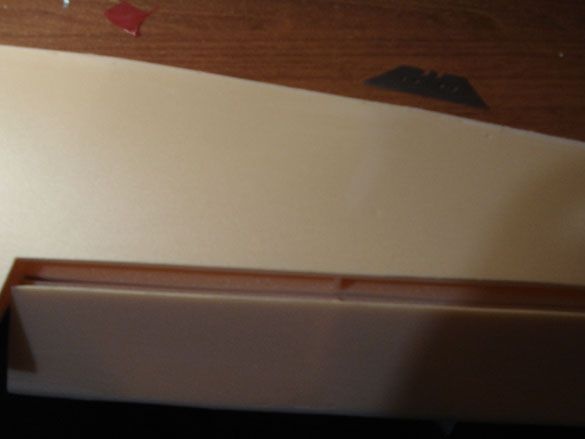
We glue the tail blanks, immediately lay the reinforcement from reinforced adhesive tape for fastening the rudder and toothpicks for stiffness.
We clamp the gluing board and clamps for even bonding.

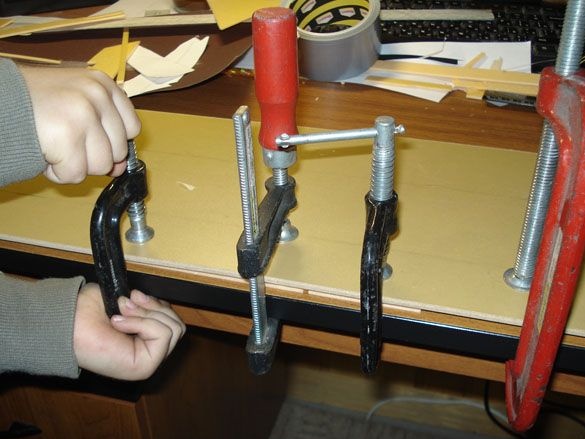
As a result, everything is flat and toothpicks do not stand out.
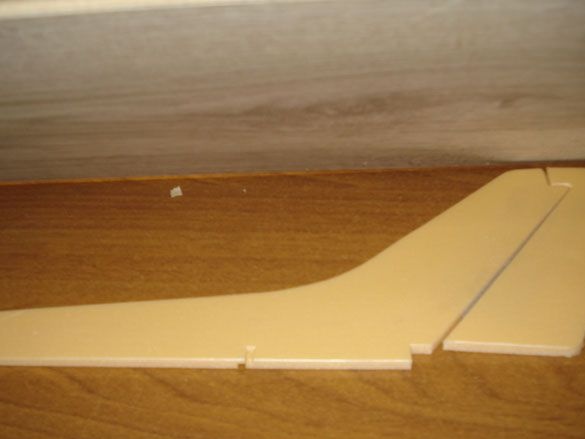
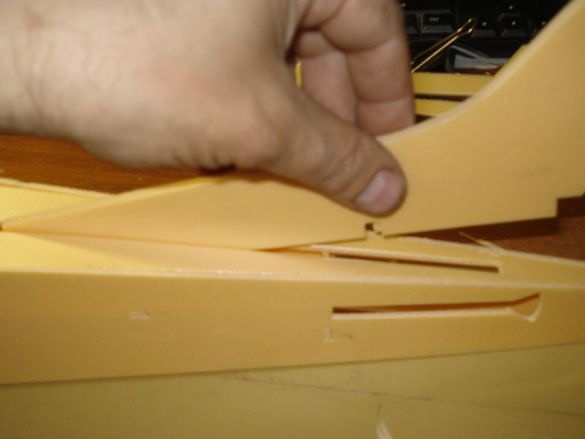
Glue the tail into place.
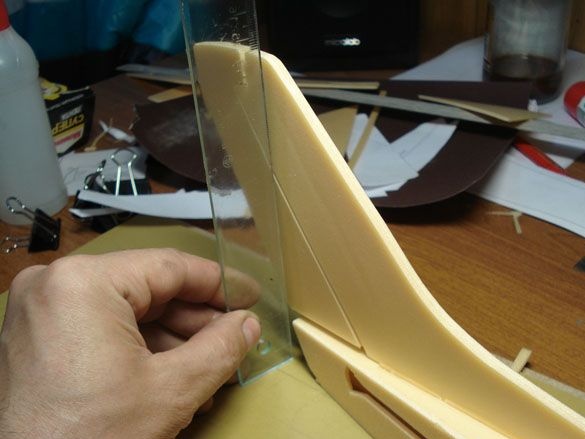
We always check and maintain a strict vertical.
We glue the elevator parts, inside we also lay a bamboo skewer and adhesive tape for fastening the steering wheel, we perforate the adhesive tape with holes for better bonding of the ceiling halves.
We also squeeze the board and clamps until the glue completely dries, for about a day.
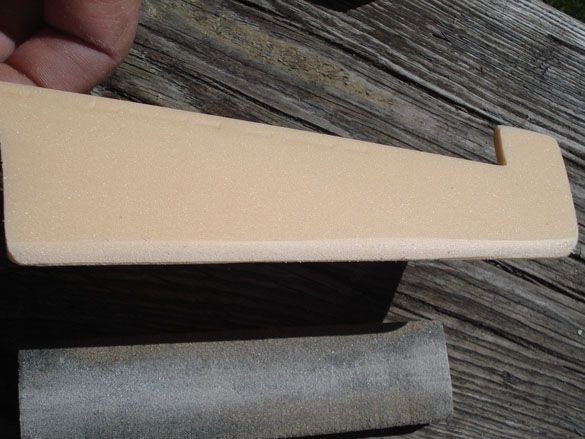
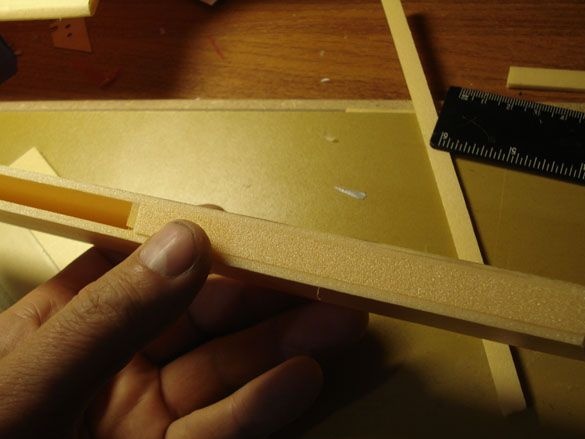
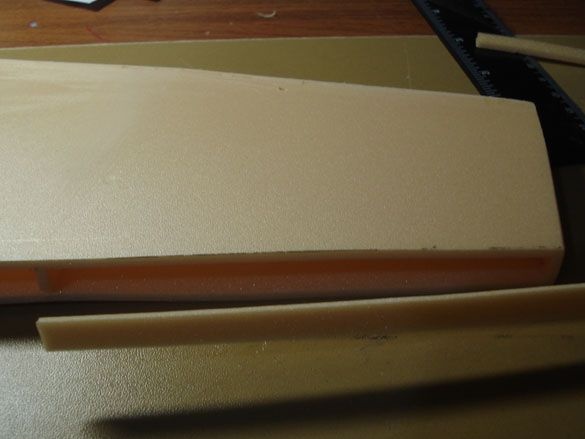
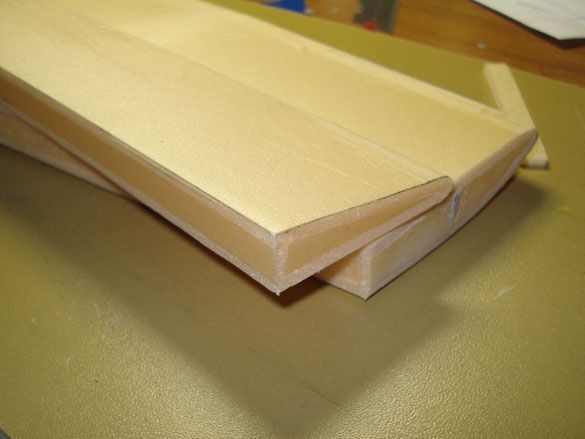
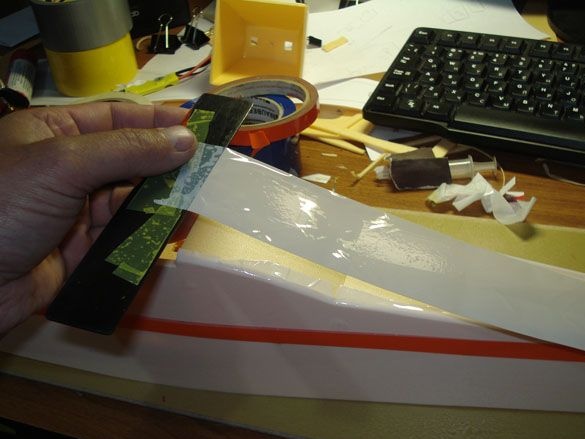
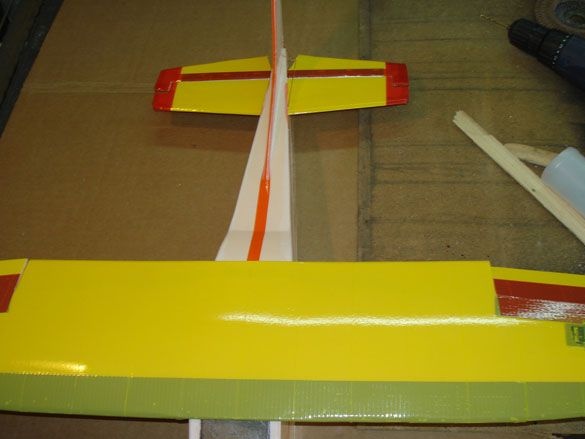
We grind the edges at an angle of 45 degrees so that when the planes are tilted, they do not abut each other, this is convenient to do with a simple stone bar or sandpaper.
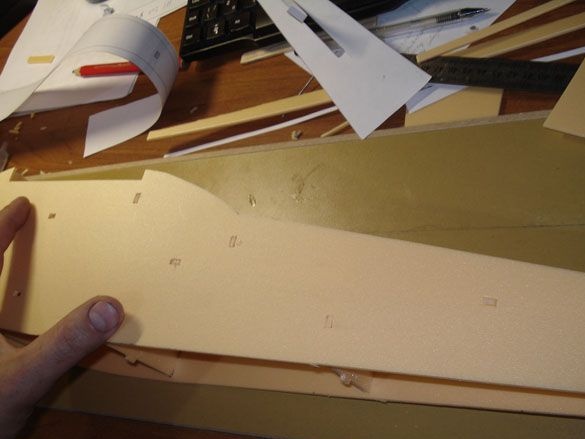
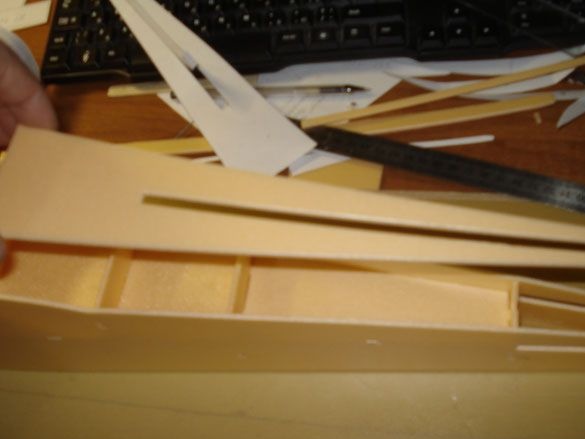
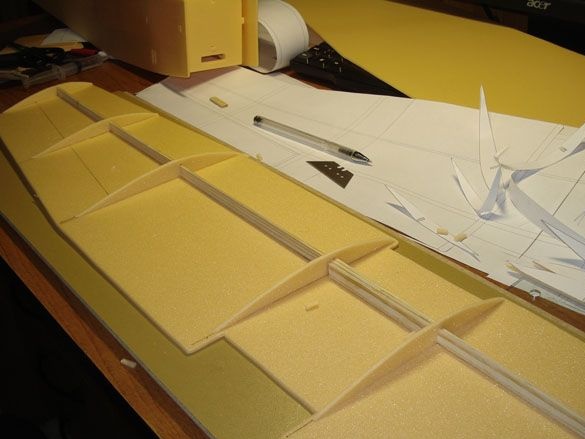
We make a wing, mark lines on the wing for gluing stiffeners, neurours, spars.
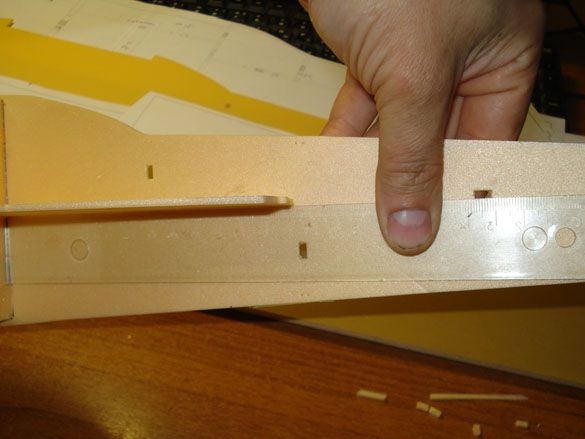
The wooden axis (spar) is usually made from a 50 cm wooden ruler. In the presence of a circular saw, you can simply dissolve the board onto the shingles and then cut it to the desired size.
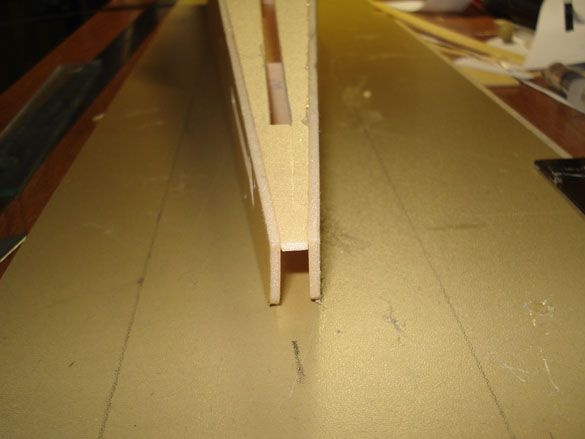
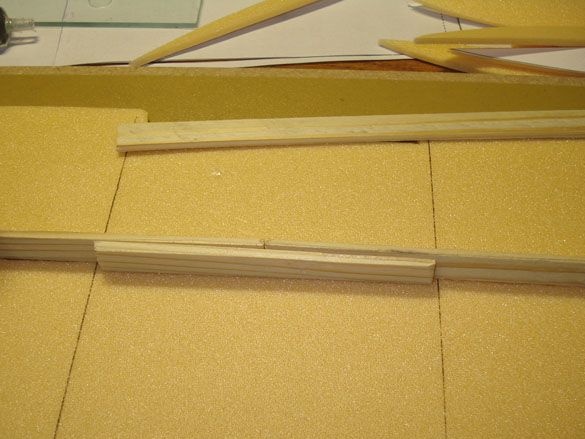
First, glue the spar rail.
In the middle, we reinforce the joint with two more small rails.
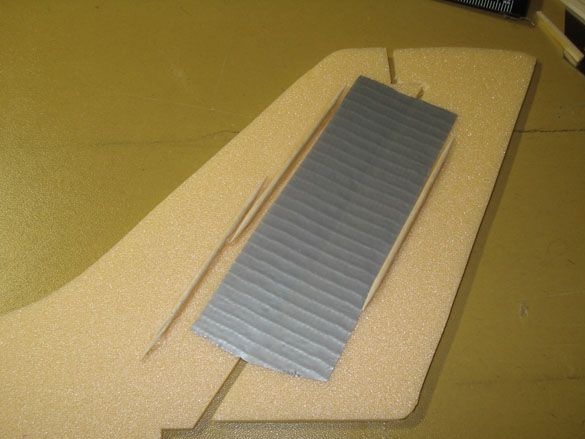
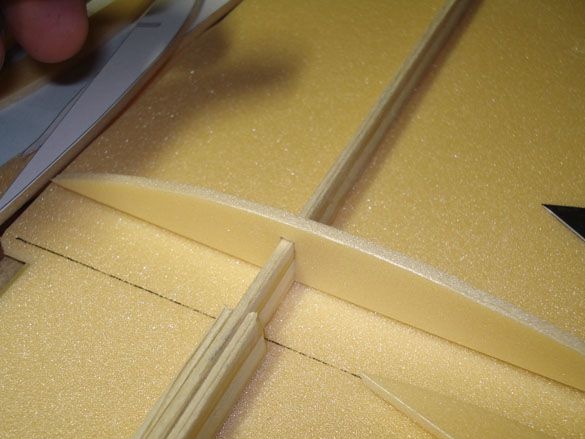
Then we glue foam neurours.
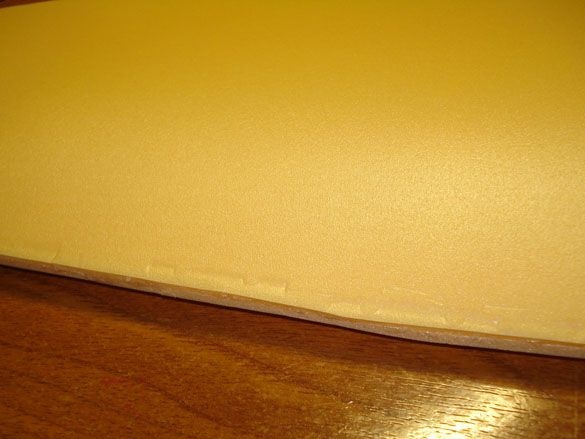
To glue the upper plane of the wing, the material of the ceiling or substrate must be prepared, rolled on a piece of pipe to set the preliminary bending of the desired shape, after which you can apply glue to all the contacting elements and make the final gluing. Fixing the wing at the time of setting the glue, you can use any of the available ones, cargo, clothespins, adhesive tape.

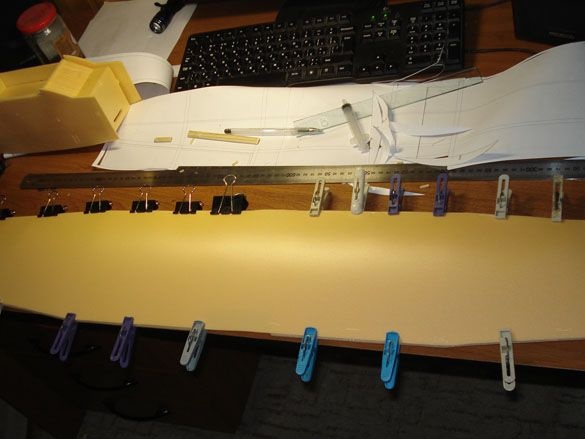
Small dents in the clothespins can be sanded with sandpaper.
In the central part of the wing, close the cavities, glue the inserts.
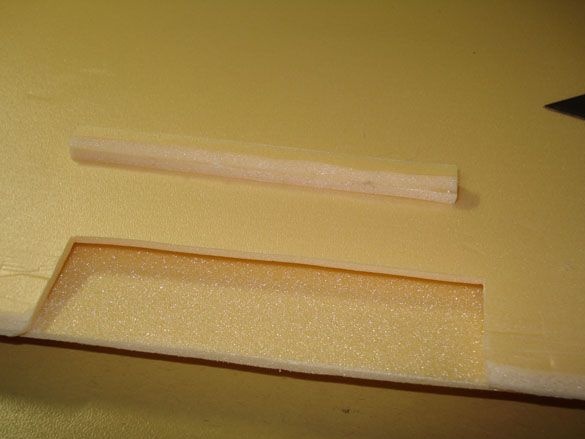
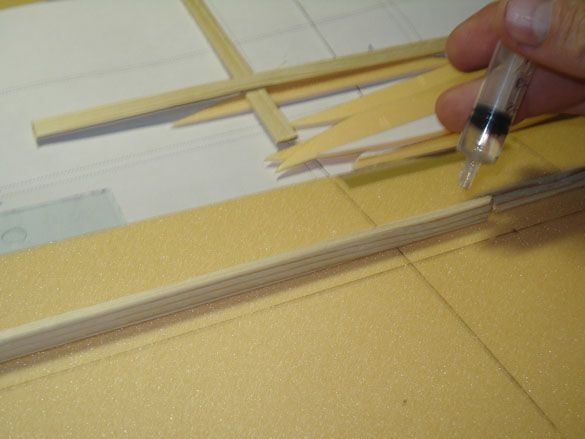
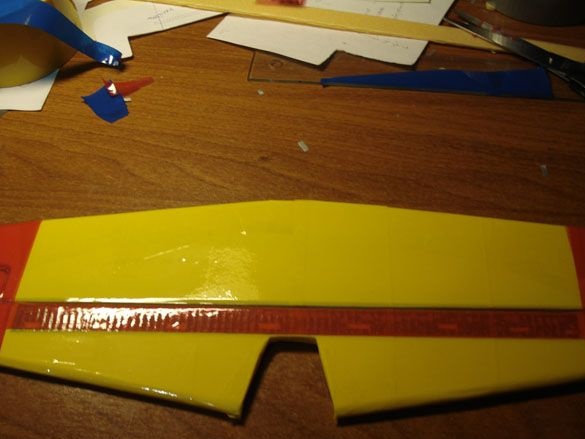
After the glue has completely dried, we mark the ailerons, additionally we focus on the clearance so as not to get on the partition.
We cut with a cutter on both sides, take out the finished aileron.
We seal all open cavities with stripes of tiles.
Finished ailerons can be immediately glued using reinforced tape or left for later, until the main tightening of the entire model with tape.
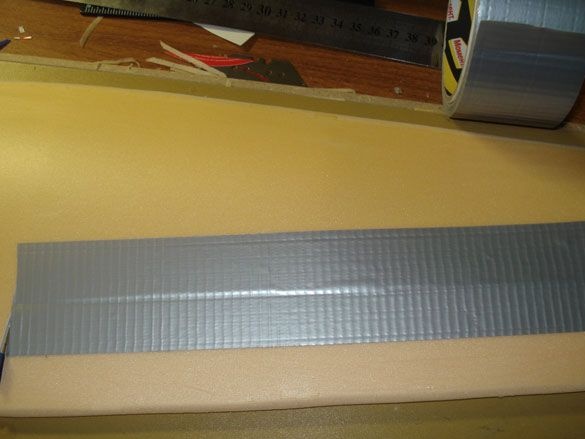
In front of the wing can also be reinforced with reinforced tape.
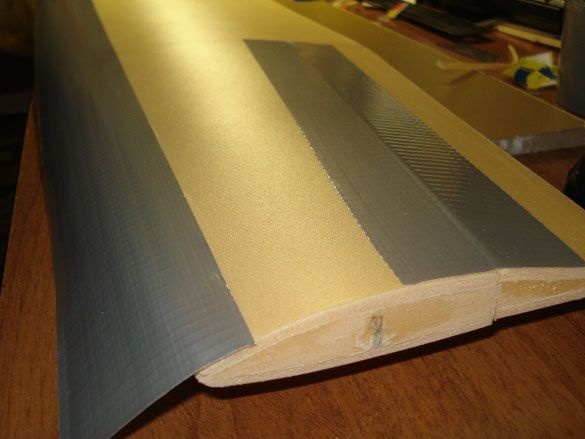
Now you can tape the entire model with tape, this is not only for beauty, but more to give strength, now the model will be able to withstand small drops and bumps.

We invite tape with a warm iron, this procedure will finally bake it to the foam, but for the first model it is not necessary.
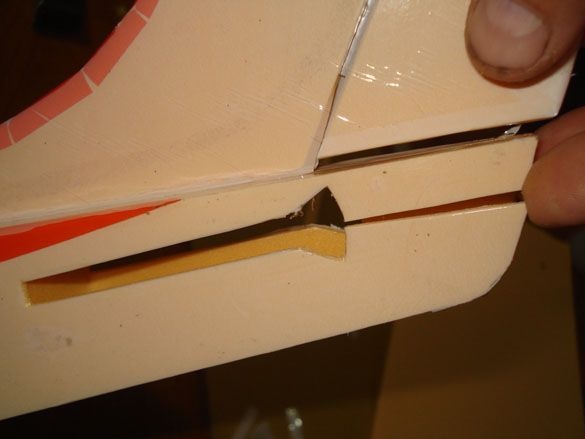
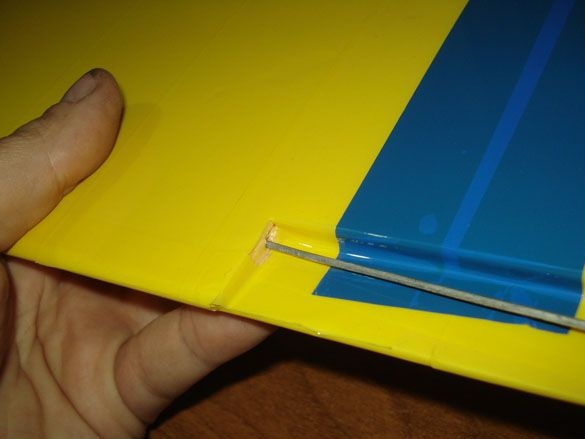
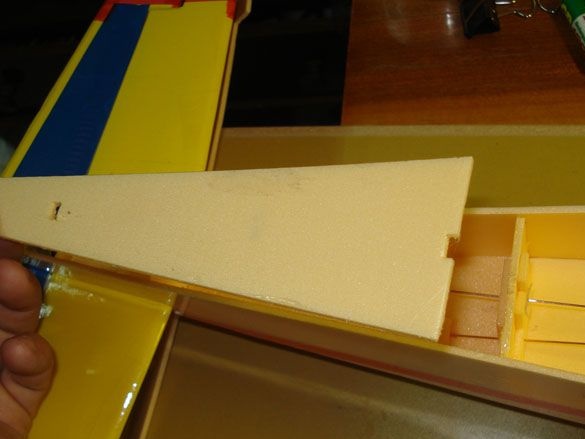
To install the elevator wing, it is necessary to make a cut in the body and push the wing into place.


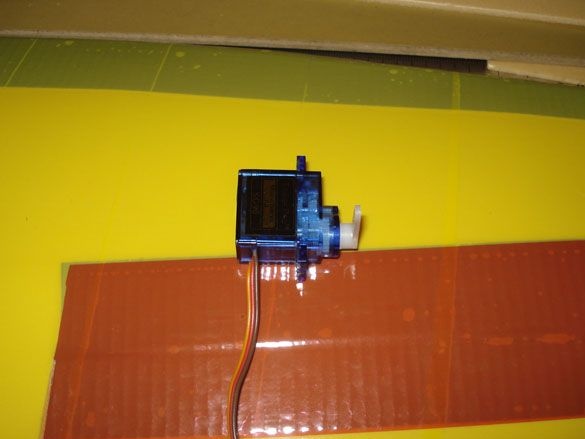
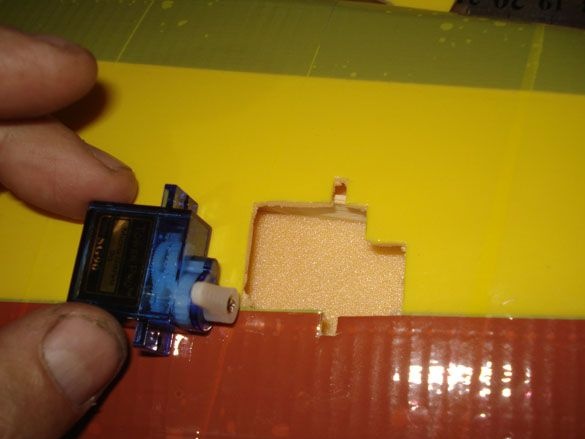
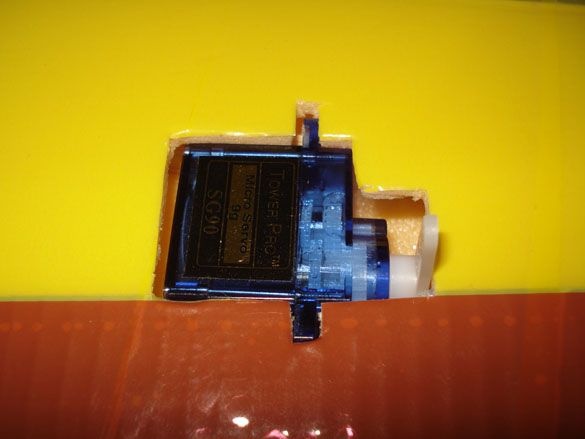
Install the servos on the wing. To do this, apply and circle them with a marker, then cut out the footprint. We stretch the wires and on the double-sided tape we fix the servos in place. On the contrary, hogs are mounted on the ailerons and connected to the servos by a rigid wire.
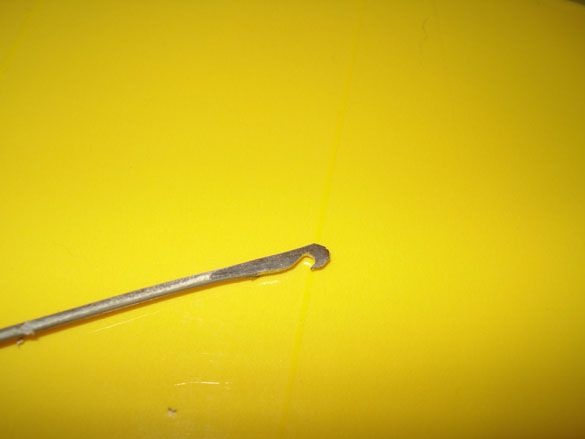
The wires can be pulled with a homemade wire hook.
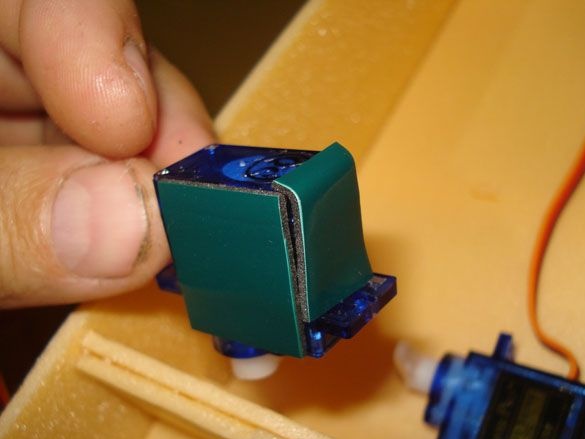
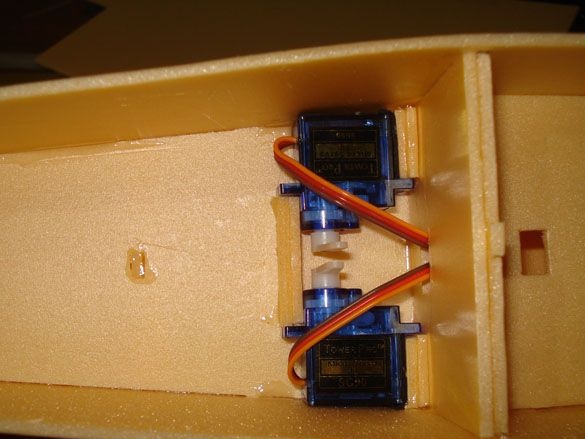
Next, we install two servos in the fuselage of the aircraft, for elevator and rudder.
For fastening it is necessary to use double-sided tape, which is glued to all contact sides of the servos. Then we install them in place and additionally glue the supporting walls. From hard wire we lay traction to the rudders.
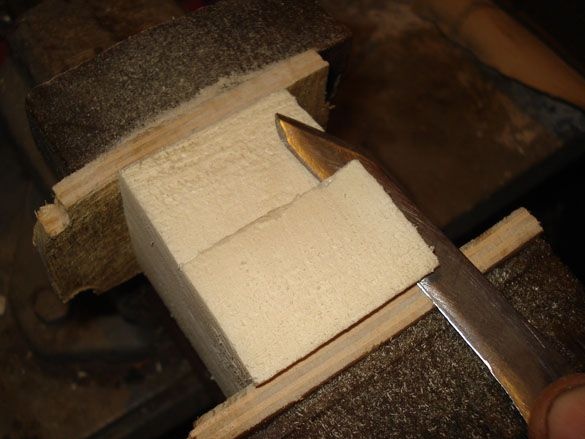
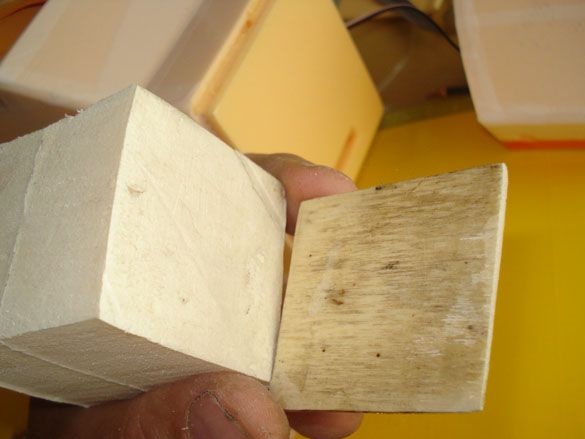
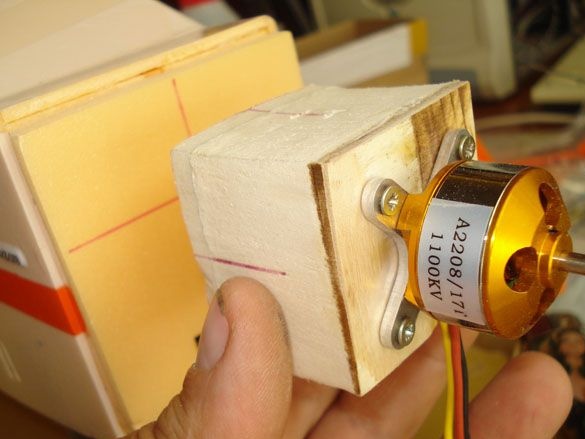
It remains to make an engine mount for mounting the motor. It can be made of various materials, plywood, plastic, aluminum, polystyrene, etc. I had polystyrene from the insulation plate, it remains to glue two such pieces and give the desired shape.
Glue thin plywood on the side of the motor mount, the motor mount bolts will be twisted into it.
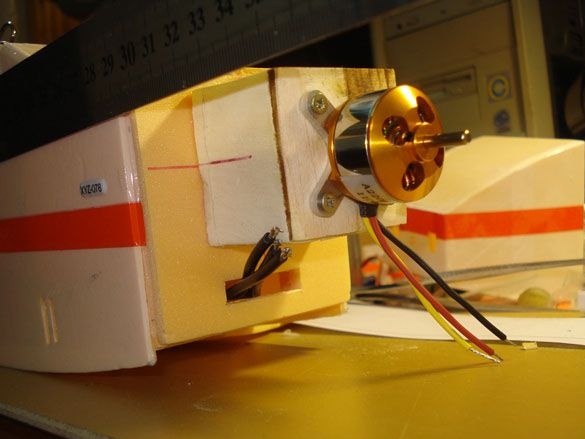
The motorama adheres to its place.
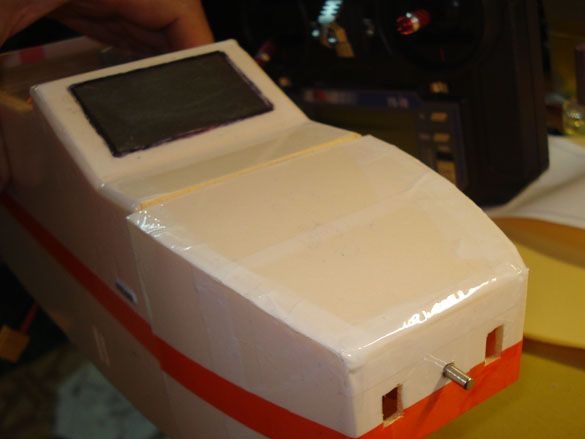
The motor driver is hiding in the front of the fuselage, the wires are brought out through the ventilation window and connected to the motor wires.
Then, after checking the direction of rotation, you can put the fairing in place and fix it with tape.
Bottom view
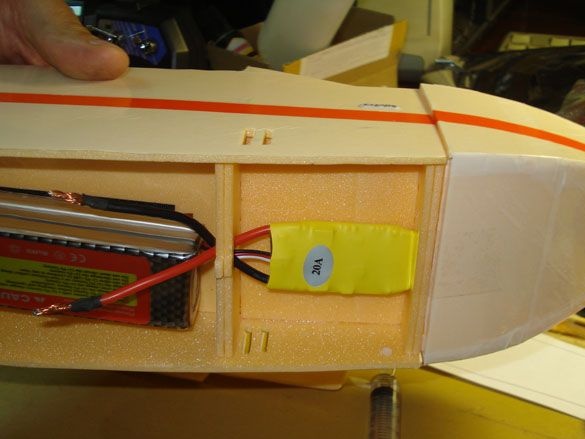
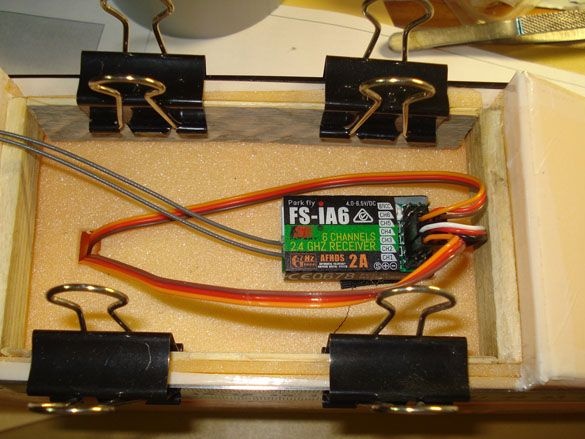
The place of installation of the wing must be strengthened by gluing thin shingles or plywood. Here the receiver is placed and all the wires from all the electronics come together.
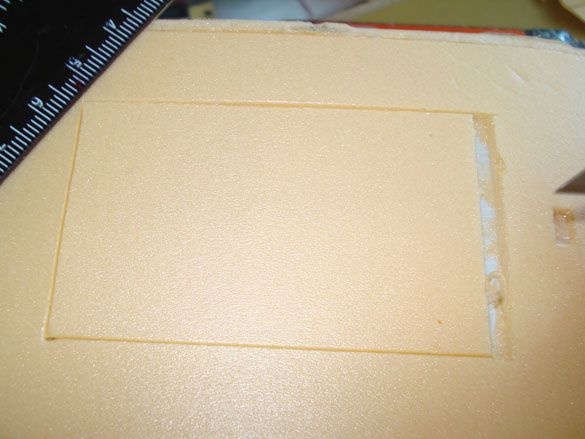
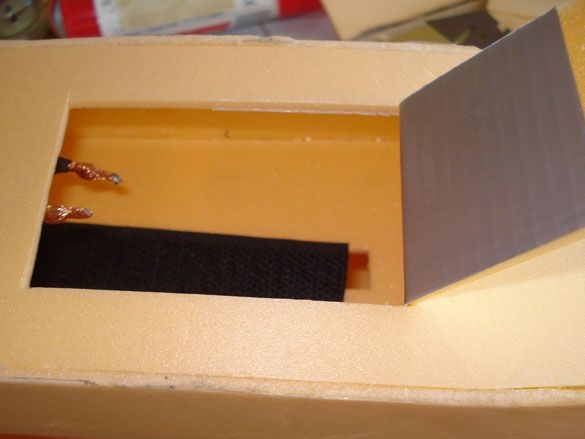
It remains to glue the bottom of the fuselage and cut through the hatch for installing the battery.

The total curb weight of the resulting model is 450-600 grams.
For the initial flights, it is not recommended to install wheels and learn to make landings on the belly in tall grass, and take-offs with a throw.
You can start flying around