

A large table for guests, gets and used as intended only several times a year. But at the same time, he stands at your home in the farthest corner, does nothing at all, and only gets dusty.
Therefore, there are some requirements for it, which were decisive in the need to make it yourself, and not buy ready-made:
• Dimensions, both in the unfolded state and in the folded, compact form;
• Elementary, but at the same time very reliable folding mechanism;
• Inexpensive execution (remember about the frequency of its use);
• And most importantly - light weight. After all, far from always this folding table will be taken out and laid out by men. After all, ladies make such surprises, which means that it should not be unbearable. So, without delaying “for later”, we will make this folding table on our own. Therefore, let's get started.
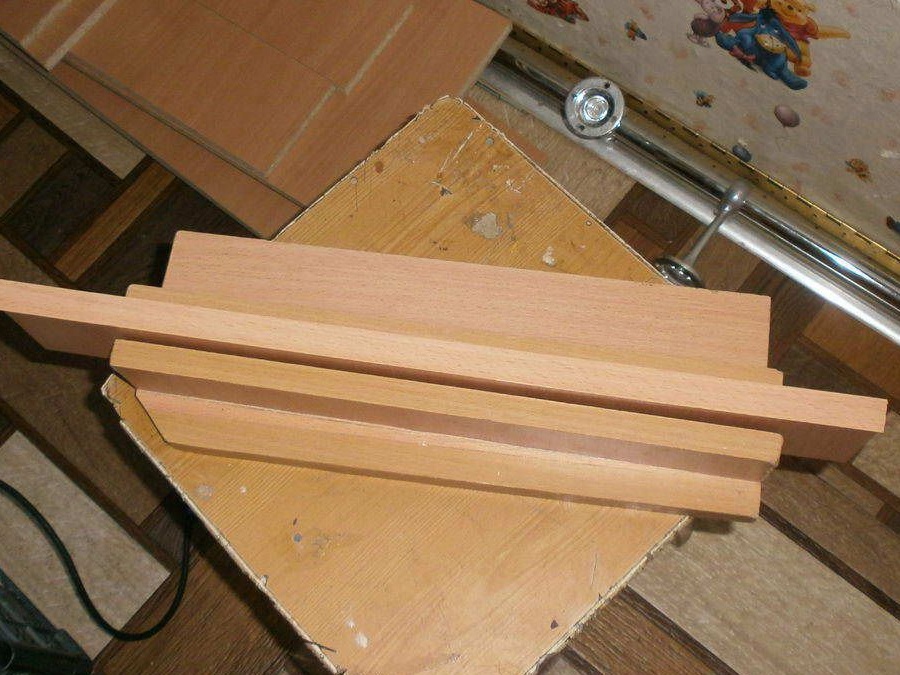
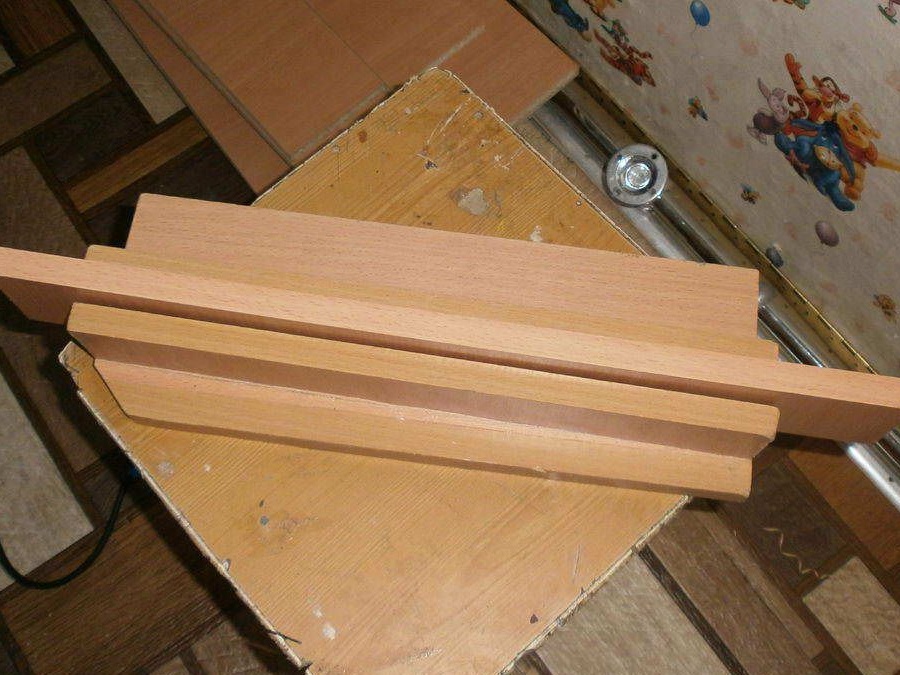
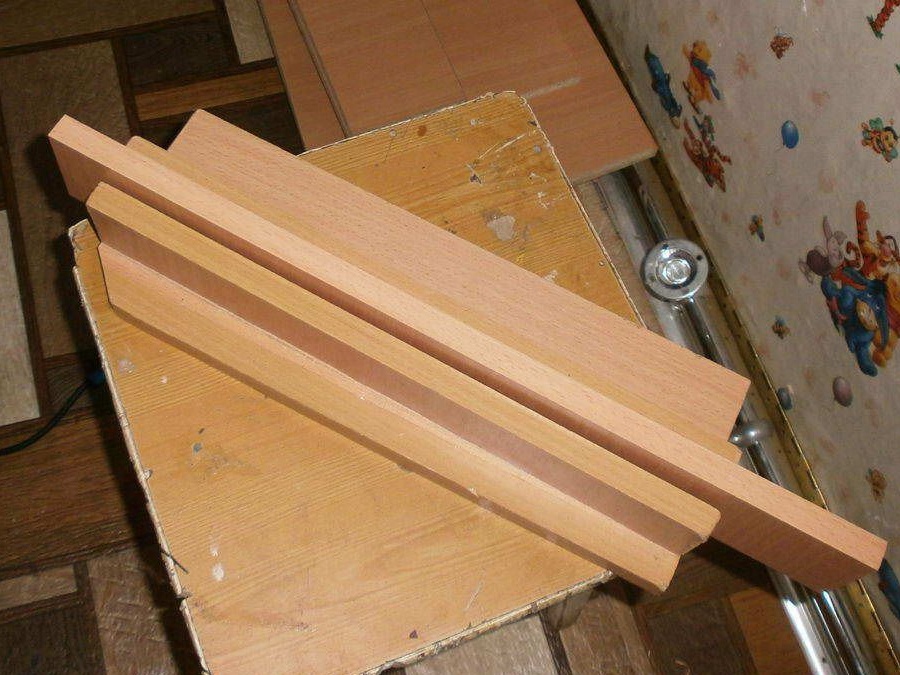
We will build it from a laminated chipboard, which means that everything starts with its cutting. We do not need a whole sheet, in fact, the entire table takes even less than half. That means - either it’s enough for some medium-sized cabinet elements of furniture, or - immediately on two folding tables.
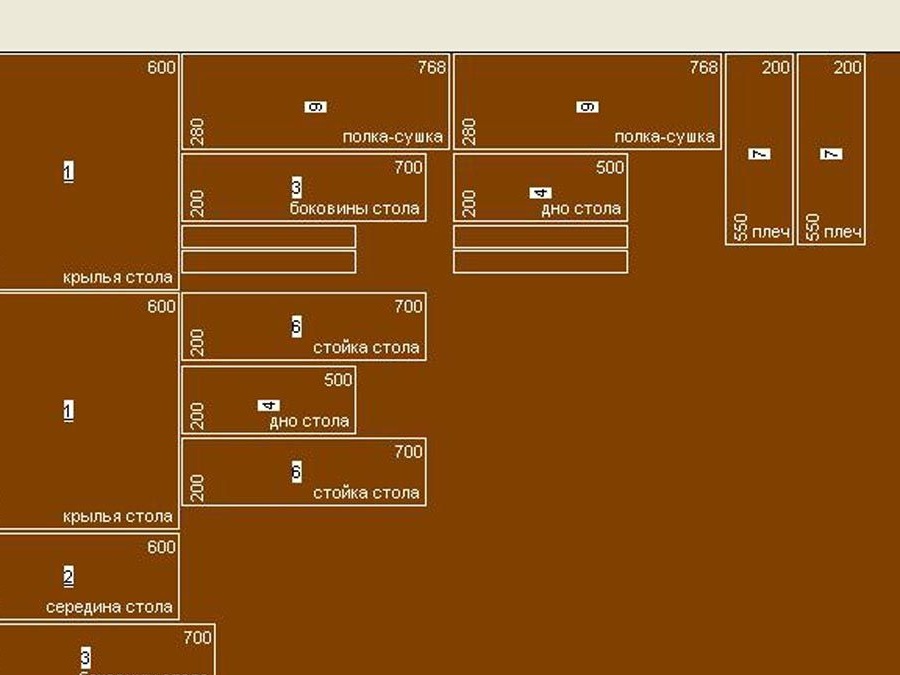
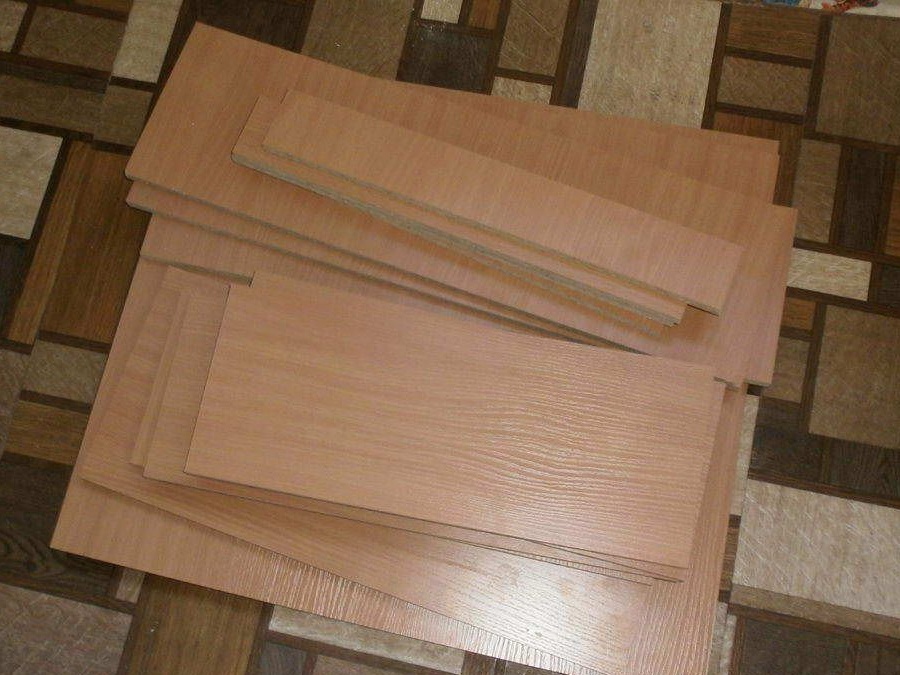
I ordered a cut in the same company where the sheets themselves were sold. They did it quickly, in just a couple of days, so I soon took it and brought home these “firewood”.
In addition, I bought:
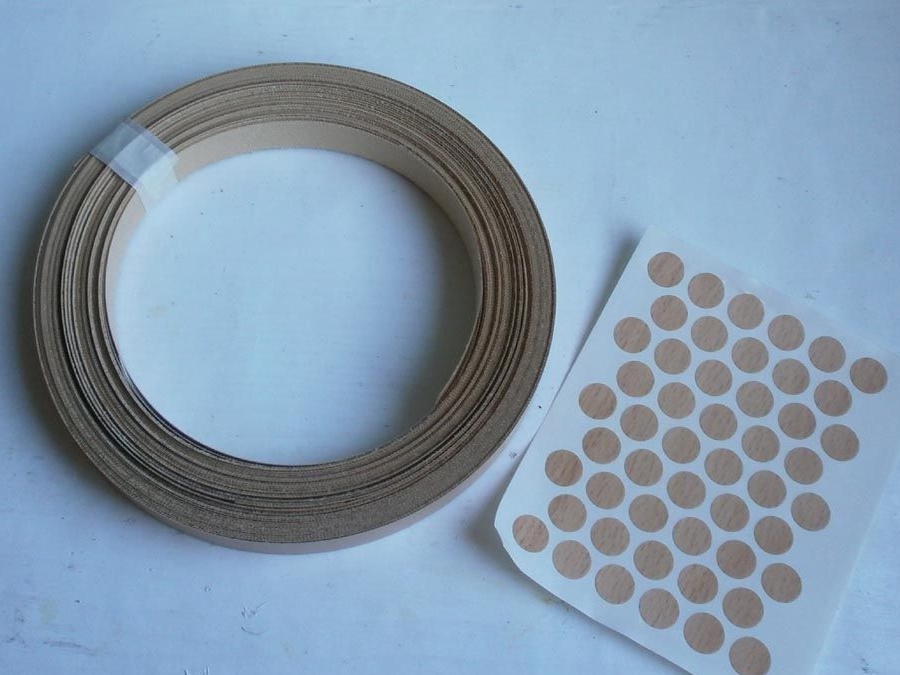
• 15 meters of paper edge (it was possible to immediately order sticking along with a cut, but I did not do this) + self-adhesive mugs for heads of confirmations,
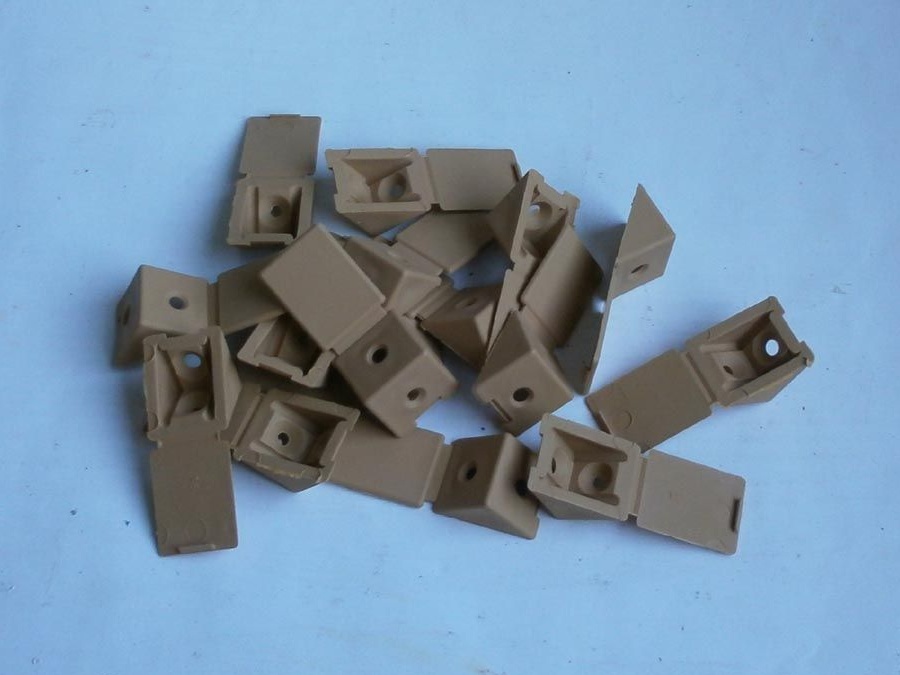
• 10 narrow plastic corners,
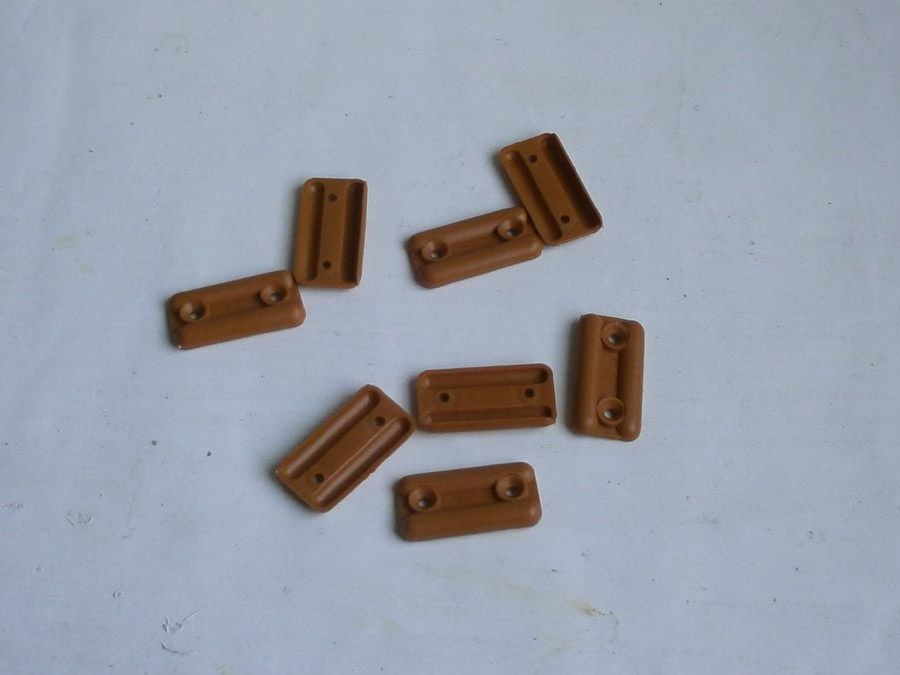
• 12 glides, legs,
• 25 confirmations (or Eurobolts), it’s definitely always at home,
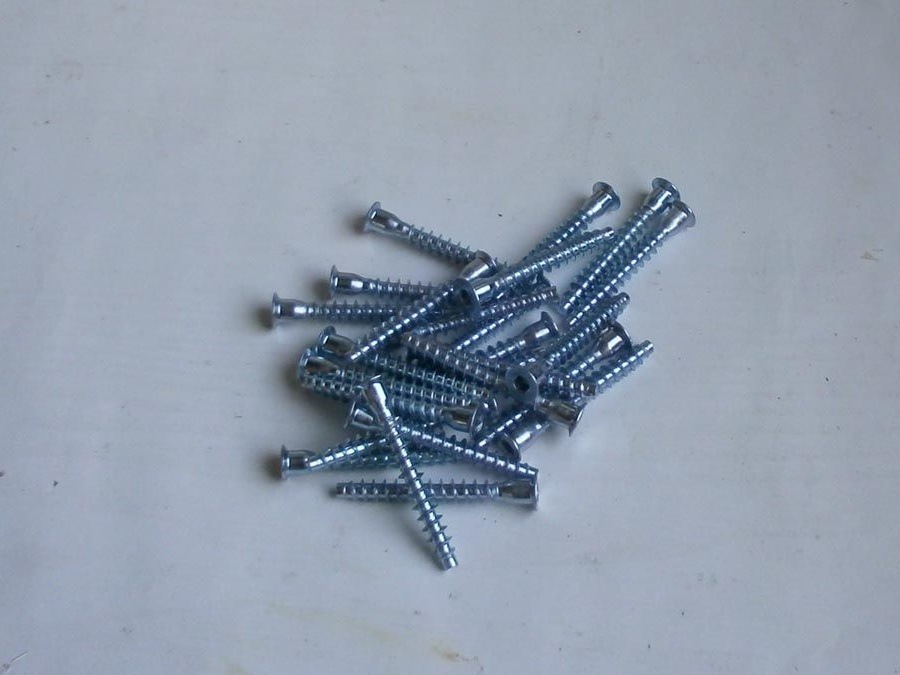
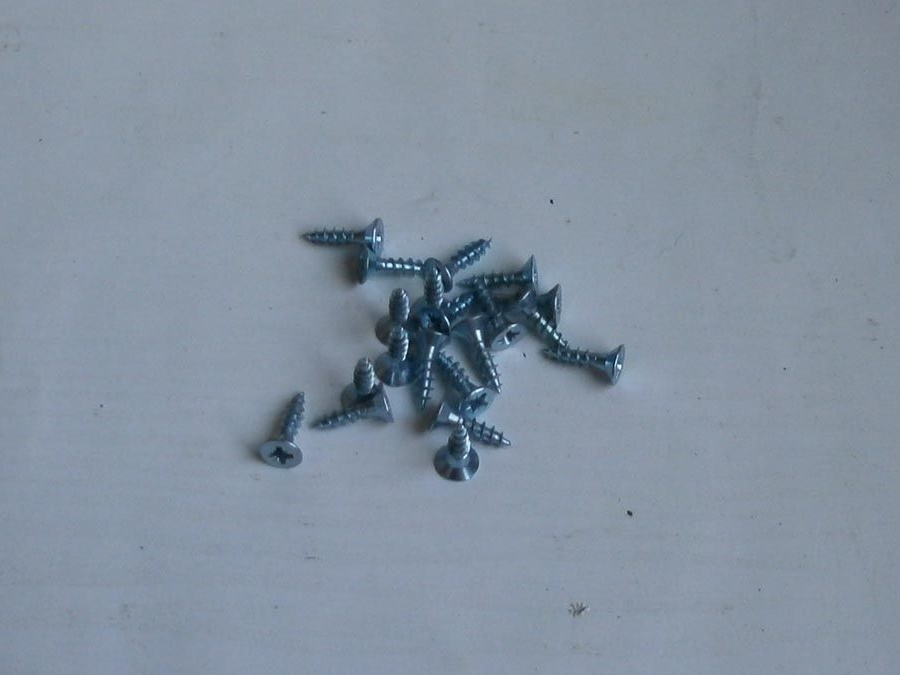
• 100 (took with a margin, therefore remained) screws, 30 mm long,
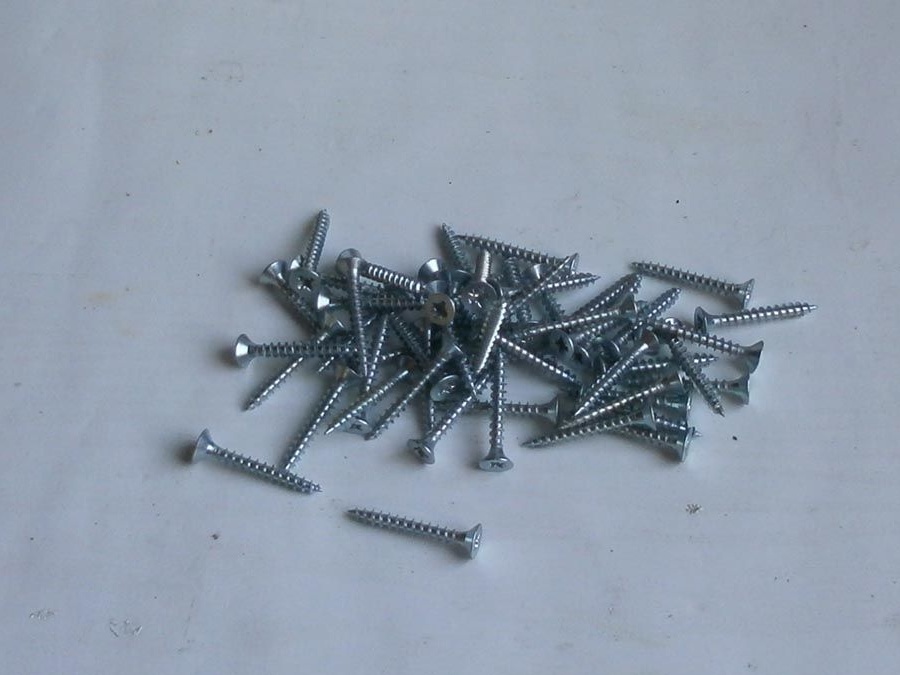
• 50 - 16 mm long,
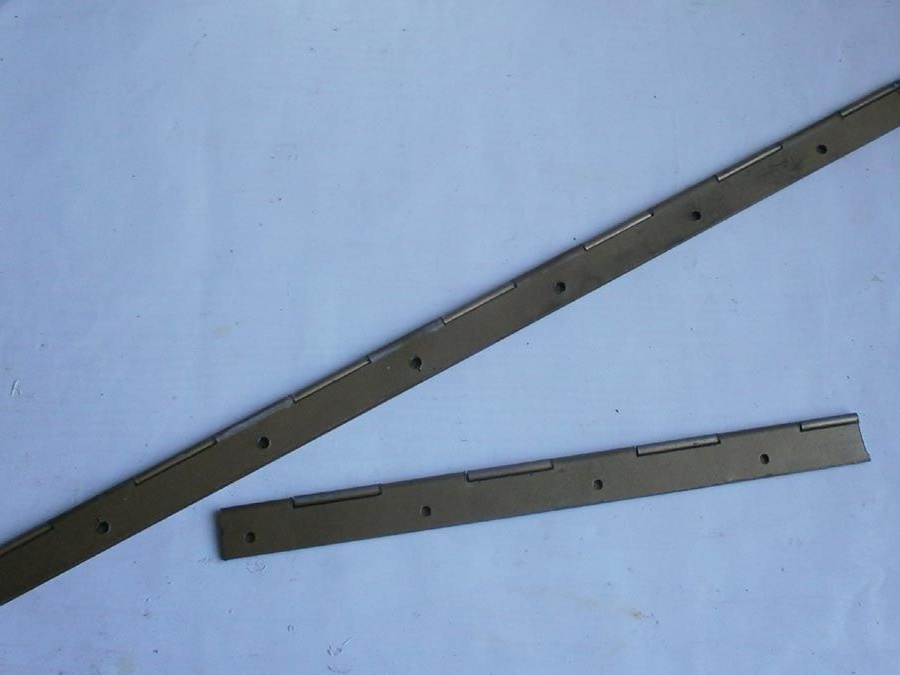
• and one piano loop, 1.7 meters long.
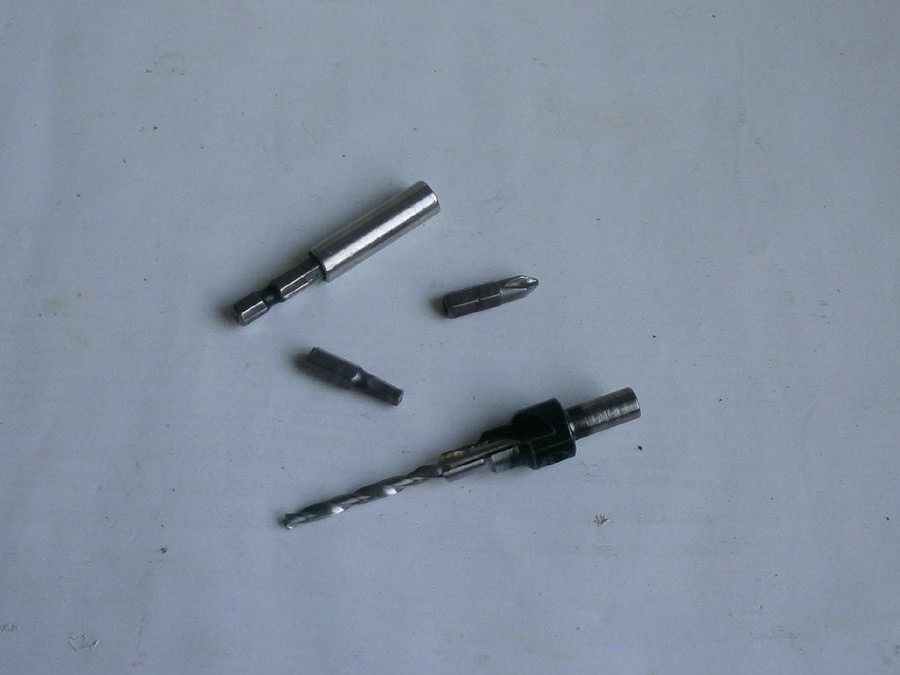
That's all. And the tools themselves, like a cordless drill / driver,

confirm drill, cross and hex bits, as well as an extension cord for them,
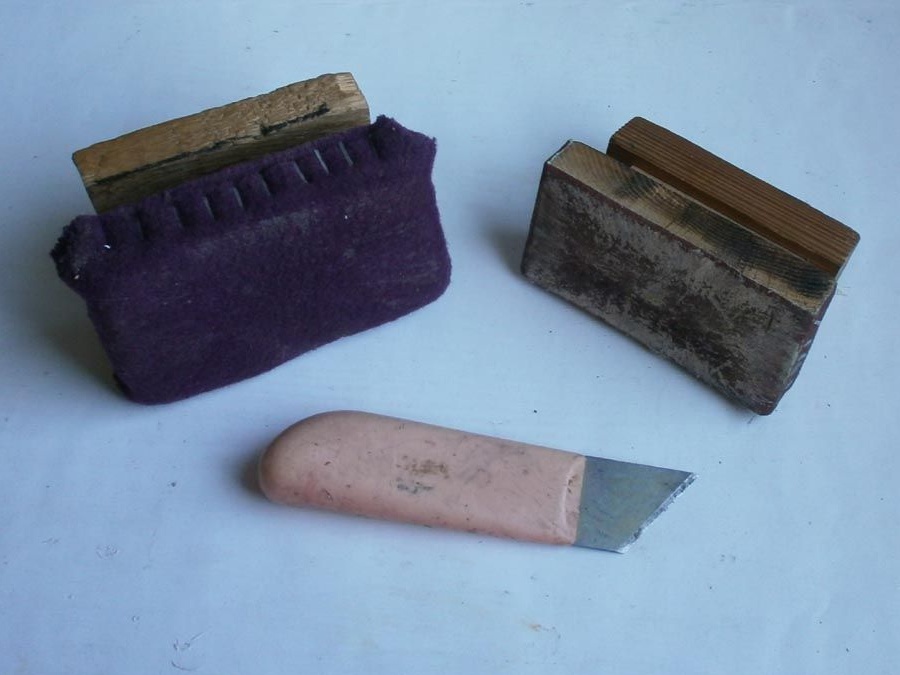
carpentry knife, whetstones with emery paper and felt,
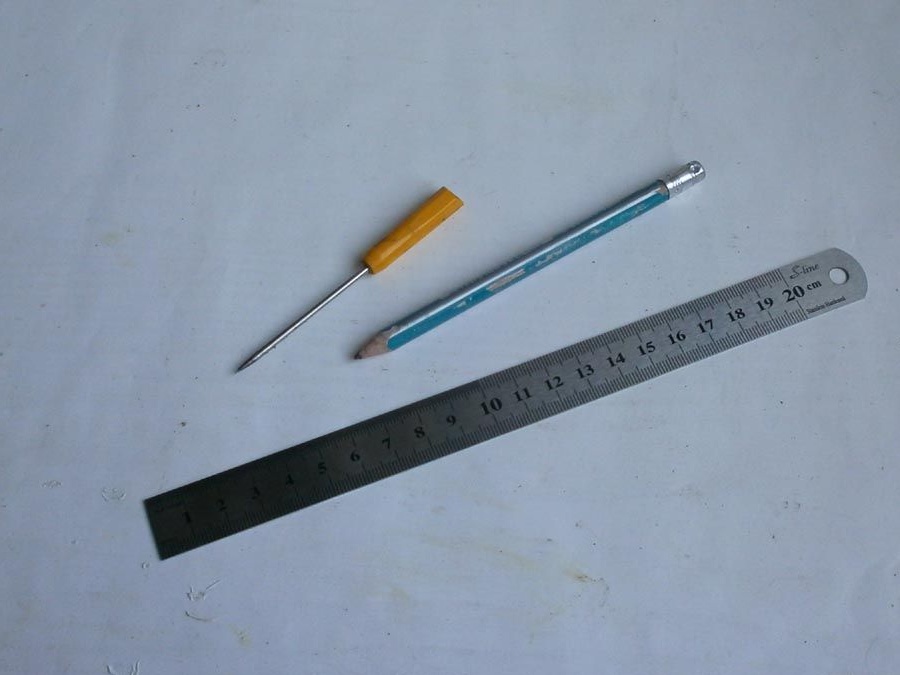
ruler, pencil, awl,
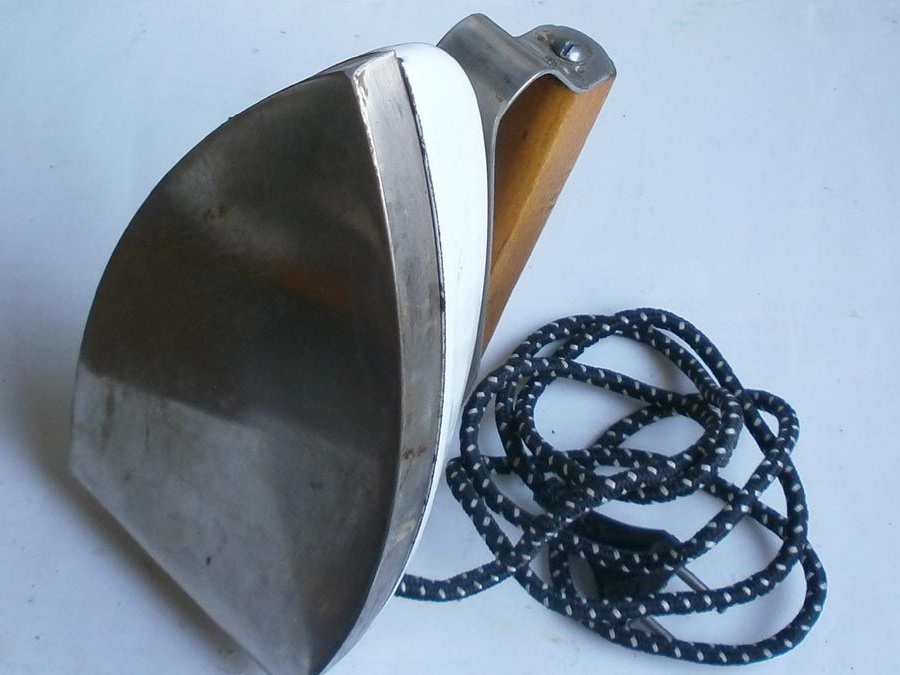
iron
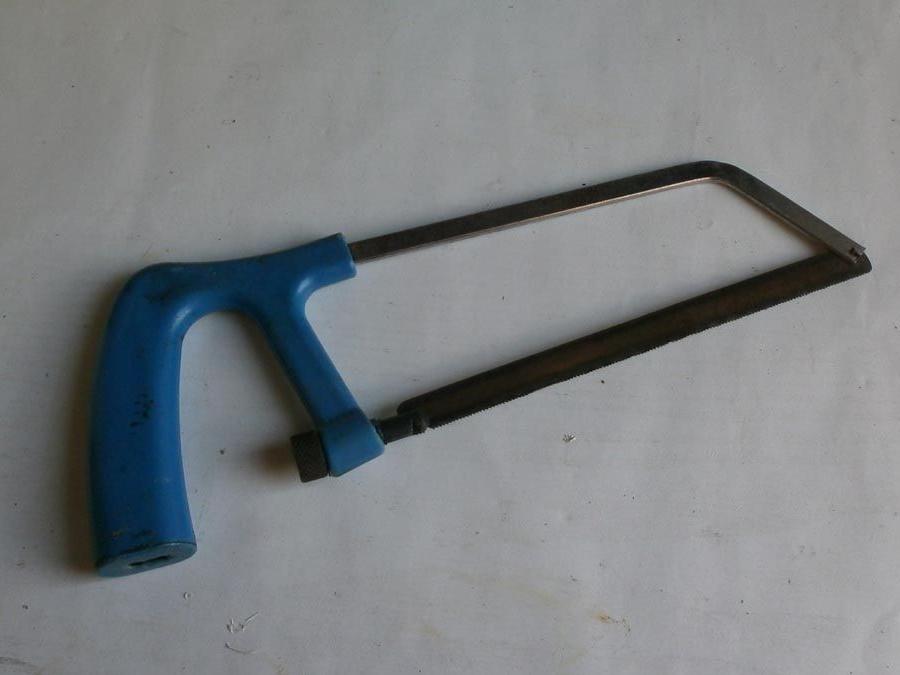
and hacksaws for metal, they were just at my place.
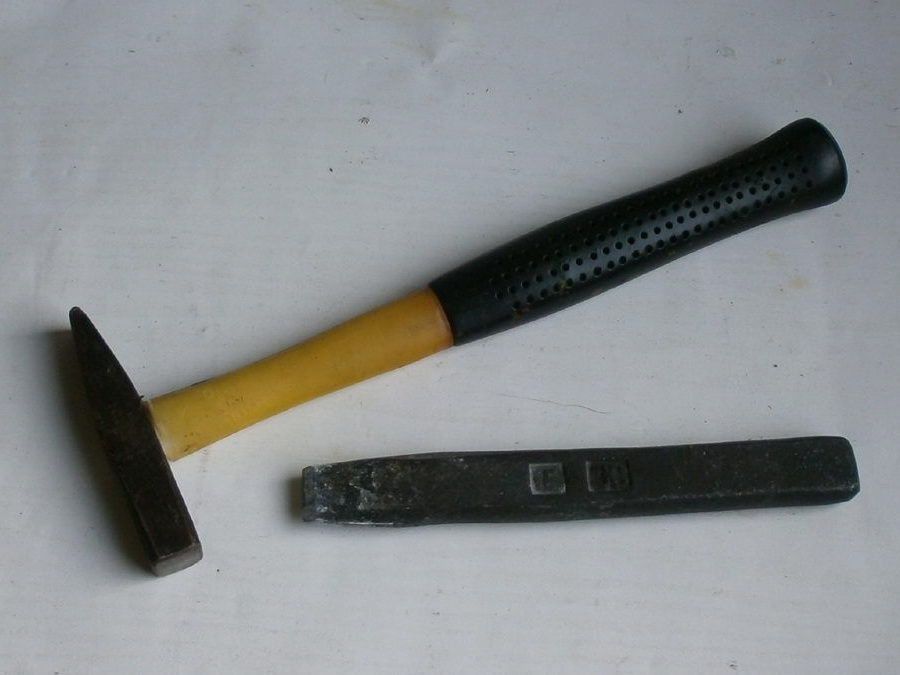
In addition, you will need a hammer and a chisel, but why - you will find out a little lower.
Now everything is for sure, so we begin to assemble our folding table.
After we have figured out which part, where and for what, we glue the ends with an edge. There is nothing complicated or wise in this: we press the edge with a hot iron, iron it, and then again, until it has cooled down, pressing it firmly, level it with a felt bar.
With a knife, we cut off (in no case break off at the ends) excess edges. One plane is ready. We paste over the part from other sides, and so, one by one, until everyone is ready. As for me, this is the most tedious part of the assembly of cabinet furniture, although I know a lot of people for whom this is a kind of relaxation and reassurance at work. And although it is worth pasting on all sides (even those that will fit into other details), I only glue what will be visible. I know that this is wrong, but true.
Yes, and do not forget to walk along the bar with sandpaper along the glued edges. Although if you have a good (but not very sharp, otherwise you can cut the laminated chipboard layer) knife, this is not necessary.
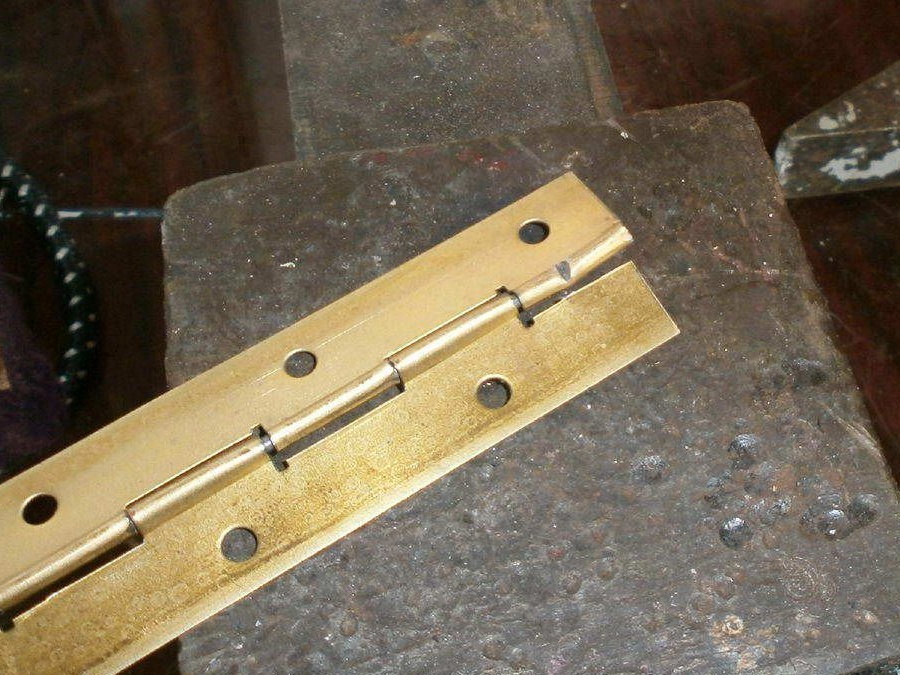
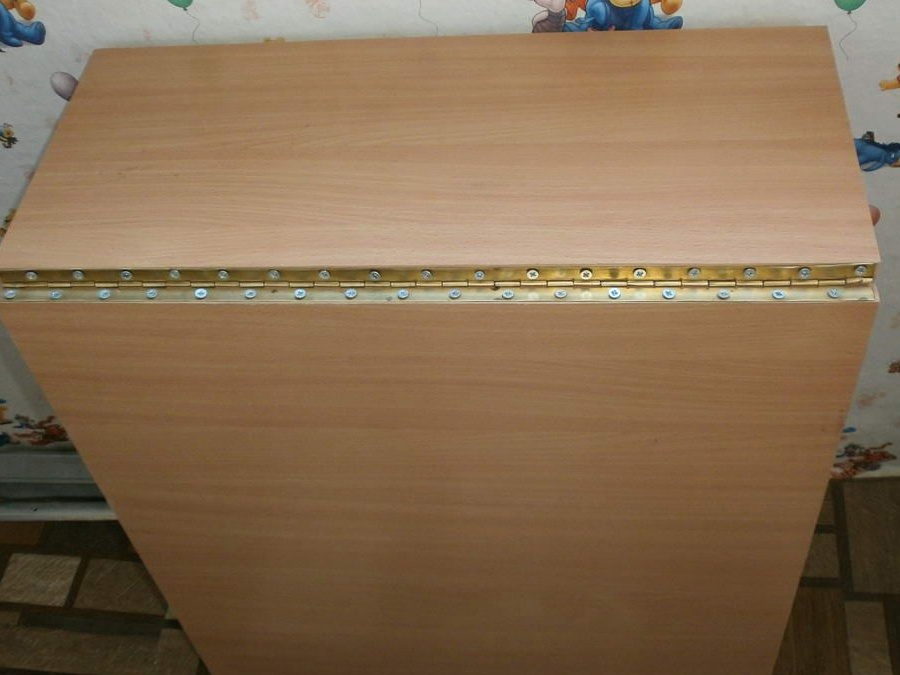
Now the piano loop. It needs to be cut, removed from the edges of the resulting burrs.
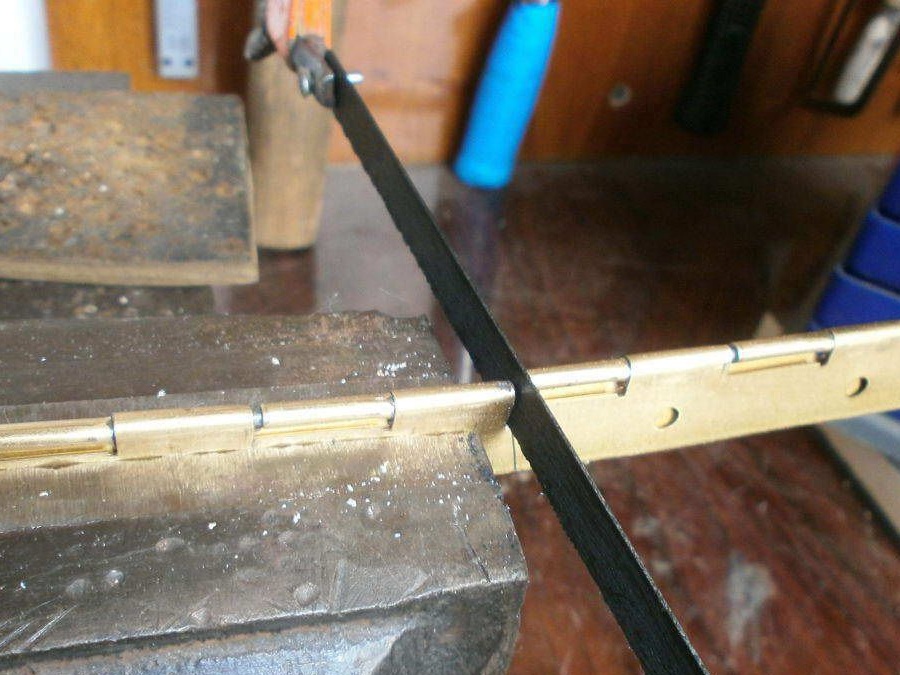
But that’s not all: A chisel and a hammer (and they came in handy), make such notches at the edges. Now, the inner core of the loop will never pop out, even if it is very short.
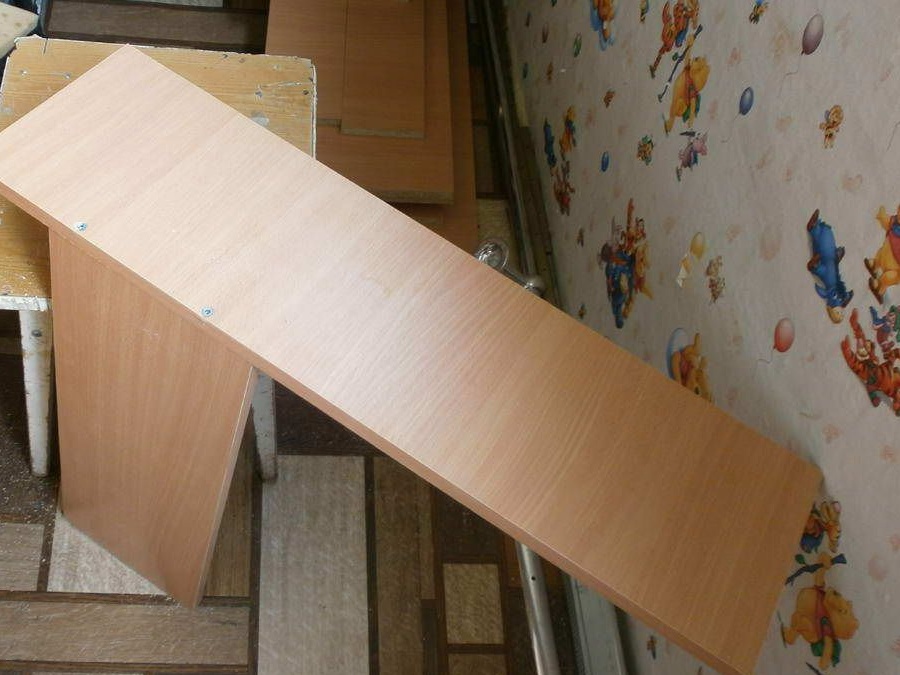
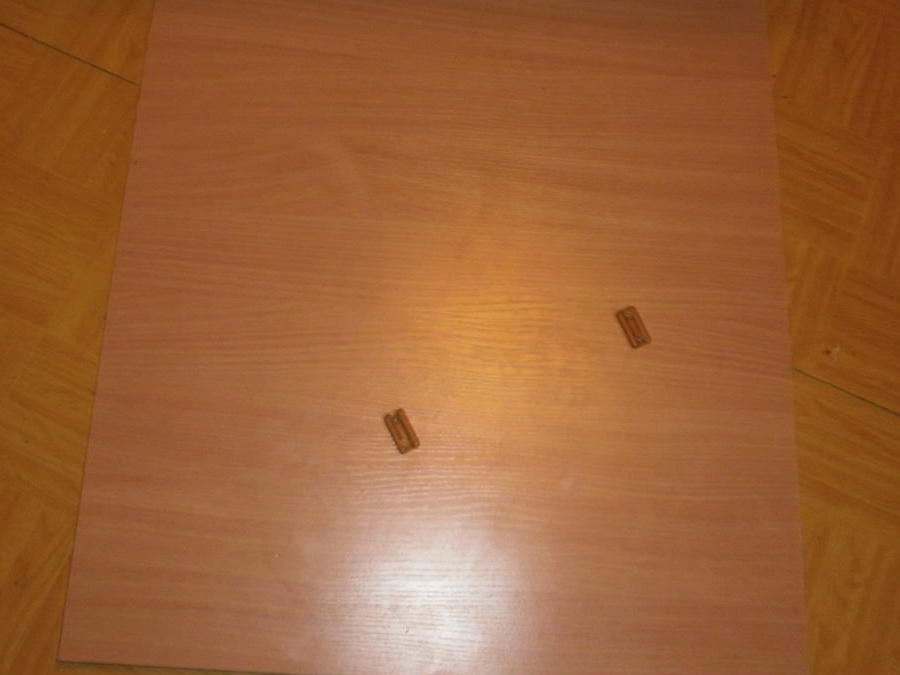
We make the "foundation" for our folding table. To the base of the future "stool", we fasten with six confirmats (three per side), sills. All is ready.
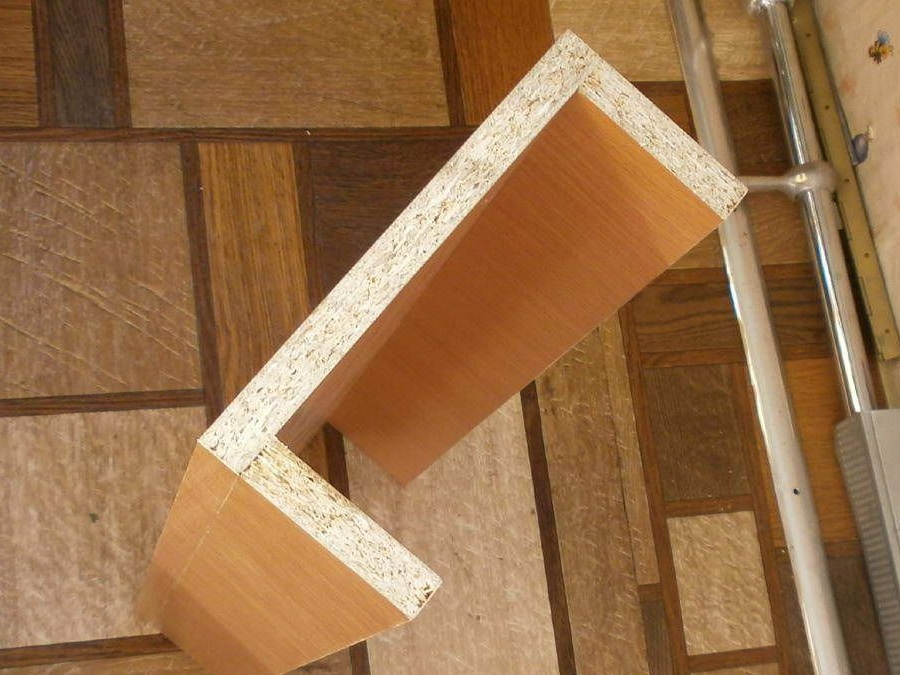
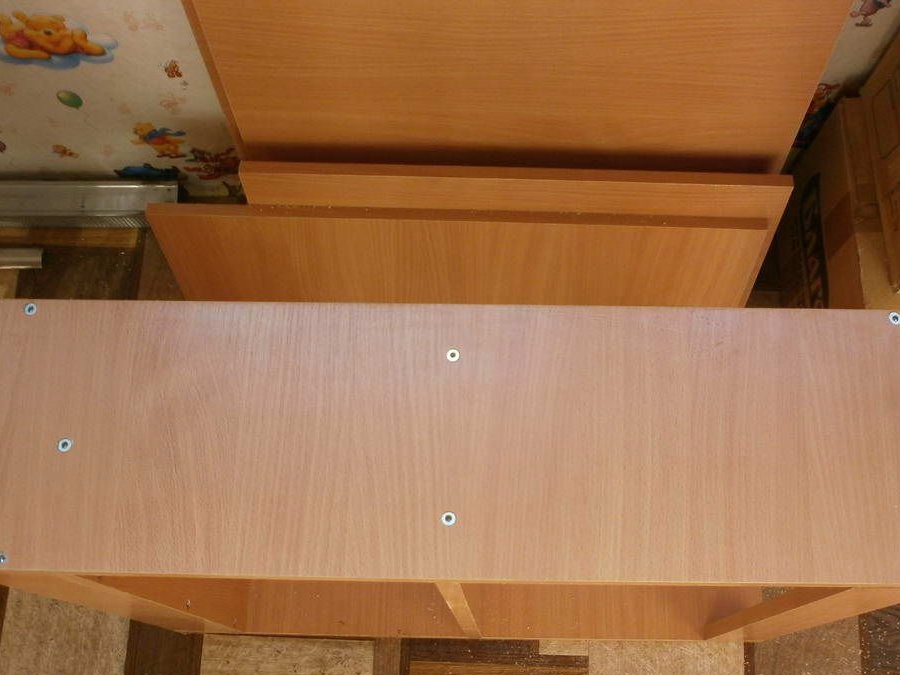
Now the top of the table. The same sills (we made four identical parts), all with the same confirmations, we fasten to the sides of the future folding table. One by one, otherwise they will split, therefore, strictly in the middle.

Done.
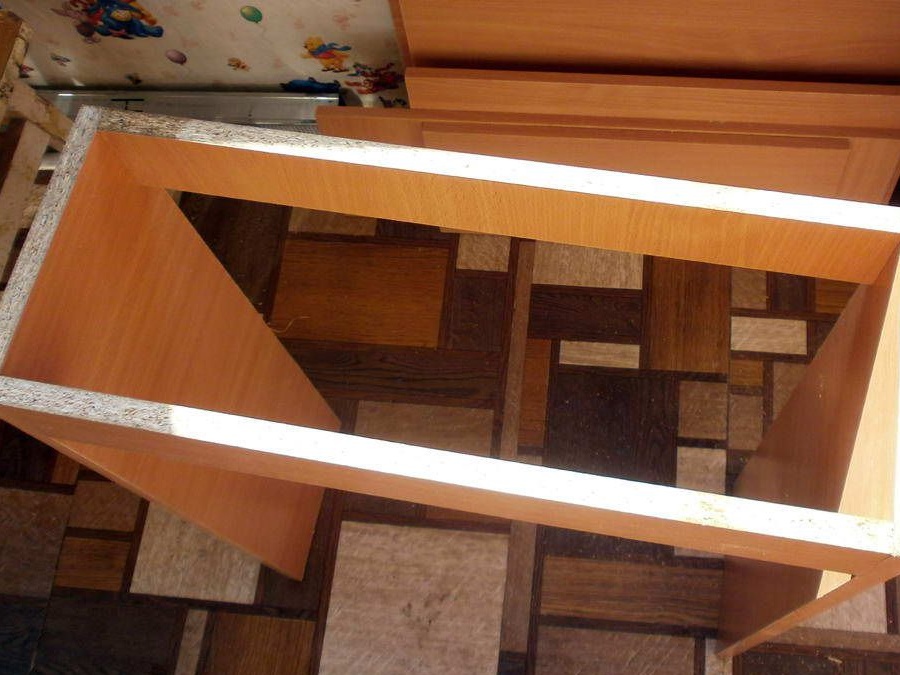
We connect both parts together
and add a stiffener in the middle. The foundation is ready.
Getting to the folding base for the wings of the table. Everything is simple: two confirmations each, and voila, they are ready.
But they must be mobile. Therefore, long screws fasten the short piano loops first to them,
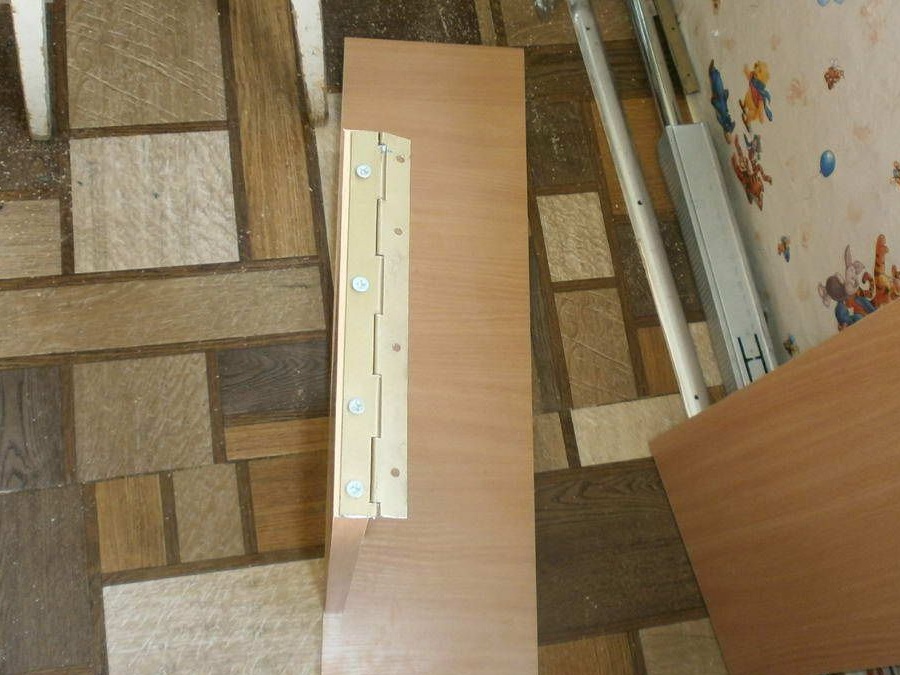
and then to the base of the table.
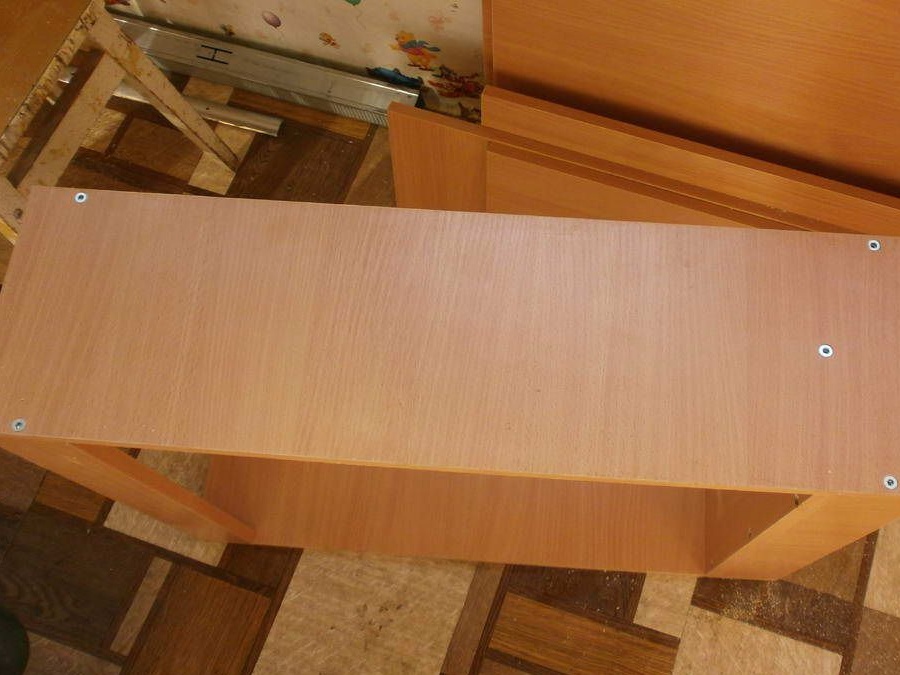
We made the skeleton of the table,

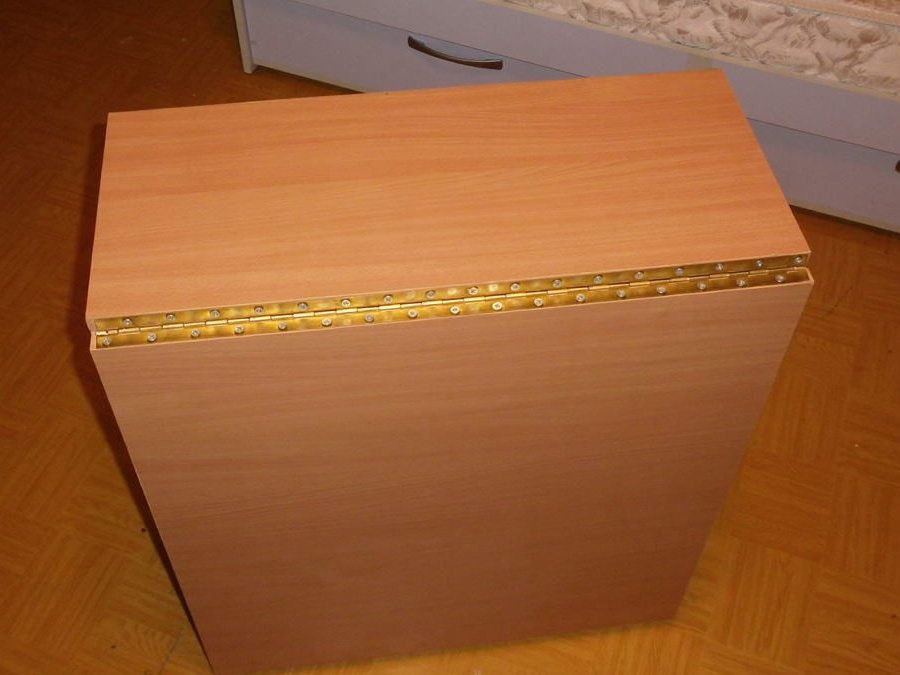
go to the lid.
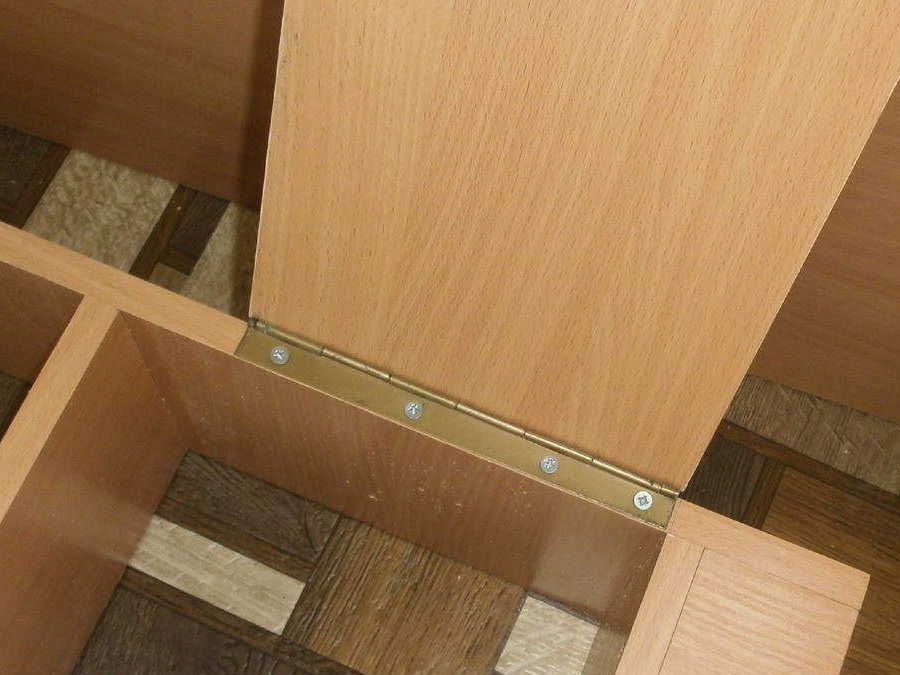
We connect on the piano loop first one wing with the central part,
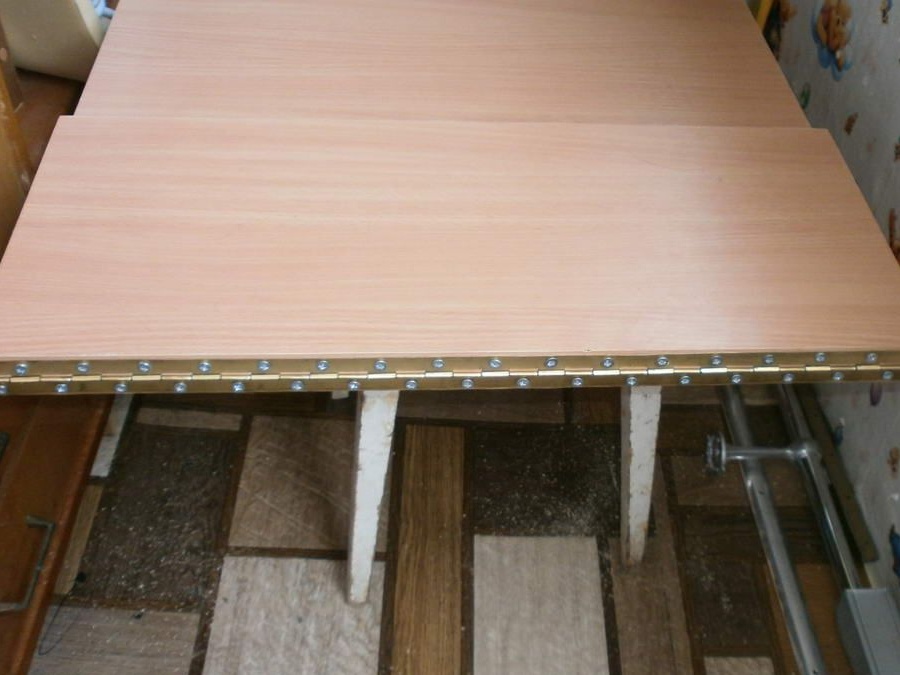
and then the second. Done.
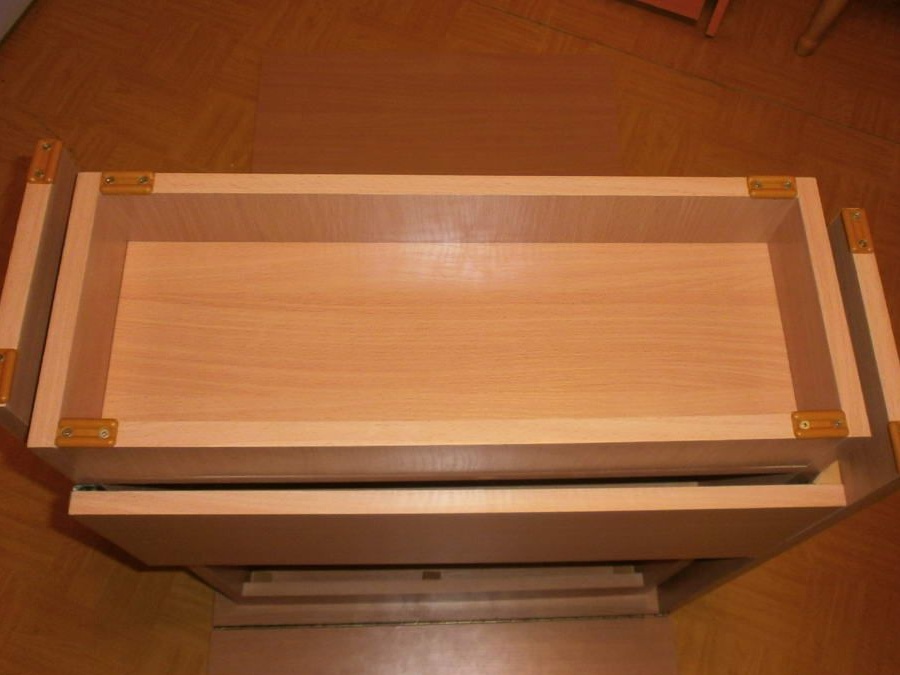
But even before you “marry” these two parts of the folding table, we reinforce the racks from the inside with the corners. Two for each will be enough.
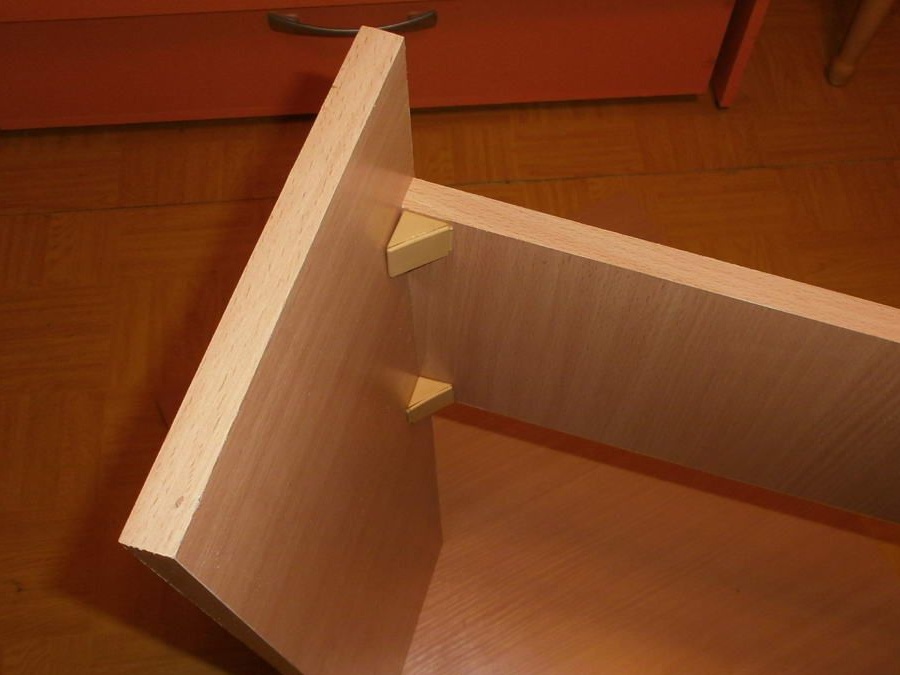
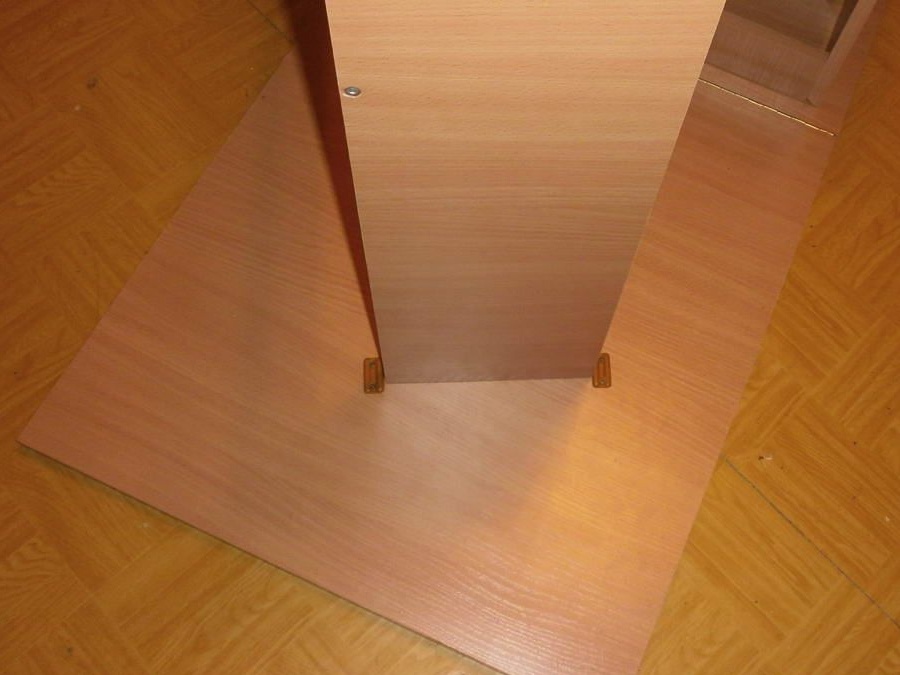
Now on the same plastic corners we attach the base to the central part,

we fasten the legs-thrust bearings.
Moreover, folding racks will be fixed by them,
and, despite the compact size of the table, they will be quite enough.
We seal the confirmation heads with decorative circles (exclusively for aesthetics),

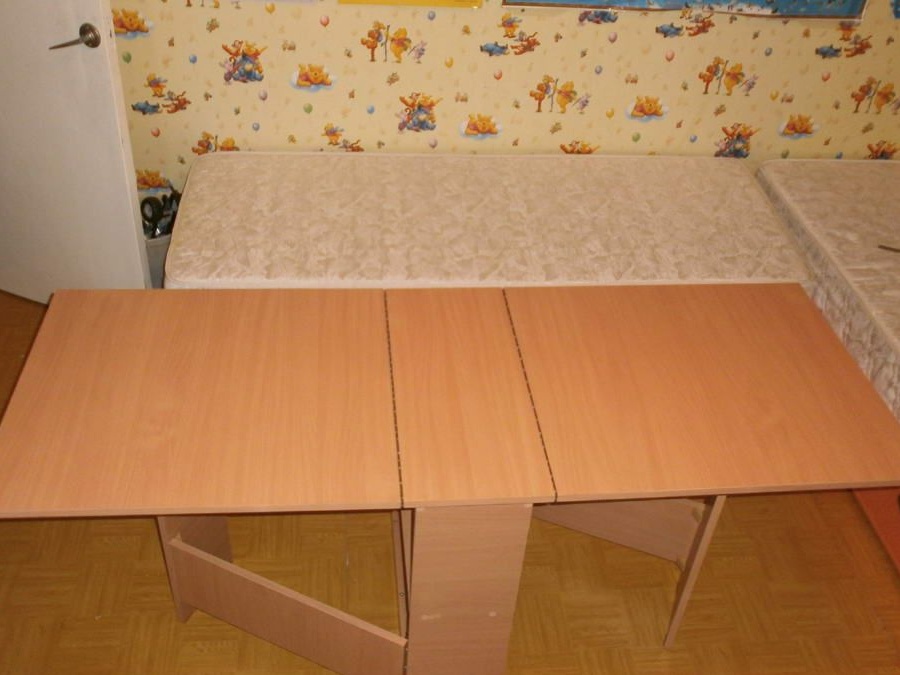
and the folding table is ready. Moreover, when unfolded, it is really very, very large, and is able to accommodate a rather big company,
while folded - it is more than compact.
That's all wisdom, use it to your health.