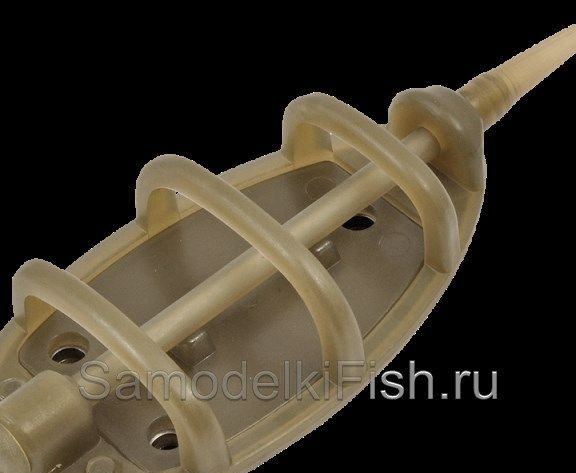
We will talk about this type of feeders, which are used when fishing for bream and other large fish on rivers with a strong current. This type of feeder is called Flat. The main feature of such feeders is their high weight, as well as a unique shape. The weight of the "Flat" is about 110-130 grams, which allows you to reliably hold the bait in the place where the feeder is located.
As for the form, thanks to it, the feeder does not roll along the bottom, which cannot be said when using conventional feeder feeders.
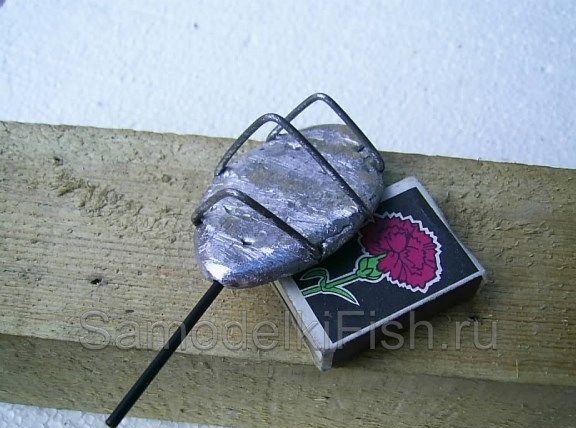
The author came up with how to make such types of feeders himself and without great difficulties.
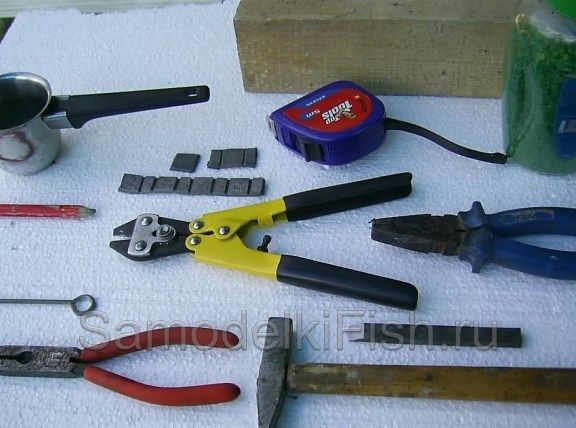
Materials and tools:
- lead or tin;
- a piece of a wide board (wooden beam);
- nails;
- steel wire;
- pliers and nippers;
- hammer;
- ruler;
- capacity for smelting lead;
- a plastic tube (paste from the handle, stick from the lollipop, and so on);
as well as other little things.
Manufacturing process
Step 1. Create a form
First of all, you need to create a mold for casting the feeder. As a material, the author decided to use wood. It can also be gypsum, putty or mounting adhesive. The feeder should have an egg-shaped shape, a jar of sea salt for the bathroom is great for receiving it. Its lower part has just such a shape.
Next, you need to take a chisel and hollow out a form for pouring in the wood.
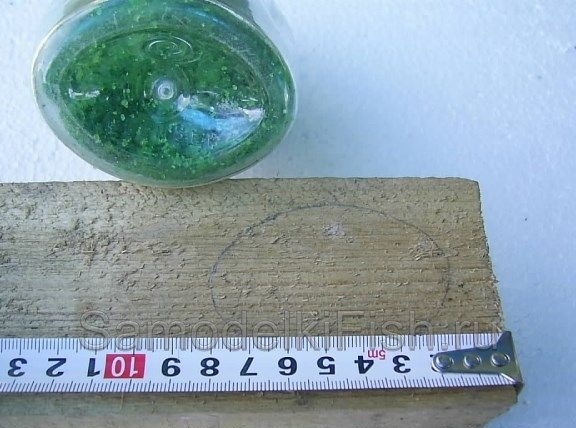
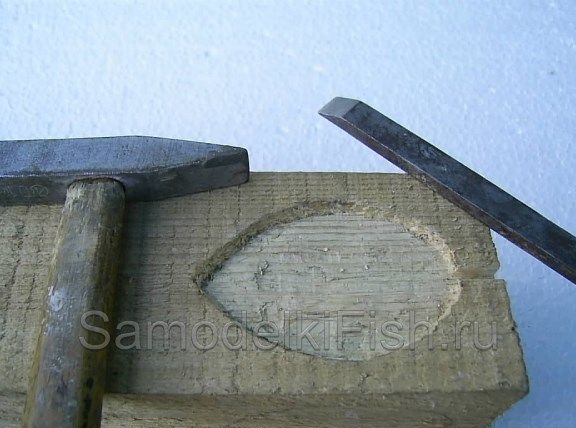
The deeper the form, the heavier the feeder will be, on average it should be about 2-3 mm.
The front of the mold should be pointed. From the wide part, you need to make a groove to install the embedded stud.
Step 2. Making the feeder frame
A steel wire is used to make the skeleton of the feeder, but it must be flexible enough. The diameter of the wire should be within 2-3 mm. Also, copper wire is perfect for these purposes.
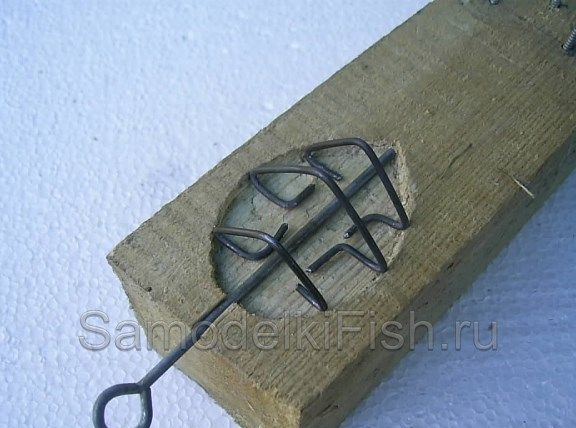
The feeder must have at least 3 arcs, they can be round or with faces. The central arc is the largest, and the two side ones are smaller.
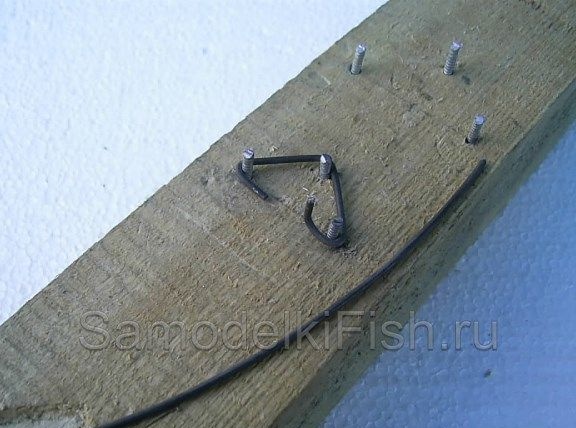
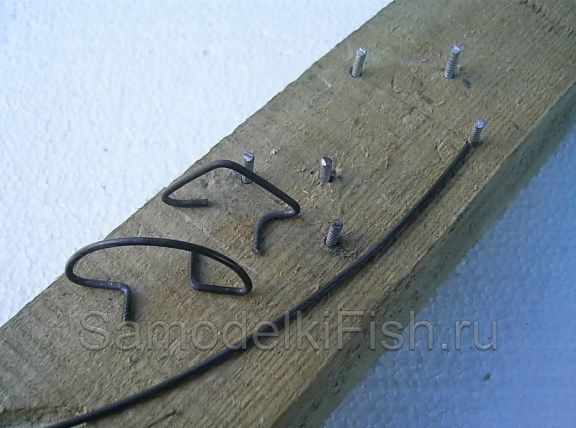
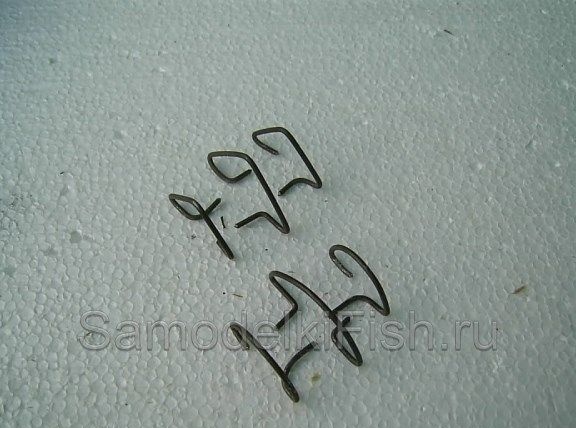
It is best to bend the arcs around the nails, which can also be driven into the bar in which the casting will take place. In order for the arcs themselves to be able to stand in shape, small perpendicular bends are made at their ends.
Step 3. We cast the feeder
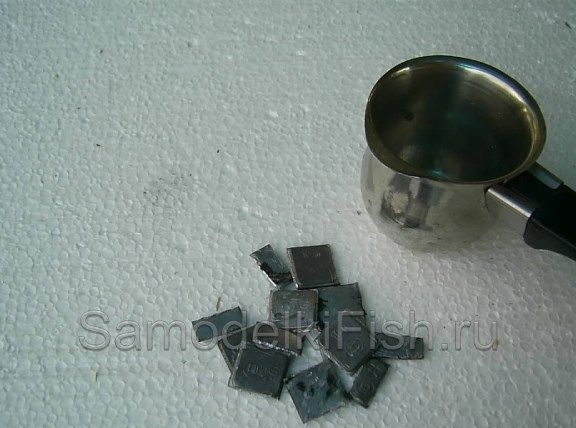
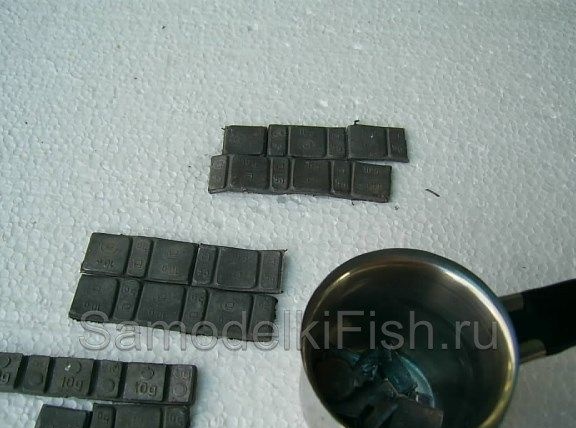
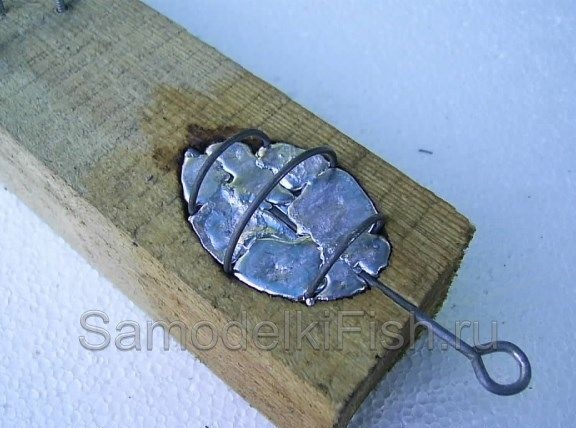
First, the ribs made must be laid in shape. You also need to remember to install a steel stud into the mold. After that, you can begin to fill the mold with molten lead or tin. It is recommended to moisten the wood before pouring, then the form will not burn and it will be enough to make even a single feeder.
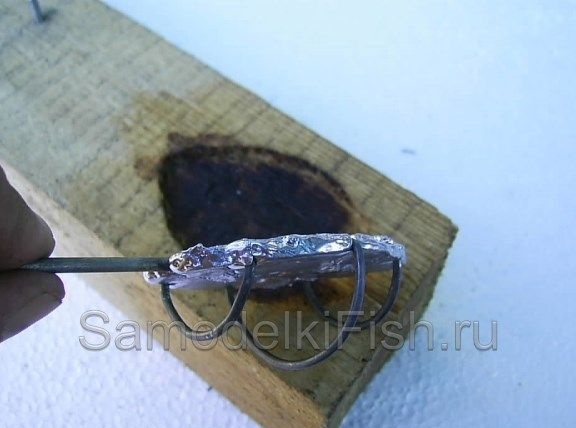
Step 4. The final stage of manufacture
When the metal has cooled, the feeder can be removed. Now you need to work a bit with a file, removing burrs and other defects that form during casting.
Also now, a metal stud can be removed from the feeder. In its place, you need to install a plastic tube, it is needed so that the fishing line does not cut off the feeder. As such tubes, pens from pens, ear sticks and so on are perfect. So that the tube does not fall out of the feeder, it can be smeared with glue. Also, the edges of the tube after installation need to be warmed up (for example, with a lighter) and touch something to form an edge.
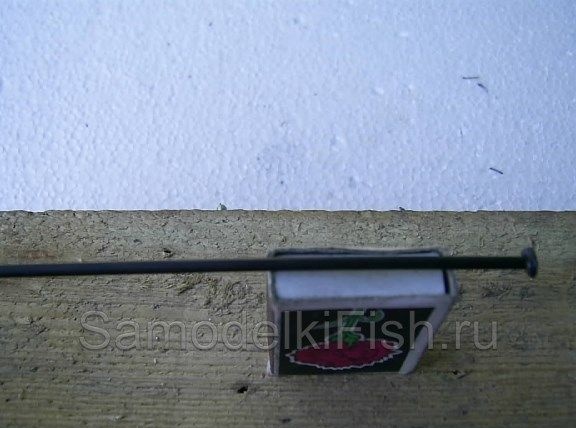
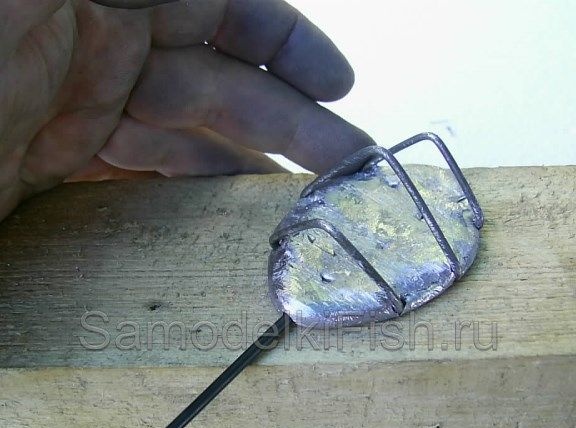
That's all, the feeding trough for strong current fishing is ready. Now, having thrown such tackle, you can not be afraid that the feeder will be taken down from the cherished edge and the fisherman will be left without a trophy.
The independent production of such feeders is good because you can independently choose any weight and volume of future gear.
