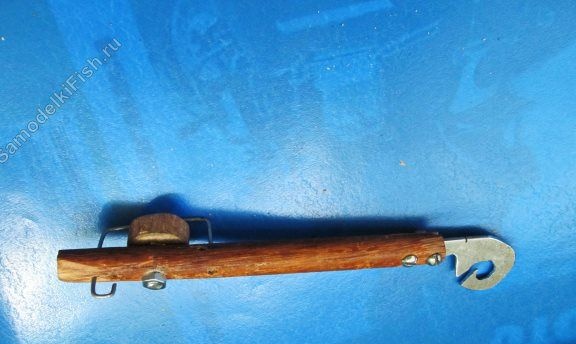
First of all, this device It will be indispensable for people who have poor vision and tying hooks, as well as creating leashes for them, is a real tragedy. Thanks to such a device, you can do these things even with your eyes closed.
Another similar device will be useful for a beginner or for those who are engaged in the production of leashes on a large scale or often tie hooks.
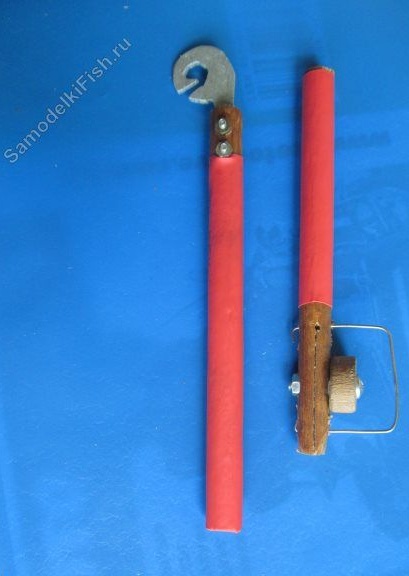
In general, the hook and looper in most cases is one device. That is, on one side of the device there is a mechanism for knitting loops, and on the other side, hooks can be tied. However, the author decided to divide this device into two, since the crochet hook prevented him from knitting loops.
Materials and tools:
- drank iron;
- round stick with a diameter of 1-1.5 cm; -
- M4 screw and nut under it;
- a piece of thin steel wire for the manufacture of staples;
- shrink tubing
- a piece of plastic, metal and any other material for the manufacture of a loop loop.
Hookhook manufacturing process
Step one. Create the foundation
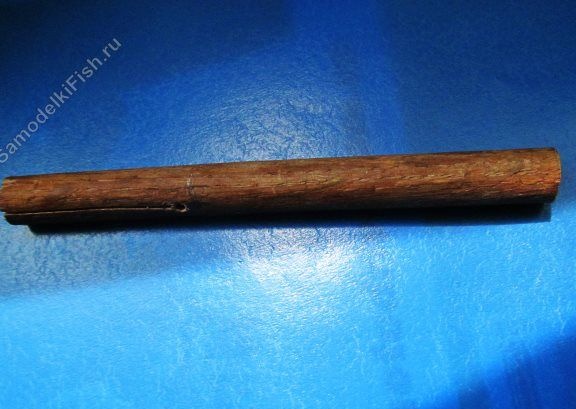
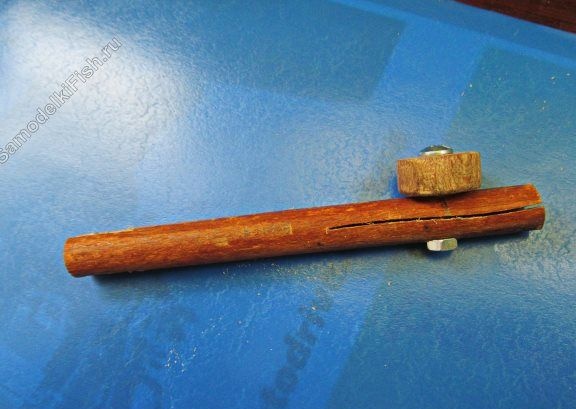
A round stick with a diameter of 1-1.5 cm is used as a handle and the base of a hook knit. You need to cut along it, for this purpose the author uses a metal saw, in which case the cut comes out narrow. Also in the stick you need to drill a hole. Doing it in other ways is not worth it, since the wand can crack and everything will have to be redone.

Step Two We create and install the clamp handle
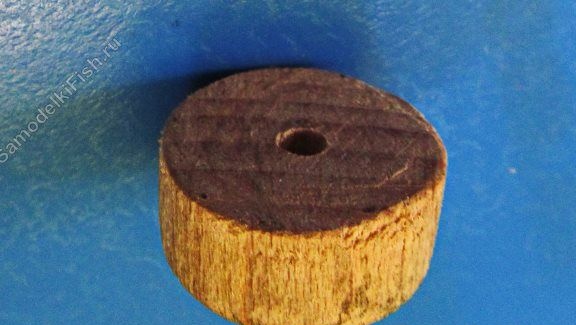
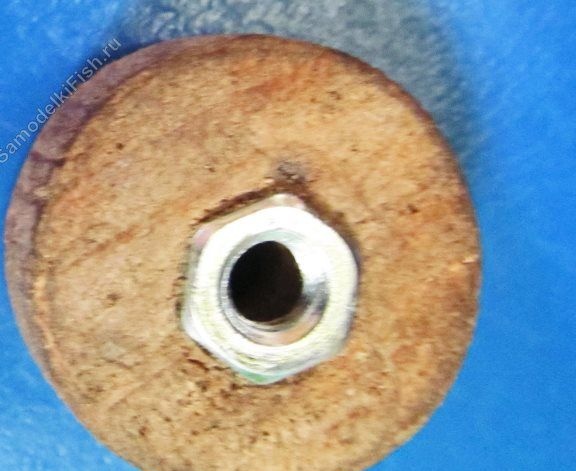
The clamping handle is made again from this stick, on its back you need to cut a piece of about 1 cm and drill a hole in it. Then, on one side, the hole must be drilled and carefully insert the nut under the M4 screw into this hole.
Now a bolt is screwed into the handle, and then the handle is attached to the base with a nut.
Step Three Bracket Installation
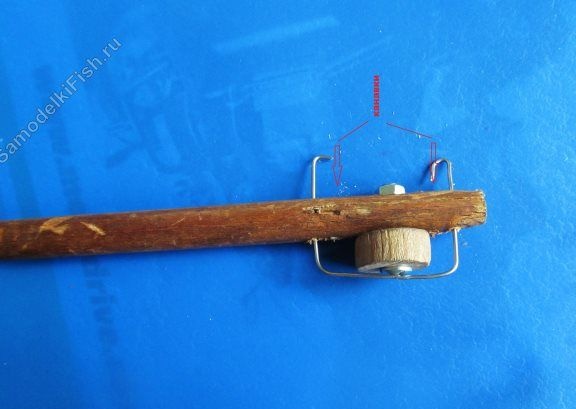
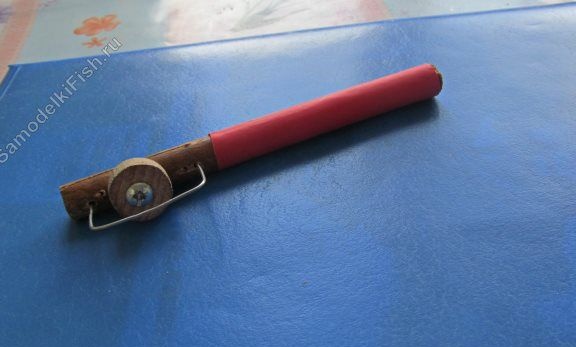
The bracket is made of thin steel wire, for its installation it is necessary to drill two holes in the hook knit. Also at the final stage, a heat-shrink tubing is put on the hook hook to give beauty and convenience to the device.
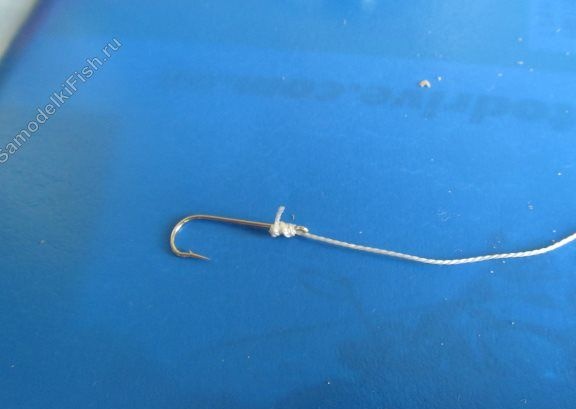
How to hook a hook using a crochet
The hook is inserted into the slot and fixed with the handle.
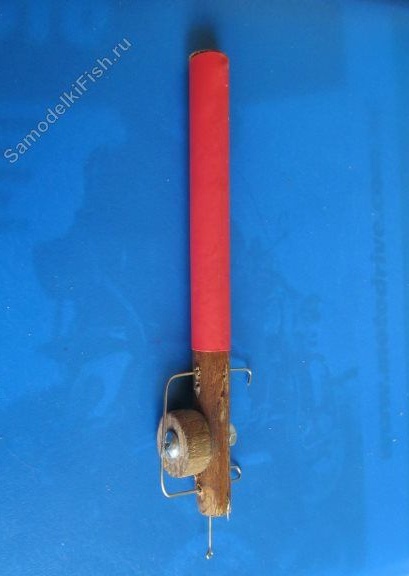
Next, the fishing line is laid, 4-5 turns are made around the hook, and then the fishing line is started behind the bracket.
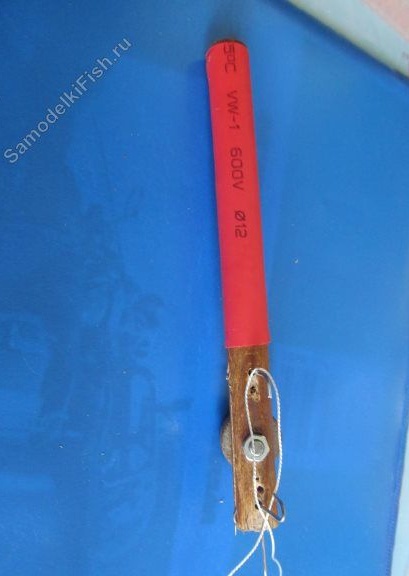
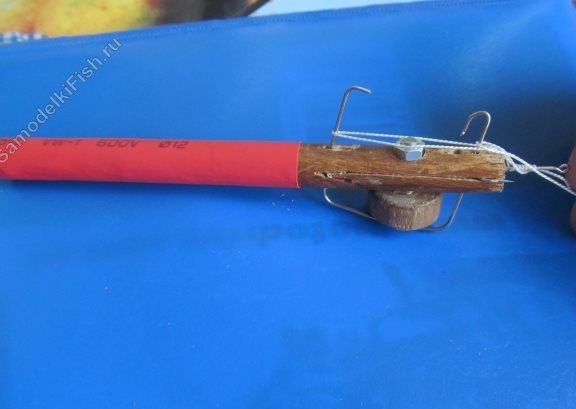
After that, the bracket is recessed with the thumb, the fishing line is stretched and the hook is attached. It remains only to release it by loosening the clamp with a handle.
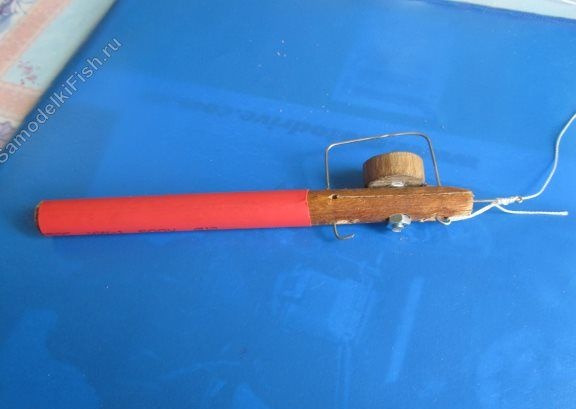
How the looper is made and works
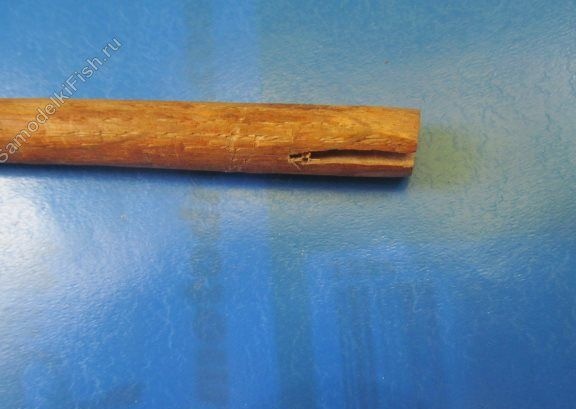
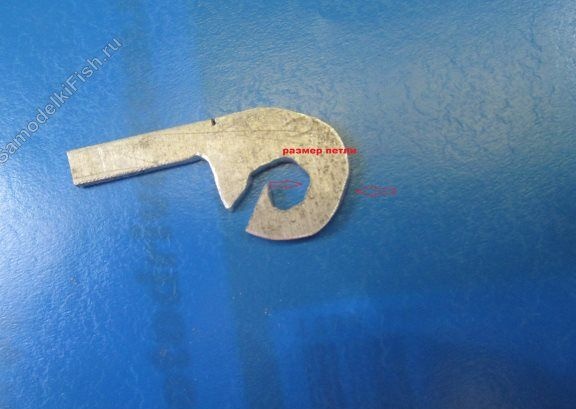
To make a loop loop, just such a piece of stick is used and an incision is made. Then a hook is inserted into this incision, with the help of which the loops subsequently fit. This hook can be made of various materials, it can be a piece of plastic, metal, plywood and so on. The author decided to make such a hook from aluminum.
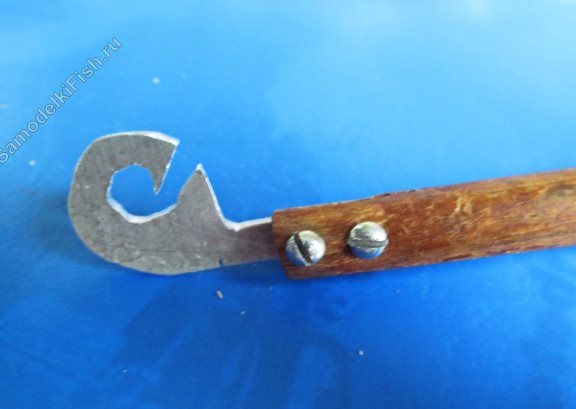
As for the shape of the hook, it should be the same as in the picture. It should also be borne in mind that the final loop size will depend on the size of the hook.
The hook is fastened with two bolts with nuts.
Loop creation
First, the fishing line needs to be folded, while the bend of the fishing line will determine the length of the leash.
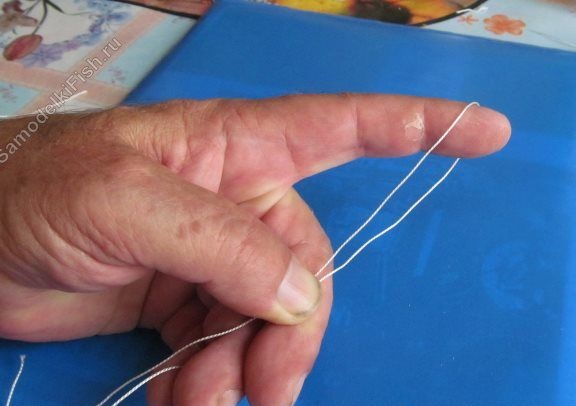
Then the fishing line is wound behind the base of the hook.
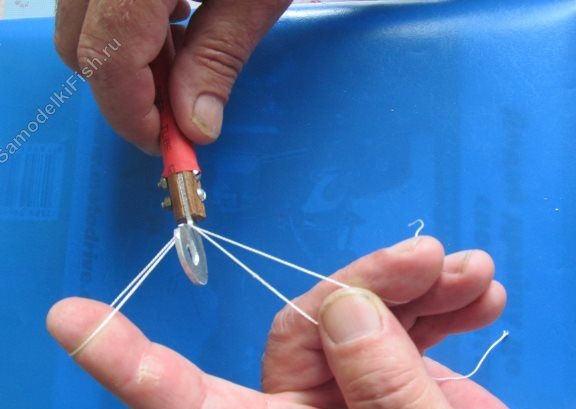
After that, the fishing line needs to be raised and 1 turn is made.
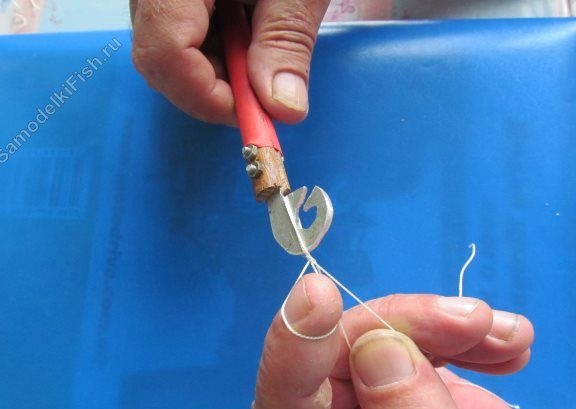
Now the loop starts inside
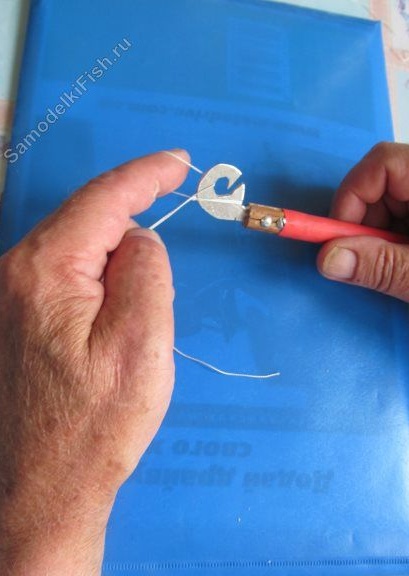
The fishing line needs to be stretched and fixed in this position.
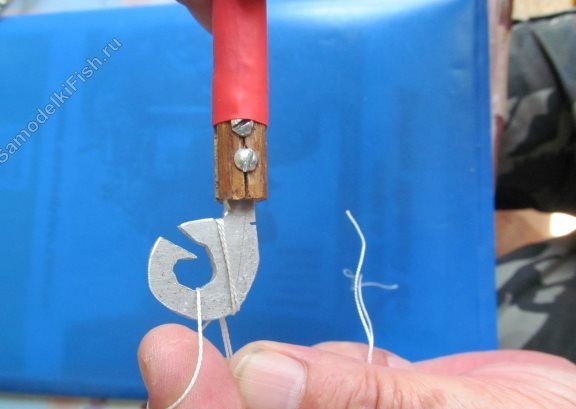
After lowering and holding the fishing line in tension, a loop forms.
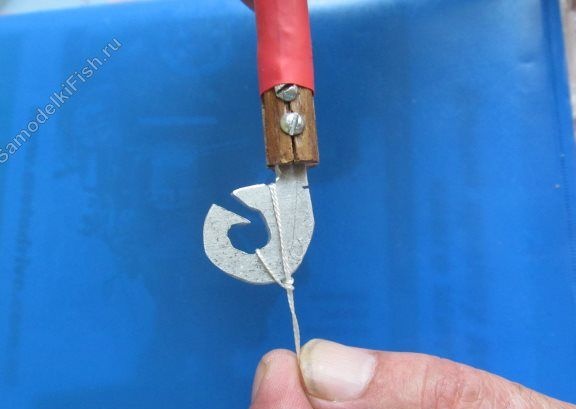
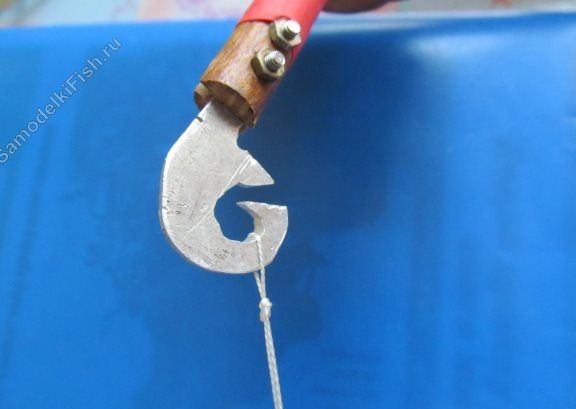
That's all, now the fishing leash is ready.
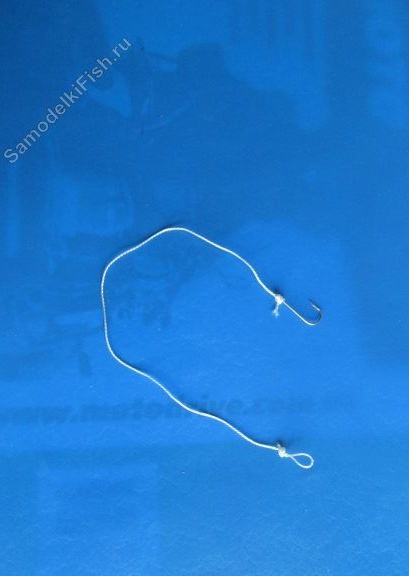
Knitting hooks and loops in this way can seem quite complicated. However, when the hands get used to this device, they will do everything themselves, mechanically, and even this process can be ignored by the eyes.
