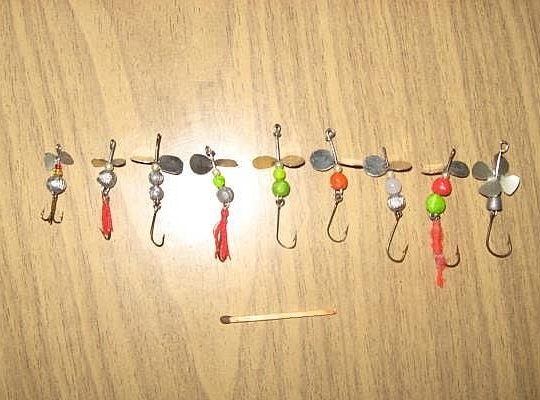
The main task that the author of the homemade set himself was to make the tackle smaller and lighter. Thanks to this, it will become possible to catch such fish as roach, rudd or even bleak. In addition, the independent manufacture of turbines allows you to independently choose the bending of the blades, color, weight and so on.
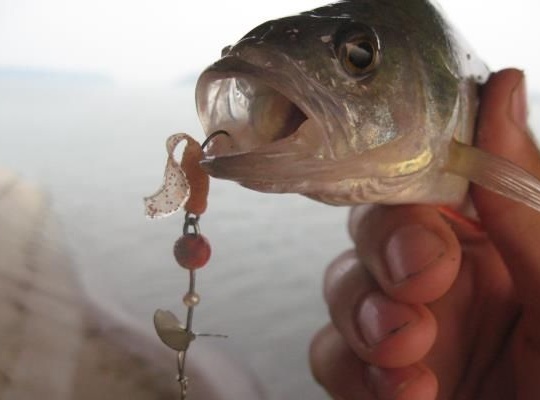
What is the axis of the bait made of?
A wire of suitable diameter is used as the axis. The smaller the bait and the lighter it will be, the smaller the diameter of the wire you need to use. The average wire thickness is 0.6 mm.
Propeller
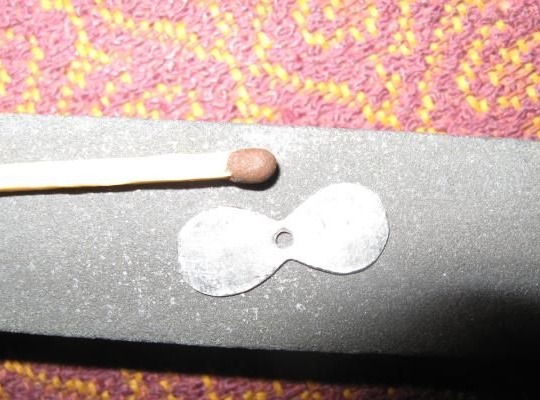
For the manufacture of the propeller, sheet metal with a thickness of about 0.3-0.5 mm is selected. As for the type of metal, it can be galvanized or tin. Metal from cans is best suited, moreover, it is the most affordable material. Metal from coffee cans or similar products is best suited, as compared to canned metal, it is thinner.
Bait loading
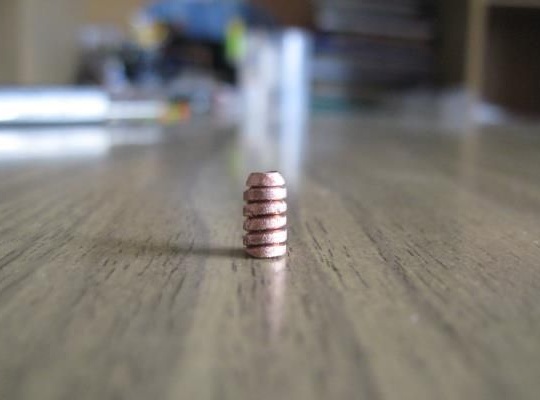
In this regard, you can experiment. For loading, you can use bead balls, copper wire, olives for floaters, a piece of a bolt with a hole drilled along it, and so on. Of course, it is best that the cargo also has an original shape and color, this will be an additional factor to attract the attention of fish.
What to make a bearing
The bisser is great as a bearing; it can be bought at special fishing stores. Also for these purposes a biser from ordinary beads is suitable.
Materials and Tools
- hooks (single, doubles, tees, depending on the size of the bait);
- scissors for metal;
- a piece of sheet metal;
- drill;
- file;
- bisser;
- pliers;
- a piece of wire;
- weight;
- threads and other trifles for additional equipment.
Manufacturing process
Step one. Cut out the contour
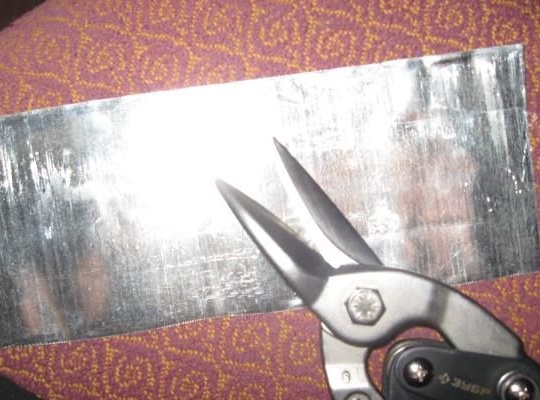
First, a piece of sheet metal is taken and the contour of the future screw is cut. It is best to draw a propeller on the metal in advance, so that later it is easier to cut it. But the author initially just cuts a piece of metal of a quadrangular shape.
Step Two Drill
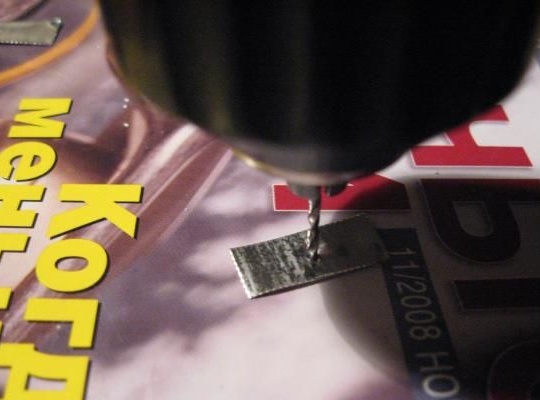
The hole should be drilled in the center of the future propeller. The important point here is the diameter. The hole should not be more than twice the diameter of the axis of the gear.

Step Three Modify the screw
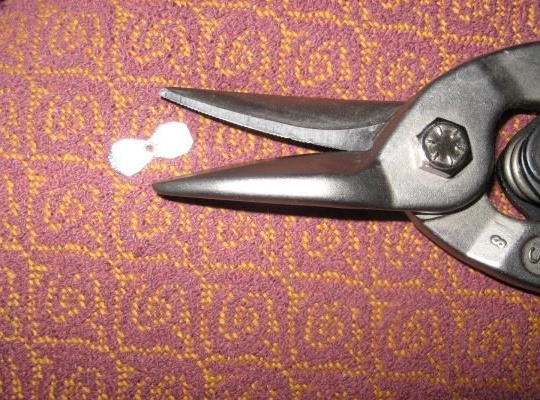
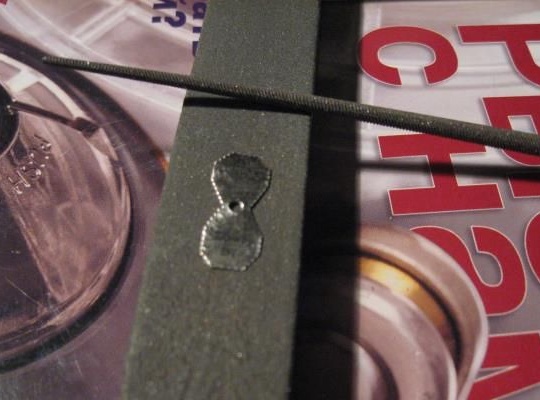
Now, with the help of scissors for metal, you can cut the contour of the screw. When this is done, you can begin to finalize the propeller. With the help of a file or a grindstone, you need to grind out all the bumps and achieve smooth shapes.
Step Four Gear assembly
The assembly of the bait begins with the installation of the hook on the wire. To fix the hook, you need to form a loop and then make a twist.
At the next stage of assembly, the load is installed. If it is sliding, it is put on a wire. If this is just a pellet, then it needs to be crimped directly to twist.
After installing the sinker, a bisser is put on the wire. First, the largest beads, and to the front of the bait smaller.
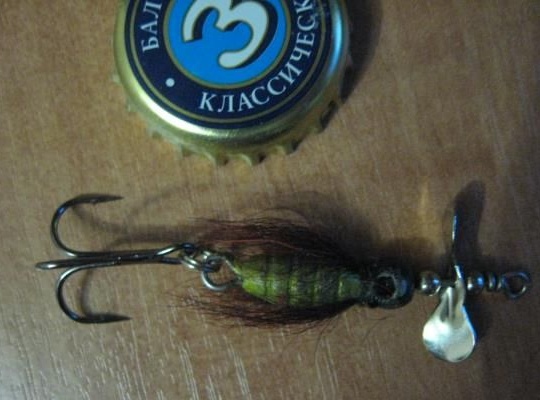
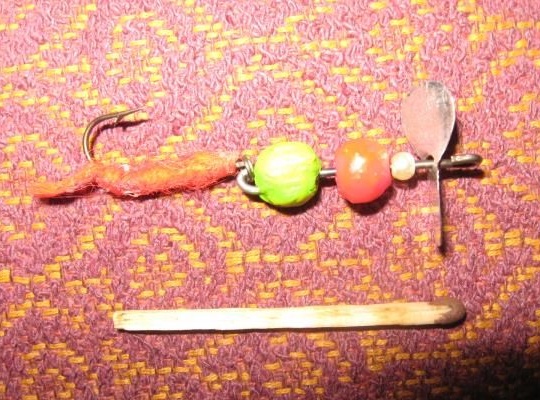
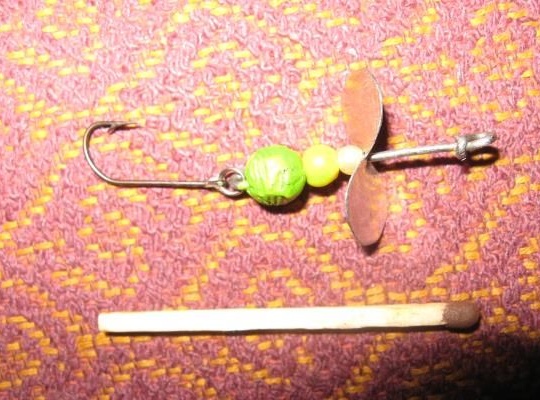
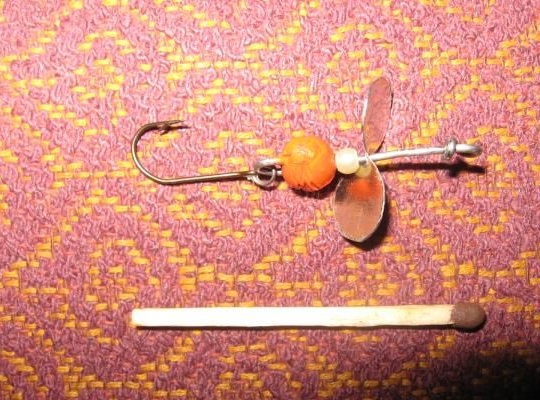
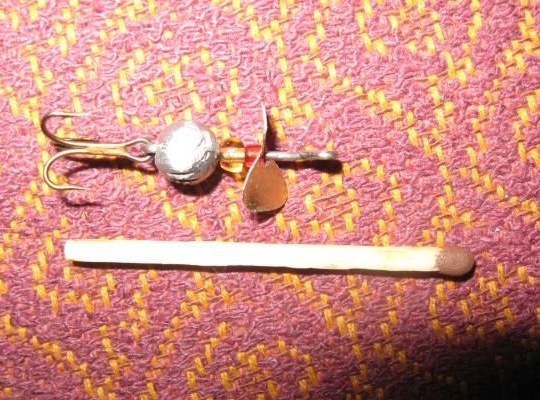
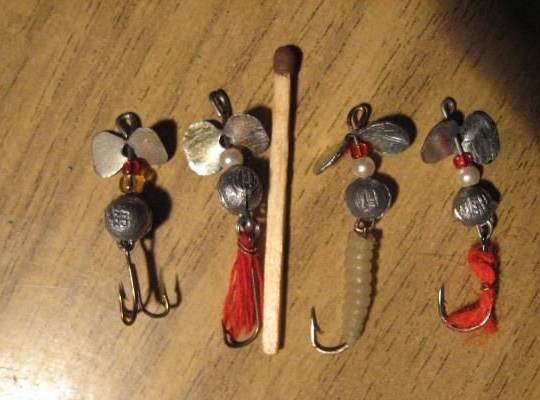
Now the most difficult and important point remains - adjusting the angle of attack of the screw. If the angle is set correctly, the propeller will start during wiring almost instantly. The optimum angle of the propeller is considered an angle of 45 degrees. But in order to optimally adjust the screw, it must be adjusted. To adjust the tackle, you can slightly drag around the bathroom and find the optimal angle for the propeller blades.
That's all, the bait is almost ready. Now you can paint the weights and the bisser in bright colors, and you can tie a couple of threads to the hook, making a tail, or put on a small silicone bait.
When wiring, the blades of the gear will rotate, emitting vibrations. This noise attracts fish. You can catch almost any kind of fish on such a bait, starting from predators such as perch, and ending with roach or bleak.
