
The article will consider the option of manufacturing a miniature thermos stove. The choice fell on the thermos because it is made of stainless steel, which is very durable and can withstand high temperatures, as it does not oxidize when heated. Among other things, such a furnace will be "turbinized", that is, it has a special electric supercharger, thanks to which the fuel will burn much more intensively. An electric fan is used as such a supercharger.
Materials and tools:
- drill and drill;
- stainless steel thermos;
- aluminum plates;
- a small fan;
- nipple;
- thermoelectric cooler;
- Schottky diode;
- Surgu;
- aluminium case.
Manufacturing process
Step one. Drilling holes
The plate making process begins with some changes to the thermos. First of all, it will be necessary to drill a series of holes in the upper and lower parts. When drilling holes, they should not exit from the outside walls.
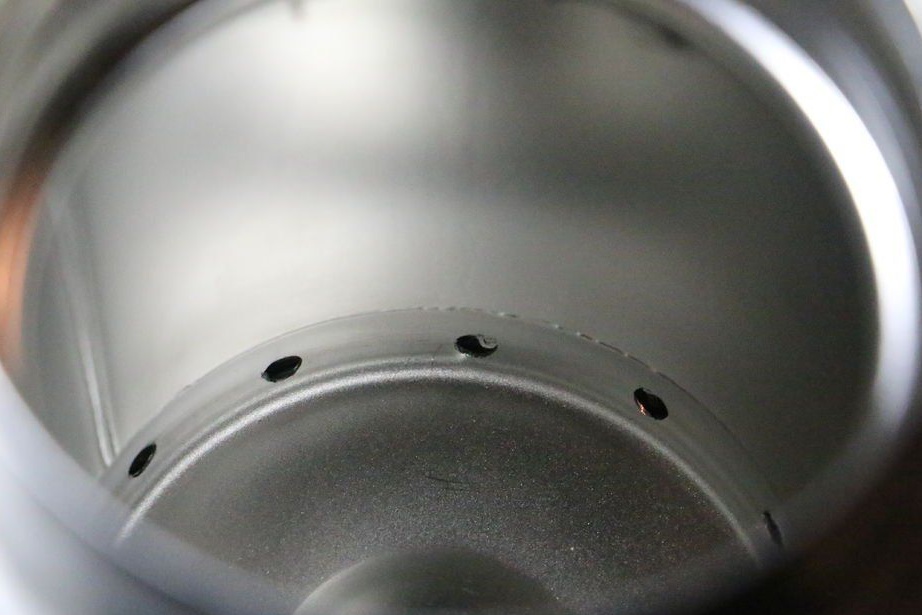
The principle of operation of such a device is that air will be pumped through the lower holes, and already hot gas will come out of the upper holes, which is the main source of heat.
To drill holes in the lower part, you need to step back 3/4 from the bottom of the thermos; drilling is carried out with a drill with a diameter of 9 mm. The larger the thermos, the larger the diameter of the holes. An important point here is the arrangement of the holes. All of them should be at the same distance from each other. To drill them correctly, first you can drill only one, and then mark the places for other holes with a marker and a centimeter tape.
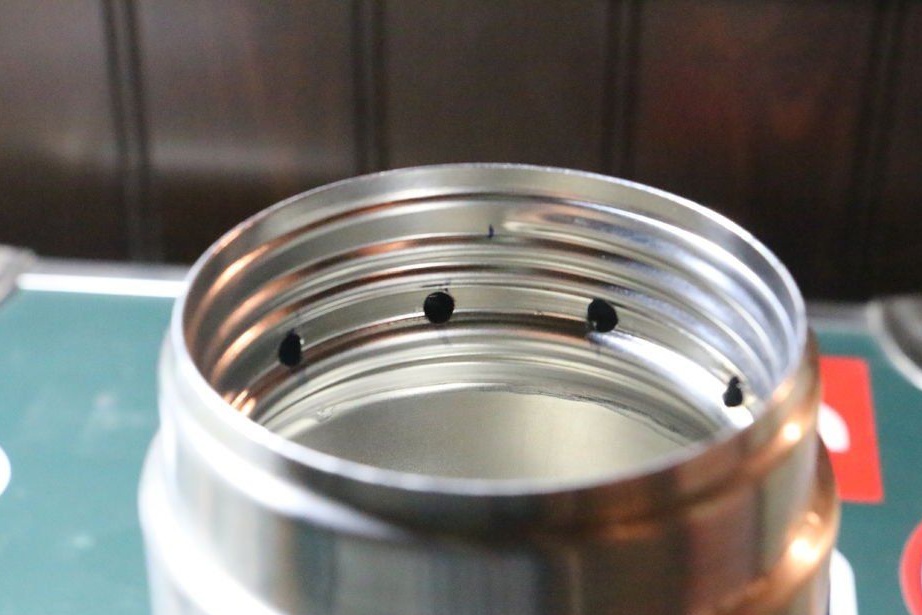
The diameter of the holes in the upper part should be half as much as in the lower part. In this case, they were drilled with a drill at 4.5. Due to the small diameter, the flow rate of hot gases will increase.
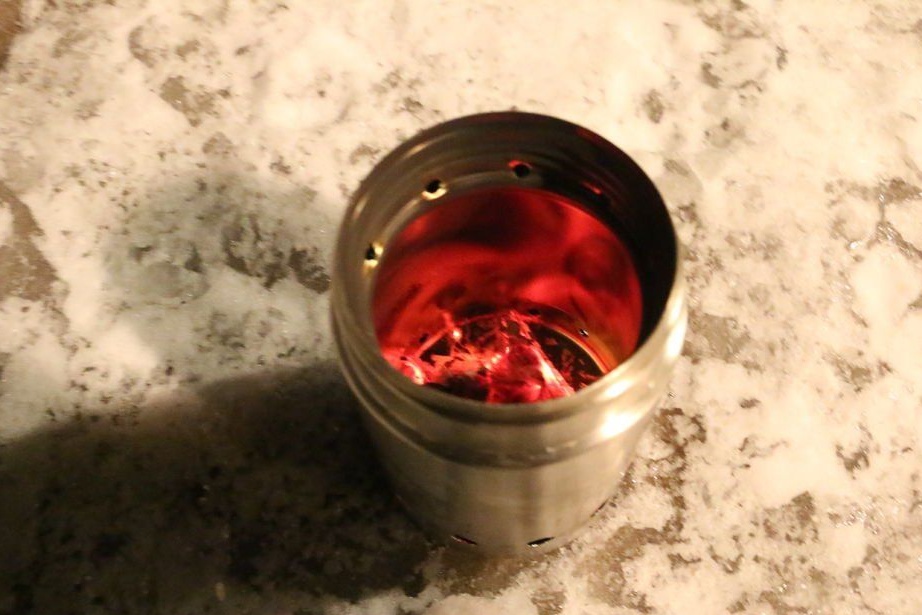
Second step. Preliminary testing
In an almost ready oven, you need to throw pieces of paper and set it on fire.In this case, the fuel should burn completely and quite actively. If so, then everything is done right.
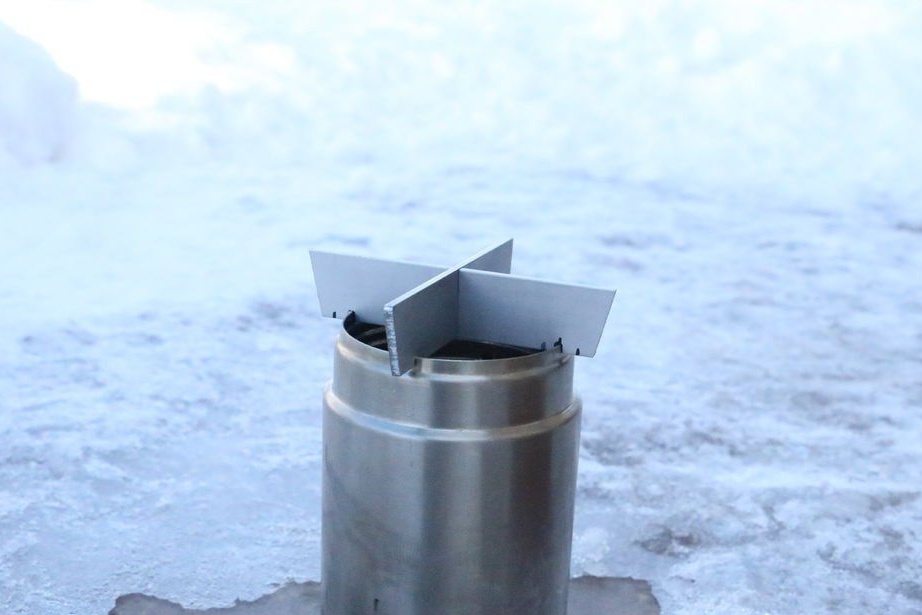
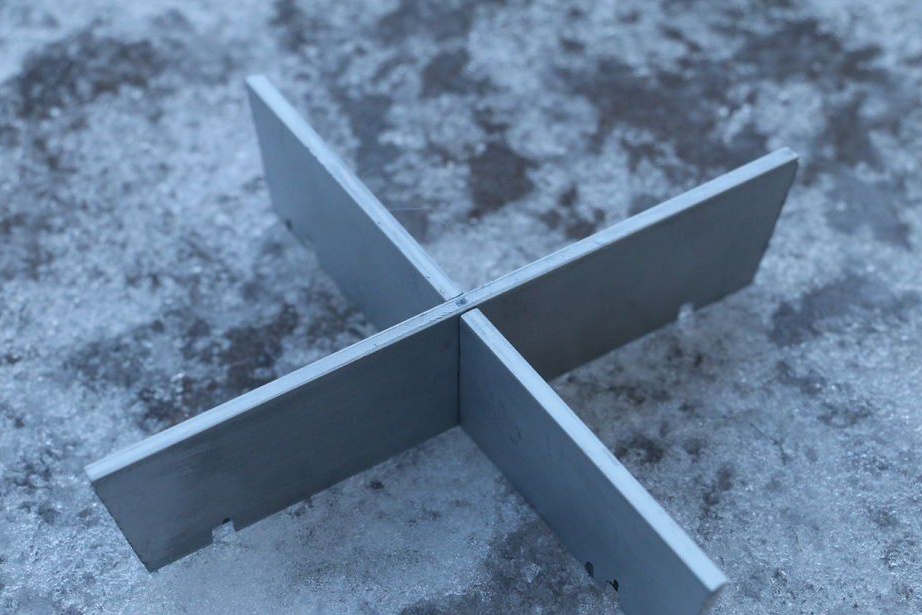
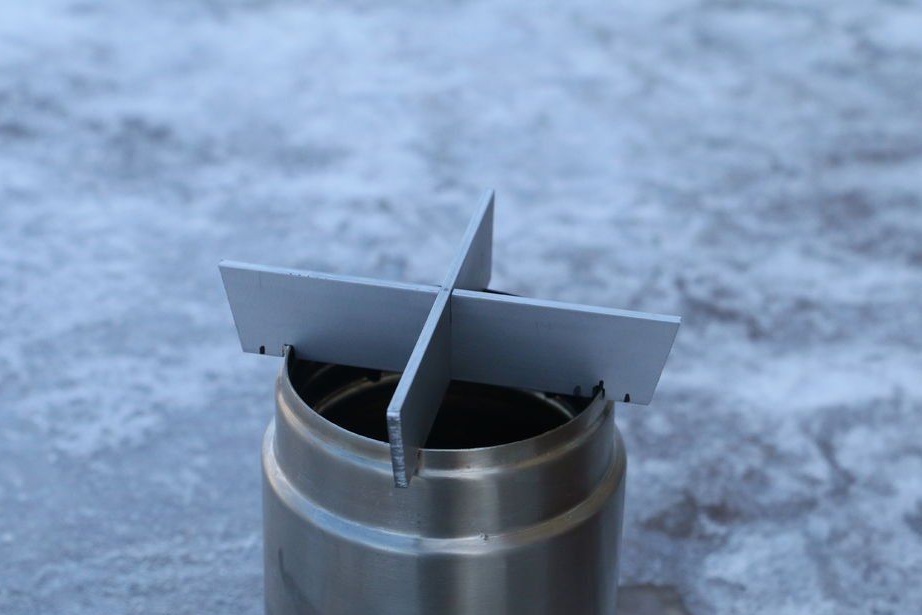
Third step. Create a stand for containers
Thanks to this element, it will be possible to put bowls, pans and so on on the stove. This item is made of two aluminum plates. A crosshair is made of them, and then it is installed in the slots prepared in the thermos.
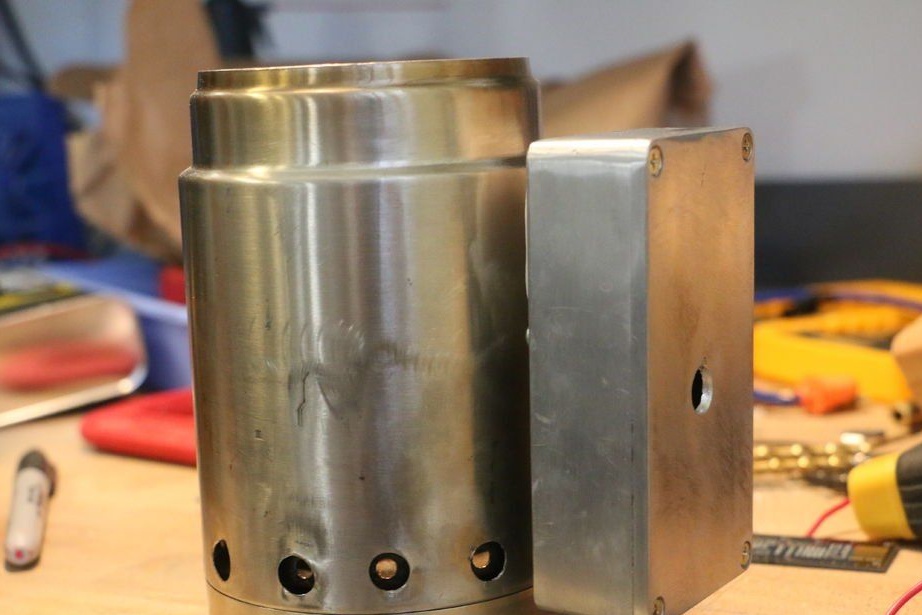
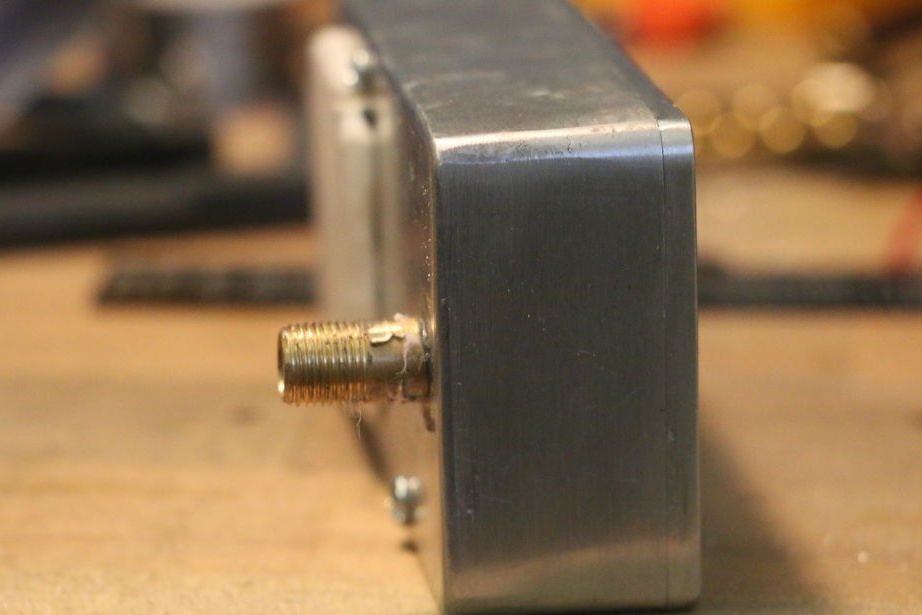
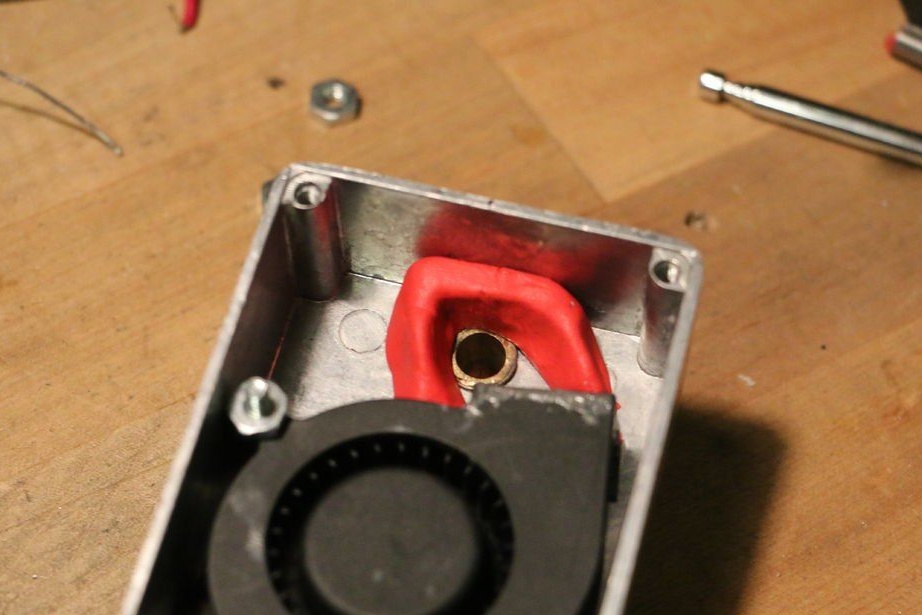
Step Four Supercharged tiles
Thanks to this component, the efficiency of the tile will significantly increase. To install the fan in the aluminum case, two holes are made, from them the fan wires will be output. You also need to drill another hole for the copper nipple, it is thanks to him that the whole system will be connected to the tile. Also, do not forget to install cooling modules on the fan. Then all the components inside the case are fixed with Surgu paste. To completely freeze it, you need to wait a day.
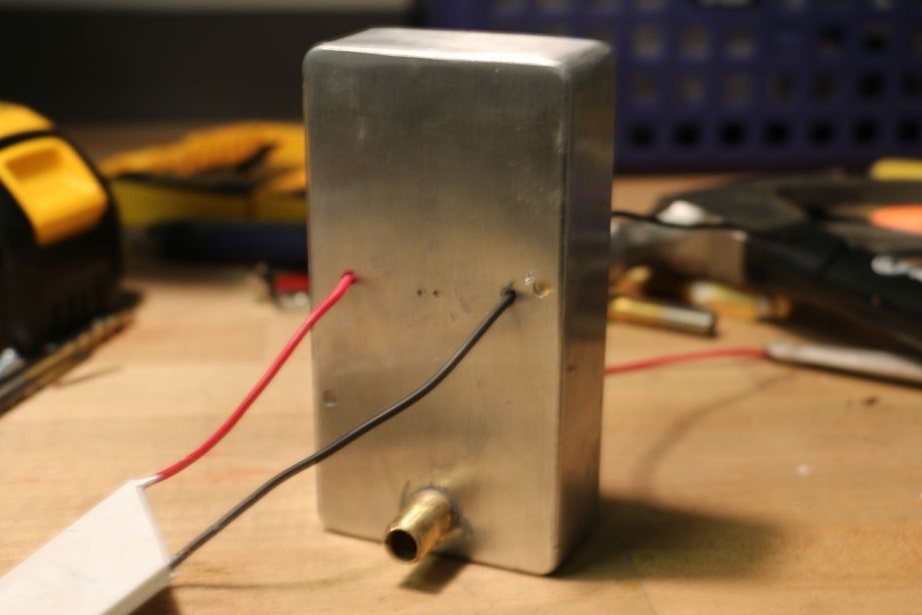
When the paste hardens, the discharge device can be connected to the tile. The power source may be batteries, a car battery, and other energy sources. In the field, such a mini-tile brings one liter of water to a boil in 5-6 minutes.
If necessary, the tile can be equipped with a wider base. Thanks to this, it will become more stable and you can not be afraid that the tile with the ear will tip over.