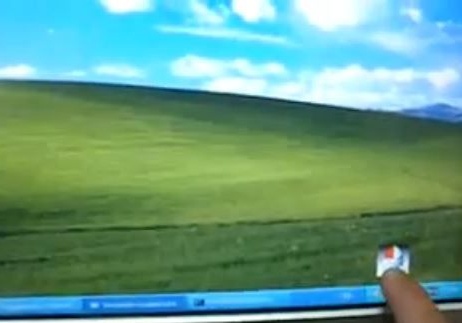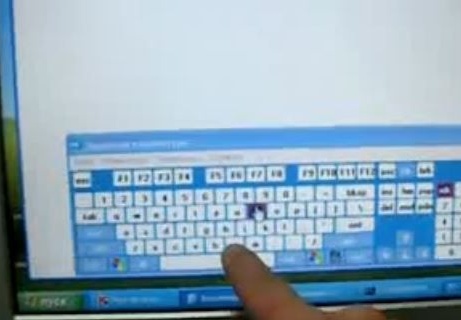
Using a conventional monitor on their computer, many people have a desire to do some actions on the screen by hand, without using the mouse, i.e., to make the monitor screen touch.
In another computer homemade we will fulfill this desire.
To make a touch monitor, we need:
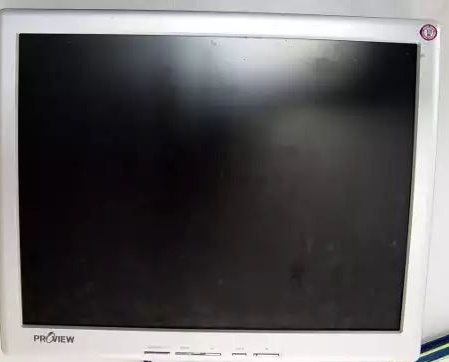
- the monitor itself;
- a suitable-sized touch glass (touchscreen);
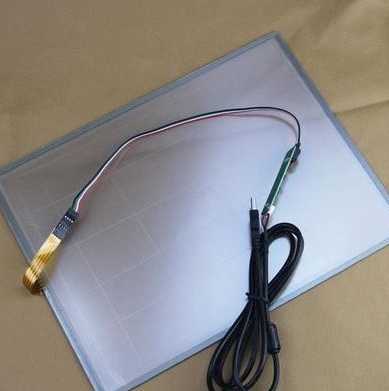
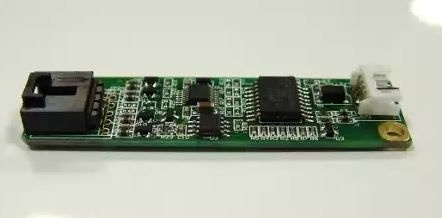
- USB controller for touchscreen;
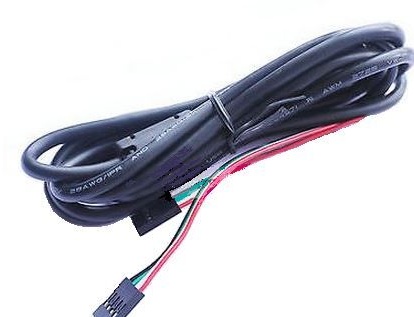
- USB cable;
- screwdriver;
- double-sided tape (about 0.2 mm thick);
- electrical tape.
Let's get started.
As always, in order to make something out of something, you need to take it apart.

We unscrew all the bolts fastening the monitor body.
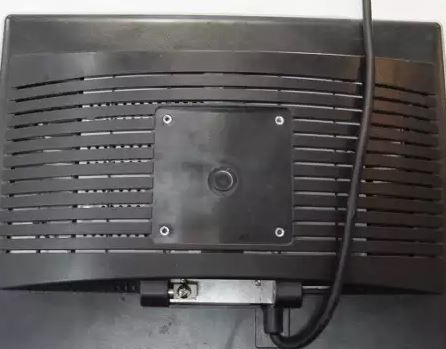
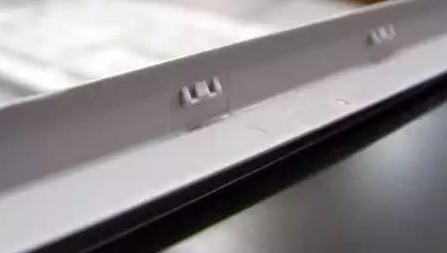
In this case, after the elimination of all the bolts, the Proview monitor case does not break up, but this phenomenon is inherent in many modern technology, as it came up with ingenious latches.
The provided latches, with a screwdriver, must be carefully snapped off so as not to spoil or break off a part of the case.
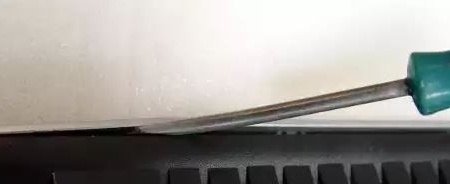
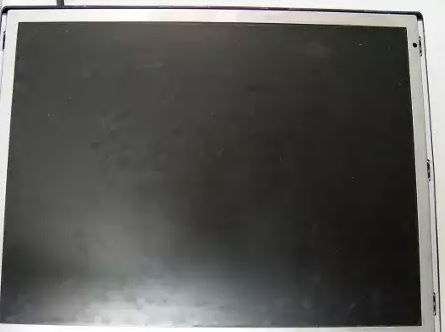
So the front cover is removed, we see the screen, clad in a metal frame (matrix).
Next, we need to find a place to place the USB controller.
The USB controller plays a very important role, since a sensor without it will simply not work.
To do this, remove the monitor matrix from the rest of the case.
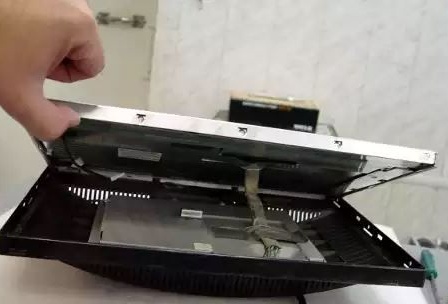
It turns out that there is plenty of space here.
We find a more convenient place to place it.
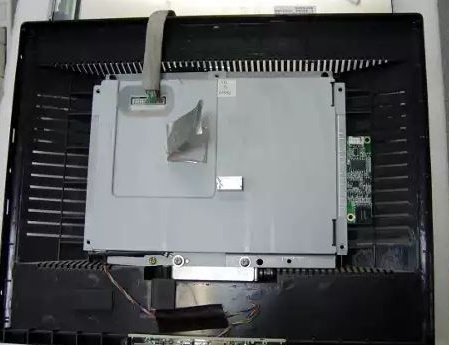
The controller is not large and easily located in any suitable place.

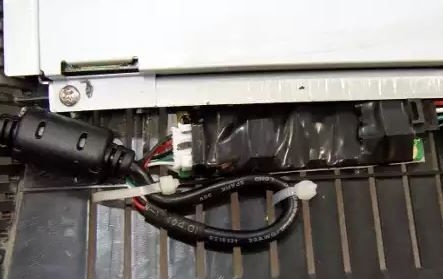
When a place for the controller is found, it must be insulated. Here the insulation is made with electrical tape.
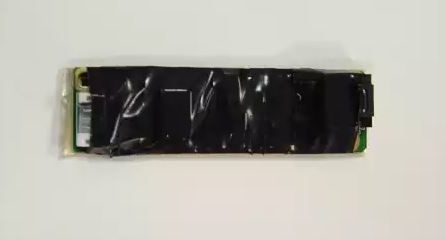
Then we glue two side adhesive tape to it, it will be quite enough for reliable fastening of the USB controller.
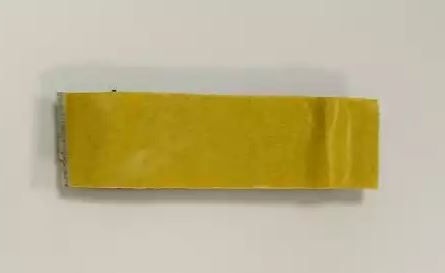
The next step will be to mark it at the selected location.
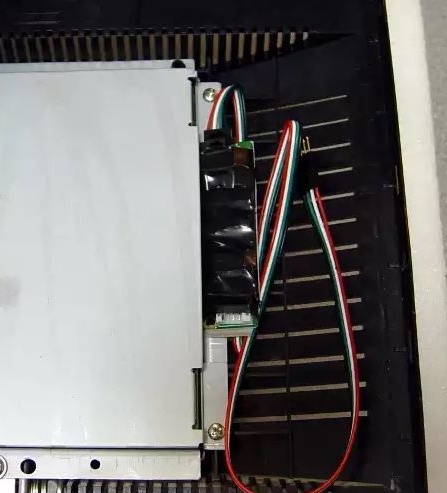
We place the controller so that it does not interfere with the matrix installation.
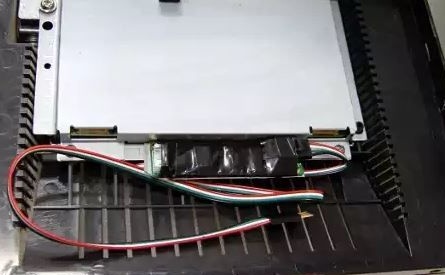
We make a hole in the case, in any way possible, in this case the ribs intended for ventilation of the monitor were removed.
A hole is required to pass the USB cable.
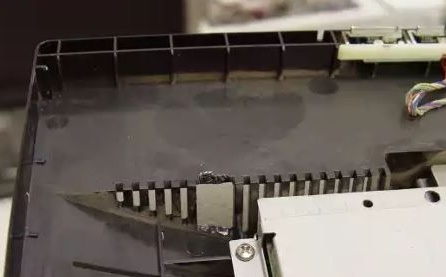
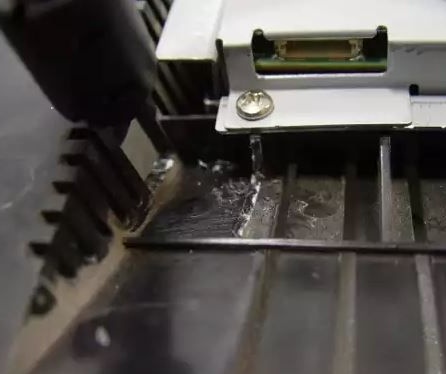
We put the cable in the hole made.
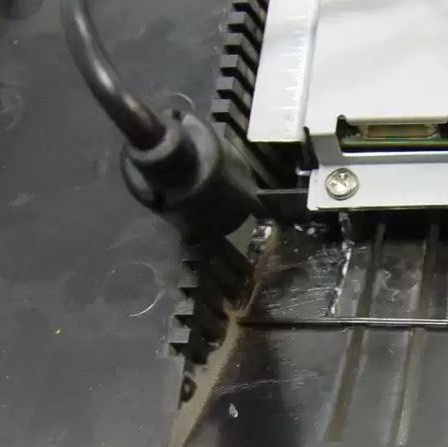
We securely fasten the cable with plastic ties, this is easily done by the ventilation holes and is necessary to avoid pulling out the cable, as well as damage to the USB controller.
It's time for the installation of touch glass (touchscreen).
Before installation, it is necessary to thoroughly clean the matrix from dust, any stains, etc., since the touchscreen will be on top of the screen and all dirt will remain. and there will be no access to them (after all, no one needs a screen with eternal spots).
After cleaning, we try not to touch the screen anymore and glue the prepared double-sided tape (about 0.2 mm thick) as shown in the photo.
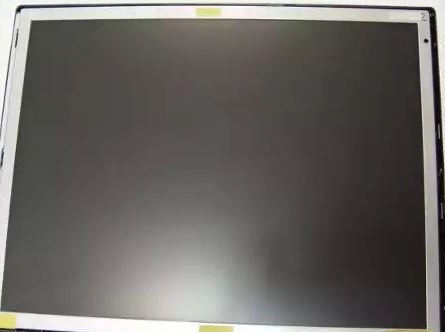
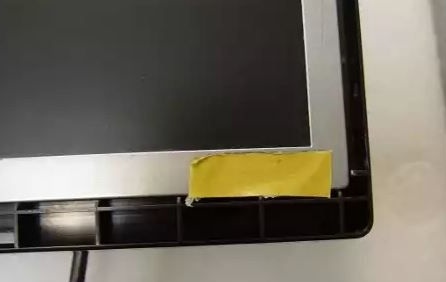
On double-sided tape, evenly, glue the existing touchscreen.
Adhesive tape can of course be glued, along the perimeter of the frame, with a continuous strip, but if you need to remove the sensor, it will be very difficult to tear it off.
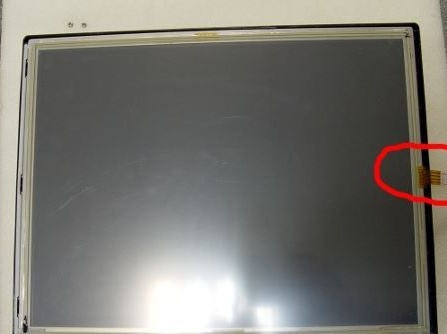
Proceed to connect the touch glass to the USB controller.
First, remove the mounting rail located on the matrix and bend around the touchscreen loop around (the loop is highlighted in red in the previous photo).
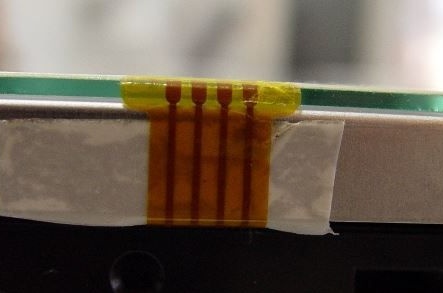
Now we return the rail to its place and connect the cable to the connector of the USB controller.
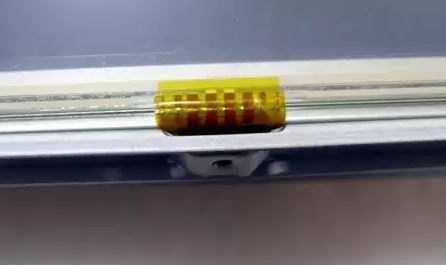
Of course, it’s a great success that the location of the cable on this touchscreen and the design data of this monitor coincided so exactly and the cable went into the notch of the mounting rail.
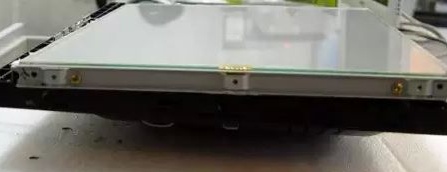
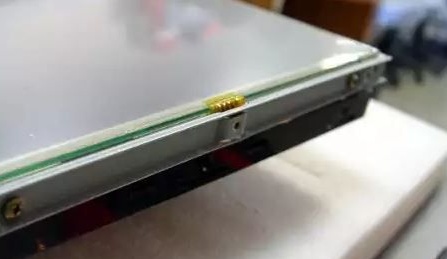
Before final assembly. turn on and check whether the monitor works as well as before disassembling.
In principle, the main part of the work is completed and therefore you can immediately check the touch controls.
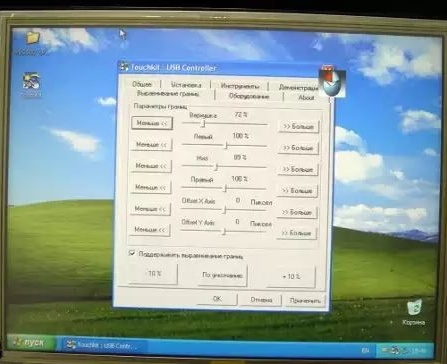
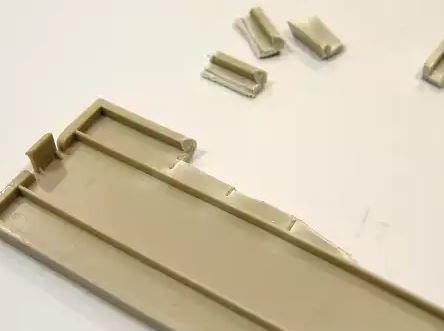
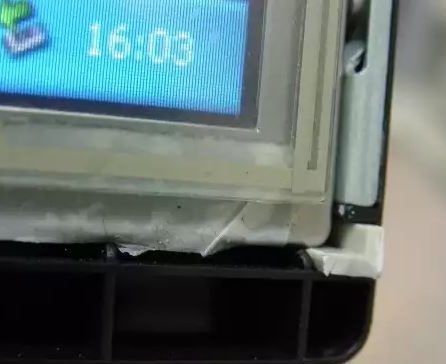
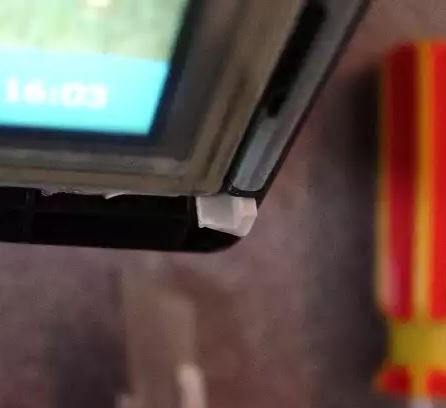
The front panel of the case usually fits the monitor screen itself and therefore will put pressure on the touchscreen, which will interfere with calibration.
The task is to make sure that this does not happen.
We finish the assembly and you can throw the mouse.
