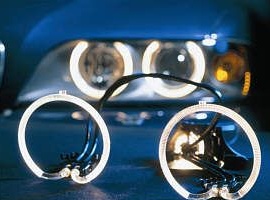
Almost anyone today who doesn’t even know cars knows no problem cars BMW brands by their headlights. Such headlights are called "angel eyes" because of their unique glow. Thanks to them, the car looks solid, serious and aggressive. Many car owners would like their cars to be equipped with such headlights, but their cost is sky-high for many. One of the authors of motorists was offered the option of how to make such headlights at minimal cost.
This will be especially true for owners of those cars that have round headlights. For example, these are the most common cars in Russia - Lada classic models, this is VAZ 2101-2106. Starting with 2103, such headlights cost as much as 4, and all of them can turn into "angelic" ones.
Materials and tools for manufacturing:
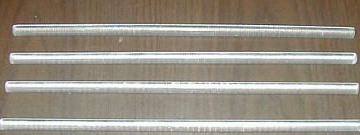
- a transparent plastic rod is not hollow inside (the base of the eye);
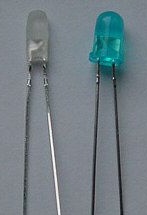
- LEDs (color can be selected, only 4 pieces);
- a tin can (or other object to create the shape of the eye);
- wiring, electrical tape, connectors, resistors of 220 Ohms;
- soldering iron with solder;
- pliers;
- drill with drills;
- building hair dryer;
- file;
- nippers.
Manufacturing process
Step one. Foundation creation
As a basis, a transparent plastic rod is used, which can be bought at construction stores. They are used in blinds and constructions for fastening curtains. If the surface of the rod is embossed, this is very good, since in this case the light will be better scattered, and the eyes will glow brighter. You need to make a round shape from the rod, for this you first need to do some calculations. First of all, you need to measure what diameter the headlight is. Further, the resulting figure is multiplied by the famous 3.14, so you can find out how many centimeters a segment should be. Only then can the rod be cut.
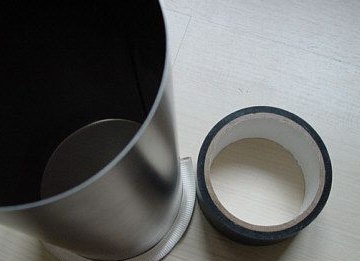
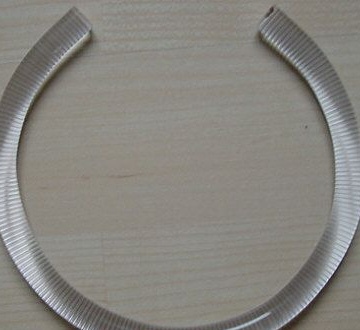
Now the core needs to be bent, for this some form is needed, the author used a wide tin can. To bend plastic, you first need to heat it up, this is done with a building hair dryer. It is also desirable to warm the form. If there is no hairdryer, then the rod can be heated in boiling water, 100 degrees is enough to give it flexibility.
The rod must be held around the mold for several seconds until the material cools down. That's all, the main part of the work is done.
Step Two LED installation
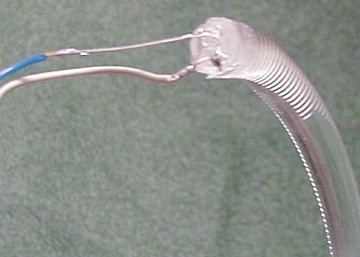
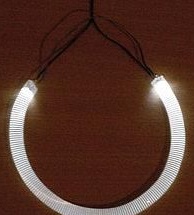
To install the LEDs, holes of a suitable diameter are drilled at the ends of the rods.Now an epoxy resin or other transparent glue is taken and the LEDs are installed in the holes. It is better to solder the wires to the contacts in advance, since subsequently this can cause difficulties.
Step Three Making cuts
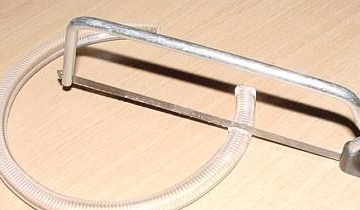
In order to get the necessary effect during the glow, cuts should be made on the rod. This is done with a metal saw. No need to make them too deep. The total number of cuts should be at least 20 and all of them should be at an equal distance from each other and be equal to the depth. Otherwise, the light during the glow will be uneven. Me the angle of the cuts and the location, you can upholstered with the necessary light effect.
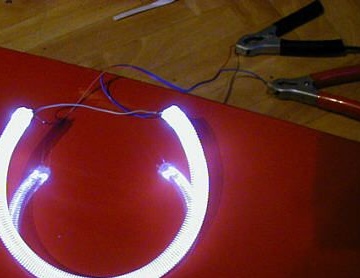
Step Four Workpiece Installation
Now it remains to install the workpiece and connect. First you need to remove the glass from the headlight, how to do it depends on the brand of car. The workpiece is glued with epoxy directly to the reflector. In this case, the rod with the headlight turned off will not even be visible, which is good when passing the inspection, as there will be no unnecessary questions.
LEDs are connected through resistors to the marker lamps.

That's all, the upgrade is complete. Now, after turning on the parking lights, the "angel eyes" will automatically turn on. However, for these purposes, you can create a separate switch. Such a car will clearly not be left without attention.
