In each house there is a place where I would like to have a beautiful backlight. In one of the previous materials, we presented to your attention a method for manufacturing a light sensor, which included something depending on the level of lighting. This sensor can be used to make stand-alone light or backlight.
We suggest starting with watching the author’s video
So we need:
- the solar panel;
- light sensor;
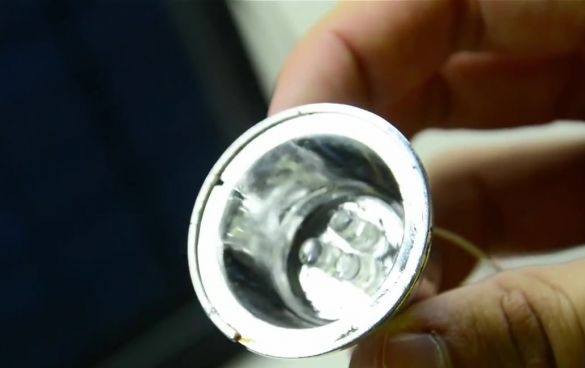
- LED bulbs;
- wires;
- a piece of sticky sponge.
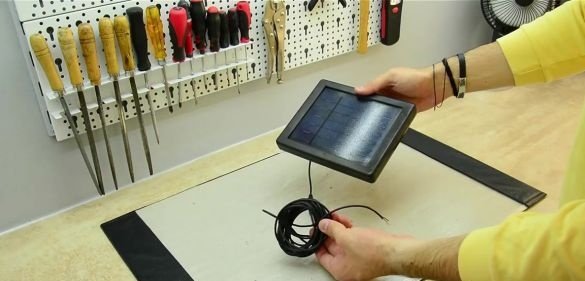
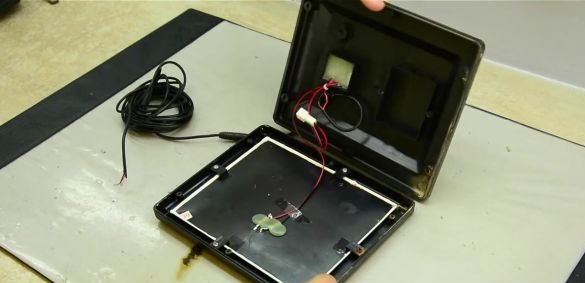
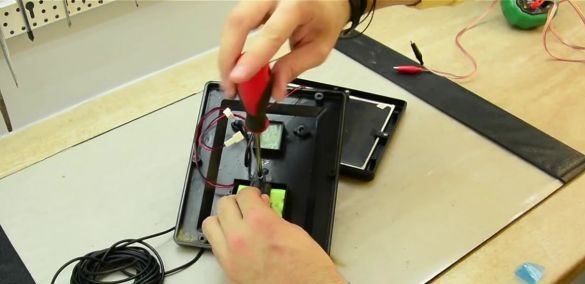
We disassemble the solar panel. In addition to the panel itself, there is a microcircuit in the case, from which two wires come out. It disconnects the battery from the panel when the latter does not have enough light to charge the battery.
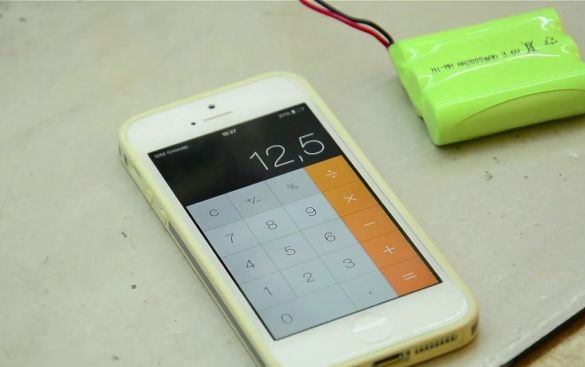
Let's start with a little count. The author uses a 2000 mAh battery. Under the sun, the panel produces 160 mAh. The battery capacity is divided by the charge of the panel in the sun. So we get a watch for which the battery will be fully charged.
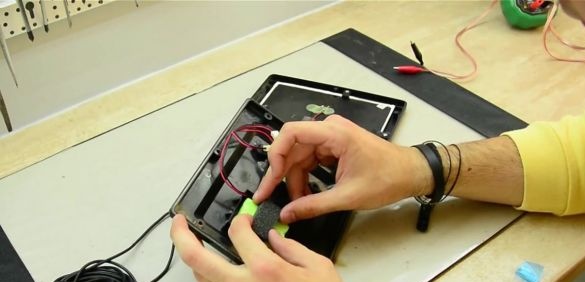
Glue a piece of sticky sponge, glue it to the battery and fix it in the solar panel housing.
Thus, a design is obtained that constantly outputs approximately 3 volts. But we need the backlight to turn on only when it is dark. This is where you need a light sensor.
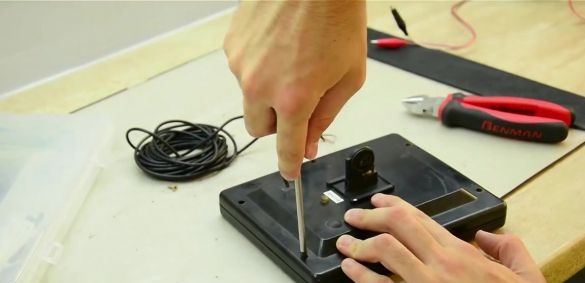
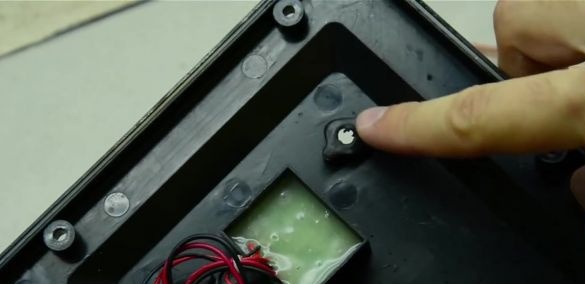
In the panel case, make a hole for the photoresistor and install the sensor. Please note that the transistor must be present on the sensor, otherwise the LED bulbs will not turn on.
Putting the panel back. According to the author of the idea, it can be easily installed in the back of the panel. Even so, it will work flawlessly.
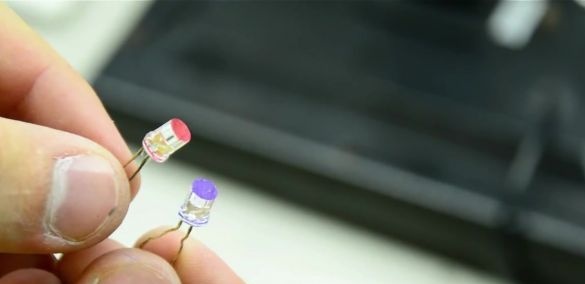
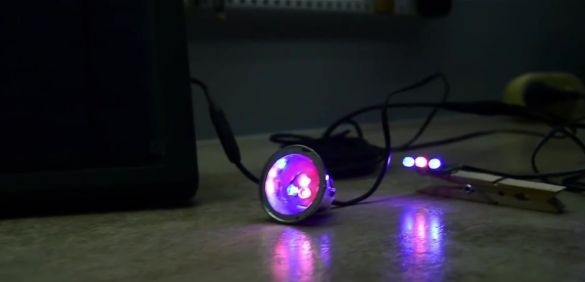
If you need diffused light in your backlight, you can go for a little trick and sharpen the LED heads. So their light will become softer. You can also repaint the stitched places in different colors so that the backlight is multi-colored.
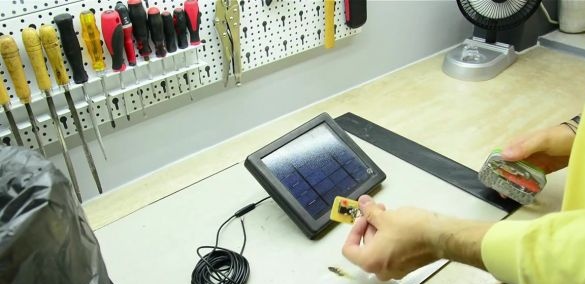
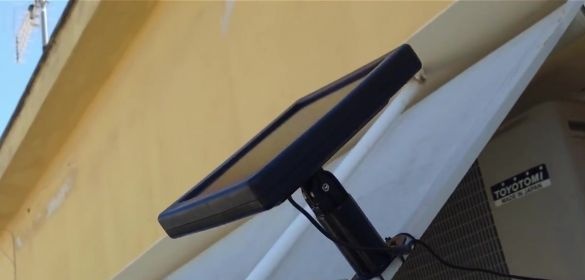
The backlight is ready. It remains to attach the solar panel. During rain, the panel can be covered with a plastic bag.

