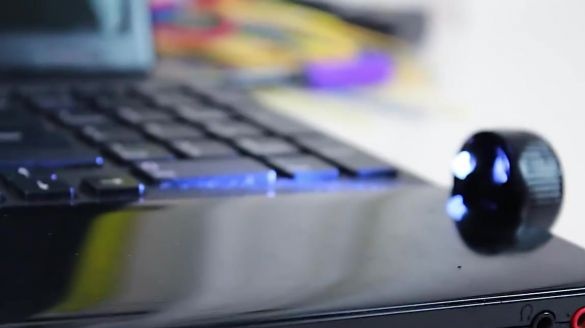
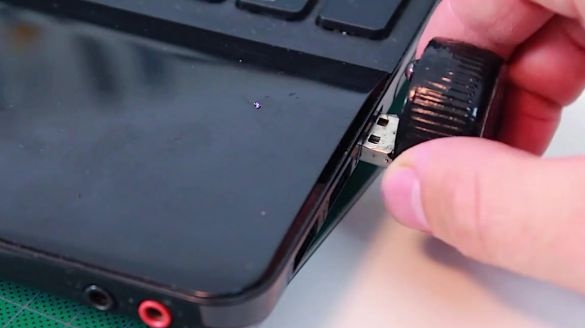
In this article, we present to your attention an overview of an interesting idea for manufacturing a USB backlight for a laptop keyboard.
We suggest you start by watching the author’s video
[media = https: //www.youtube.com/watch? v = xJkeEDYJvYg]
We will need:
- glue gun;
- soldering iron;
- USB plug;
- a cover from a plastic bottle;
- tester;
- Light-emitting diode;
- 100 ohm resistor.
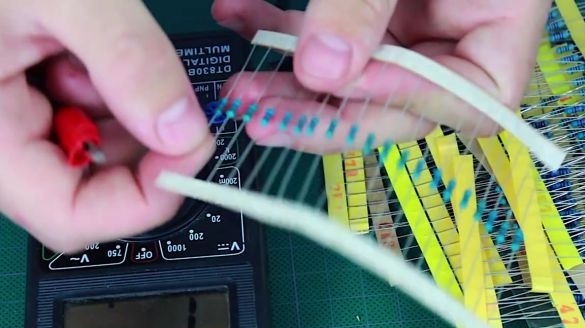
First of all, we take a tester and determine which resistor suits us for the manufacture of backlight.
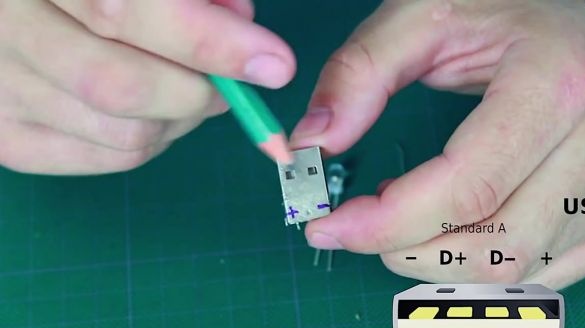
Take the USB plug. The first and fourth pin of the plug is the plus and minus. The second and third contacts are for data transfer. Let's proceed to the assembly.
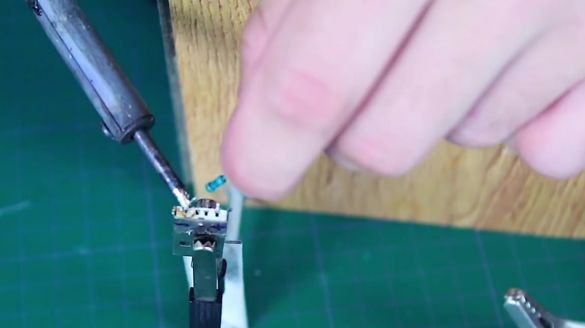
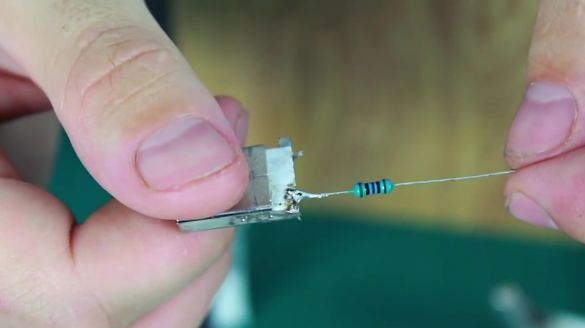
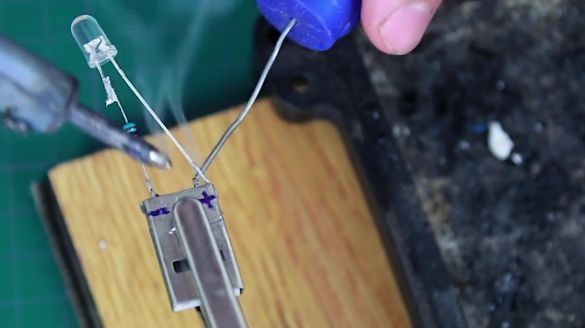
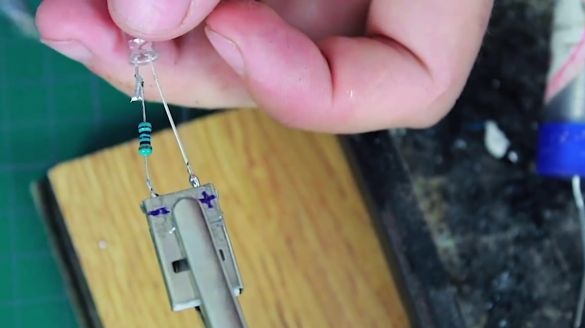
Solder the resistor to the negative terminal. The polarity of the resistor in this case does not matter.
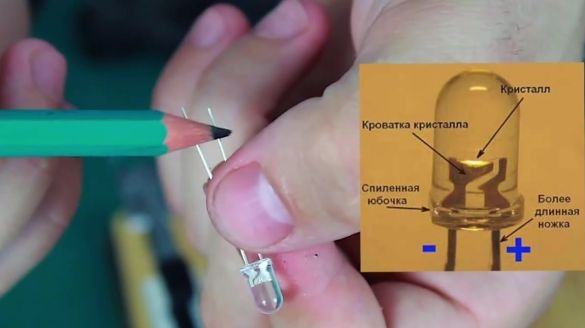
Let's move on to the LED. The plus LED is called the anode, and the minus one is called the cathode. On the new LEDs, the anode leg is longer than the cathode leg. If you use the LED that was previously used, then the polarity can be distinguished by a sawn skirt or crystal bed, which is located on the cathode.
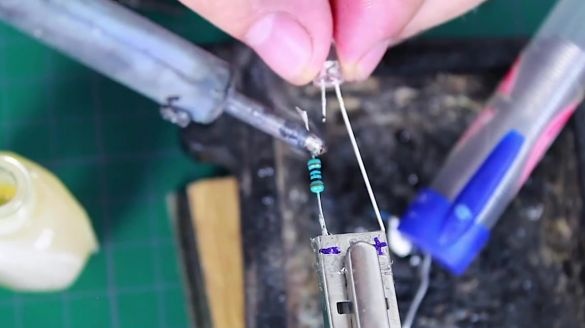
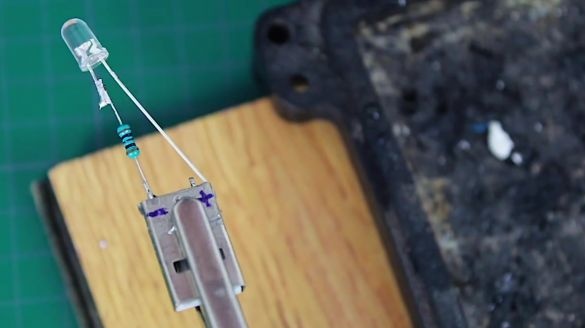
Solder minus the LED to the resistor.
Solder the positive leg of the LED to the positive contact of the USB plug.
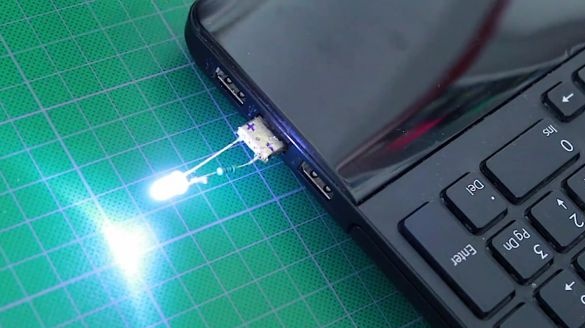
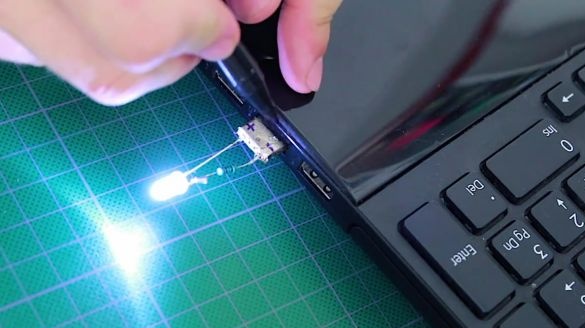
We insert the plug into the connector and check the assembly for operability.
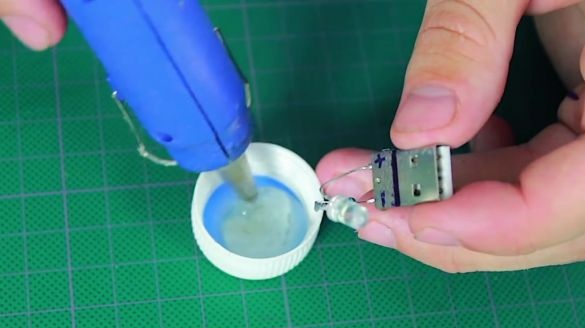
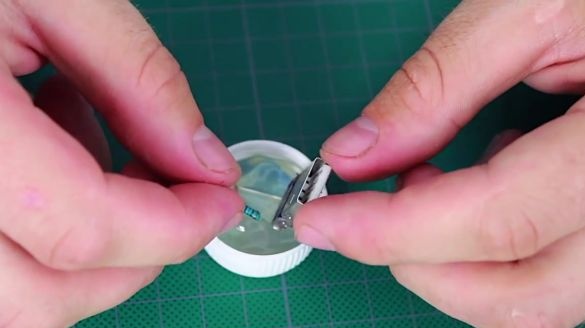
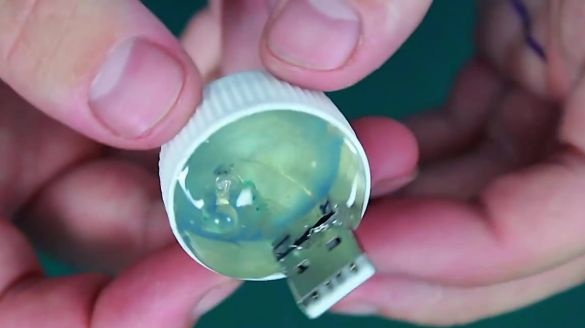
We put a mark on the plug, bend the resistor and the LED to the desired position, fill the lid from the plastic bottle with hot glue and immerse the resistor with the LED bulb and plug to the mark.
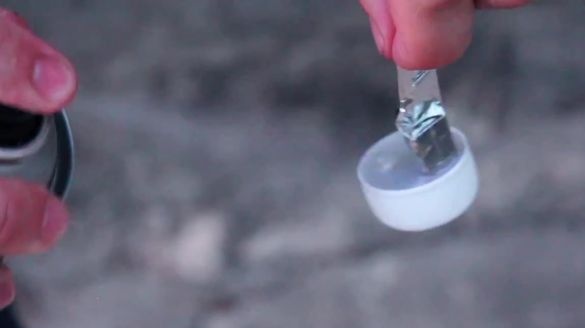
The backlight itself is ready. If you wish, you can paint it with spray paint.

