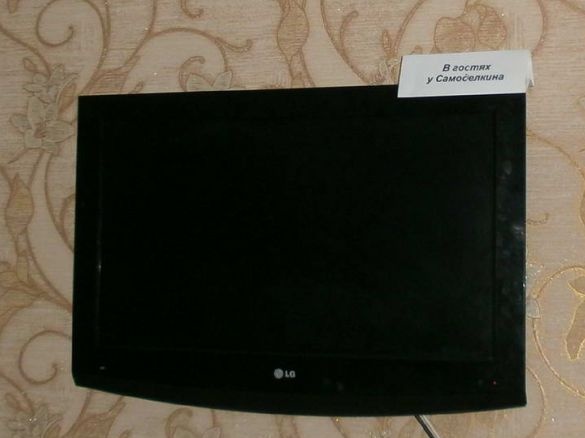
A flat and large TV (of course, if you need it at least sometimes), has long and firmly settled in the house of almost every one of us. But bad luck, he still stands on the bedside table, shelf or in the niche of the wall cabinet, completely leveling the main of his advantages: it is thin, which means that it can just hang on the wall, taking at the same time a minimum (read - not at all) of space .
However, the trip to the store, where in addition to the TVs themselves, several mounting options for them were also sold, greatly cooled my ardor and desire to purchase one of them “here and now”. Well, it can’t be a few straightforward glands (albeit certified according to some standards and requirements), cost half or more the cost of the television panel itself. Moreover, searches on the expanses of the World Wide Web gave the same result: the choice is minimal, and the cost is sky-high. Therefore, there was only one way out for me - to make the necessary mount for the TV on the wall myself.
After two or three days of pondering and weighing the various models, I decided to “go my own way”, and there were several reasons for this:
• I do not have regular access to the pipe bender,
• welding machine - “taboo”, especially at home,
• the limited availability of materials and tools available at home,
• Yes, and I wanted to quickly get the finished result and move on to "sea trials."
Moreover, among the advantages, there was another, which then became the main one: this TV mount is 99.9% of the time, hidden from prying eyes, and therefore it’s definitely not worth bothering much about the appearance.
But we were a little distracted, so let's get started. To make this TV mount yourself, we will need:
• sheet of aluminum, thickness 4 and dimensions 280 to 380 mm,
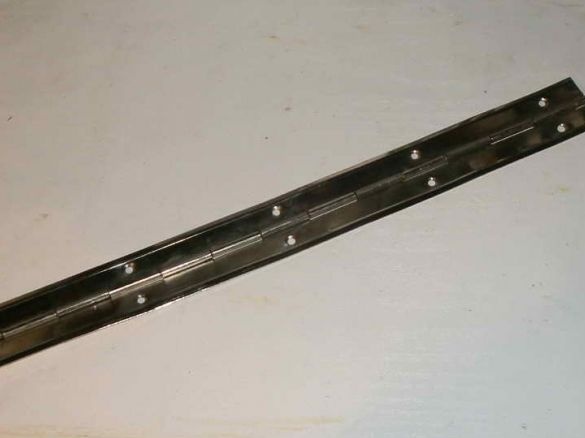
• a piano loop, 300 mm or more in length (necessarily reinforced and thick, I had to redo it, or just hinged, strong loops),
• a riveting gun (or a riveter) and 16 short and short rivets,
• ruler and awl,
• core, chisel, hammer,
• level
• a drill / driver (it’s just convenient for her to work) and a drill according to the diameter of rivets taken,
• hammer drill with a drill,
• grinder,
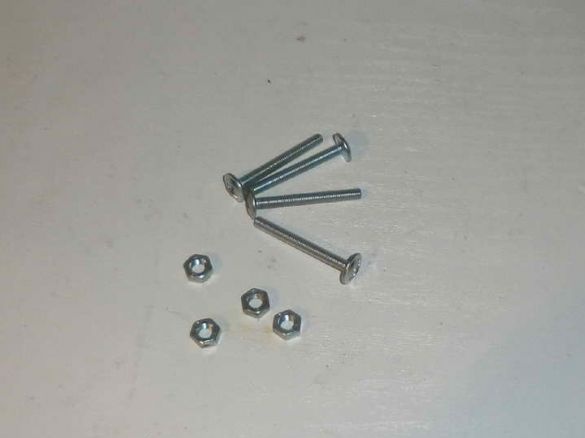
• four M4 screws with a decorative big hat (nuts were not useful),
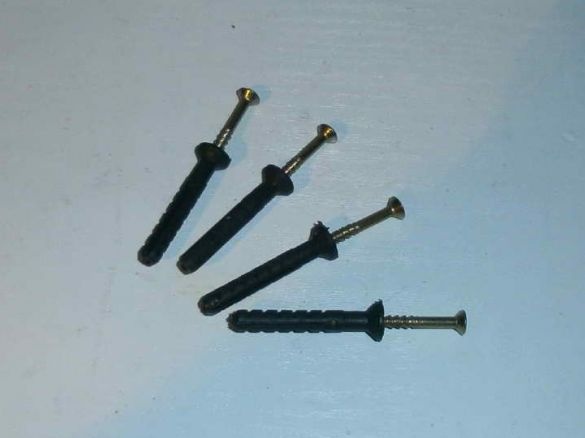
• and five (although four is enough "for the eyes") dowel-nails or just plastic dowels with long screws,
That's all, let's get started.
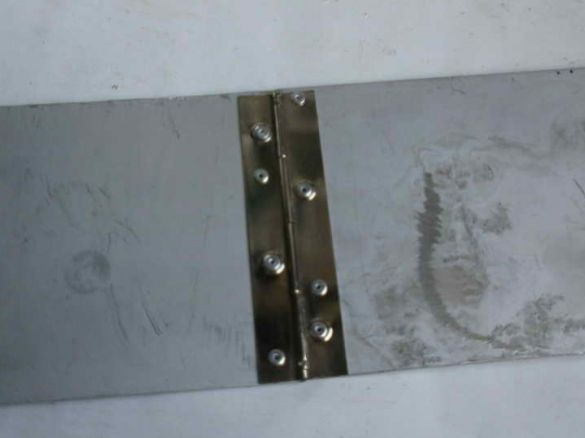
We cut the aluminum sheet into three parts (two - 140 by 240 and one - 140 by 280), and the piano loops into two fragments of 135 mm. Be sure in two places around the edges, with a sharp blow with a hammer and a chisel, we fix the inner shaft relative to the shirt so that it never falls out. We rivet the piano loops (we need to drill additional holes in them ourselves), connecting the two parts first,
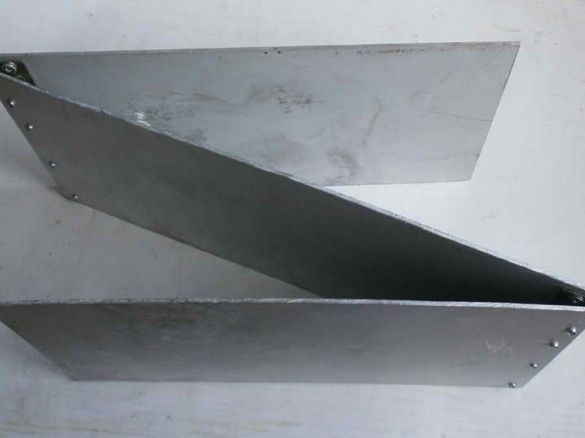
and then riveting and the third. The result is the letter N (or And, as you like more), and the longer part will be just in the middle.
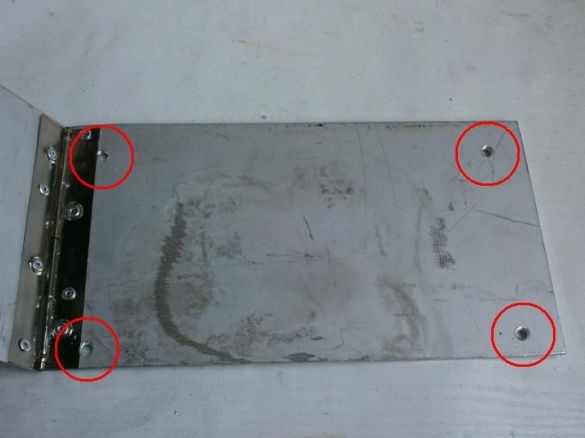
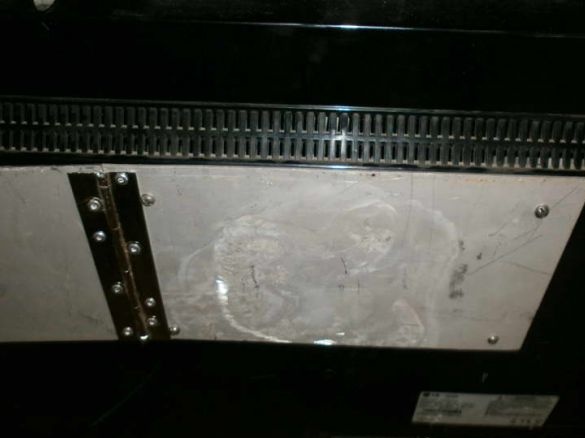
Now in one wing of this “letter” we drill four holes for mounting the TV (usually 100 to 200 mm, although there may be options on other models),
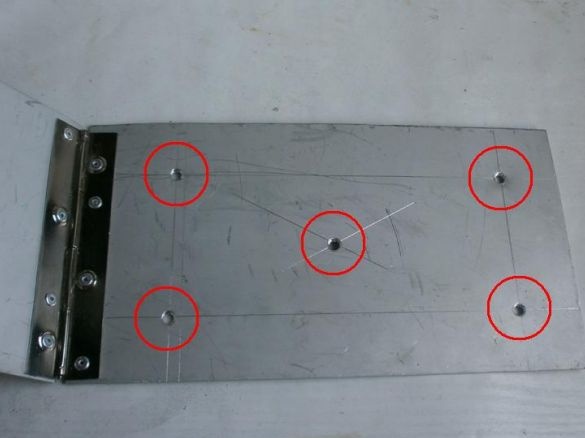
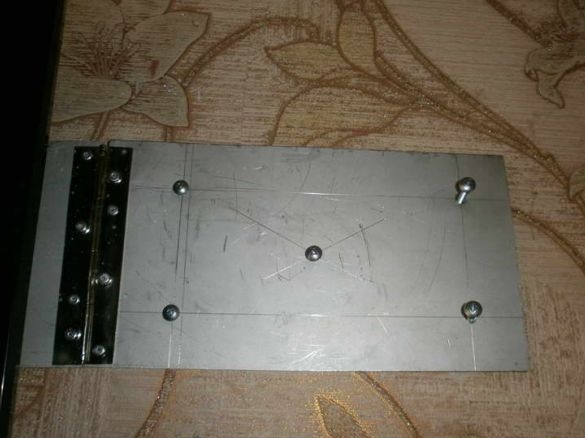
and in the other there are five holes (in the middle is the center hole, on it you will set the mount itself on a level and mark out the places where you will drill the rest).
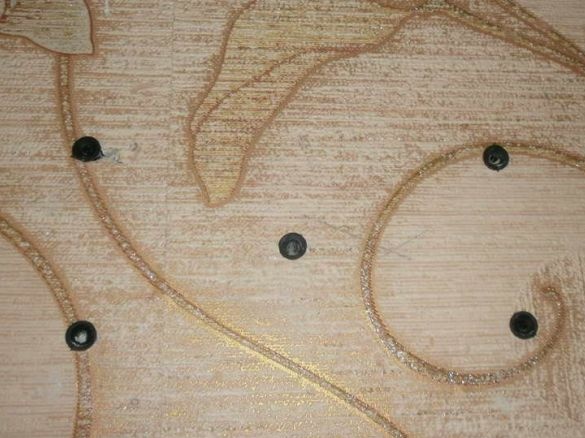
Five holes were drilled in the wall and inserted dowels into them. We begin to collect.
First, we fasten the mount to the TV itself with M4 wines (I even had to slightly shorten them to a length of 14 mm),
and then the response part already, with a TV (you probably need an assistant, it’s rather heavy itself), we fasten it to the wall. Here the same screwdriver with a cross bit is useful, although a corresponding screwdriver can replace it.
The TV is hanging on the wall. Connect the electric and television cable to it, and the work is finished. Moreover, the TV itself is not static, and you can turn it at least to the right, at least to the left, as you wish.
That's all wisdom, enjoyable, and most importantly - easy viewing.


