
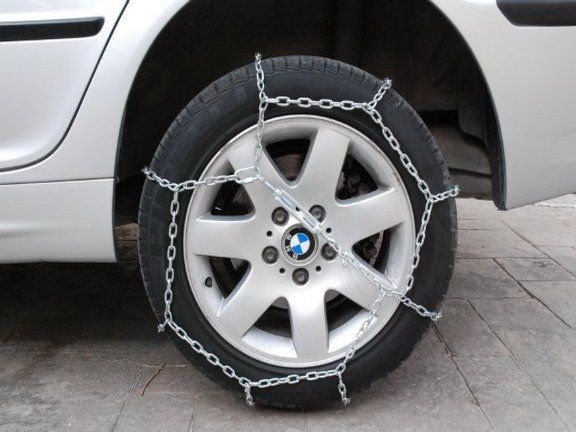
The installation of chains on the wheels of a car can be a real way out in bad weather conditions. Even car completely refuses to ride in the snow or ice, after installing the chains to move off is not difficult. Today you can buy chains for any car brand, but you can also make them yourself, moreover, it is not difficult and this requires a minimum of materials.
Materials and tools:
- a chain 15 meters long (the diameter of the rod should be 4-5 mm);
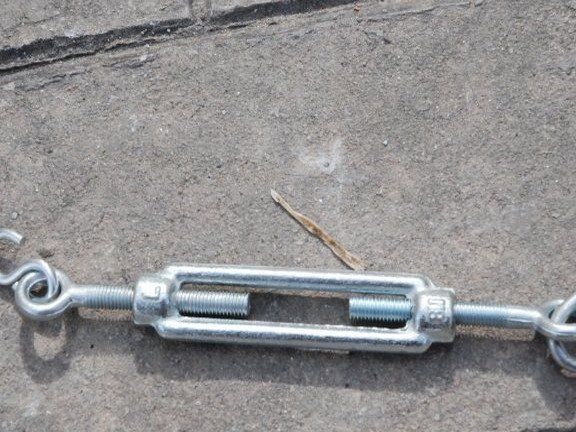
- two tensioning devices;
- 32 hooks;
- grinder or hacksaw;
- mount.
The process of making chains:
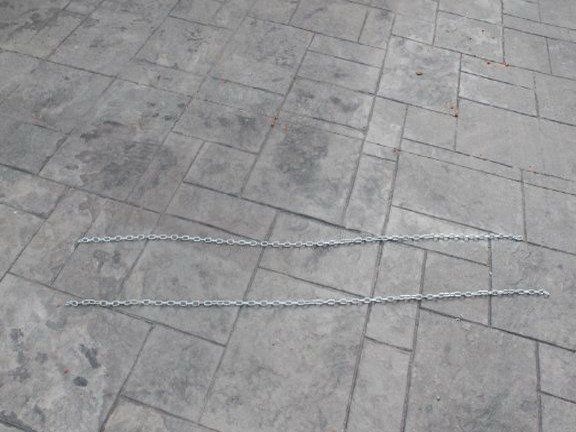
Step one. Chain cutting
First you need to create longitudinal chains to which the transverse chains will be attached. To do this, cut 4 pieces, they should have 83 links. But the chain length and the number of links individually, it all depends on the brand of car, the proposed figure is taken by the author as an example.
Now it remains to make the transverse chains, for this you need to cut 16 pieces of 13 links each.
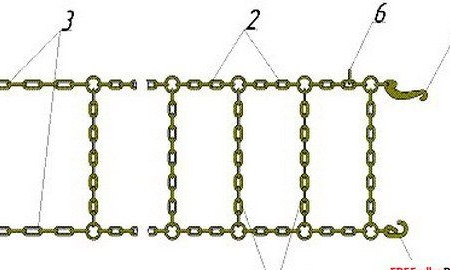
Step Two Chain assembly
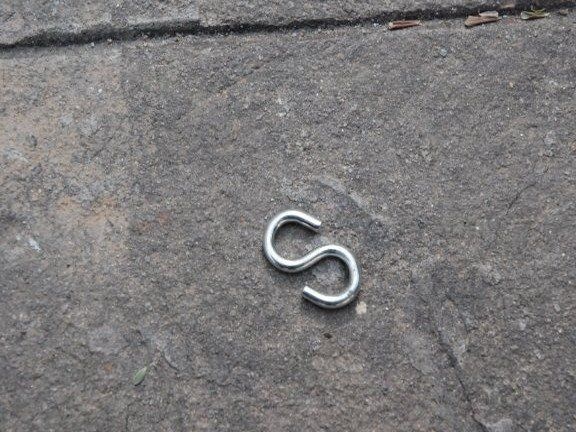
The design is assembled using hooks. The first cross chain is attached to the 6th link, and all subsequent after every 10 links. The last cross chain is installed on the 12th link. In addition to the hooks, rings can also be used to connect the chain.
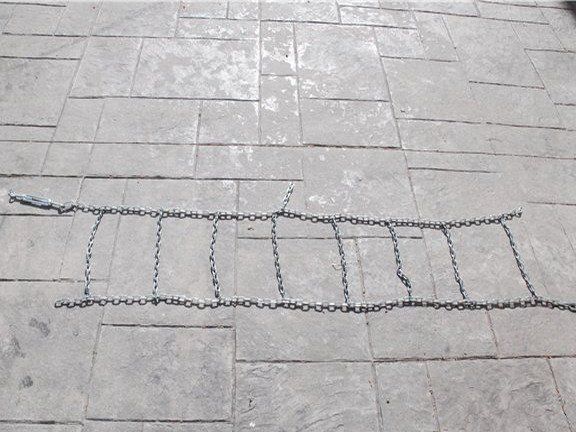
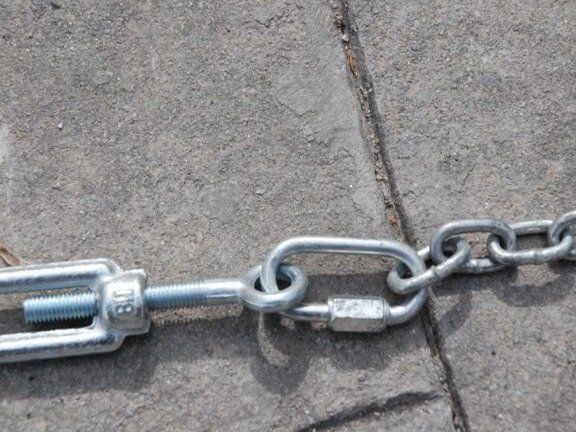
Now, after the fourth cross chain, it is necessary to install a length of 5 links on one of the sides. And on the ends of both longitudinal links you need to install carabiners as in the picture.
At the final stage, a tensioning device is attached to a 5-link segment, and a hook is installed on its other end. That's all, the design is ready for installation.
Step Three Circuit Installation
Snow chains are mounted on the drive wheels. There are two ways to do this. In one case, the car must be jacked up, and in the other not. We consider each separately.
Installing chains without using a jack
You need to take the chain and carefully straighten it so that there are no twisted elements. Next, the chain is spread on the road and you need to drive into it with drive wheels.After this, the car must be fixed in order to avoid spontaneous movement.
The chain must be secured so that the locking hook and ring are located on the outside of the wheel. Next, the locking hook must be hooked from the inside of the wheel to the link of the tail branch. The cross elements of the chain must be evenly spread over the entire area of the wheel.
The locking hook must be passed through one of the links of the tail links of the chain.
The locking hook must be turned towards the locking ring, and then insert the locking ring into the groove of the locking hook. Next, the chain should be tightened properly using a tightening device. It should fit snugly to the wheel, slightly squeezing the tire. The chain is removed in the reverse order.
Installation of chains with a jack
This method is in some ways easier, since you do not need to start the car and run into chains. It is enough to raise the wheel above the ground by a distance of 20-30 mm. Further, the chains are put on in the same sequence as described above.
That's all, now the car is not afraid of any terrain, snow and ice. Now you can not be afraid that the car will not go on another steep climb. You can also not be afraid to go down the mountain with ice, since such chains provide excellent traction.