
If the task was to assemble a small furnace for melting non-ferrous metals or forging steel, each of the materials at hand can collect such a furnace. Such a stove will cost a penny, but in everyday life it will be a real find. As the basis for such a furnace, the author decided to use a can of paint.
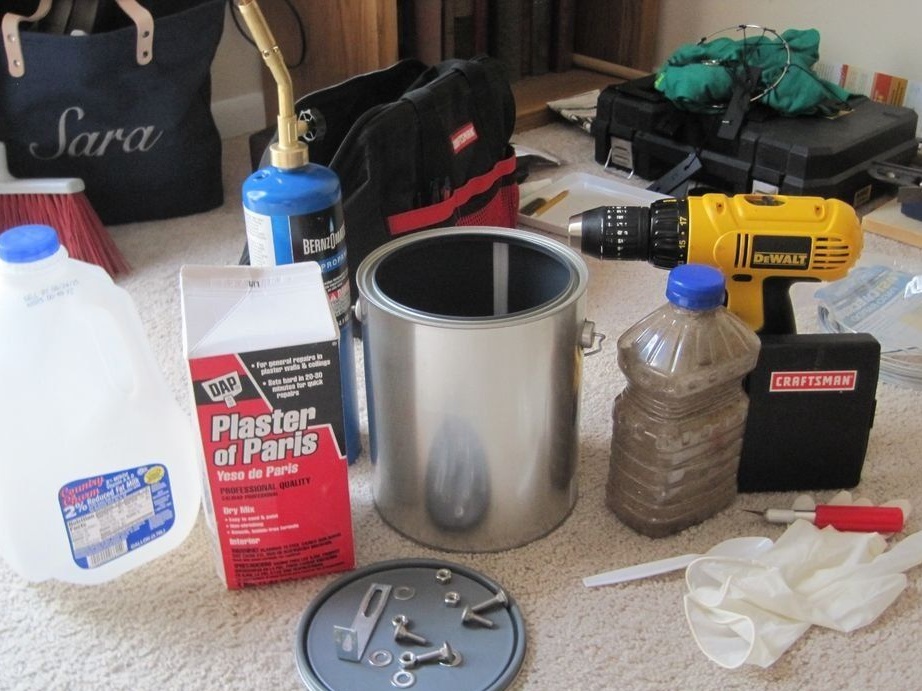
Materials and tools:
- steel can from paint with a lid;
- sand;
- water;
- gypsum;
- bolts;
- propane burner;
- drill;
- washers;
- latex gloves;
- metal bracket (in the form of the letter G).
Furnace manufacturing process:
Step one. Creating the outside
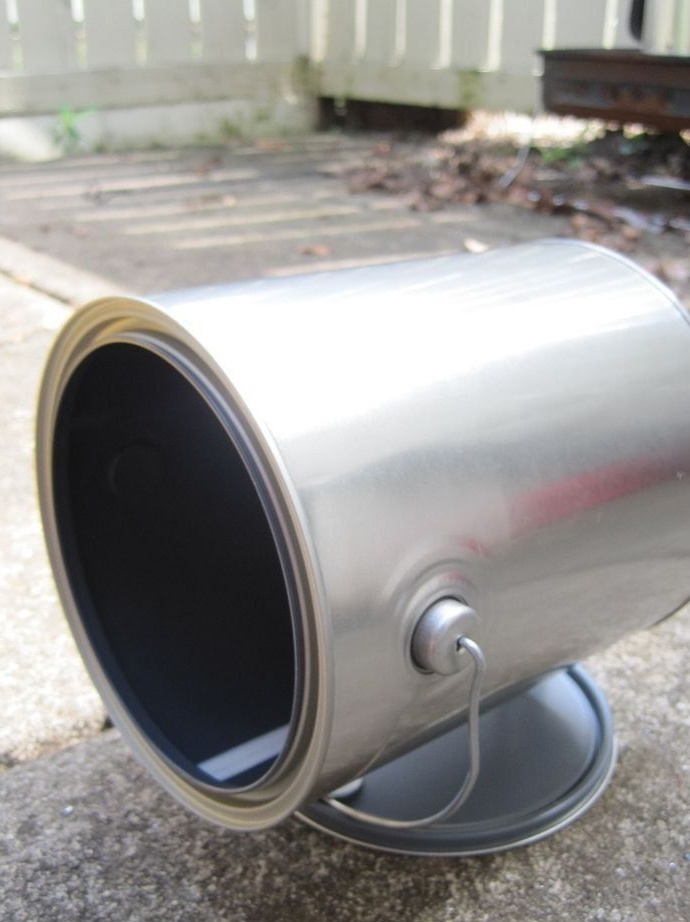
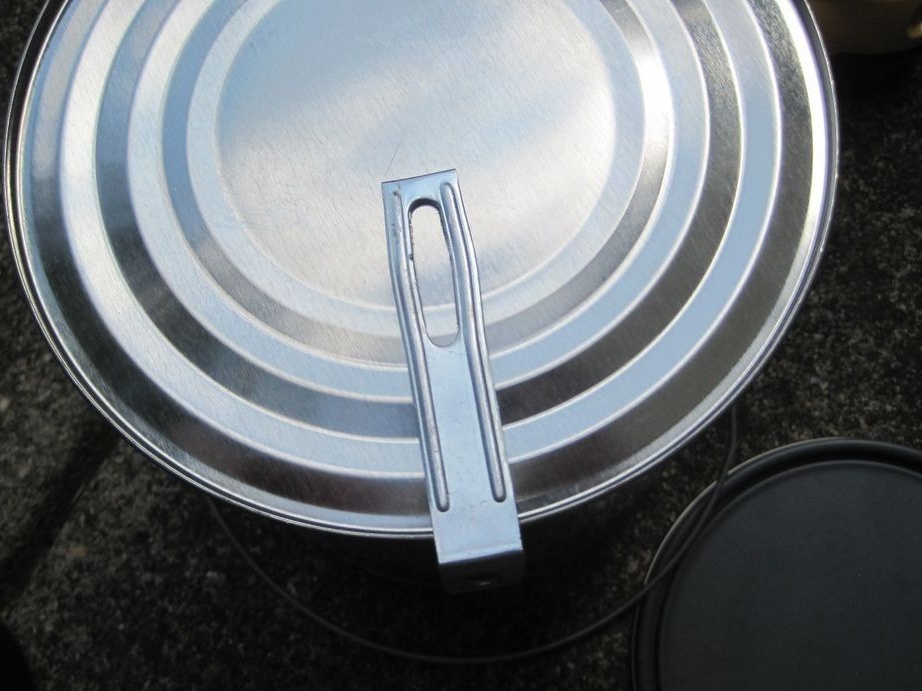
As the outer part, a can of paint is used. First of all, you need to make markings on the basis of the can, attaching a bracket to it. After that, you can drill a hole for mounting. Then you need to drill another hole in the lid of the can. To do this, the cover must be removed and attached to the second end of the bracket. In the end, the structure is assembled, as can be seen in the photo, the cover will act as a support for the furnace.
If the jar will have a handle, it can be clamped under the cover bolt, in which case the design will become more reliable.


Step Two Creating the inside of the furnace
Now you need to create a thermal insulation layer so that the temperature can rise in the furnace. Gypsum and sand are used as the main material for these purposes.
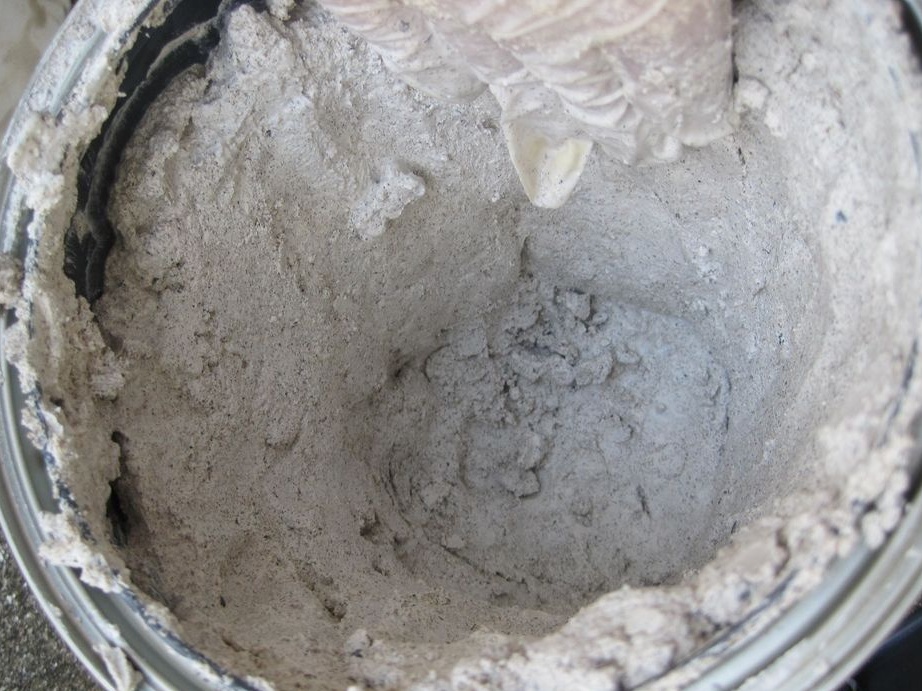
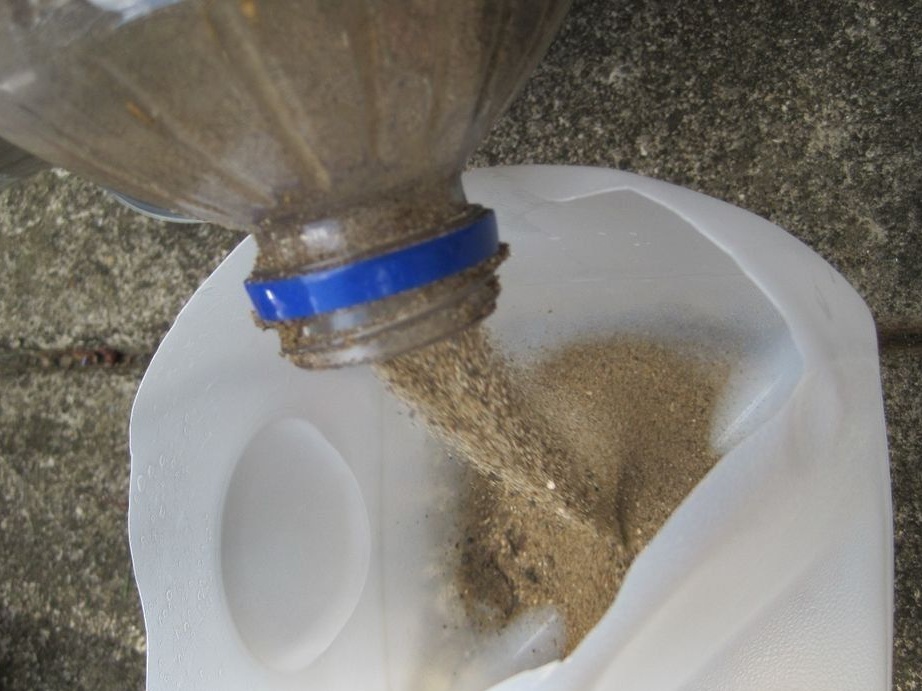
To create a mixture, you need to mix sand and gypsum in equal proportions and mix thoroughly until a homogeneous mass is formed. After that, you can gradually pour into the mixture in water. As a result, the consistency should be like liquid mud. When a homogeneous mass is formed, there will be only 20-25 minutes to carry out work, then it will harden.
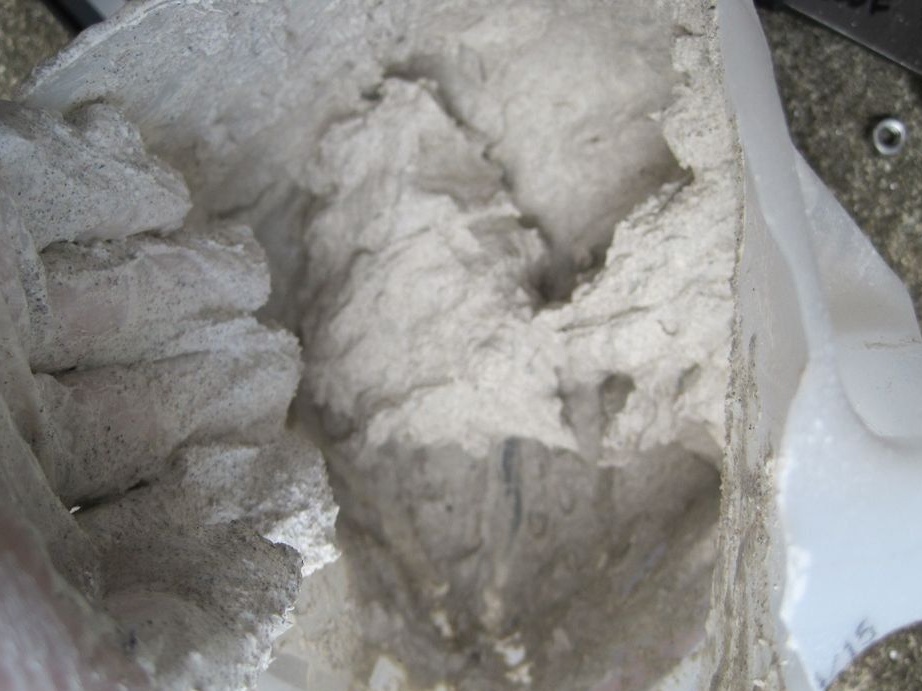
The prepared mass must be applied on the wall and bottom of the can. It is important that the layer thickness is at least 2 cm. Otherwise, the heat loss will be too large for work.
Step Three The final stage of assembly and verification homemade
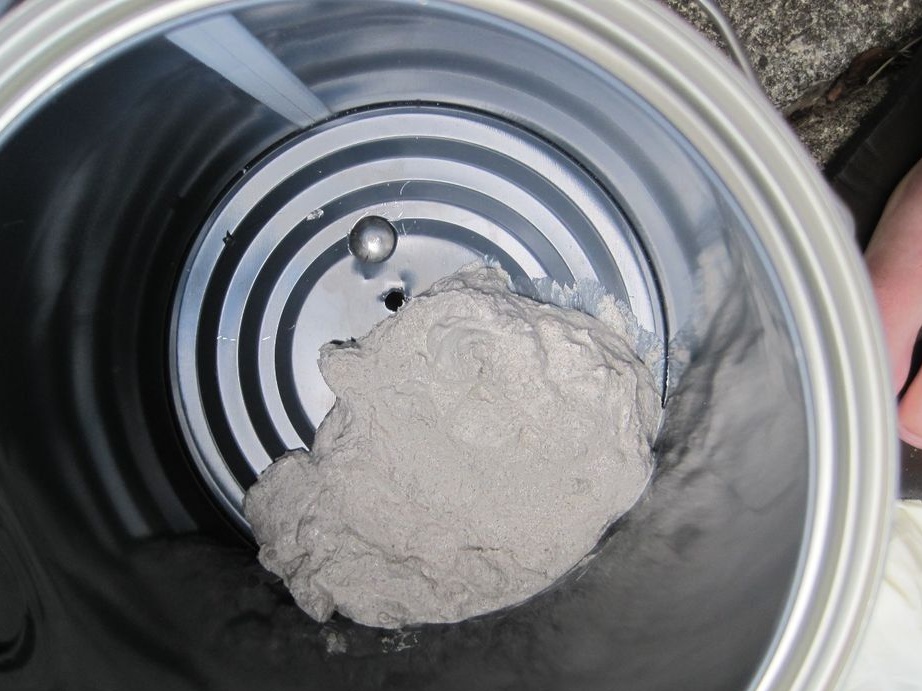
After applying the gypsum, you need to wait a while until the mixture begins to harden. At this point, you need to take a drill and carefully drill a hole in the back of the can. Its diameter must match the size of the burner that will be installed in the furnace.The burner tube should fit snugly into the hole, but pulling it out should not be difficult. As for the height of the hole, it also depends on the dimensions of the container.
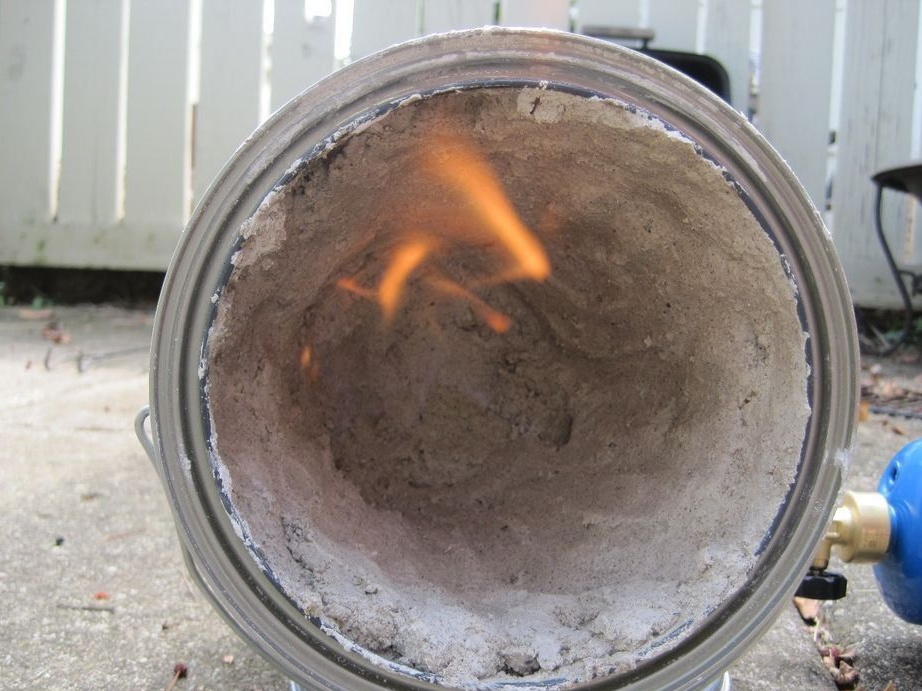
That's all, when the mixture dries, you can proceed to the first firing. At the first start, you can hear crackling, this is a completely normal phenomenon, as the liquid remains from the insulation.