One of the authors, under the pseudonym "Oborotez", proposed an option on how to make the simplest and most powerful battery that can run on brine. From such a battery, you can charge your mobile, turn on the radio, lighting and much more. Knowing the operating principle of such a battery will definitely never hurt those who are engaged in tourism.
Materials and tools for creating a battery:
- metals to create a galvanic pair (magnesium and copper);
- salt;
- water;
- housing from an old battery;
- soda;
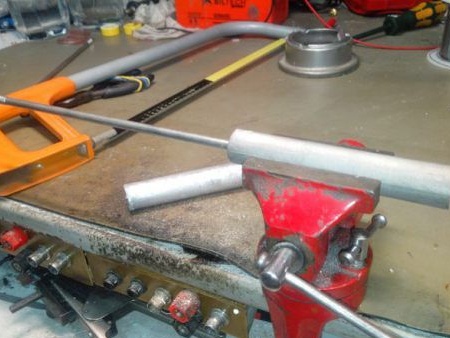
- vise;
- a hacksaw;
- multimeter;
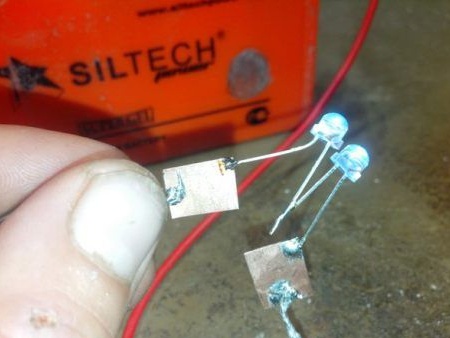
- LEDs and other consumers to check the battery.
Manufacturing process:
Step one. Case preparation
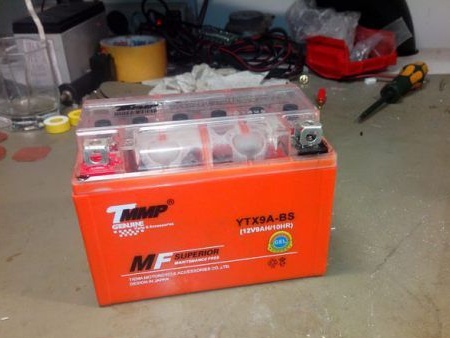
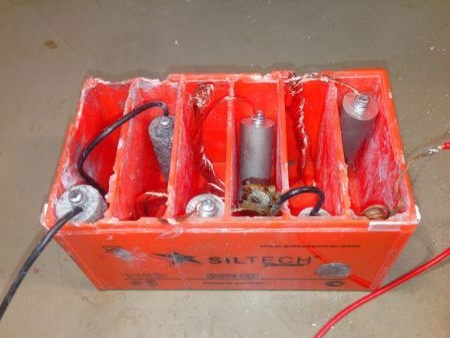
As a case for a new battery, the author used a plastic battery case from a scooter. Old batteries can be taken for free in those places where they repair scooters. First of all, acid must be carefully drained from the battery. In this case, you must be extremely careful, as if it gets on the skin, the acid causes a burn. To neutralize acid use soda. Also, at the end of the procedure, it is best to wash your hands with water with dissolved soda.
Step Two Preparing a galvanic pair
As a galvanic pair, two metals such as copper and magnesium are used, since it is in this case that it is possible to obtain a maximum current and voltage of 1.2-1.4 Volts. As for copper, it will not be difficult to find it, for these purposes the copper wire is perfect, only it is necessary to remove the varnish coating from it, otherwise the battery will not work.
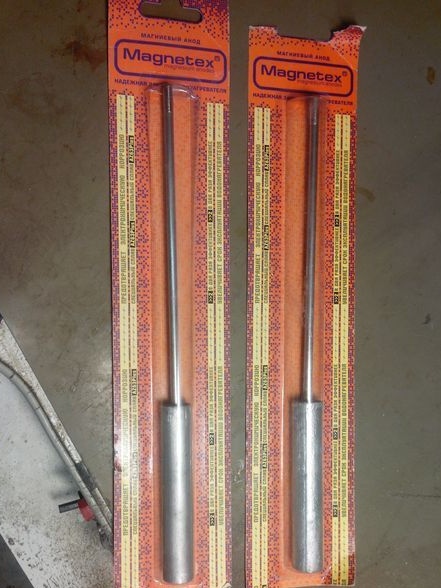
As for magnesium, everything here is a little more complicated. High magnesium steel can be found in old German auto, also a lot of magnesium is contained in the engine block of the Zaporozhets car. If there are no such elements, then elements from Water heaters are perfect. They are also called Magnesium Anodes.
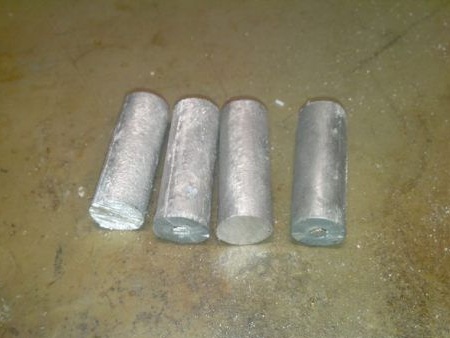
Extra pins should be cut from the anodes, and the anodes themselves should be cut into de parts, as a result of the three anodes you will get six small ones.
Step Three Battery assembly
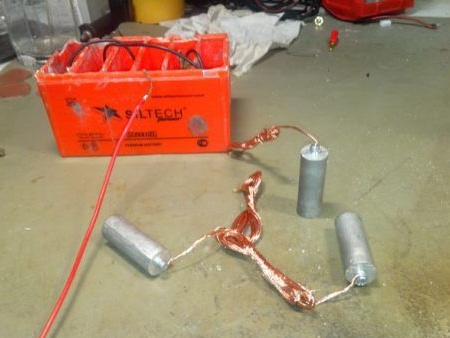
Now you need to take the copper wire and crush it as in the picture. The larger the wire, the larger the contact area, and as a result, the higher the current strength. Next, the copper wire is connected in series with the magnesium anodes and fits into the compartments of the battery case. In this case, copper will form a positive potential, and magnesium negative. At the final stage, the tank is filled with salt water. If the water is warm, this is good, since the current will also increase.
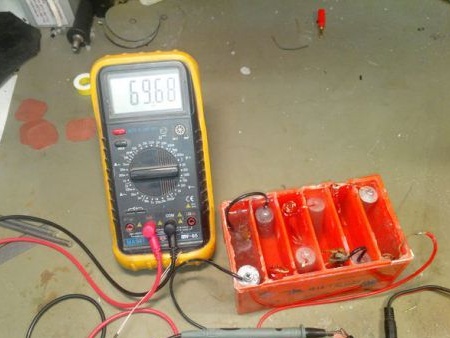
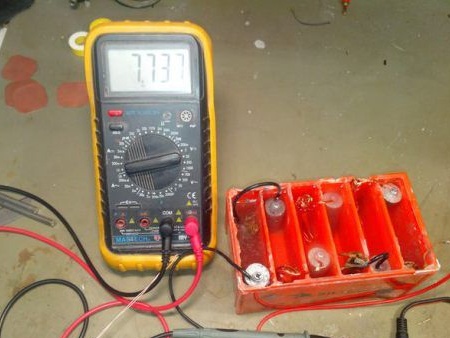
Battery testing
That's all, the battery is assembled, you can proceed to testing. When the multimeter was connected, the author got a result of 7.7 Volts, which is pretty good, and the short circuit current was 70 mA. The current strength can be adjusted by manipulating the plates. Experimentally, it was possible to reach a current of 150 mA. The closer they are located and the larger their area, the more energy the battery will give out.
From such a battery, two diodes of 0.2 watts light up without any problems.