
A podium is a round bulge under the speaker, should be a continuation of the pocket.
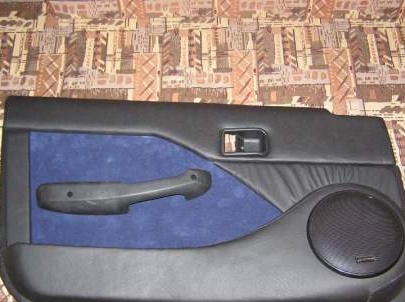
He drew it on a piece of paper, cut it out, attached it - something is missing, an unfinished look. He introduced himself as a car interior designer and decided to radically alter the door trim so that, like in foreign cars, leather, and even with folds. Drawn, cut, attached.
It seems to look normal. Getting down.
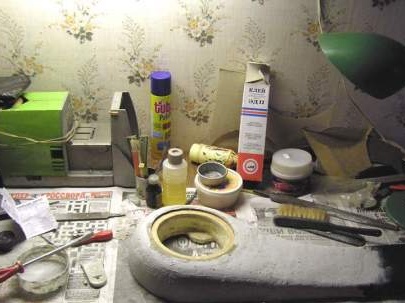
What we need? The skin of a young dermantine, which necessarily stretches well, the fabric is beautiful - I chose blue fluffy to match the color of the car, soft material such as paralon, glue, Macroflex (or any similar material), patience. If you buy something later.
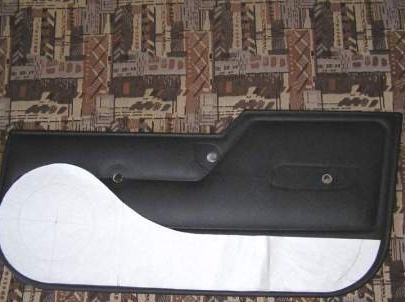
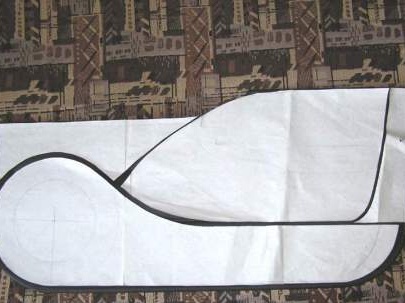
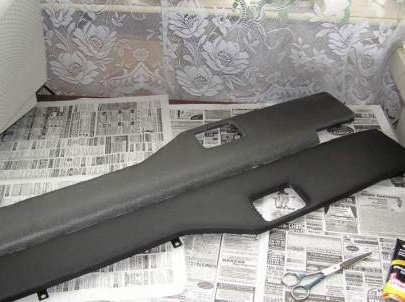
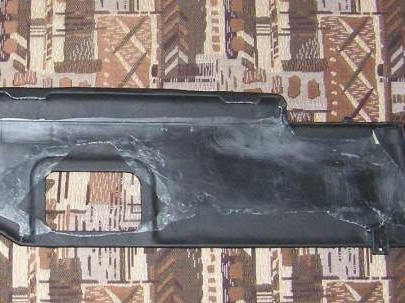
Since the shape of the door panel is slightly rounded at the top, the old panel does not fit, it is necessary to cut out the new base - from hardboard. And still it will be necessary to file plastic overlays. As a soft material under the fabric and dermantine I took the isolon left over from the sound insulation. One large piece cut along the entire contour of the panel and two pieces in the form of decorative overlays. I decided to simply sew these pads on a fabric base, laying an isolon. In what sequence do not ask what and how to attach, I can’t explain on my fingers, but I didn’t take pictures of this process. We sew the casing with a thin layer of glue so that it does not soak the fabric through, glue it on top of the isolon, the isolon is already glued to the hardboard. After much torment, this is what happened:

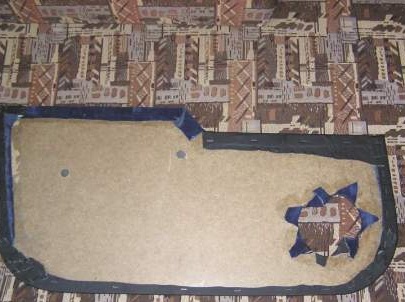
He wrapped and pasted the edges of the fabric, and then walked with a stapler for reliability.
The base is ready, now you need to glue the podium itself and the top plate.
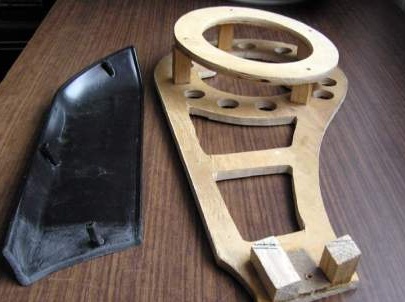
Since there will be two podiums with pockets, and as standard only one goes, I began to look for a second pocket on the second door. But I didn’t find my own, but I found pockets from 41 Muscovites. They do not need to be cut, just screwed it on.
The podium frame was cut out of plywood 10 mm thick. I made a lot of holes for relief. Correctly, the installation angles of the speakers need to be selected long and hard, experimentally. But I did not intend to make a prize install, but I intended to “steer” the scene in the future with the help of tweeters, which is quite acceptable. Therefore, the shape and angle were selected by eye.
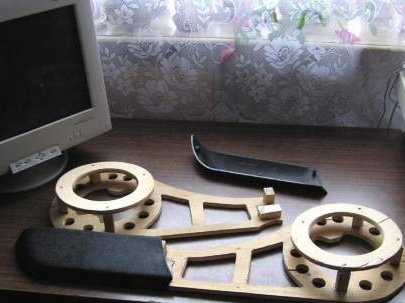
The frame was fastened with PVA and for fidelity with more screws. Now it remains to fill the frame with foam. The frozen foam itself is soft and easy to squeeze, so I used the technology of wet foam - when applying the foam, I dripped a little water into it and mixed it with a spatula and shoved it in place with my fingers.The latter must be done only in a latex glove, the foam is very poorly rubbed, especially hardened - only with the skin.
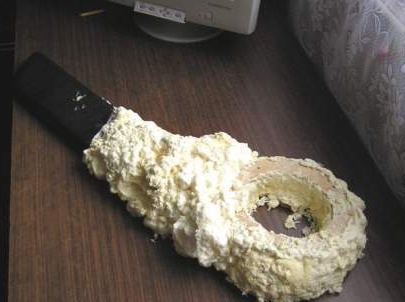
With this technology of foam, two large cylinders were consumed - per liter, and that might not be enough. Frozen foam, especially where it turned out loose, is easy to cut, and where it is very dense - with difficulty. Therefore, he grind it with a rough file.
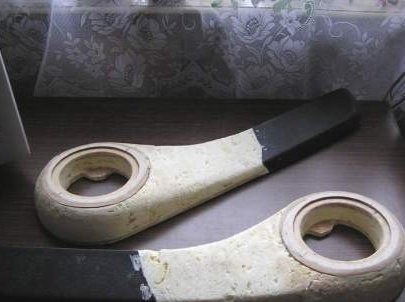
After processing, voids appeared in the foam. It must be putty. Used putty with fiberglass. Since it dries quickly, it must be putty in small portions. It took one 250g jar of two-component putty.
Since it was not possible to putty ideally, and it was not necessary more than putty was not needed, but it was possible to continue. To make the surface of the catwalk at least a little soft, I glued everything over with a cloth from my coat. She stretches perfectly and will repeat the shape of the podium, while hiding the shortcomings of putty.
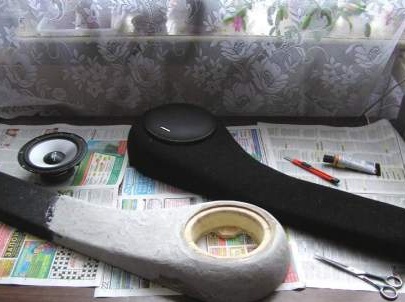
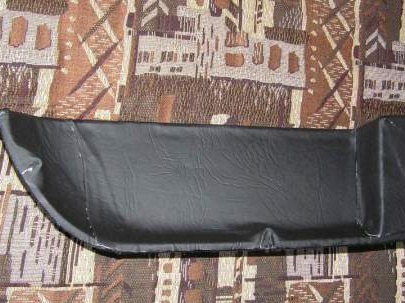
This intermediate result simply pleased me. But then the most difficult thing was coming up - sheathe the podium with dermantine. First, I cut out a pattern from a rag, then transferred it to dermantine and began to bast. Here I almost broke down and did not send all this venture to X ... Therefore, there is only one photo of this process.
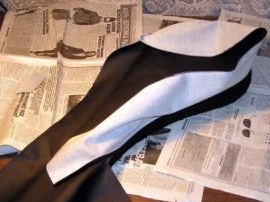
In the end, with my mother’s help and support, I sewed it and it remained to pull it on the podium. Dermantin easily stretches diagonally and across its tissue base - this must be taken into account. He glued the edges of the dermantine and nailed it with a stapler.
There are no folds on the surface, only inside the pocket one could not be avoided, but it is not visible from the outside.
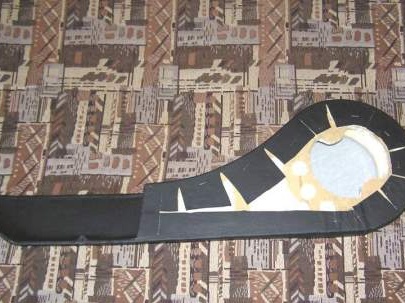
The podium is ready. Now it remains to glue the top plastic overlay. Since its shape should be changed, I sawed off a little bit and bent the edges a little over the fire. The bevel turned out smoother than initially.
Then glued the isolon and dermantine on top. The edges turned up and stuck.
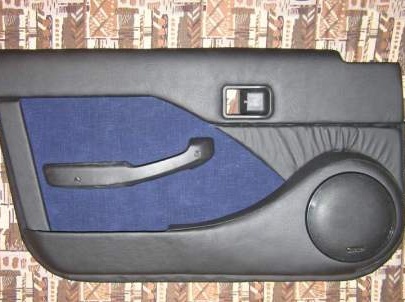
Everything turned out just fine.
Only the seam on the podium from the bottom does not look a bit beautiful, but when installed on the door it will be from the bottom, but it is not visible there.