
The article will discuss how do it yourself You can make a simple and interesting robot based on an old computer mouse.
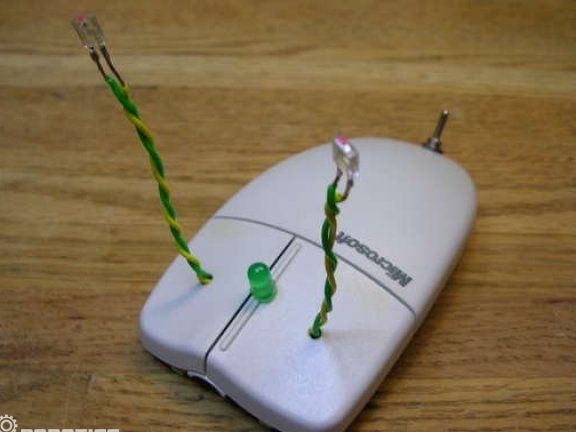
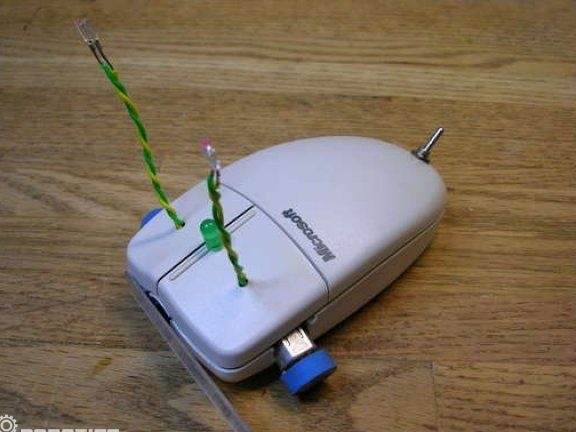
Robot received the name Mousebot, and its main highlight is that it is a way to see the light and then turns to it. All this thanks to two LEDs that capture the light.
According to the author, the robot will cost no more than $ 10.
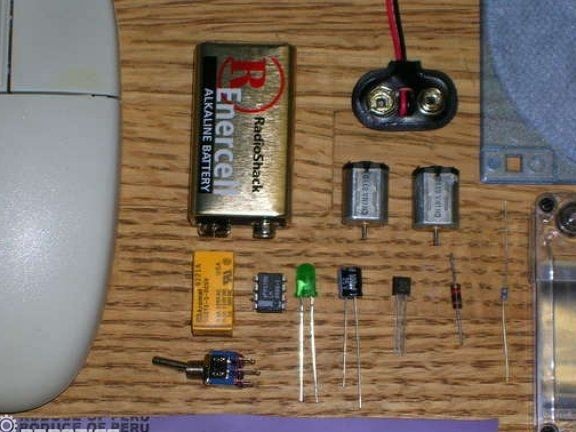
Materials and tools for manufacturing:
- one ball mouse;
- two small motors;
- one toggle switch;
- chip LM386;
- one DPDT 5v relay (you can use Aromat DS2YE-S-DC5V);
- transistor PN2222 NPN (2N3904 is also suitable);
- one LED (color does not matter);
- transistor at 1 kOhm;
- 10 kΩ resistor;
- capacitor at 100 mF;
- tape cassette;
- floppy disk or CD;
- 9V battery with equipment;
- rubber strips and wires.
Of the tools you will need: a multimeter, a Phillips screwdriver, pliers, a drill, a knife, a soldering iron, wire cutters, glue or epoxy, hot glue with a gun and a hacksaw.
Manufacturing process:
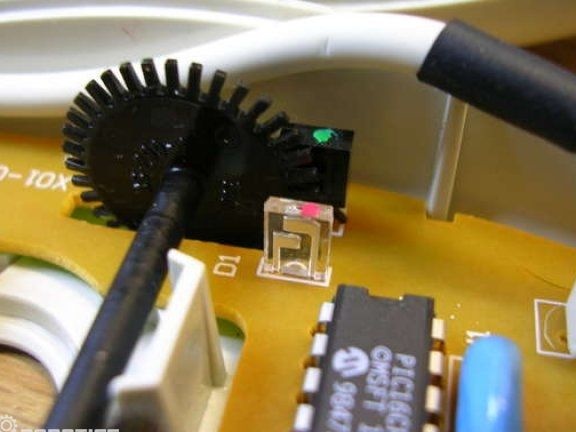
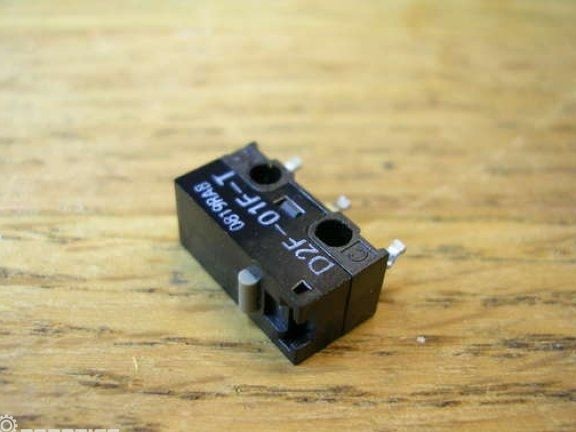
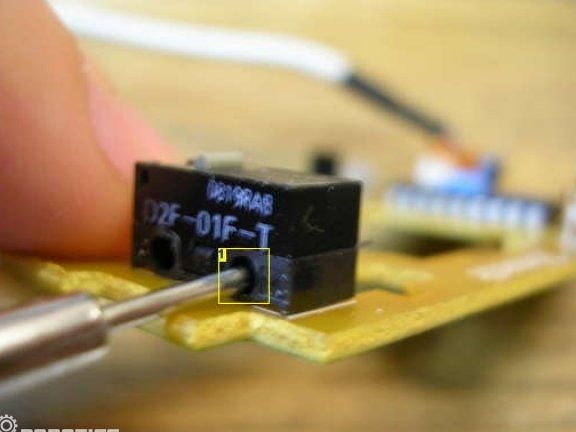
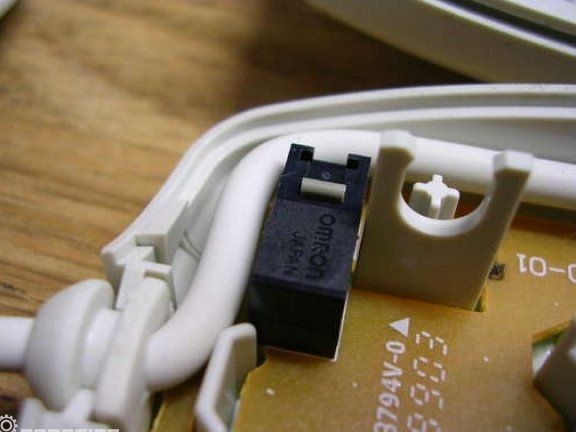
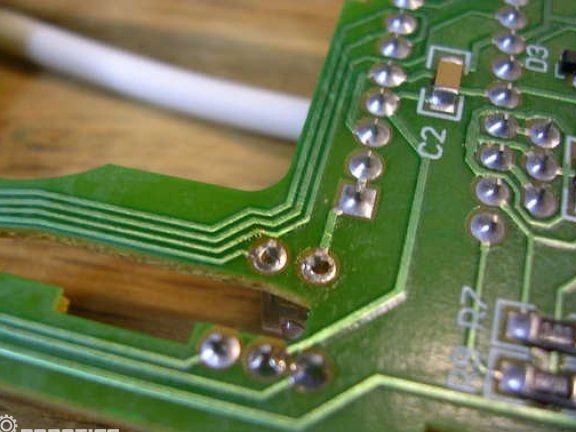
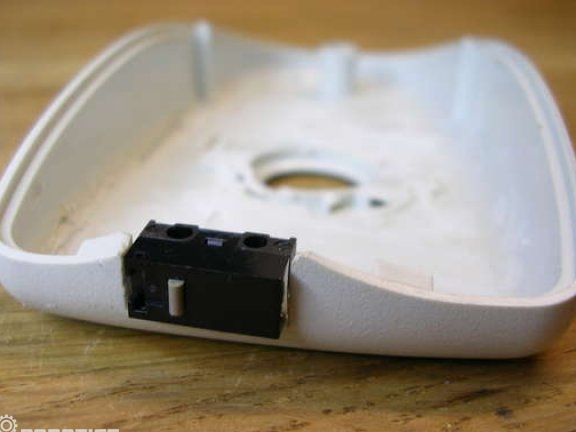
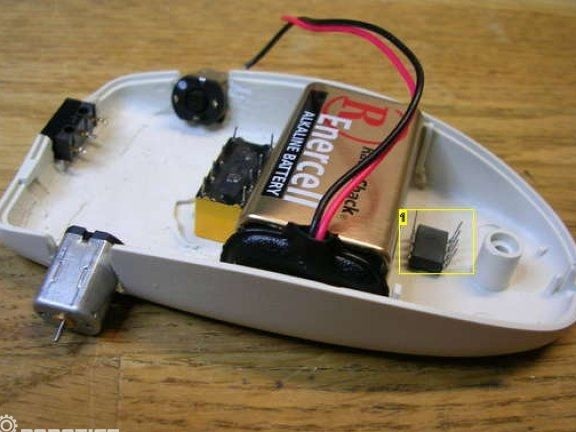
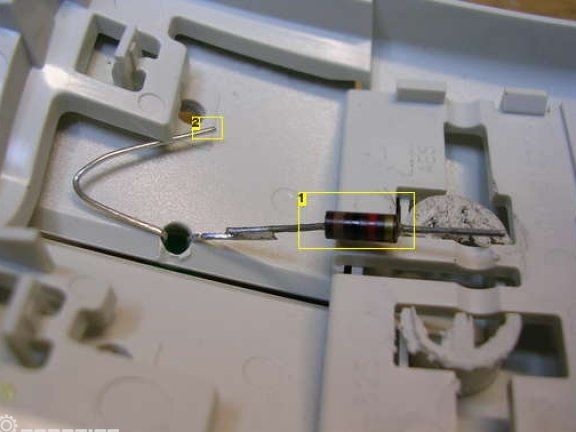
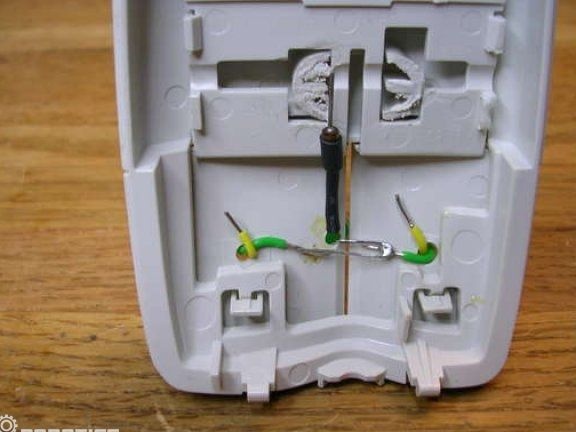
Step one. We disassemble the mouse and take out some details
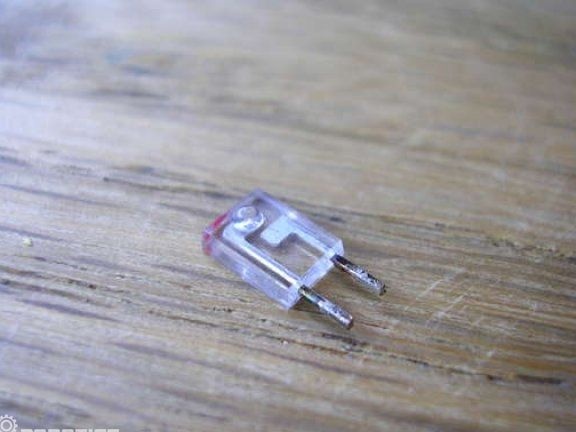
Having disassembled the mouse, you need to remove the switch from it, as well as the infrared emitter, they will be needed for the manufacture of the robot. IR emitters and a switch need to be unsoldered. The emitter is marked in the pictures by the numbers 1 and 2, the switch is indicated by the number 3.
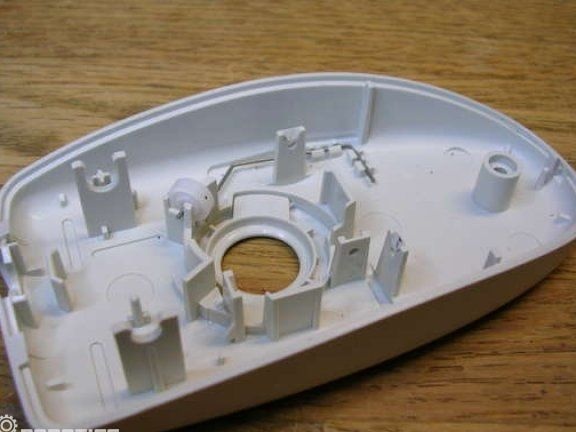
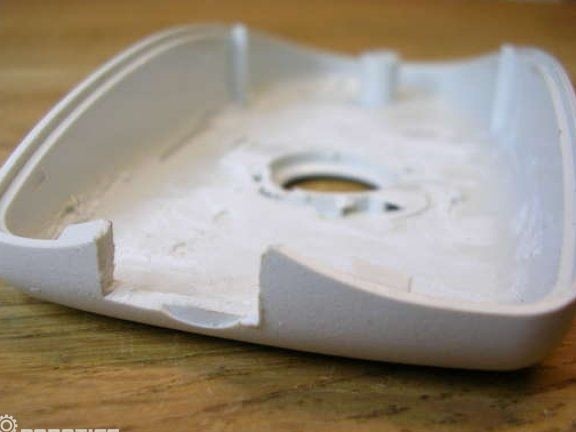
Step Two Robot body preparation
To get as much space as possible in the body of the robot, you need to cut out all the extra protrusions from the inside of the mouse. The easiest way to do this is with Dremel. If the mouse is small, then you may have to remove those protrusions into which the connecting screws are screwed. For cutting, Dremel is short cylindrical type. Being in an upright position, it will cut at right angles with good quality.
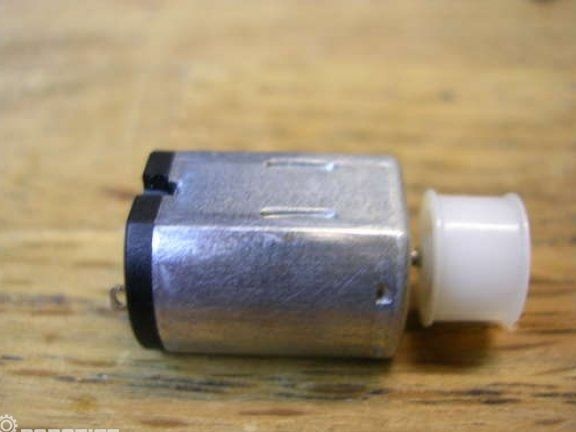
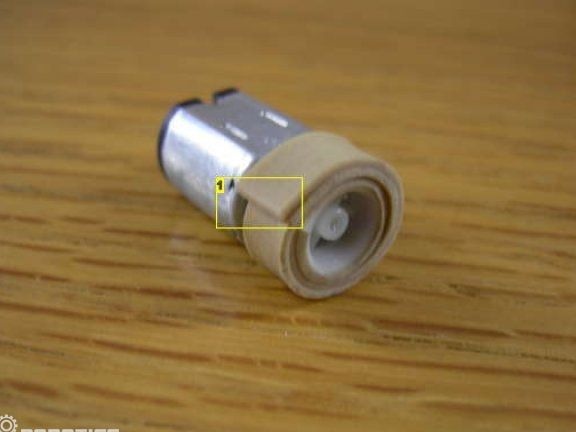
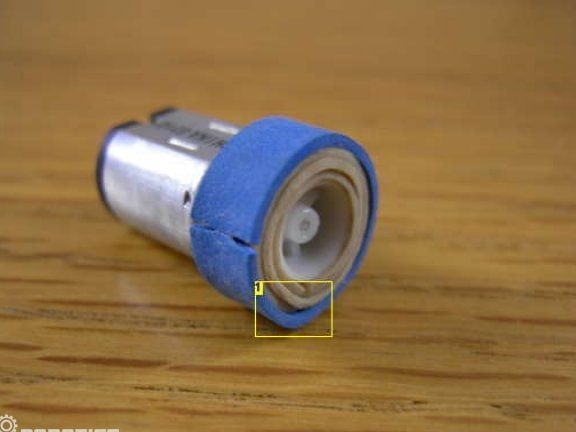
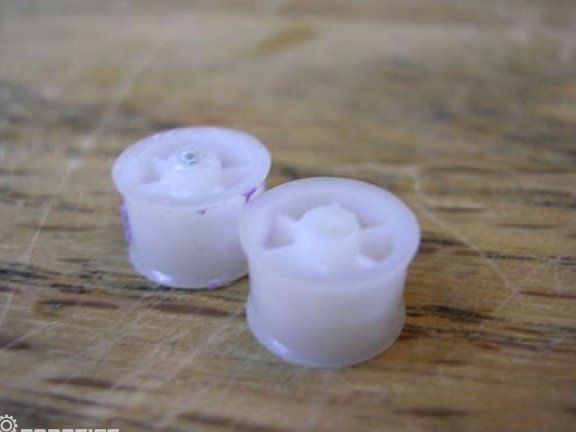
Step Three Making a robot wheel
Since the axles of the engines are very small, to move the robot they need to be equipped with wheels. The rollers from cassettes that used to be tape recorders were suitable for these purposes. The wheels are attached to the axles using superglue. Then a strip of rubber is taken and wrapped around the wheel, all you need to do is three turns, and for each half-turn you need to add glue. Now, on top of the gum already glued, a second is glued, it should be installed as in the photo.
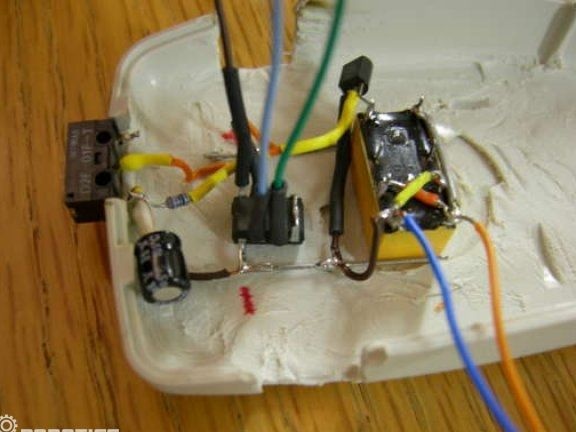
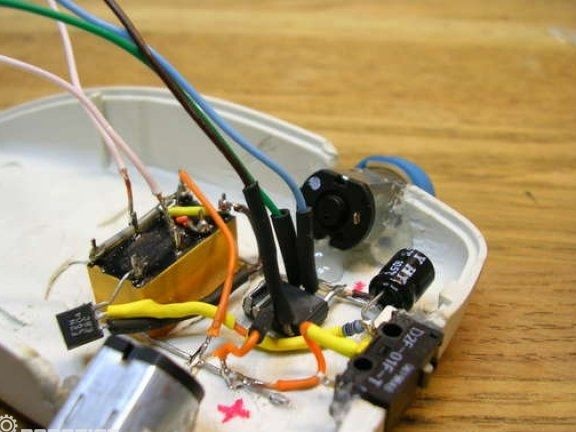
Step Four Layout and relay setup
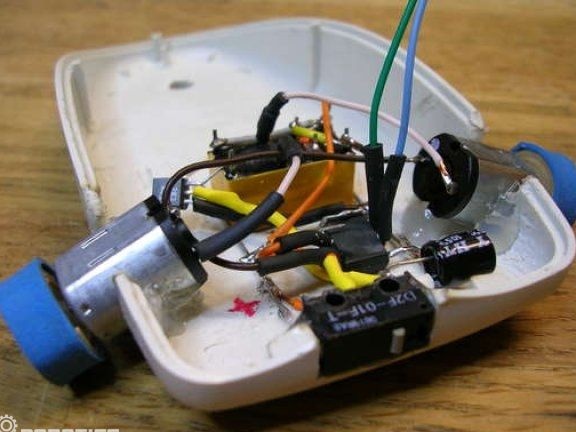
It is best to use a standard layout, while the layout of the mouse will be simple, since the circuit board takes up little space.It is necessary to install a relay and solder the wires, contacts from 8 to 11 and from 6 to 9 are crossed by connecting pins. Next, you need to connect contacts 1 and 8 and add a stranded wire for contacts 8 and 9.
Then you need to take the transistor and solder the 16th contact to its collector. Subsequently, wires soldered to pin 9 are connected.
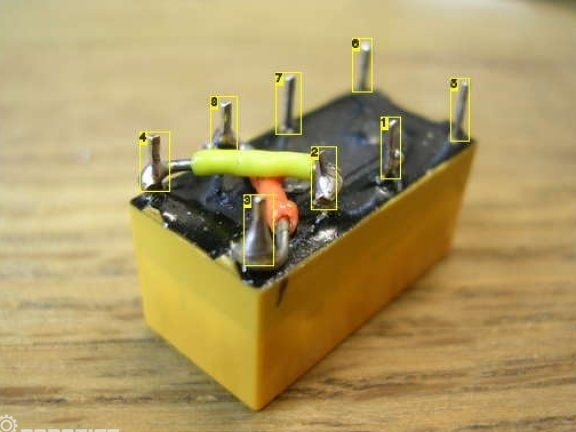
After that, the relay can be glued to the housing. From the wire that connects the 9th contact with the contact of the emitter, you need to solder to the power wires. Contact 8 is connected to the positive pole.

contacts 1, 4, 6, 8, 9, 11, 13, 16;

1 - emitter; 2 - collector; 3 - base
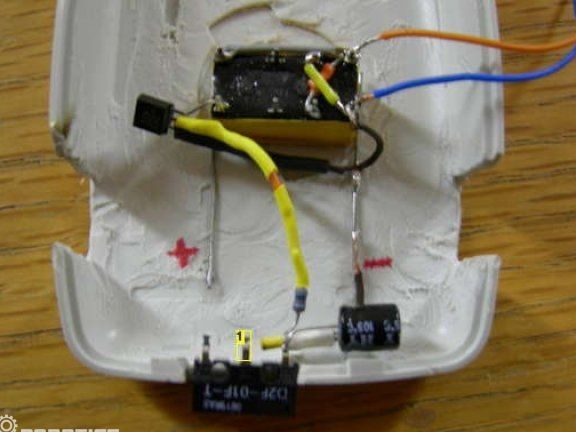
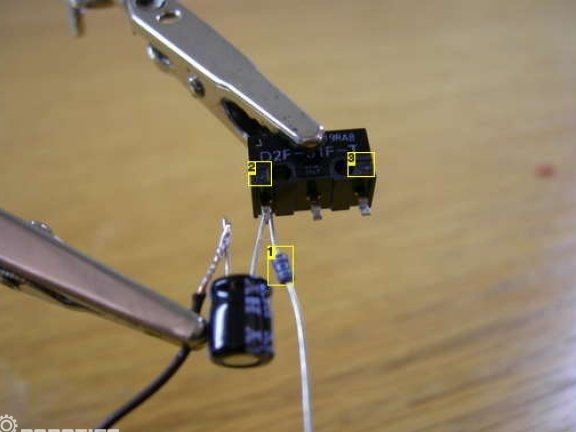
Step Five Switch Button Setting
Now you need to take the switch and connect it as indicated in the diagram. The resistor used is rated at 10 kOhm. To prevent a short circuit, it is best to insulate the contacts with a heat shrink tube.
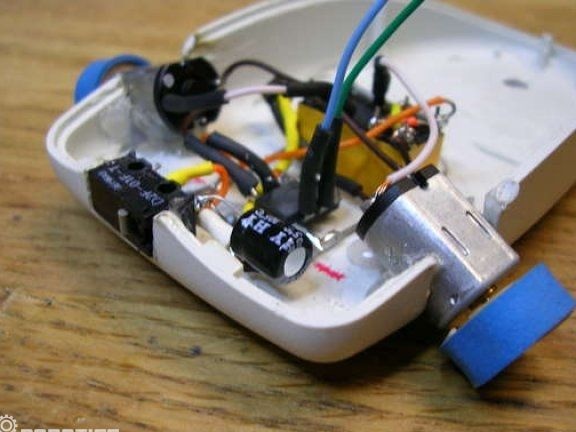
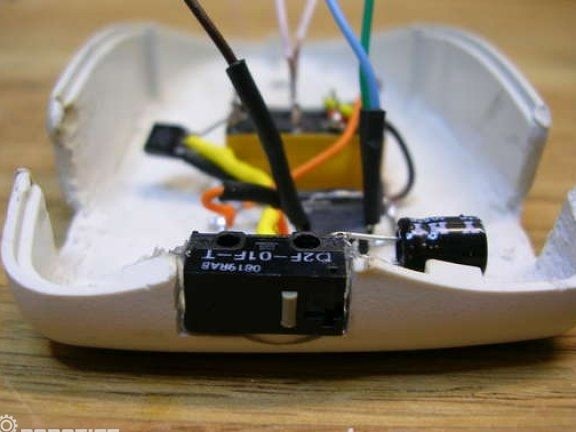
Step Six Robot brain connection
As the brain for the robot, the LM386 chip is used. It must be turned up and then bent contacts 1 and 8 so that they are in contact, then they need to be soldered. Then the chip is installed in the case and connected. Stranded wires must be added to pins 2, 3 and 5. And pins 4 and 6 are connected with a plus. In the end, everything should look like the one shown in the photographs.

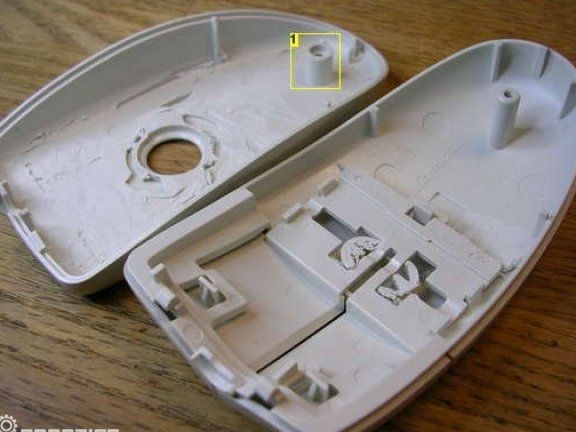
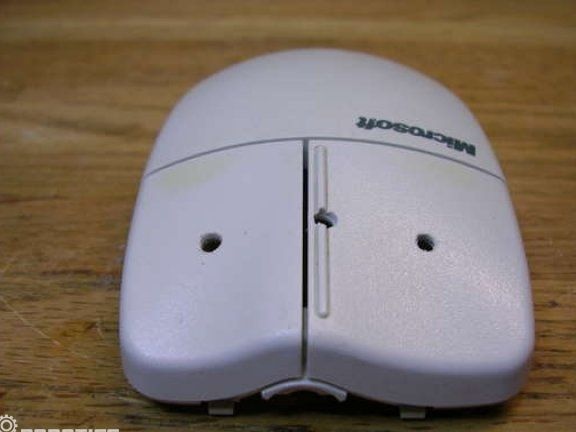
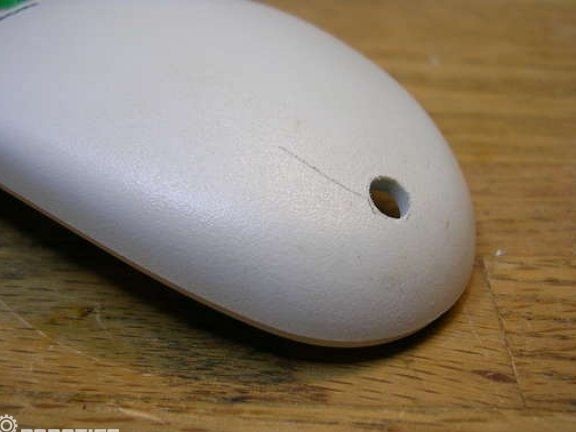
Seventh step. Create the top of the robot
You need to take a drill and drill holes in the upper part of the mouse body. Two holes are needed for connecting the eyes, and one for installing the LED. In the back of the mouse you need to make a large hole for the toggle switch. At the same stage, the switch can be installed.
To create eye stems, you need to twist the copper wire, and then solder IR emitters at one end with one contact. An LED can now be installed in the central hole, and a 1 kΩ resistor is soldered to its positive contact.
Step Eight. Fixing elements
For motors and switches to hold firmly, they need to be fixed with hot glue or epoxy.
Step Nine. The final stage of assembly
On the relay you need to find the 13th contact and connect it to the left motor, and the right motor is connected through the 4th contact. The fifth pin from the integrated circuit is connected to the motors and the bottom connection. As a result, the right motor should rotate clockwise, and the left counterclockwise.
The eyes of the robot are connected to the positive contact through a 1 kΩ resistor.
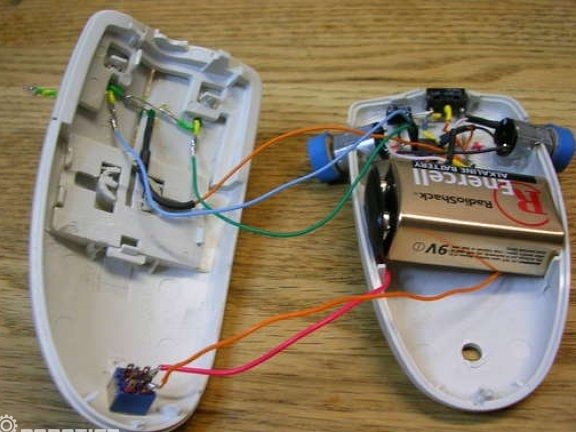
That's all, now it only remains to connect the battery and the bizarre robot is ready. To activate it, just turn on the tambler in the back of the mouse.