
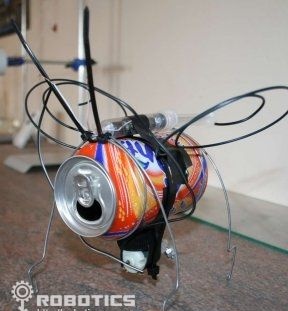
The article describes an example of how to create a simple robot based on a can of carbonated drink. Eventually came out robotimitating an insect, it buzzes very interestingly and moves itself. The work of the robot is based on such a phenomenon as vibration, in this regard, the robot shows the best results of work on a slippery surface. Especially interesting is the robot moving along the floor with tiles, here it paws at the docking points and then pushes away from them.
In general, such a robot will delight both children and adults.
Materials and tools:
- a can from a drink;
- cable ties 2X5 inches;
- screed for 1x20 inch;
- a long piece of wire;
- a small motor at 1.5V;
- a small gear or other connector that fits the shaft to the motor;
- a small bolt and two nuts;
- film;
- thin electrical wire;
- one AAA battery;
- bottle cap;
- syringe (will hold batteries);
- two nuts for the switch.
Of the tools you will need: pliers, a soldering iron, hot-melt adhesive, sharp-nosed pliers, an office knife.
The manufacturing process of the robot:
Step one. Create legs for the robot
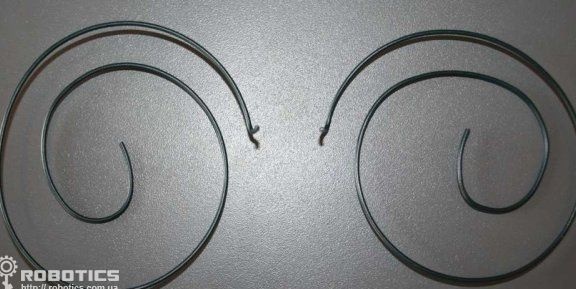
You need to take a long piece of wire and bend it so that a ring forms inside, its diameter should be close to the diameter of the can. Well, the ends of the wire will form the legs of the robot.

Step Two Create wings
Since the robot will simulate a flying insect, it needs to be equipped with wings. In total, two wings are made, and they must be the same. For the manufacture of wings, you can use a wire or wire of a different color so that the legs and wings are different. For greater realism, the wings can still be cut out of plastic or cardboard, and then painted to your taste.
If it is decided to make wings of wire, then their shape should be as in the photo. The wings should be symmetrical. If the wings are different in weight and shape, an imbalance can occur and the robot will constantly tend to one side during operation.
Step Three Mechanical assembly
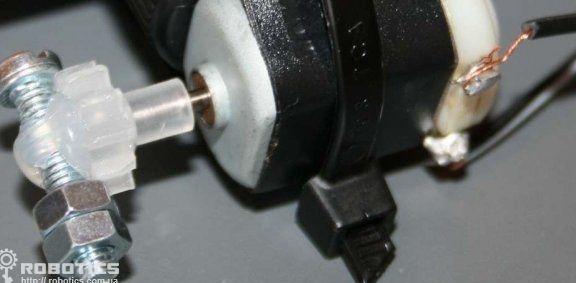
You need to take the motor and put a suitable gear on its shaft.Next to the gear you need to glue a bolt with two nuts. As a result, when the motor works, a vibration will form, then it will be transmitted to the entire body of the robot. At the same stage, solder the wires to the motor contacts. The length of the wire should be such as to wrap the can around and then connect it to a power source.
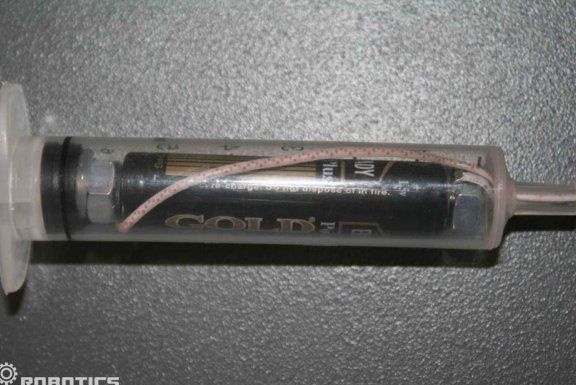
Still need to make a holder for the battery. This is done with a syringe. Nuts are installed on both sides, they act as contacts. However, you can directly solder the wires to the battery poles, but then it will not be removable.
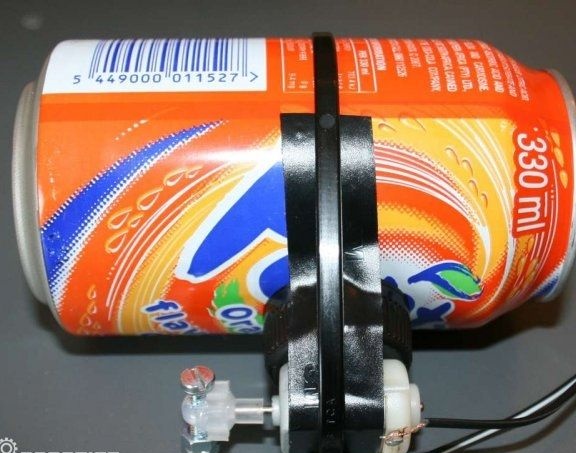
Step Four Robot assembly
Now the robot can be assembled. First you need to install the legs and wings, the author recommends doing this with a film or rope. The engine must be installed using a film in the lower part of the can, and the power supply is installed at the top of the robot. In order for the engine shaft to rotate freely, between the motor and the engine you need to put a regular bottle cap.

That's all, now the robot is ready for testing. To give homemade more original look, the jar can be painted, in this case it is black.