Carpet Crawler is a small robot belonging to the BEAM class. Such robots immediately include two such elements as aesthetics, biology, electronics and mechanics. Thanks to this approach, such robots imitate living creatures as much as possible, sometimes it seems that they are able to think.
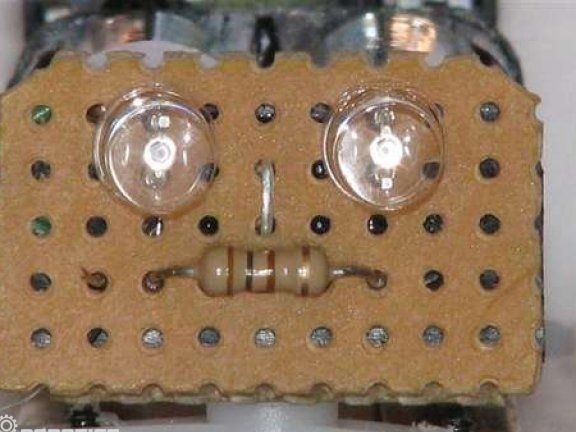
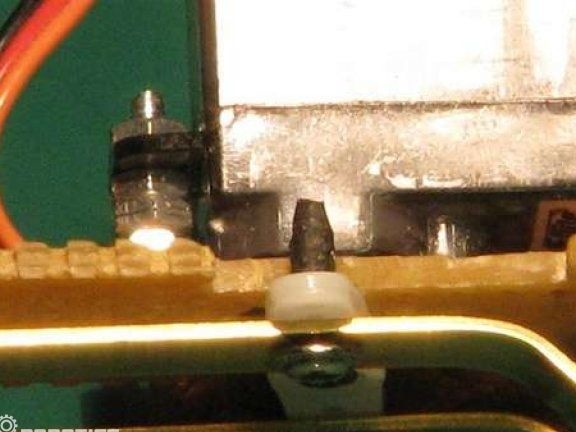
As a brain for such robots relays sensors and switches are used, and moves homemade due to the servomotor. AAA batteries are used as power. As the eyes that burn brightly, two LEDs are installed.
Materials and tools for manufacturing:
- brass strip measuring 1/32 "x 1/4" x 8 ",
- two pieces of copper strips;
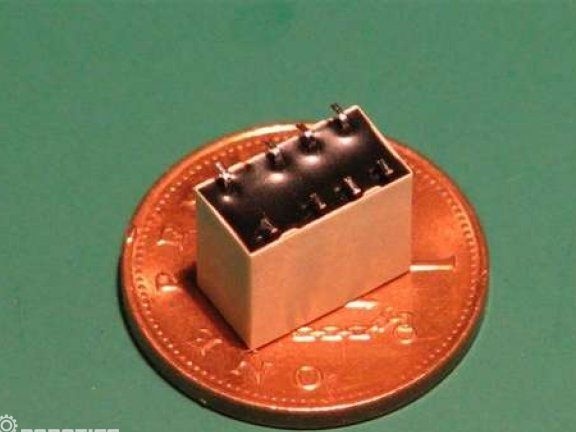
- M2 nuts and bots;
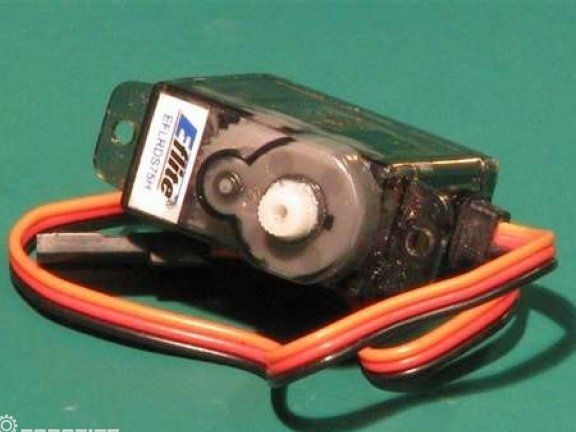
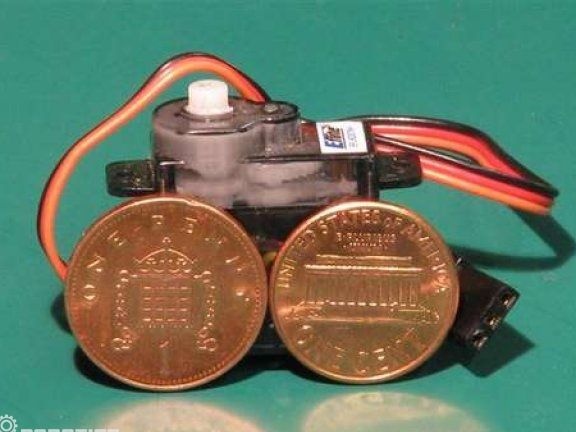
- servomotor (Micro RC (7.5 g));
- two microswitches (can be obtained from old drives);
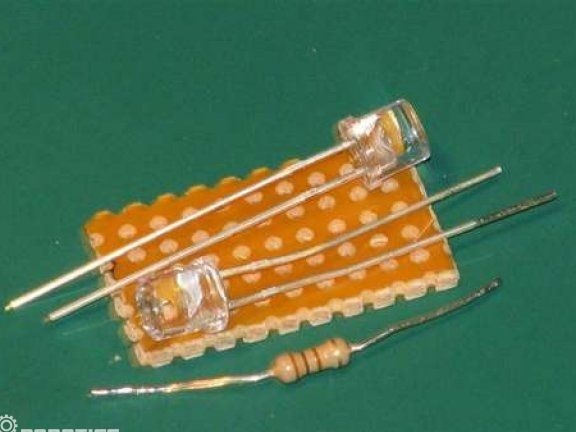
- two LEDs (it is best to use red, because white or blue in this case can work);
- one 100R resistor (if the LEDs are yellow or green, then 47R);
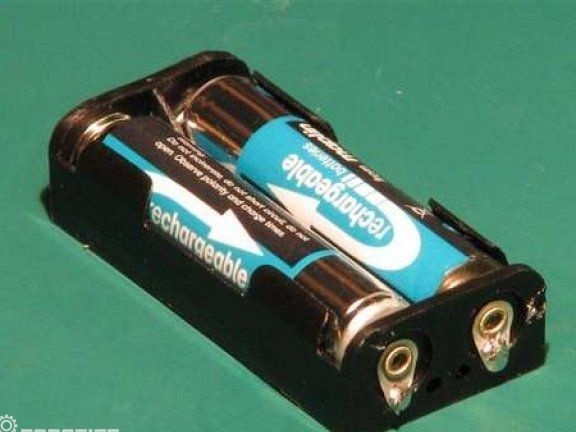
- two AAA batteries and a holder for them;
- thin wiring.

Manufacturing process:
Step one. Alteration of the servomotor
The servomotor is designed in such a way that during operation it makes impulsive movements. In this case, it needs to be redone so that it works on rotation. There are two ways to do this.
In the first case, you can save speed and direction from engine control, as well as control electronics. The device will still need incoming pulses to operate.
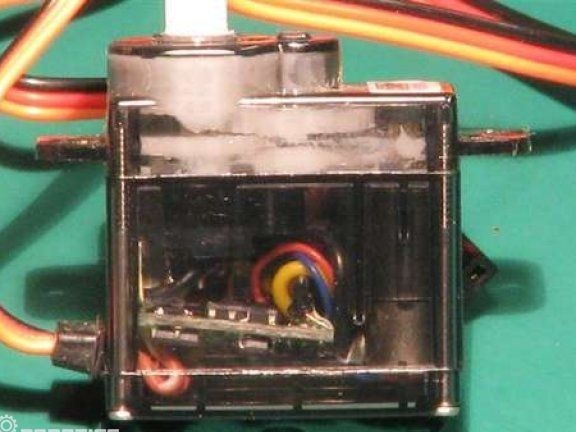
The author went the other way. It is necessary to cut off the stop element of the gears. Then the gears need to be lined up, it will be difficult to assemble them back if the sequence is lost. When disassembling, the surface of the servomotor must be lubricated with silicone grease.
The picture shows the RSV control mechanism that needs to be moved.
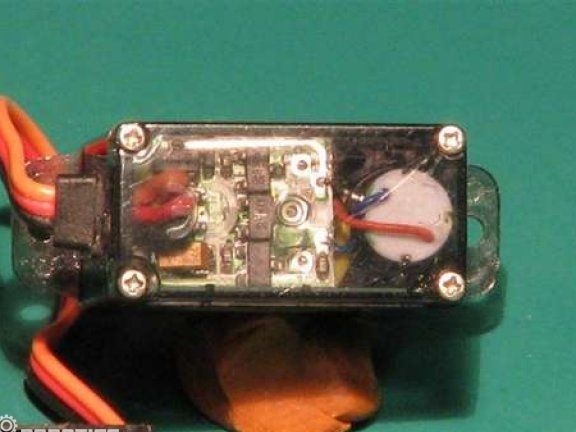
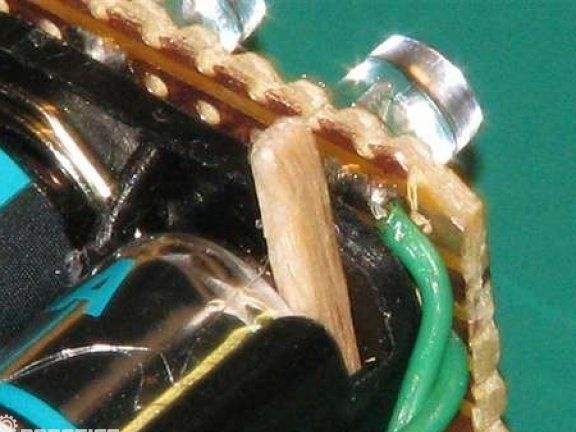
After removing the board, the red wire must be switched to exactly that red wire of the motor. Wires should be carefully wrapped with electrical tape to avoid short circuit.
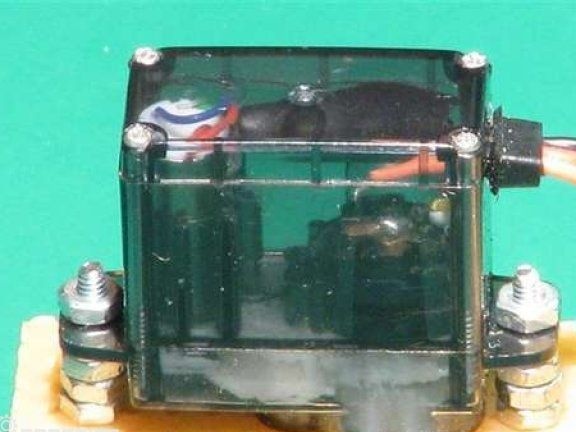
Step Two Create the mechanical part
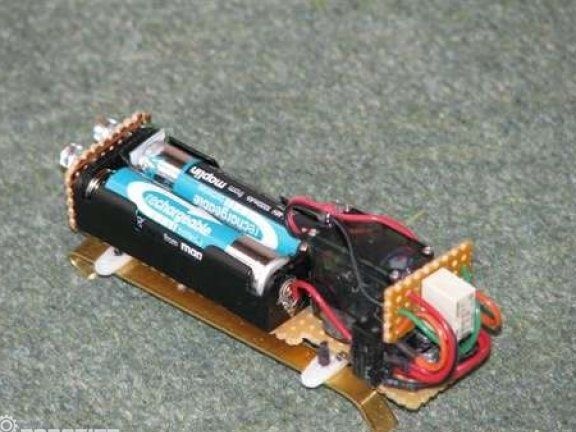
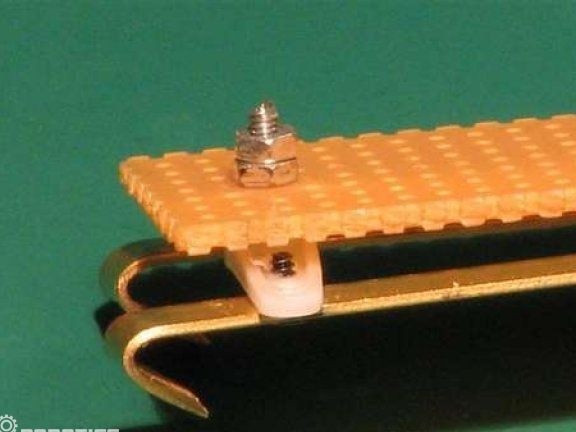
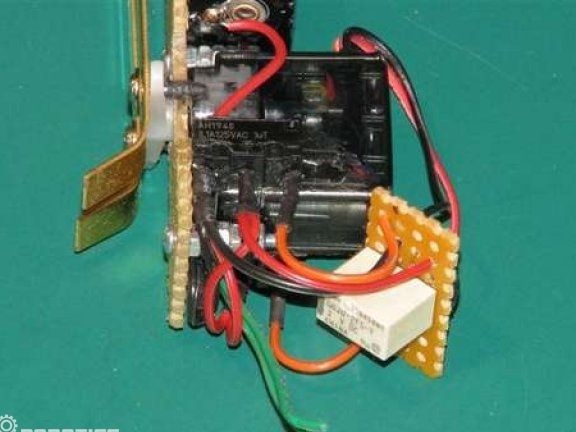
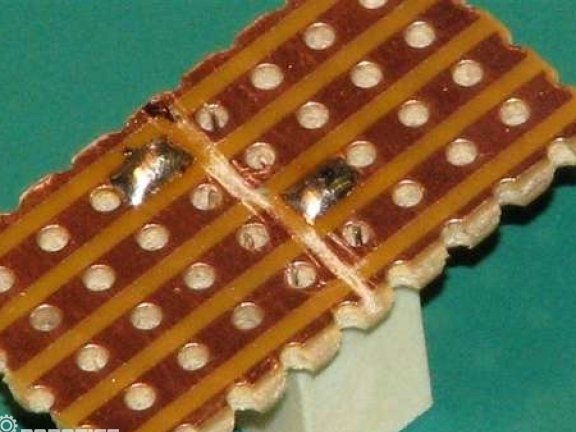
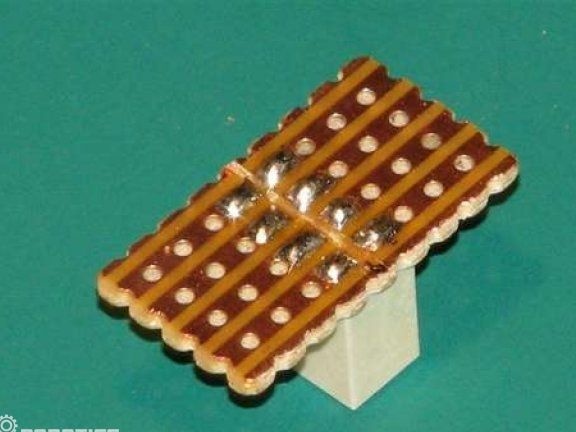
In the work board, you need to drill several holes and then install the relay on the back of the battery.For mounting the servo drive, 2 mm bolts are used.
The legs of the robot are made of solid copper plates, for this they are first cut into pieces of a given length and make bends. Thanks to such deflections, the robot will cling to the road and crawl. Fasten the plate with small screws.
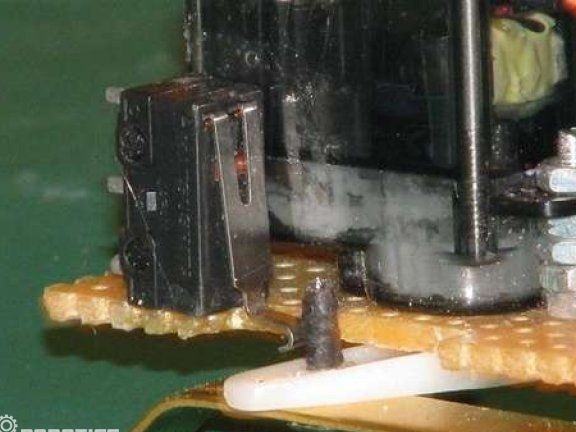
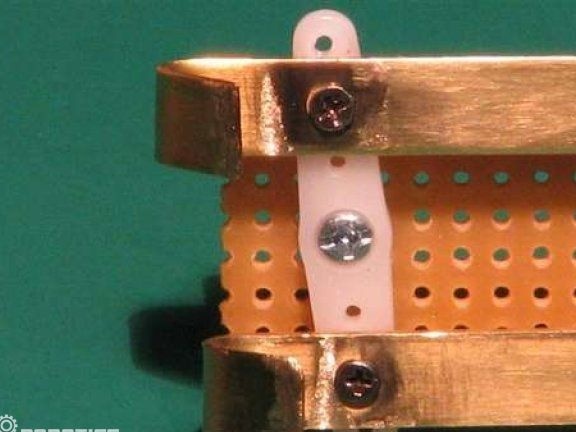
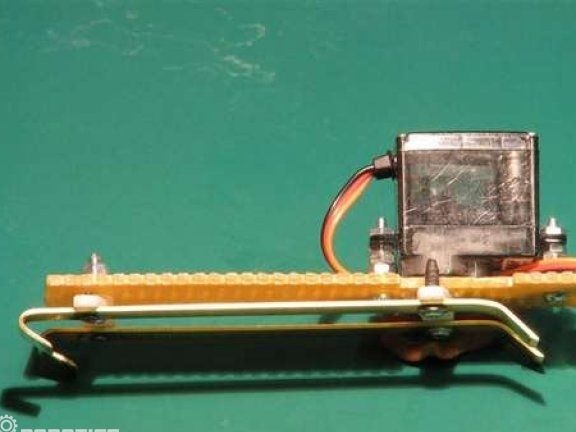
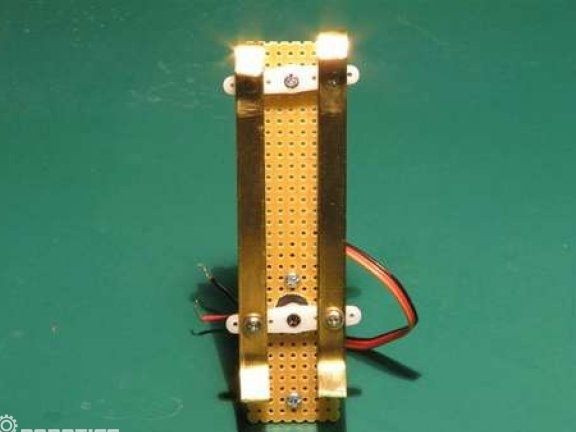

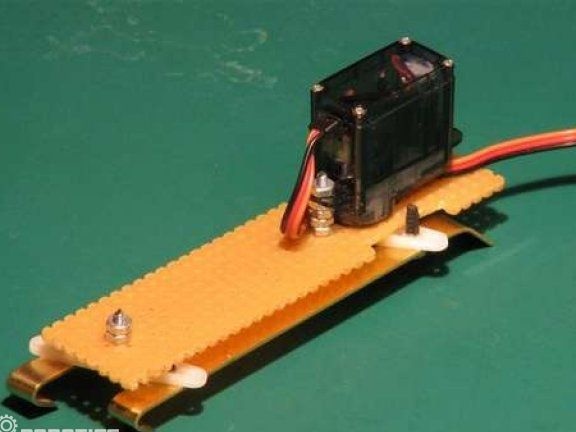
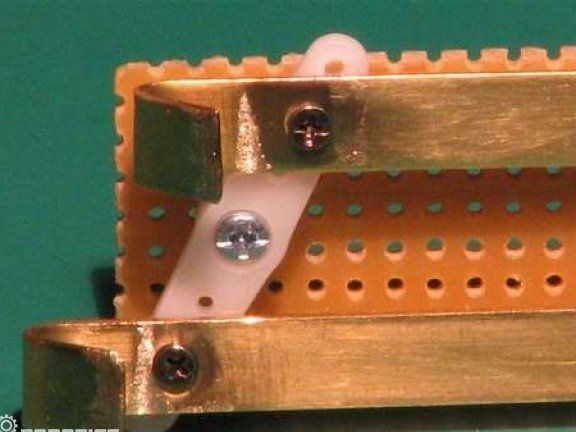
To control the legs you need to set the switches. They are attached to the servomotor with glue.
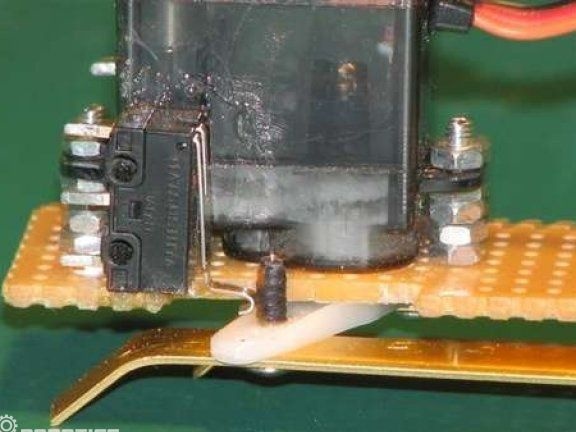
Step Three Robot electronic circuit
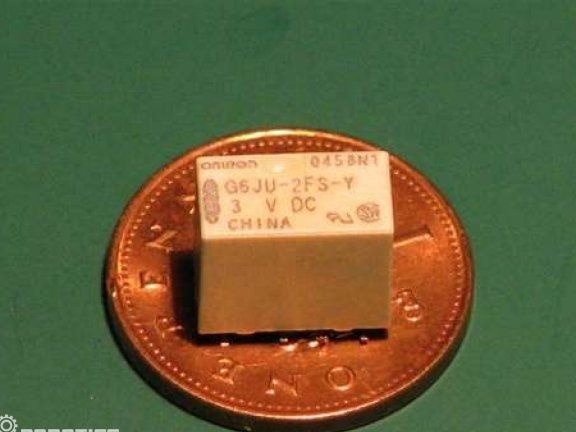
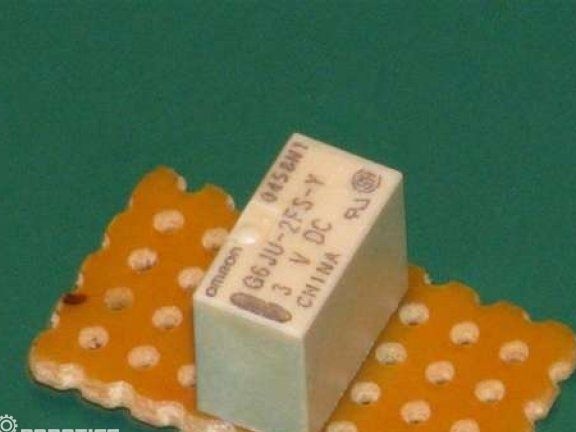
The main component in the work of homemade can be considered a relay-latch, which will work when disconnected from the coil. The relay will change movement, but it will remain in one place until the next turn.
The pulses to the coils will come from two microswitches, they will turn on when the antenna's relay will fall on the switch.
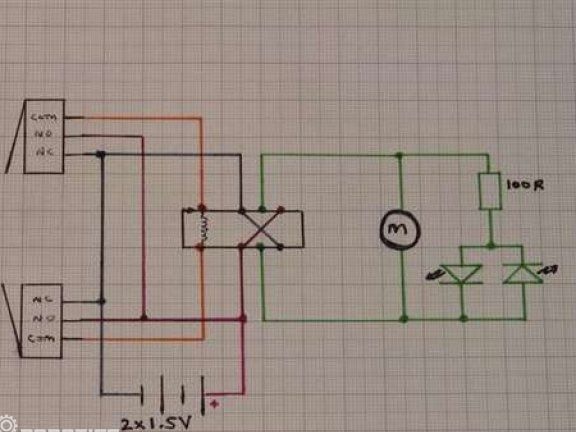
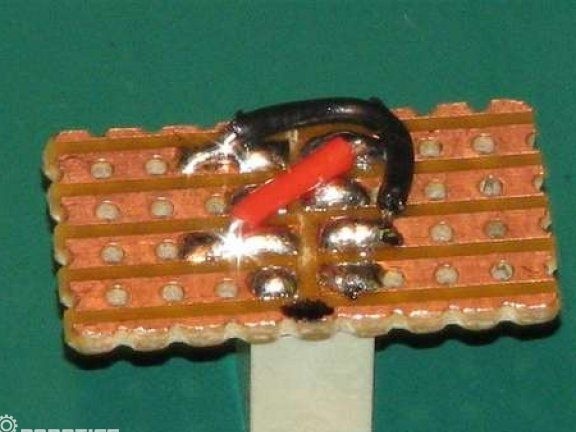
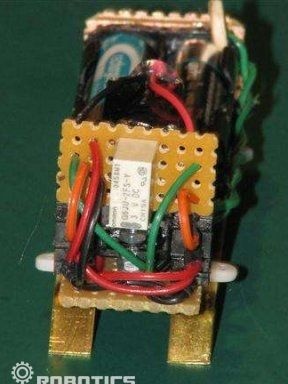
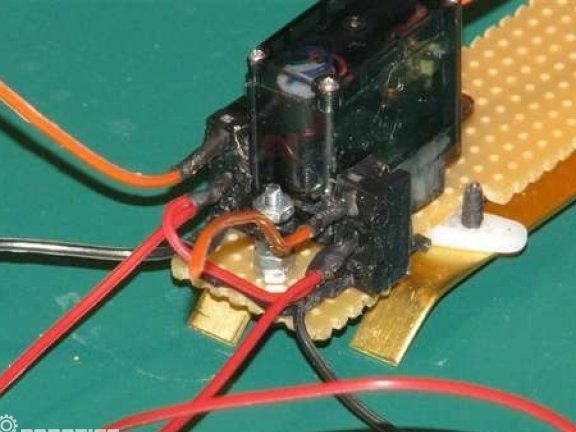
Step Four Assembly of the electronic part
The relay is mounted on a scrap on a plate, so it is easiest to connect. The whole process of connecting electronics is shown in the photo.

That's all, now the robot is ready. Best of all, he will seem himself on the carpet surface, as it is designed specifically for such places. First, the robot should light up the LEDs, and then it will slowly crawl along the floor.