
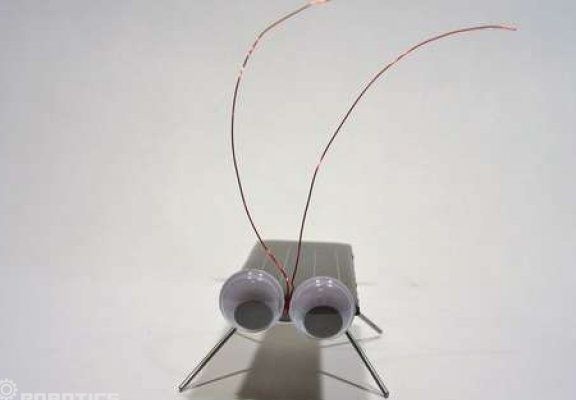
The article will consider the option of how to create a miniature robot running on a solar battery. This model The robot was called Solar Cockroach 2.0. Robot very simple in terms of creation, it takes no more than half an hour to build it, and the cost of such homemade is in the range of 5-10 dollars. The type to which such a robot can be attributed is vibro-passages.
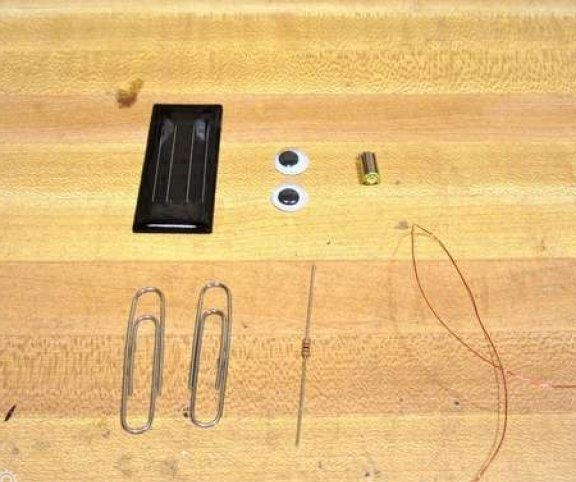
Materials and tools for creating:
- solar battery at 2V;
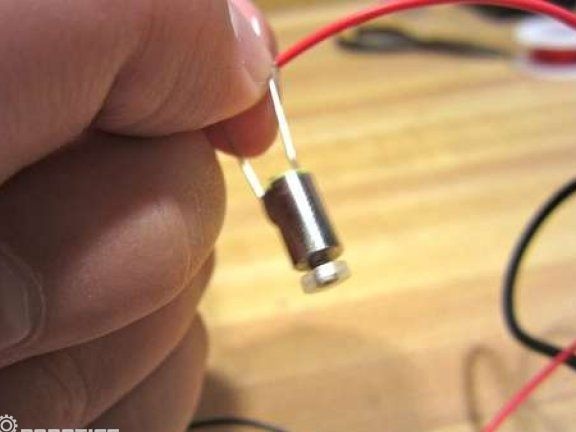
- vibration motor from a mobile;
- diode or resistor (and other little things);
- two large paper clips;
- copper wire;
- two googly eyes
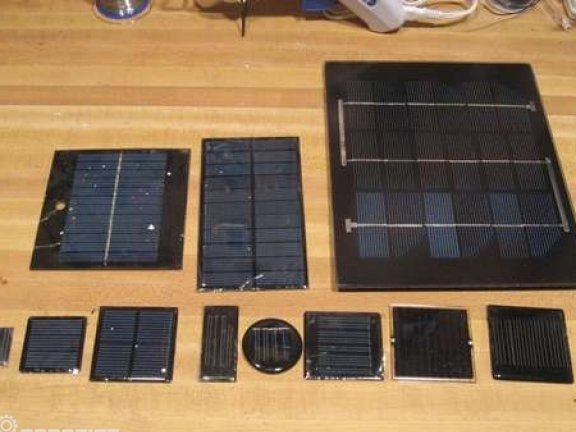
All necessary components can be easily bought online, for example, at eBay auction. The purchased solar panel should give out at least 2V / 50mA, the more, the wider the possibilities. It is also important to consider the weight of the solar battery; the smaller it is, the better. After all, with more weight, you need to put a more powerful engine.
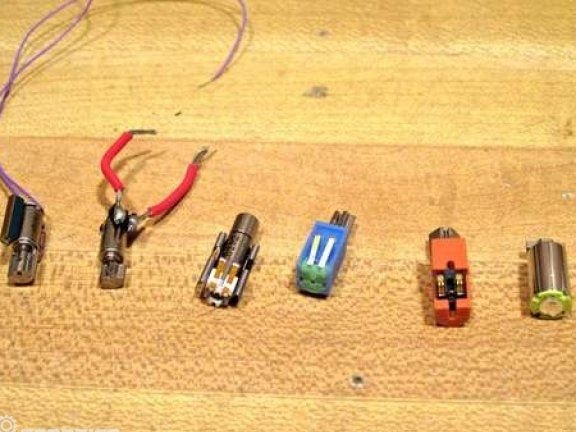
If we talk about engines, then they can also be bought. It is important that the motor can operate at a voltage of as low as 1.5 Volts. The size of the engine should be between 15-20mm.
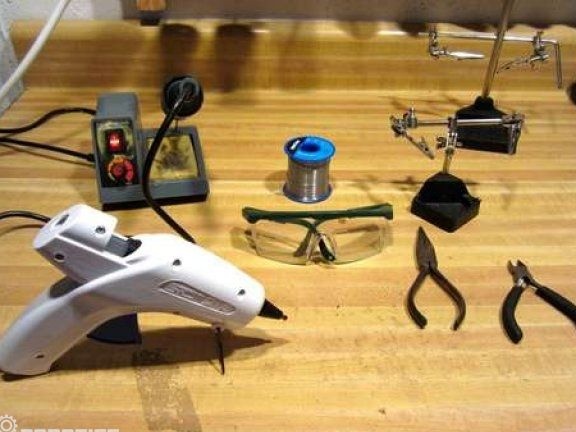
From the tools:
- soldering iron with solder;
- hot glue;
- nippers;
- assistant pen (preferably).
The manufacturing process of the robot:
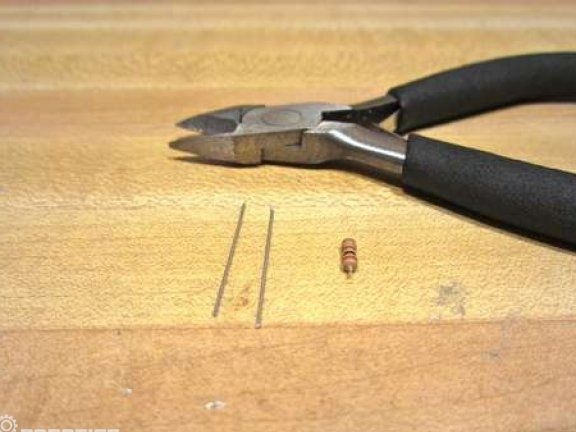
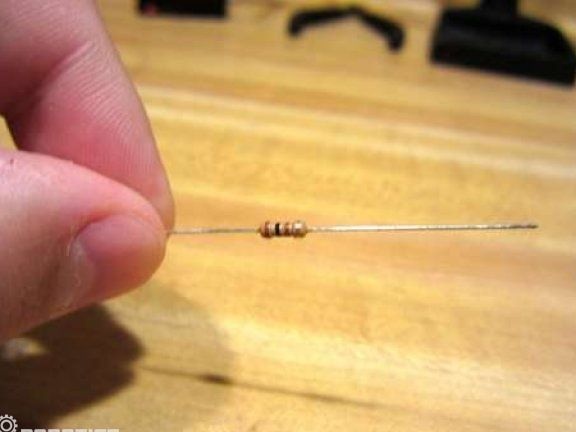
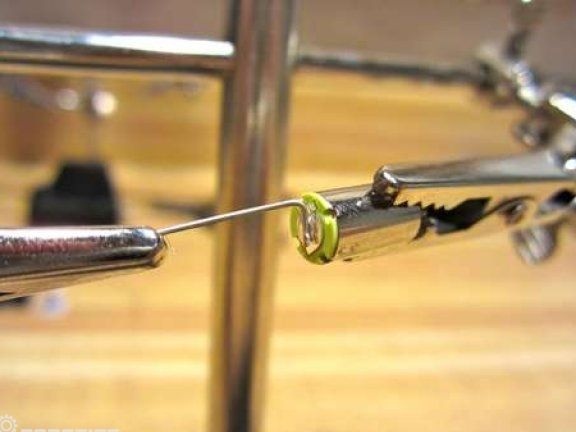
Step one. Resistor operation
The author used a resistor in order to get the necessary pieces of wire, he simply cut off the contacts from it and thus received blanks. Also for these purposes, you can use just wire.
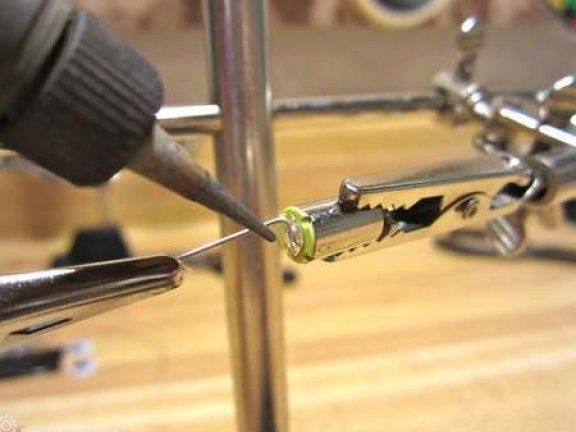
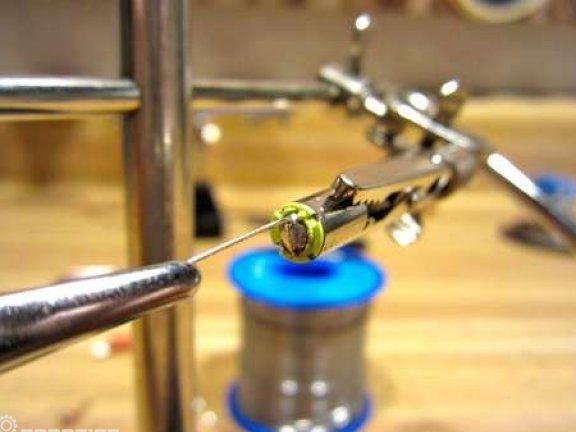
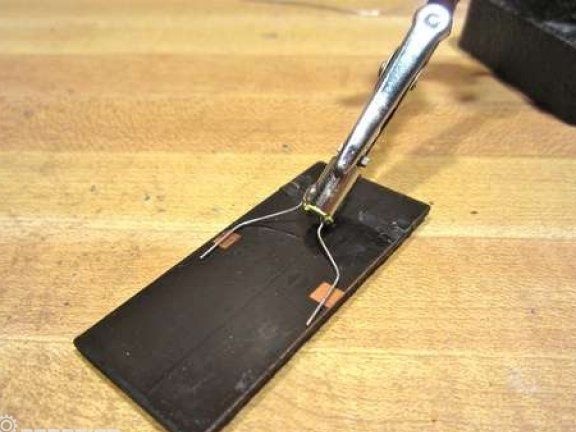
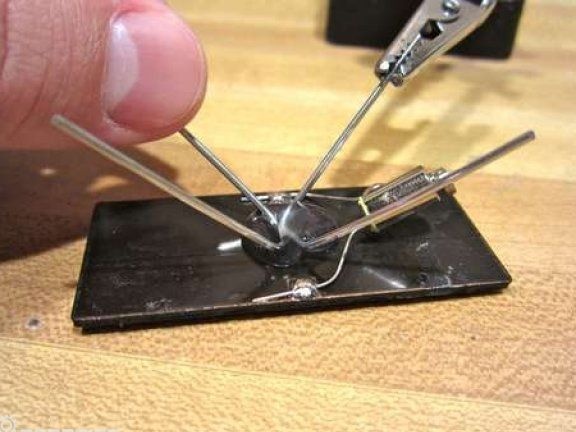
Step Two Create motor contacts
At the next stage, you need to take prepared pieces of wire and solder them to the motor contacts. This process is quite painstaking and responsible, it is best to use “Helping Hands” for these purposes. It is necessary to solder the engine carefully, as it can be easily disabled by overheating. Solder the contacts for 5-6 seconds.
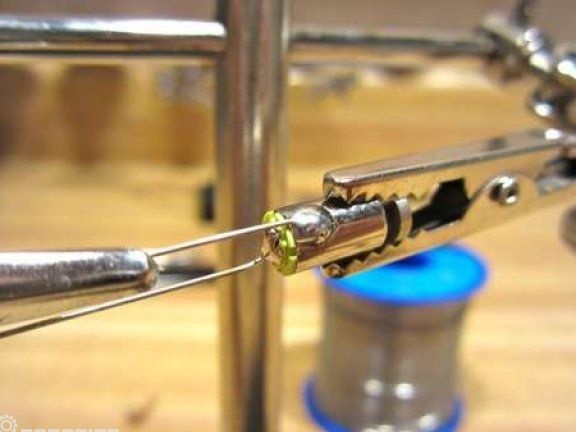
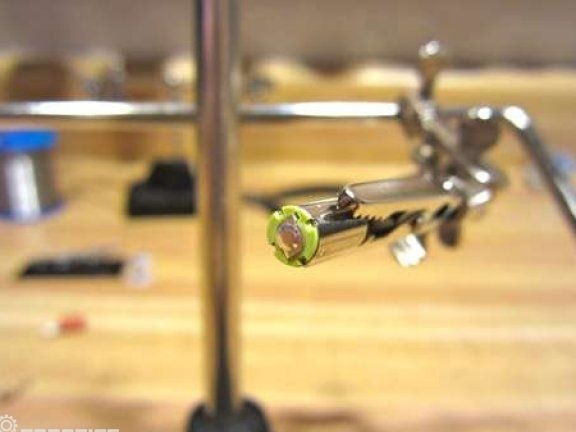
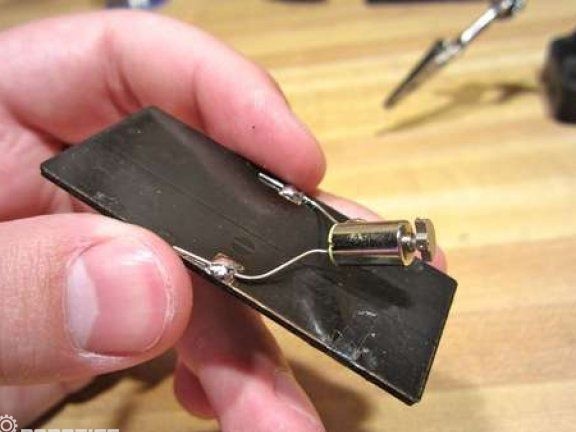
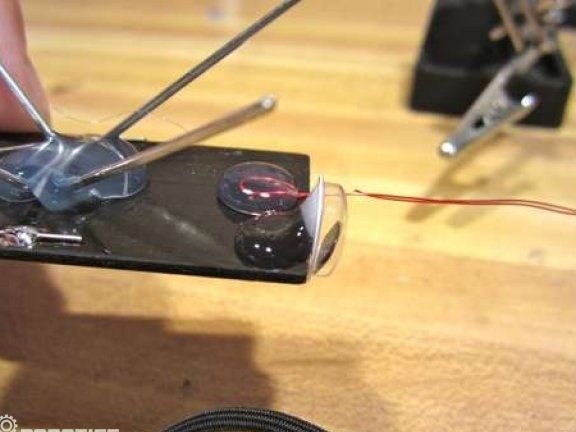
Step Three Solder the engine to the solar panel.
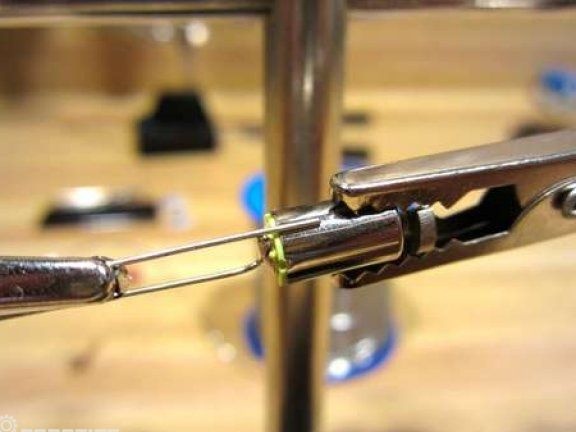
Now that the contacts are already soldered, they need to be properly bent using pliers. It is necessary to bend so that the tabs rest on the contacts of the battery and the engine should be centered.If there is an imbalance, the robot will constantly move in one direction during operation. Now you need to work with a soldering iron and solder the contacts to the battery. After this, the workpiece must be checked for performance. In bright sunlight, the motor should start to work and vibrate.
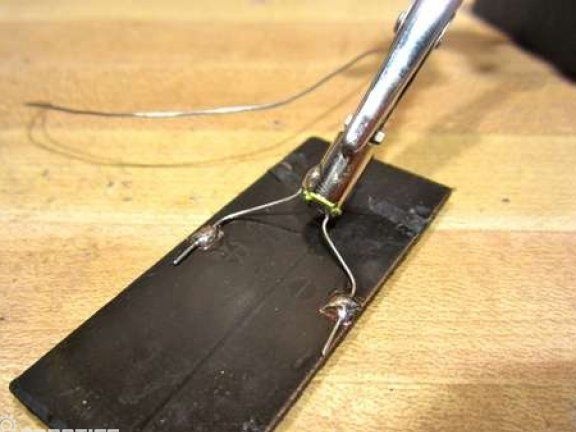
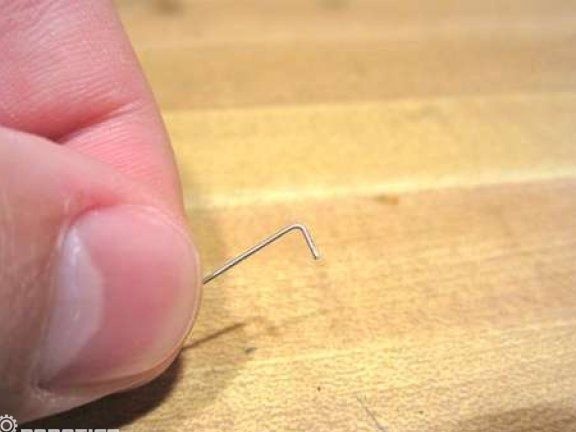
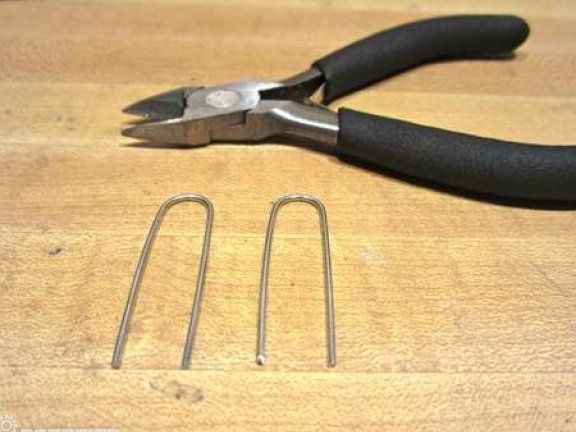
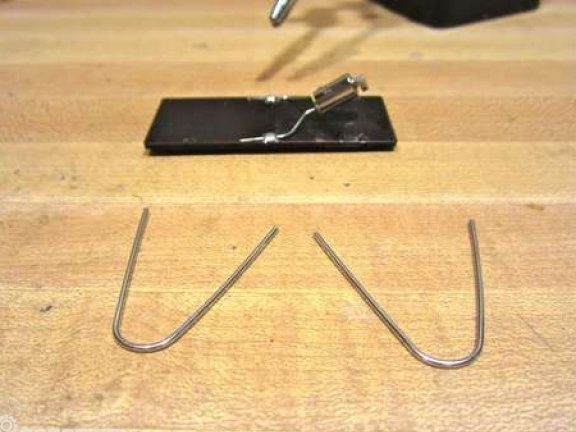
Step Four Paw setting
Paws for the robot are made of paper clips. They need to be bent as in the picture with pliers. Next, you need to take hot glue and fix the tabs on the solar panel. Now the robot is almost ready.
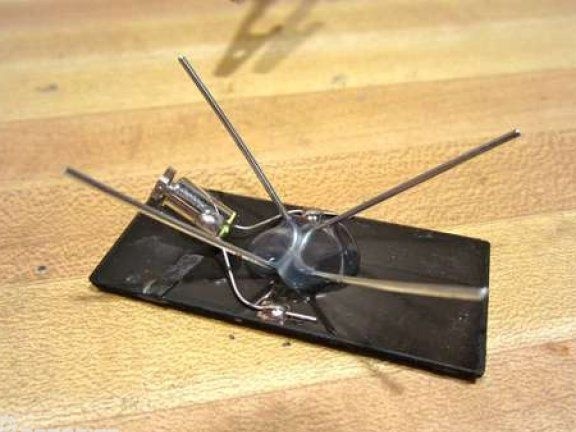
Step Five Finalization of the robot
At the final stage, the robot needs to glue its eyes, this is also done with hot glue. Well, so that the pet was even prettier, he can attach a mustache of copper wire.
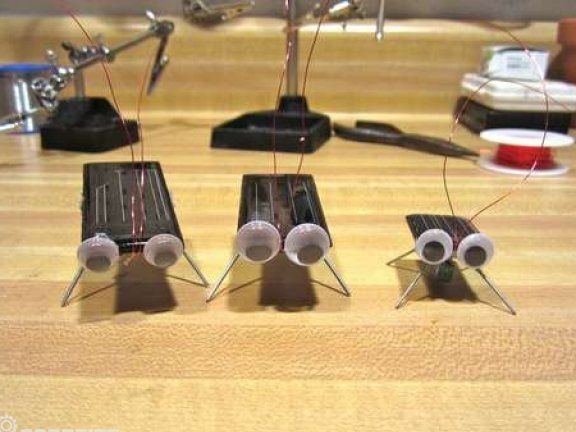
Everything, the robot is ready. You can enjoy his work. Such homemade work will only work with direct sunlight on the solar panel. In cloudy weather, such a robot will not work.
According to the author, a thirteen-year-old boy managed to assemble such a robot in just 20 minutes.