The article will consider an example of how to do it yourself make a walking robot called buck. When such robot works, then his movements are somewhat reminiscent of climbing insects. Due to the fact that the robot’s legs are spring-loaded, it creates a certain amount of noise when walking, which causes additional intrigue in the audience.
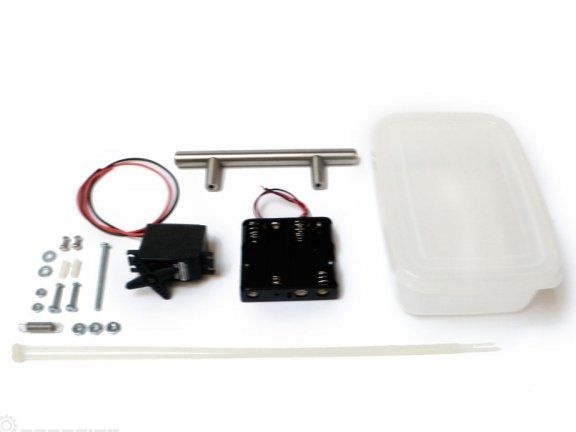
Materials and tools for manufacturing:
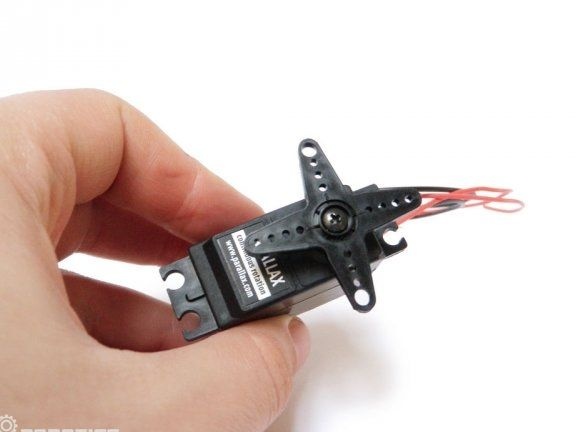
- servomotor operating only on rotation;
- one plastic container (dimensions 4 "x 3" x 2 ");
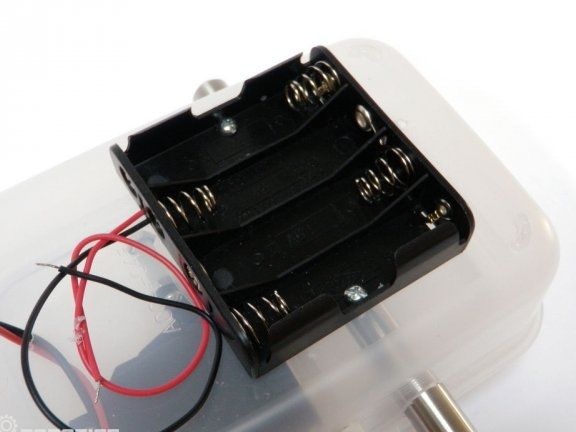
- one compartment for installing four AAA batteries;
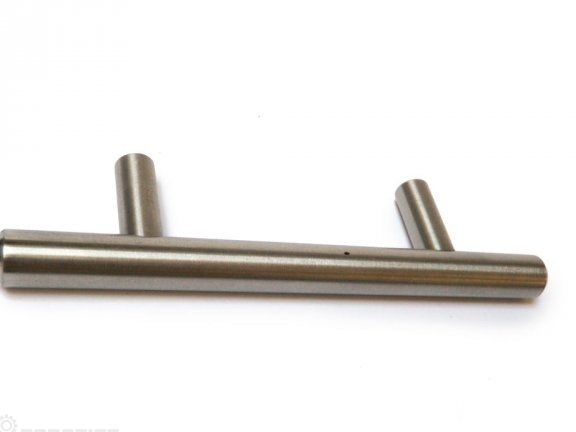
- a metal cylindrical support for traction of 5 inches in size (you can use a metal handle from the doors);
- one bolt on 8-32 "x 2";
- three nuts 8-32;
- two bolts 4-40 x 3/4 ";
- four nuts 4-40;
- plastic gasket 1/8 "x 1/2";
- spring from 3/4 "to 1";
- two bolts with nuts 4-40 x 1/4 ";
- a set of couplers.
Manufacturing process:
Step one. Let's start with the servomotor
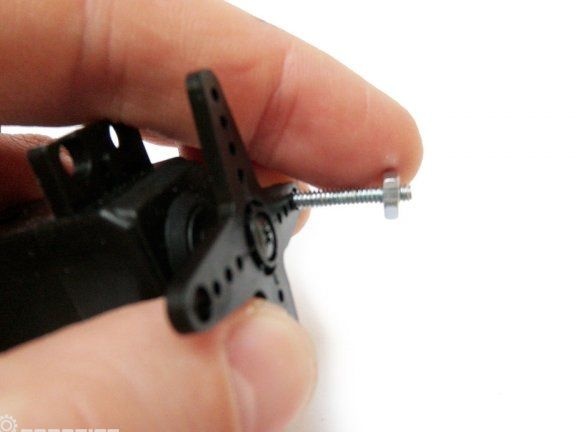
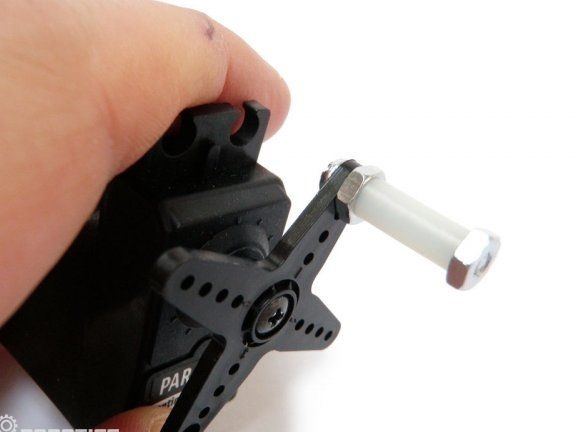
In the engine blades opposite each other you need to drill two holes with a diameter of 1/8 ". How to do this, you can see in the picture.
Next, you need to take the 4-40 x 3/4 "bolts and insert them into the holes of the blades. Now, with the help of the nuts, the bolts need to be fixed. After the plastic gasket is put on the bolt, it must be fixed with the nut. At this stage, the work can be considered finished.
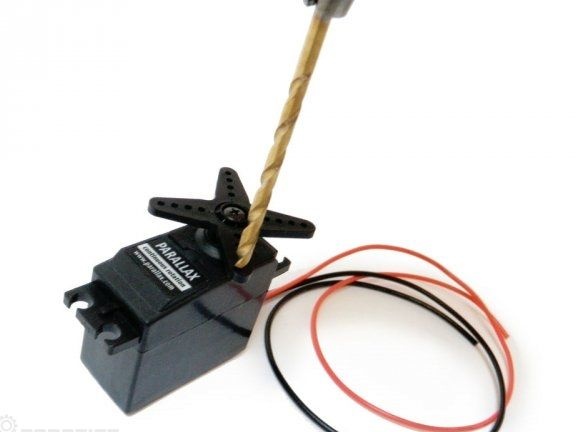
Step Two Work with support
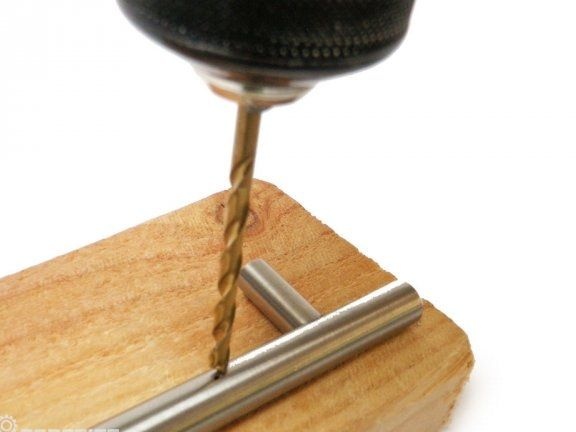
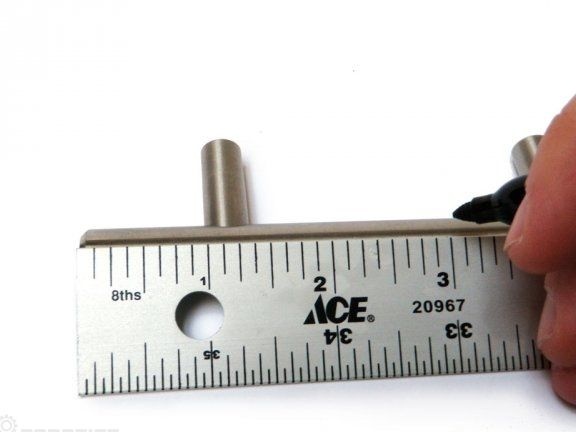
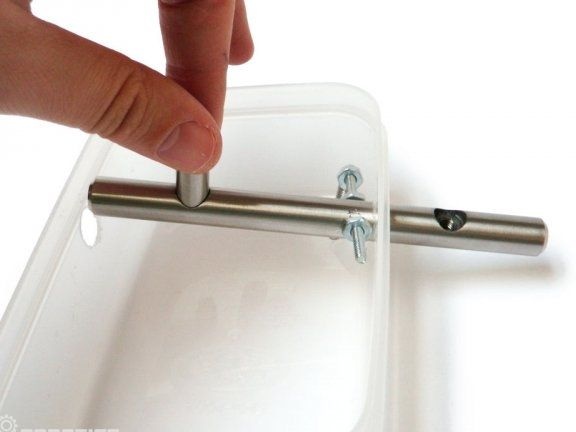
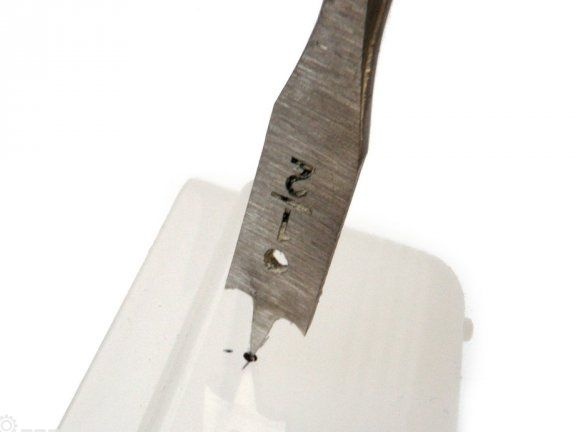
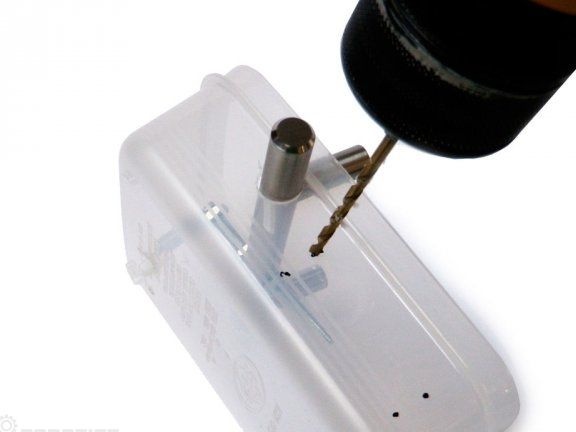
Now you need to take the metal support to create traction and drill a hole in it. To do this, from the extreme part of the handle you need to step back 3 inches and make a mark. The diameter of the drilled hole should be 3/16 ".
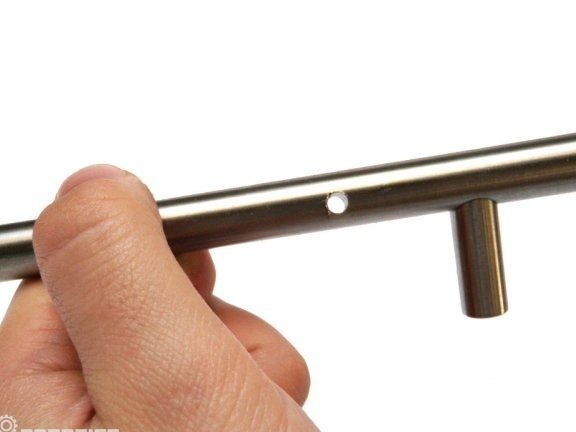
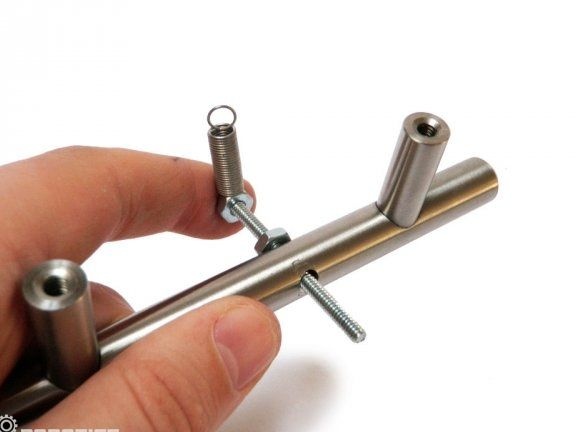
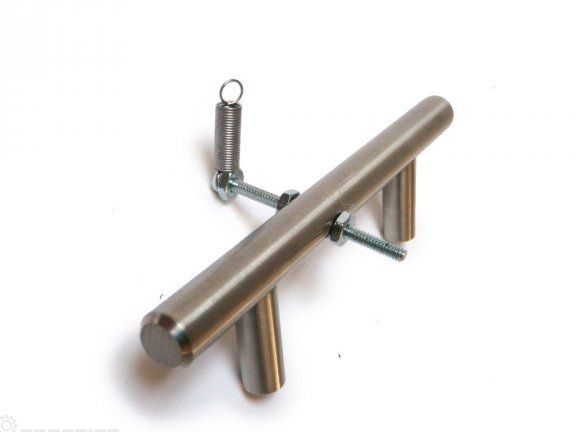
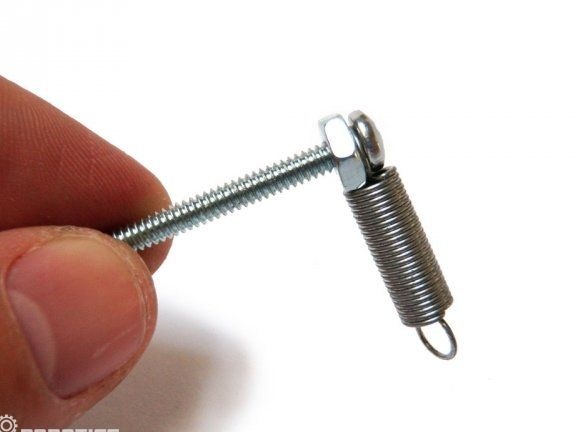
Then you need to install the spring. To do this, a 2 "bolt is taken and a spring is put on it. Next, the spring is fixed with a nut. Then, screw another nut and insert it into the hole that was drilled in the rod. The bolt is fixed on the other side of the rod with a second nut.

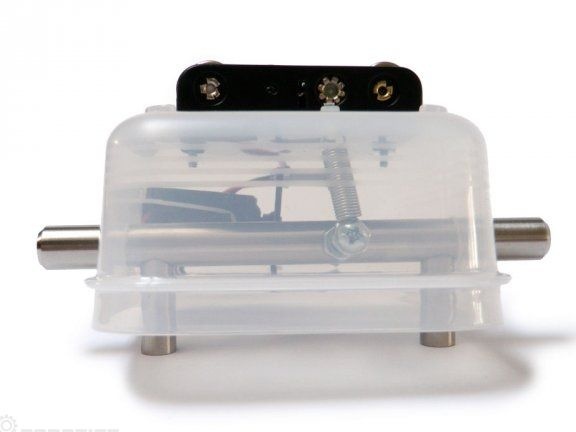
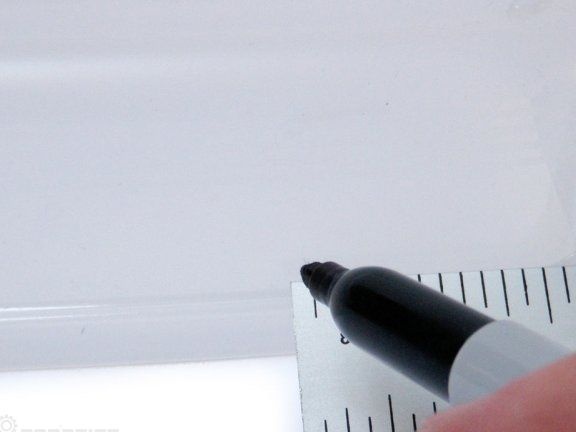
Step Three Installing the support in a plastic container
The plastic container must be placed upside down. From the top of the container you need to measure 1/4 ", and from the bottom 2", in this place a marker is marked. On the other side of the container, you also need to make a note. After that, you need to make sure that the calculations are done correctly and the notes match. Then, 1/2 "holes are drilled in the markings.
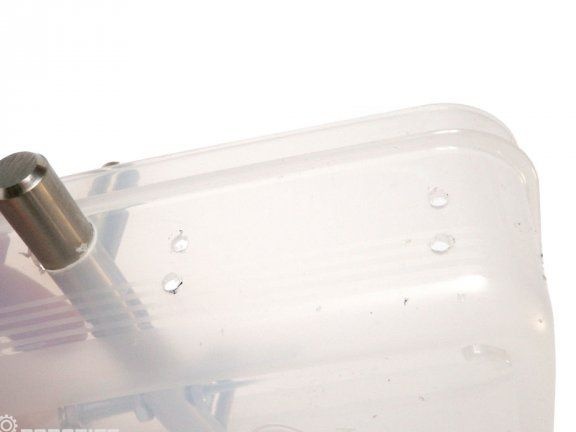
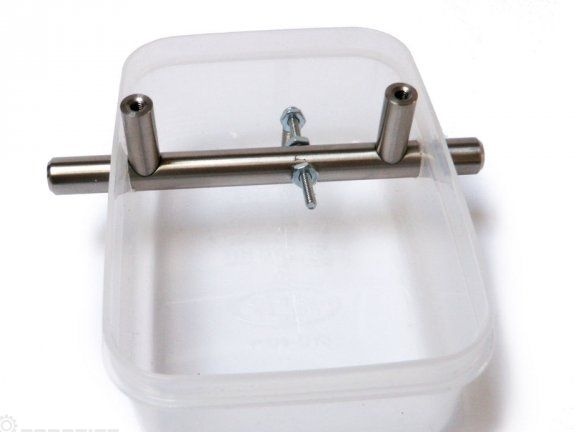
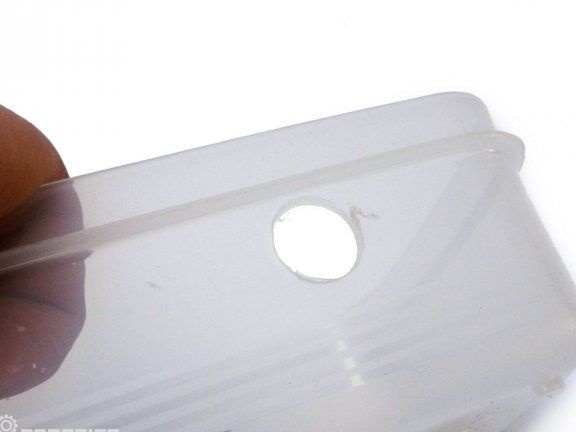
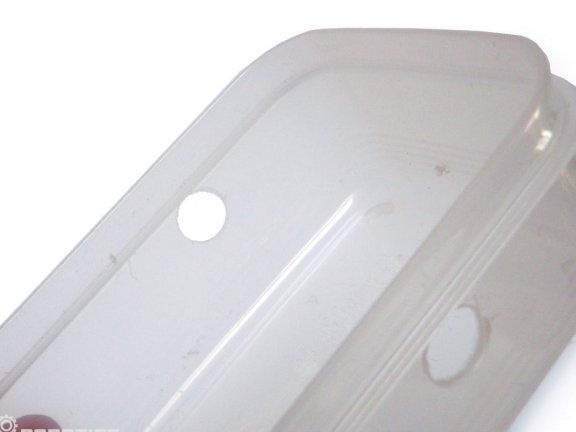
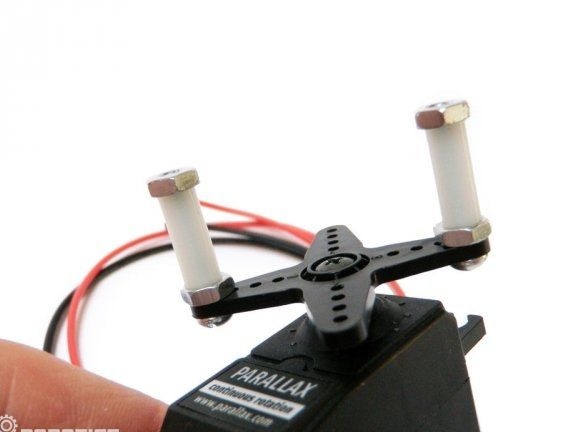
After that, you can install a metal support, it is inserted into the 1/2 "drilled holes. The support handles need to be turned so that they stick out of the can up, this will be the legs of the robot.In addition, the legs of the support should extend beyond the plastic container at the rear.
The author used a removable handle as a support. If necessary, it can be disassembled, and this greatly speeds up the assembly process.
Step Four Connect the spring
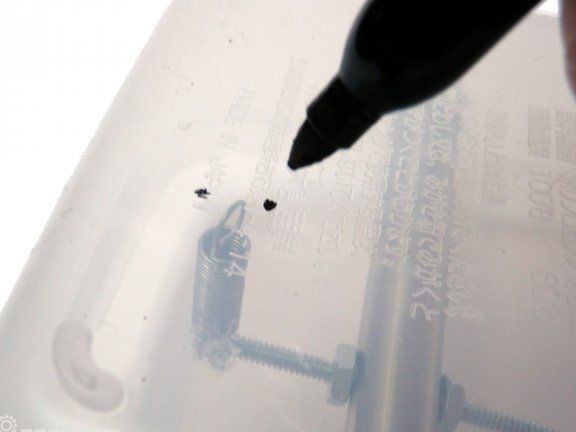
The spring must be placed so that it looks into the bottom of the container. Further, at this point, two marks are made to install the clamp, which will hold the spring. Marks must be drilled with a 1/8 "diameter drill.
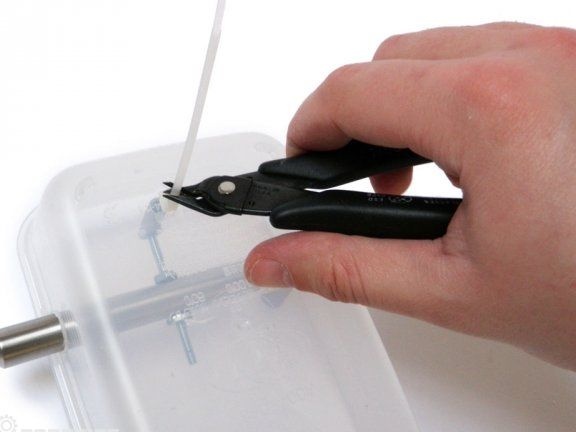
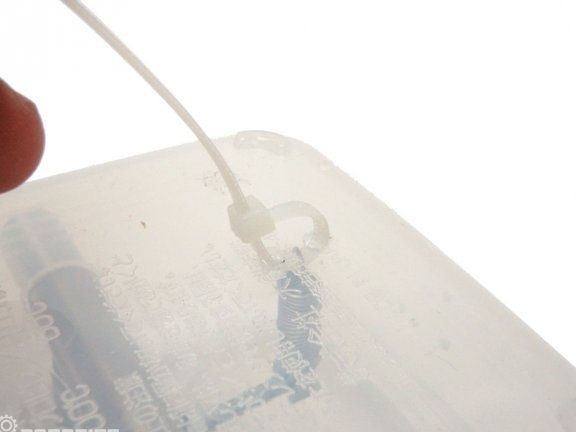

Now, using a plastic tie, the spring can be attached to the bottom of the container. The excess piece can be removed using nippers.
Step Five Engine installation
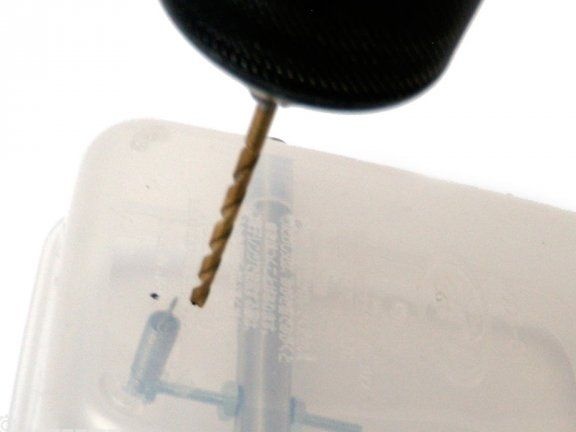
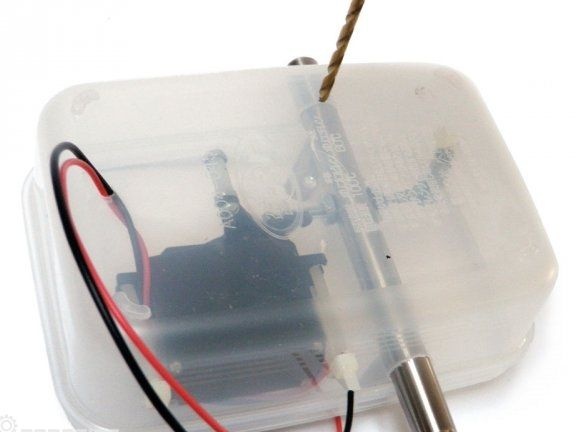
You need to take the servomotor and attach it to the inside of the container, making the necessary notes. The engine should be parallel to the base of the can, that is, all of its edges should be at the same level. After the marks are made, you need to drill four holes with a diameter of 1/8 ".
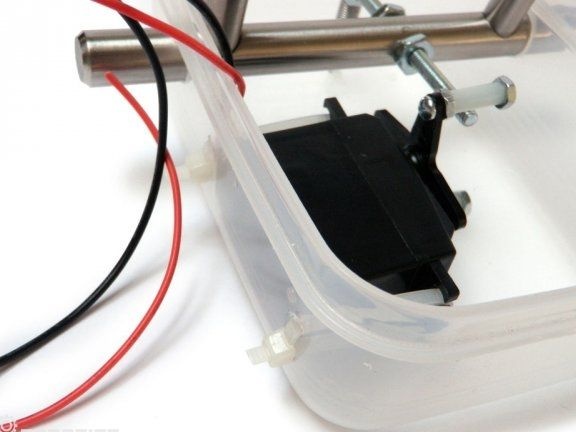
After that, the engine can be installed. It must be attached so that its bolts screwed to the blades can press on the bolt that protrudes from the support. As a result, with such contact, the robot will move its legs. The servomotor is attached with plastic ties.
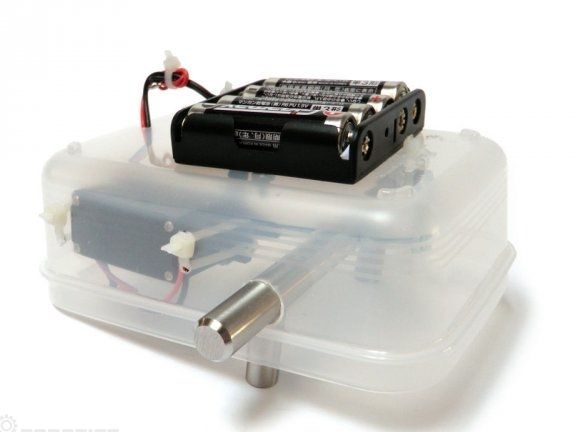
Step Six Power Supply Installation
Opposite the servomotor, you need to drill a 1/8 "hole and remove the wires from it. In this case, the wiring must be done so that it does not interfere with the operation of the device.
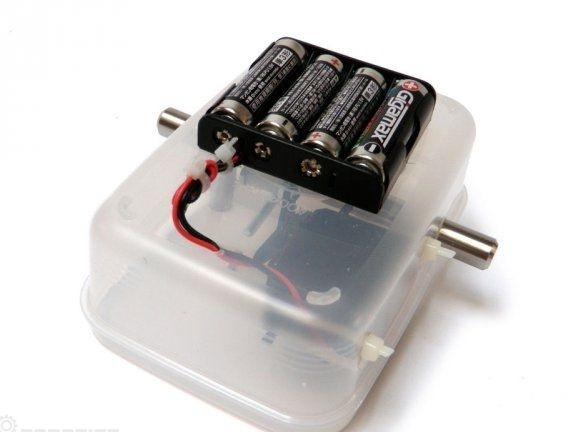
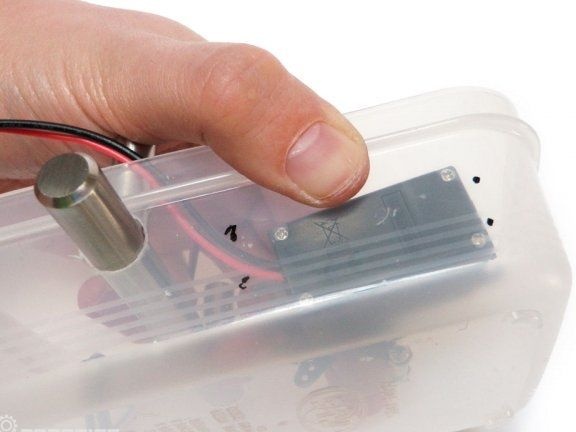
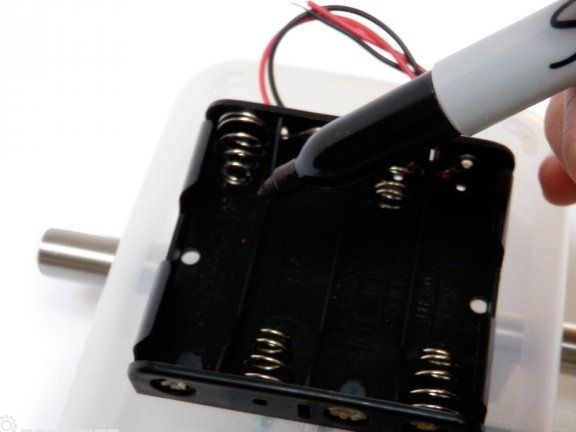
Now you need to install the battery compartment. It will be attached to the bottom of the container in the center. To do this, drill two 1/8 "holes. We fix the compartment with bolts with nuts 4-40 x 1/4".
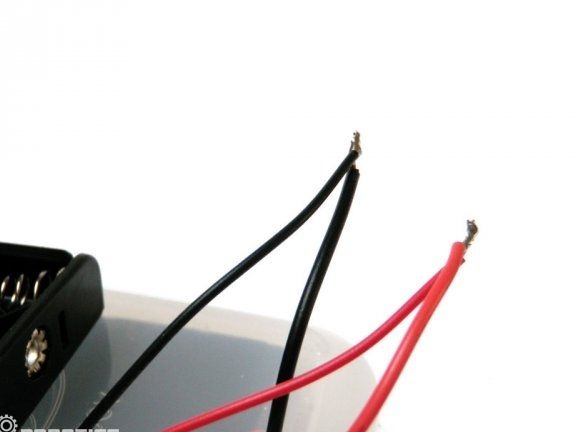
Now you need to solder and insulate the wires well. It is important not to reverse polarity. In conclusion, the wiring is fixed with plastic ties.
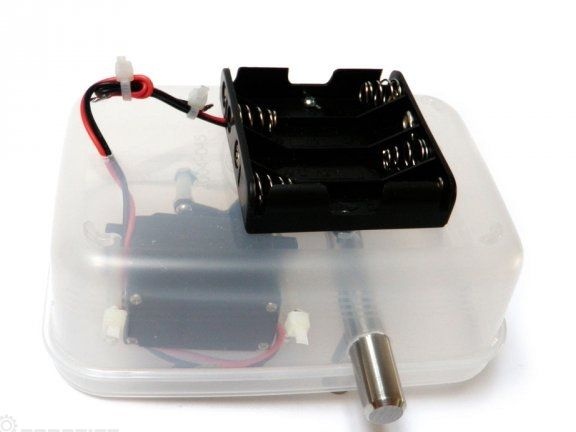
That's all, a simple walking robot is ready. To start it, just insert the batteries. The device can be upgraded by installing additional sensors and other monitoring systems. But even in such a simple design, the robot behaves quite interestingly thanks to the servomotor.