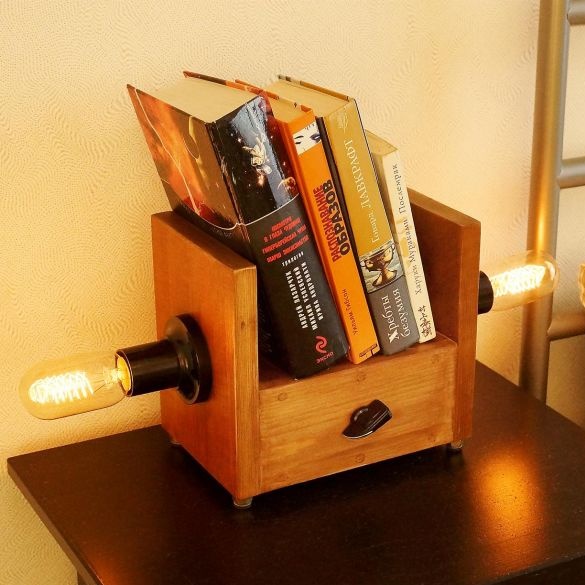
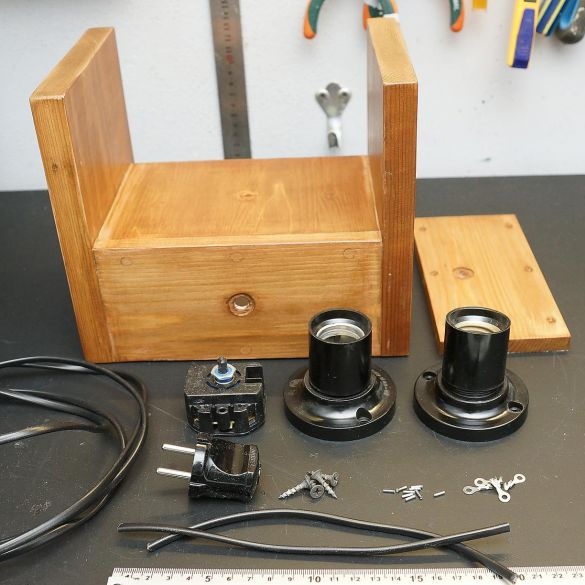
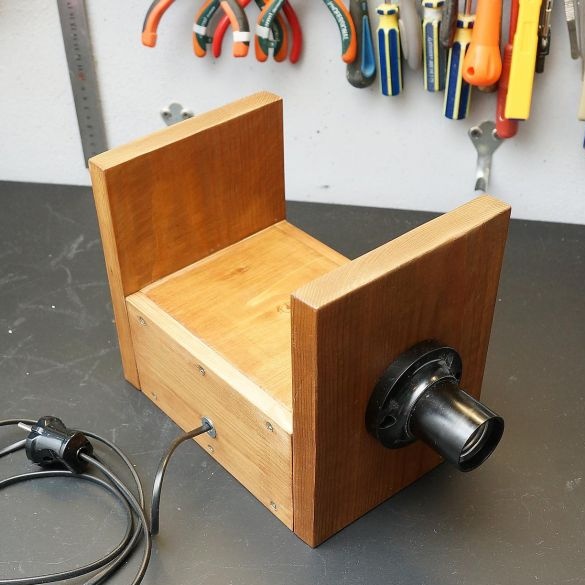
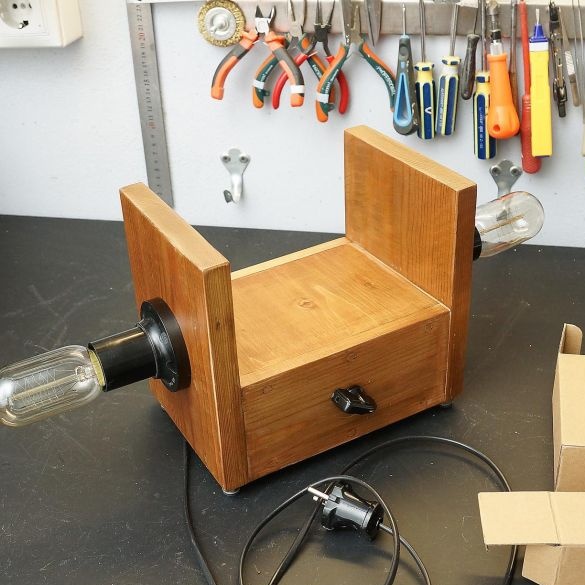
In this master class we will make a steampack lamp. Which at the same time will serve as a lamp, as well as a shelf for several books. To make such a stylish lamp will not be difficult since it can be made in home conditions without extra costs.
Necessary materials and tools.
- boards
- putty
- glue
- varnish
- cartridges
- lamps
- connectors
- heat-shrink tubing
- Dimmer
- jigsaw
- drill
- drill
- a chisel
- pliers
- knife
- self-tapping screws
- sandpaper
- putty knife
Step-by-step manufacturing:
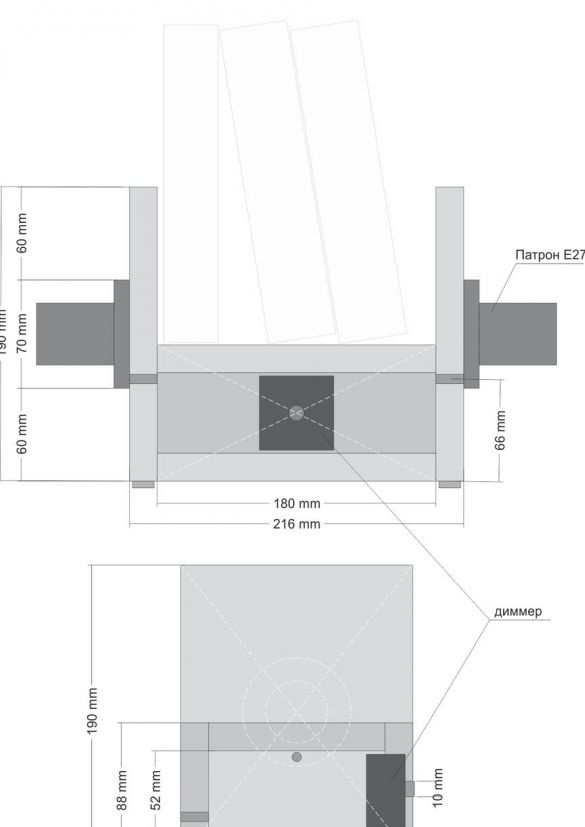
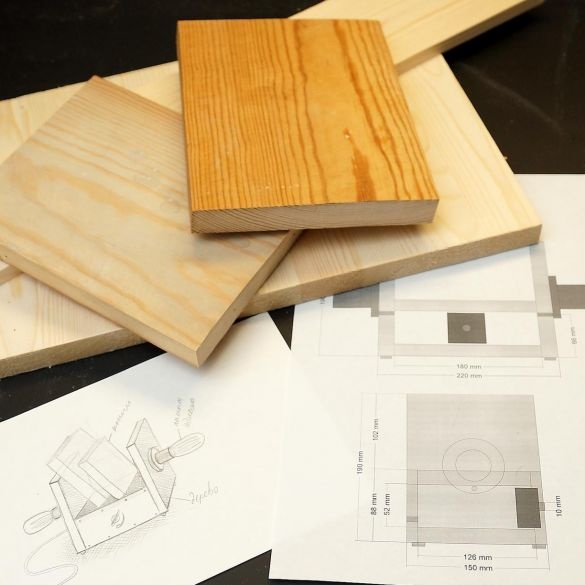
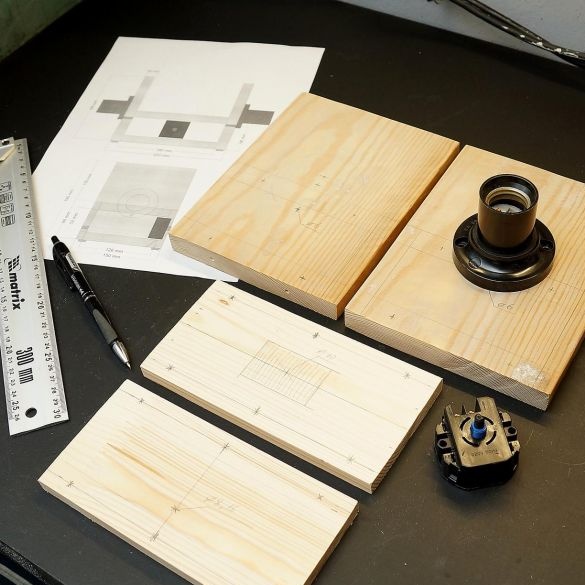
Step 1: First, print the future lamp drawings on the printer.
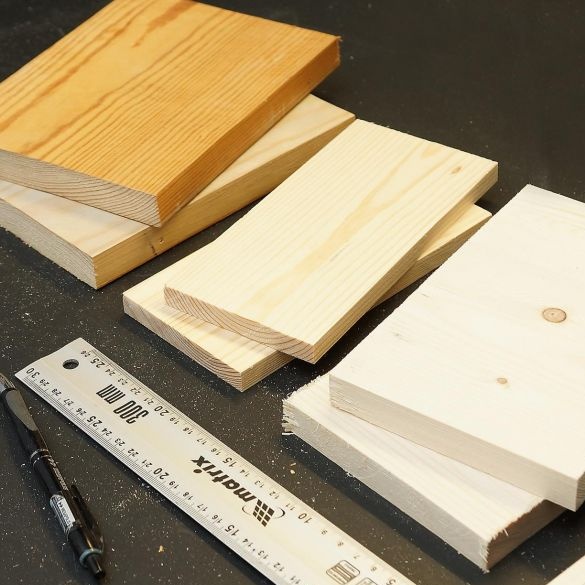
Step 2: Then, using a jigsaw, we saw boards with the following sizes.

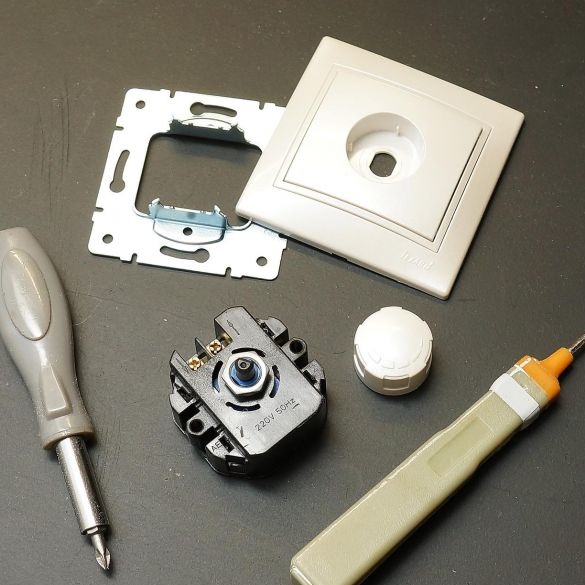
Step 3: Next, you need to disassemble the dimmer and pull out the mechanism from it.
Step 4: On cut blanks we make marks for the dimmer and the cord.
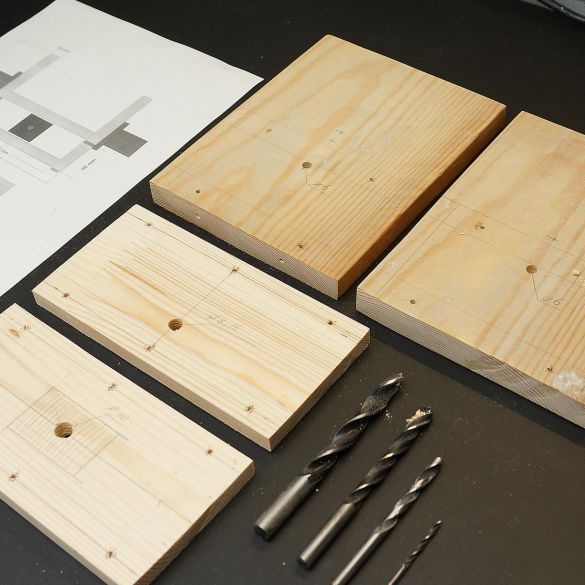
Step 5: Next, drill the required holes.
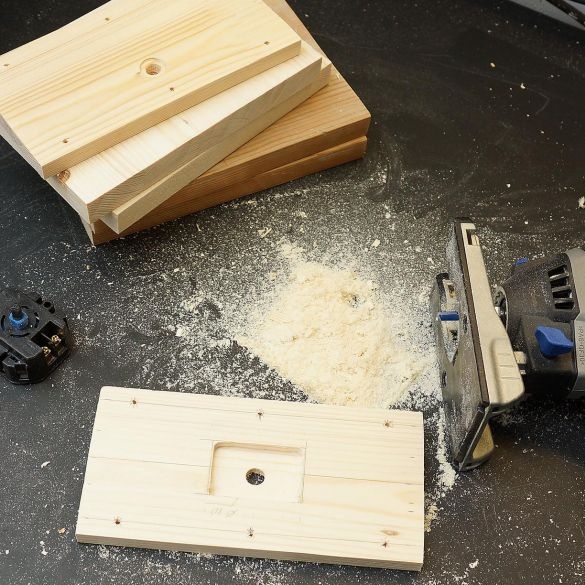
Step 6: On the front board, we make a small depression for the dimmer.
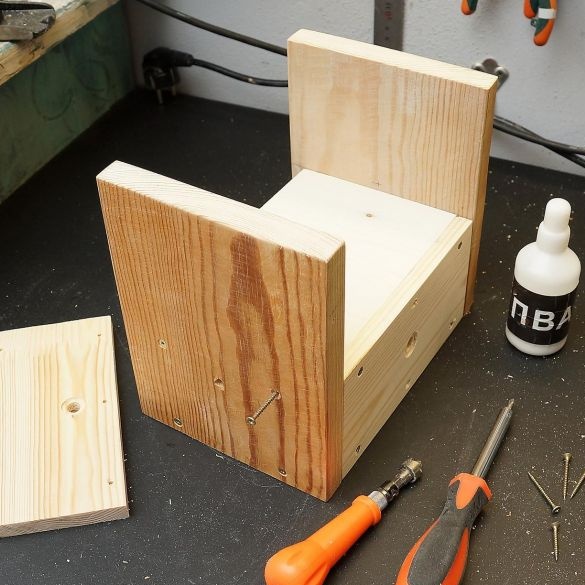
Step 7: We assemble the entire structure and fix it with screws.
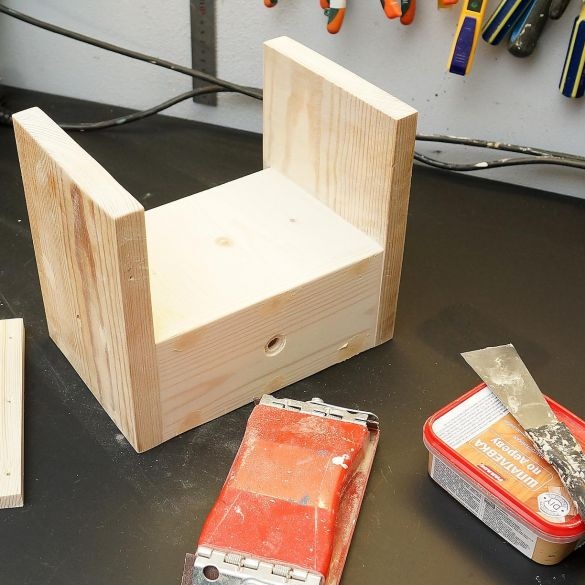
Step 8: We close the openings and seams with putty, which must be treated with sandpaper after drying.
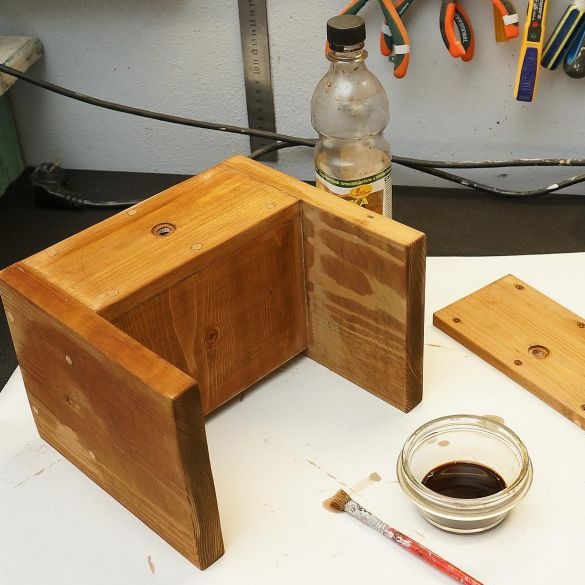
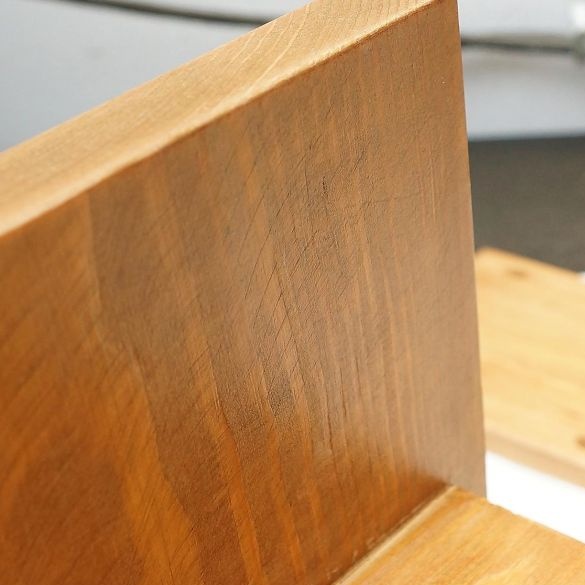
Step 9: The assembled structure is treated with stain and varnished.
Step 10: After the varnish has dried, we proceed to assemble the lamp according to the diagram below.
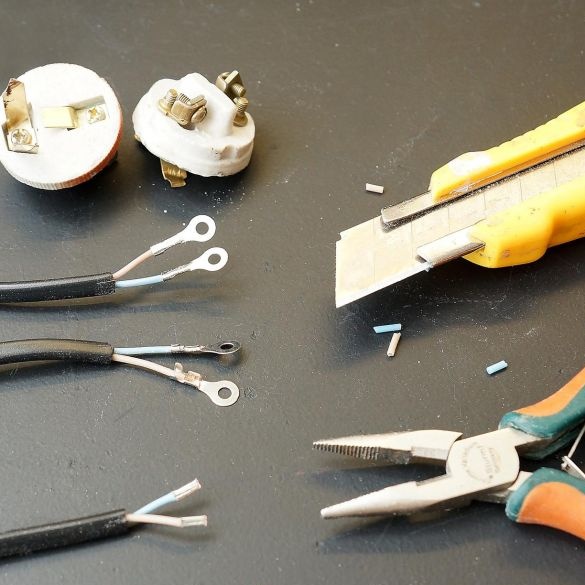
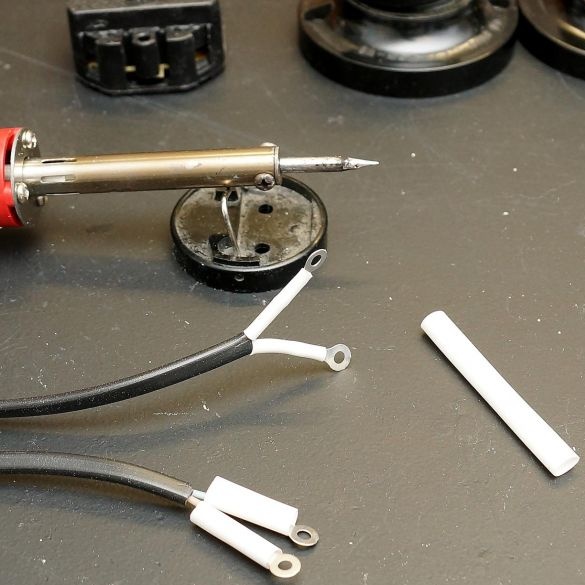
Step 11: We attach connectors with a ring to the wires and put on a heat shrink.
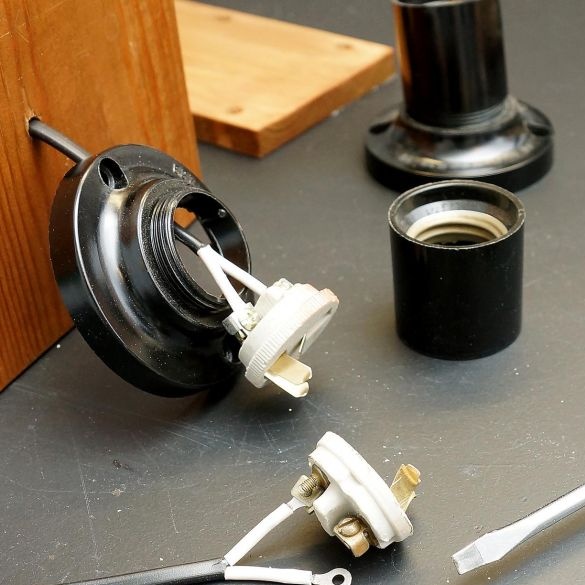
Step 12: We proceed to the assembly of cartridges. We fix cartridges on both sides of our design.
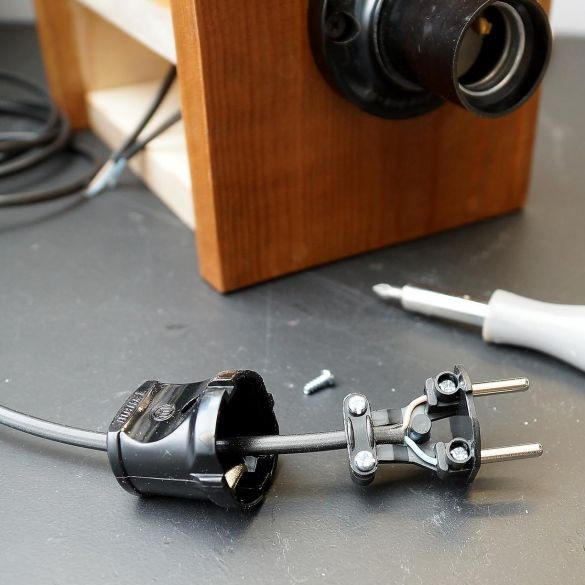
Step 13: We connect the plug.
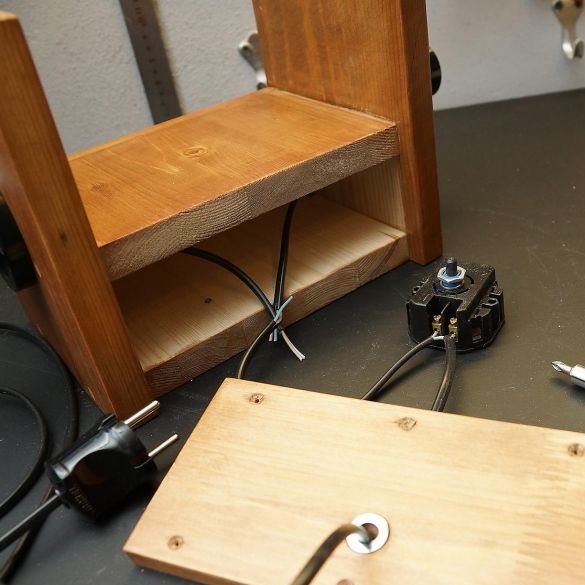
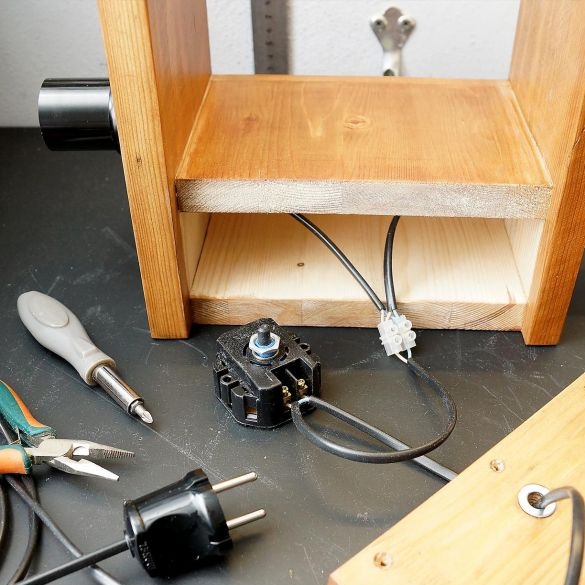
Step 14: Connect the wires. Carefully cut the yellow wire and connect to the dimmer. And the wires from the cartridges are connected in color, and the common wire is connected in the same way through the block.
Step 15: We fix the dimmer into place and twist the back cover.
It remains to screw the bulbs and everything, the lamp is ready.

