Good day to all the residents of our sites, as most motorists usually have a car amplifier, so that they aren’t bored on the road, but sometimes there are times when there is no home amplifier, but I also wanted to listen to music at home, it’s in this article that I’ll talk about remaking the car amplifier in the home and on how to connect it.
First of all, I will tell you what is necessary for our alteration.
We will need:
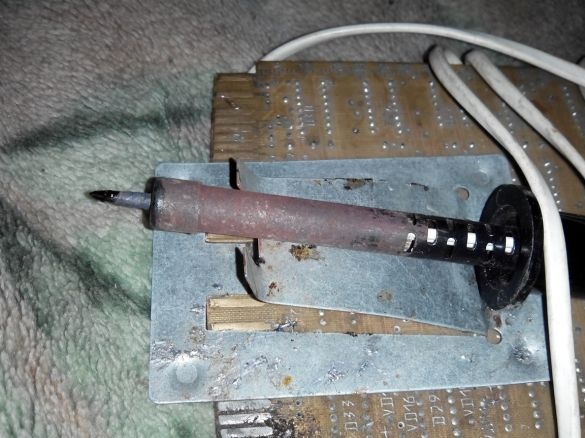
* Soldering iron, I hope everyone will find it here
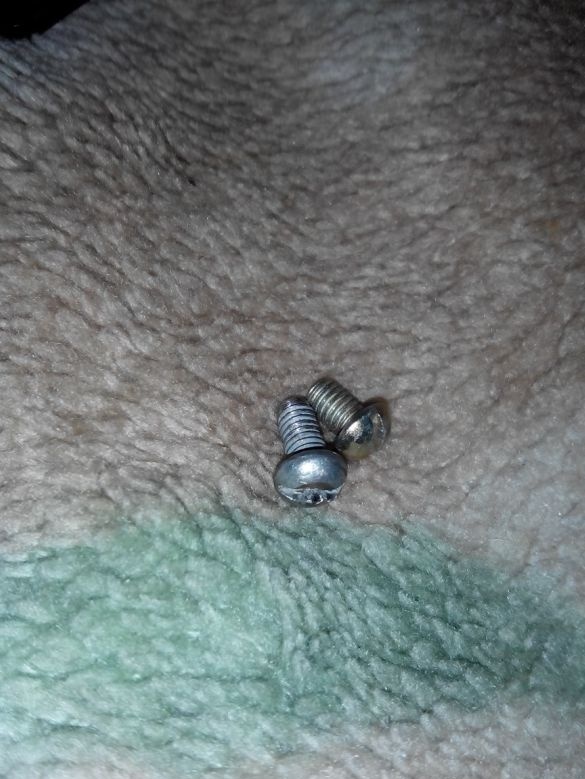
* Bolts, thread diameter 4mm and length no more than 5mm
* Tin and other soldering accessories like acid and rosin
* Wire, diameter from 0.2 to 2mm, the thicker the better
* Two washers under 6mm bolts
* Wires borrowed from a burned soldering iron
* Switch
* Two coolers operating from 12 V, you can find them in any radio store
* Clamp wire clamping on two wires
* Klemmnik, shot by me from Soviet acoustics
* Tulip and plug mini jack 3.5mm
* Hot melt adhesive
* PC power supply
* Small metal corner
*Clip.
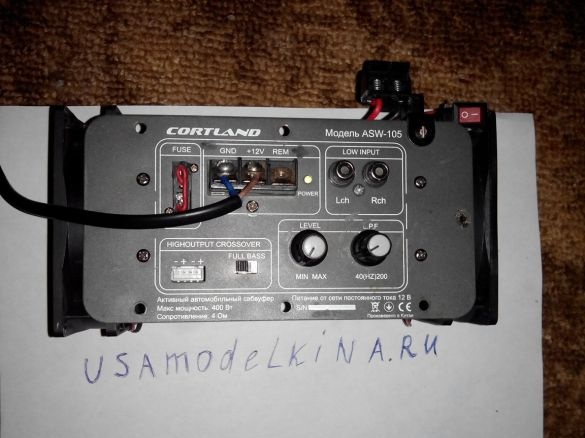
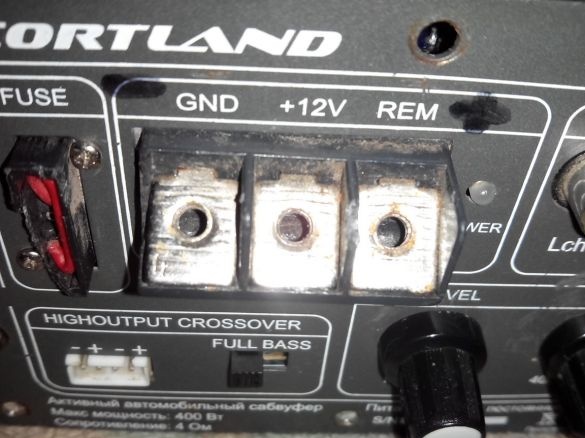
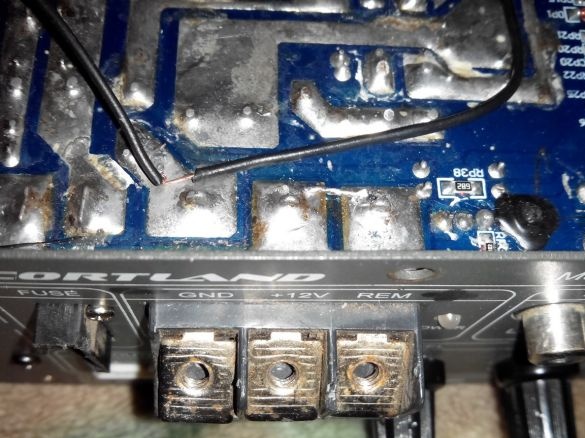
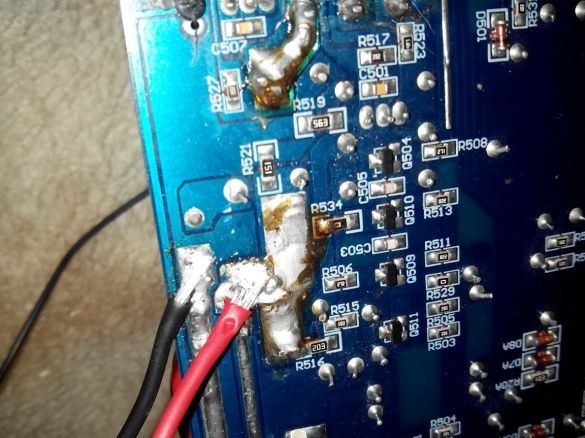
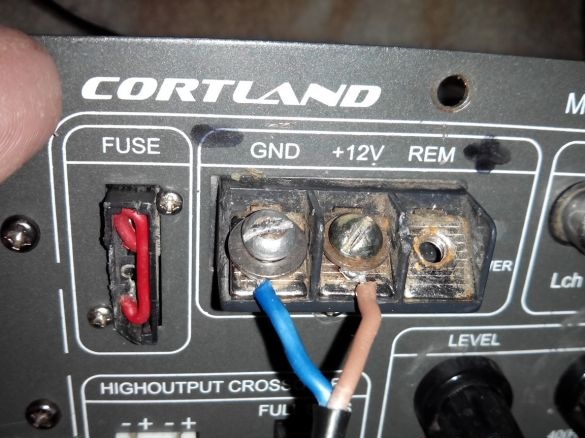
When all the parts are in stock, you can begin the first step - rework the power connection. Since the auto amplifier is designed in such a way that when the radio is turned on, the amplifier also turns on, we need to redo it, because we will not connect the radio to it. In order for the amplifier to work without a radio, it is necessary to install a jumper from the wire or wire on the REM and 12V + power contacts, we do this with a soldering iron.
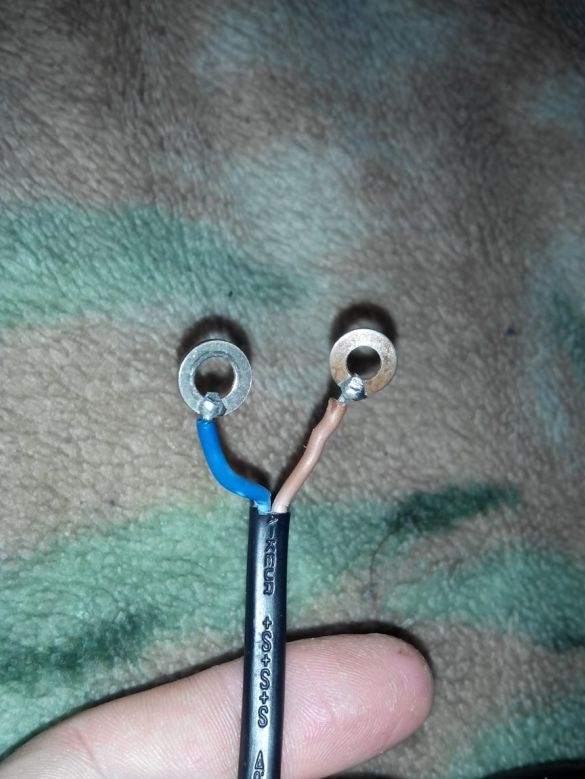
The next step, we make the power supply system, for this we solder two washers to the tinned two wires, at the other end of the wire we fasten the clamp on the bolts, you can buy it in the radio store or replace it with pins made of copper wire.
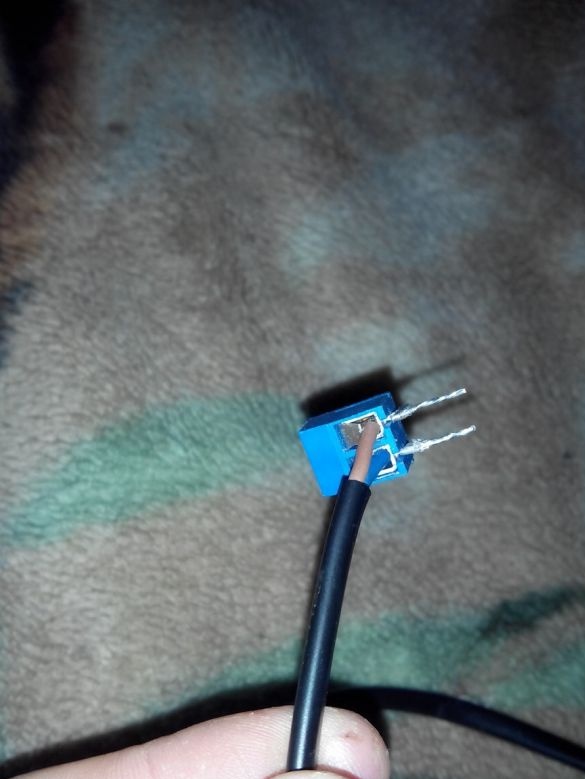
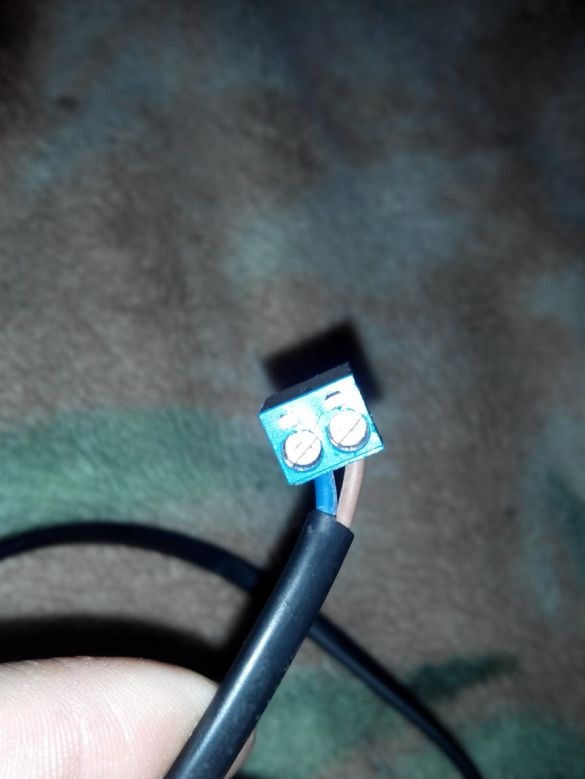
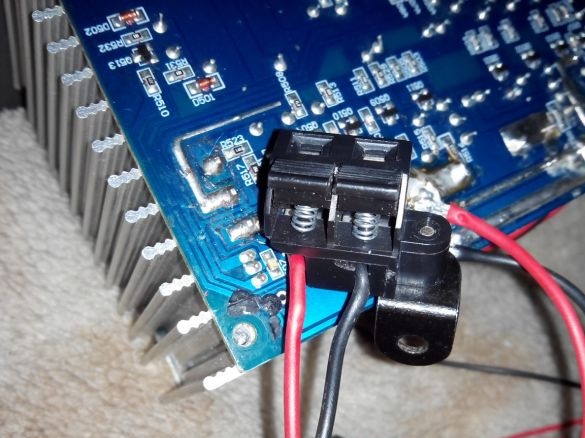
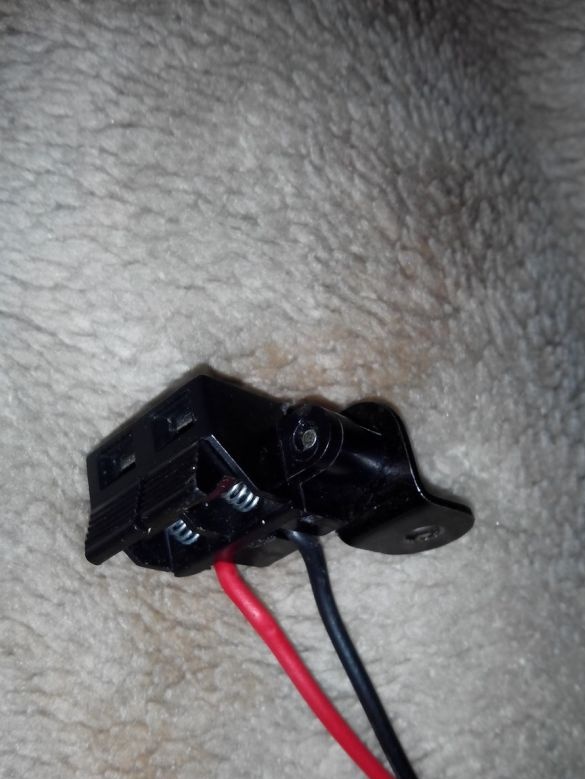
With the power wires ready, we proceed to the audio output on the terminal block so that if necessary you can connect different acoustics, as well as for ease of use. Having rummaged in the bins, I found the terminal strip from the Soviet column, I soldered it to the wires to the amplifier output, thin wires will not work for this purpose, since the load on them will be rather big, so consider the thickness of the wire.
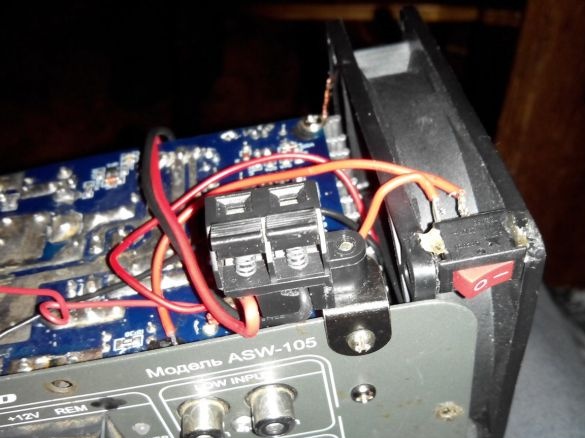
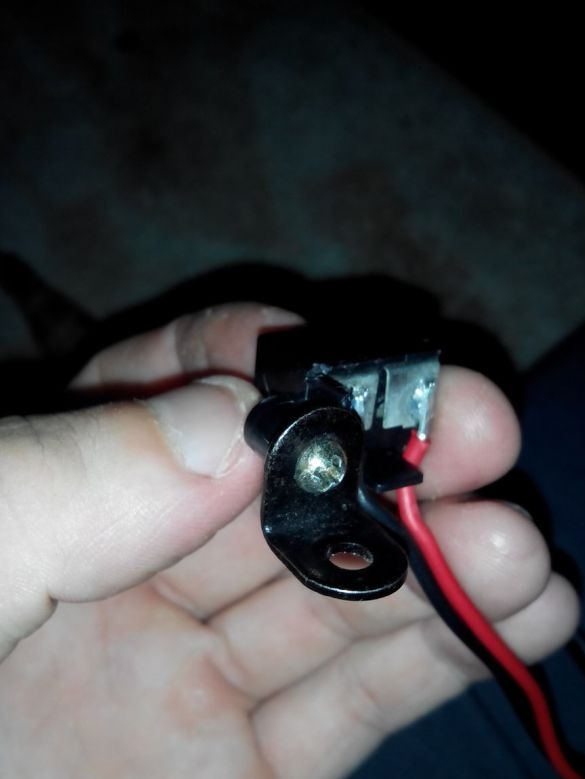
I screwed a corner onto the terminal strip and fastened it to the front panel with a bolt for convenience.
With the output ready, go to the sound input.
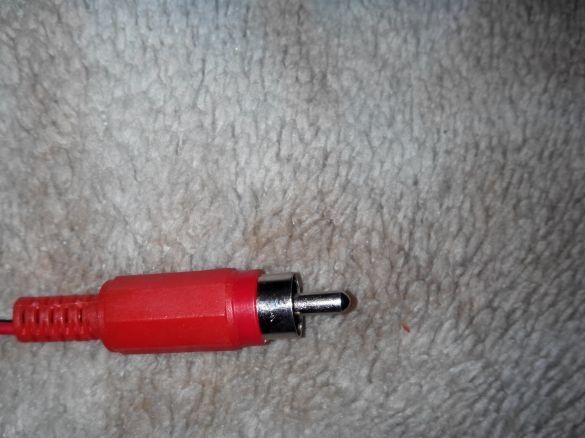
The sound will come through the wires through the 3.5 mm jack and connect through the tulip to the amplifier.
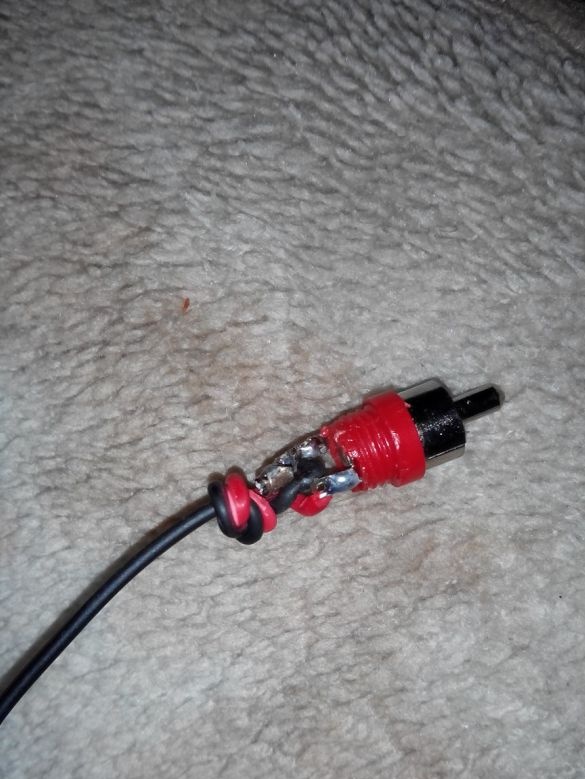
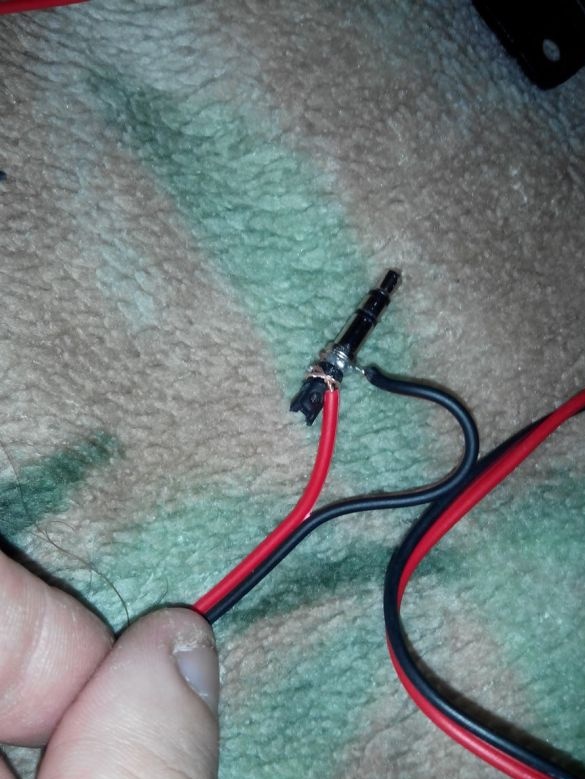
We solder the tulip, as shown in the photo, do not allow a short circuit, this can damage or disable the audio output device, whether it be a player or a telephone, on the other side of the wire we solder the 3.5 mm plug.
The length of the wire is better to take about 1.5 m.
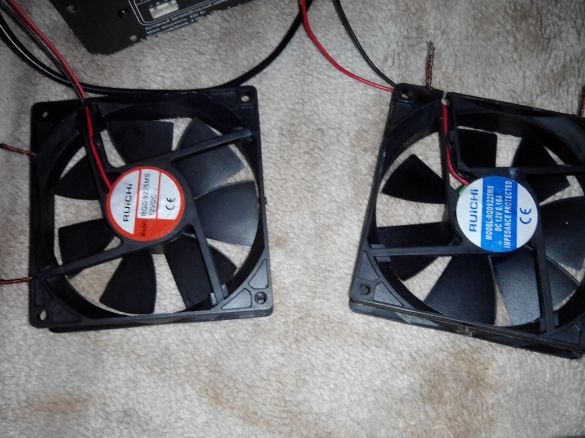
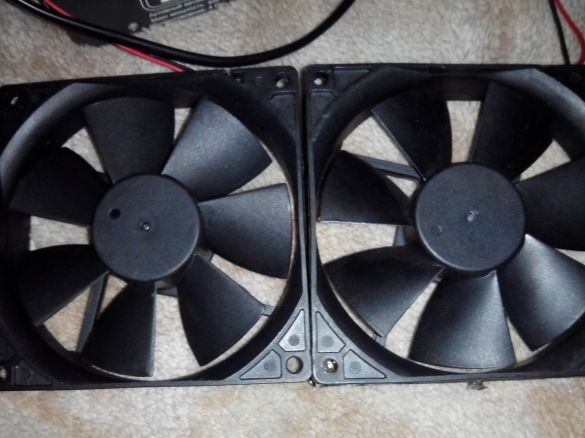
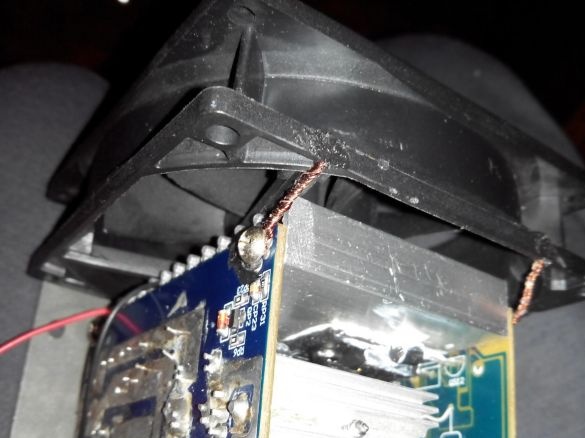
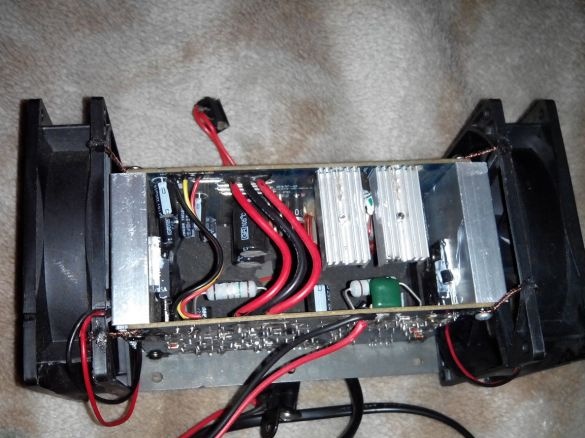
Most amplifiers tend to bask due to their not very high efficiency, so in order to save my amplifier I decided to install two coolers on radiators.
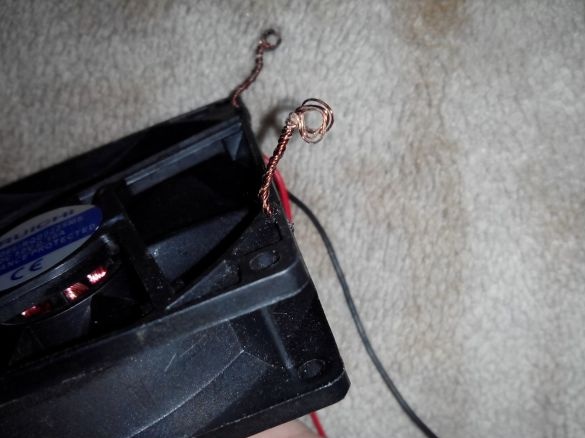
To fix them, I need a wire, in my case I twisted it a couple of times, making it stronger and thicker, using a soldering iron we fuse two such ears from the wire opposite the bolts that hold the radiators.
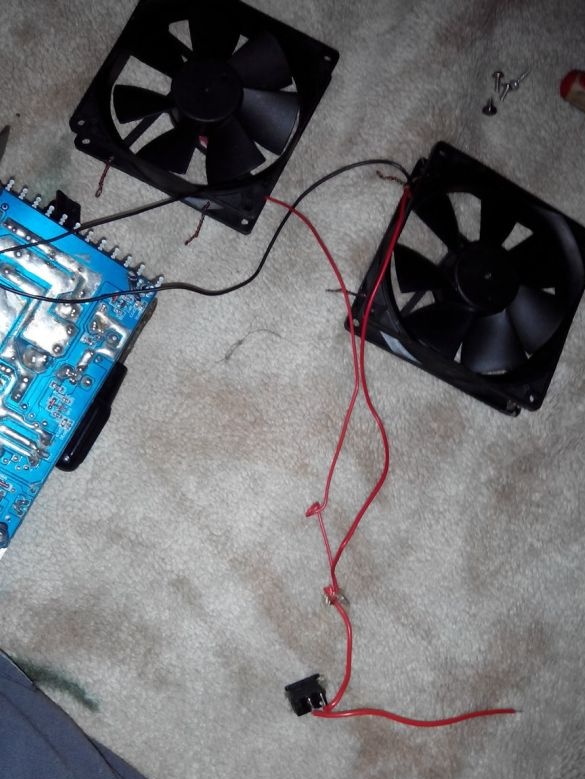
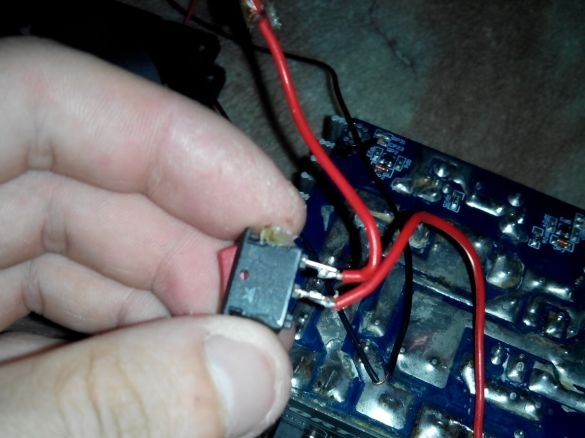
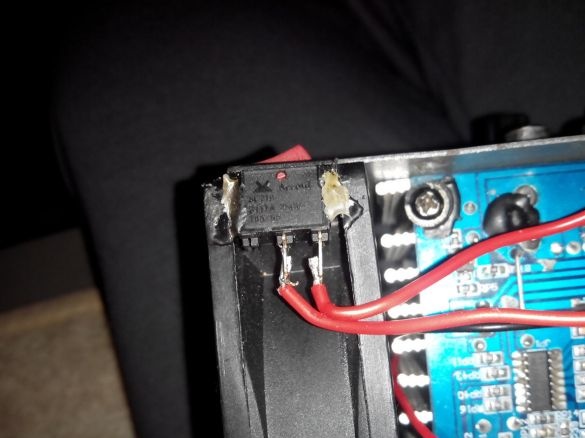
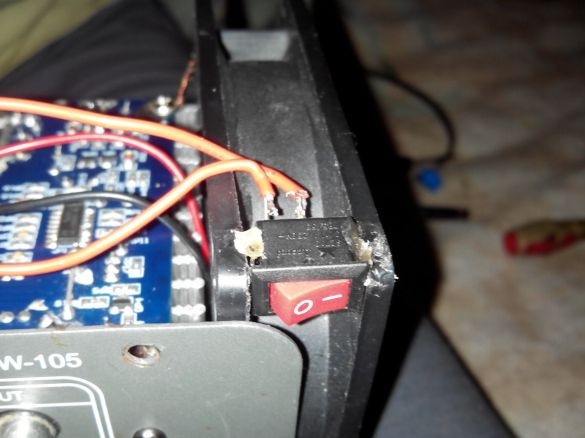
We do the same manipulations with the second cooler, after that we connect the wires, solder one wire immediately to the power minus, and solder the second red wire through the switch so that you can turn them off, the relevance will depend on the environment. I glued the switch on hot glue to the cooler.
On this with the amplifier everything is ready and it can already be used in home conditions, you can connect it to a computer power supply.
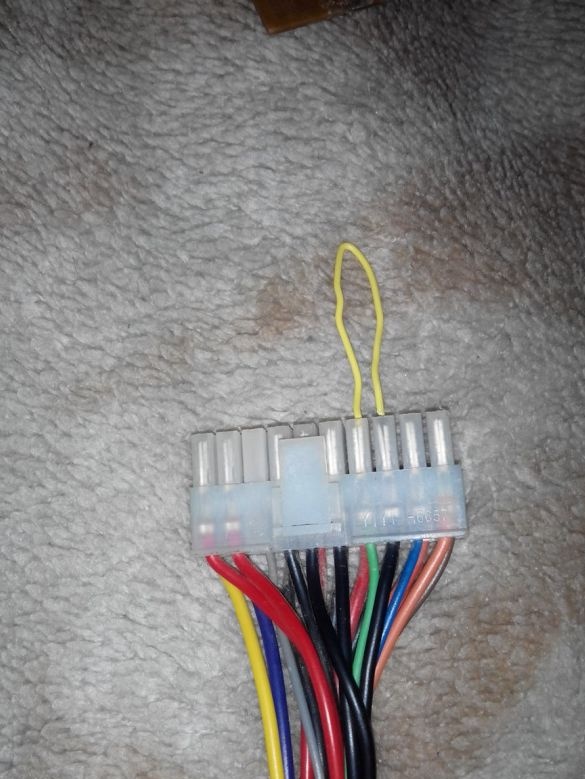
In order for the amplifier to be powered from the PC unit, you need a clip, it must be connected to the connector with the green wire, and the other side to black, thereby closing them, now when the power button on the unit is turned on, it will work.
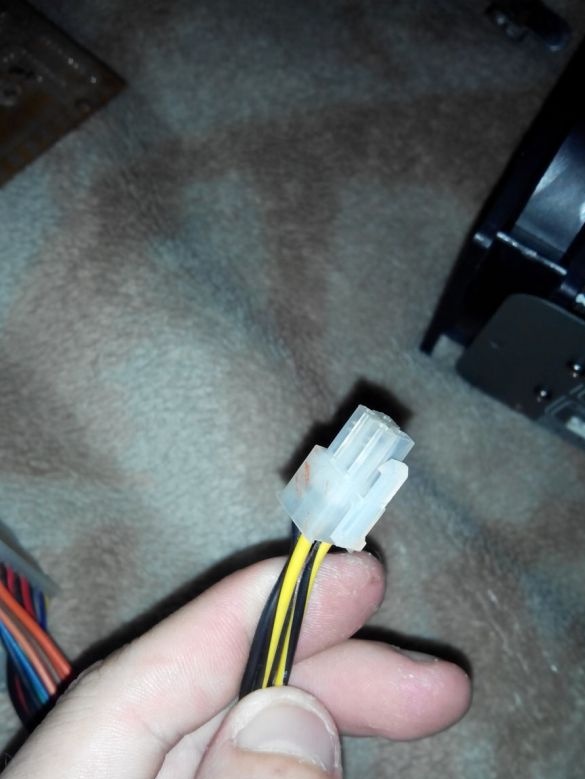
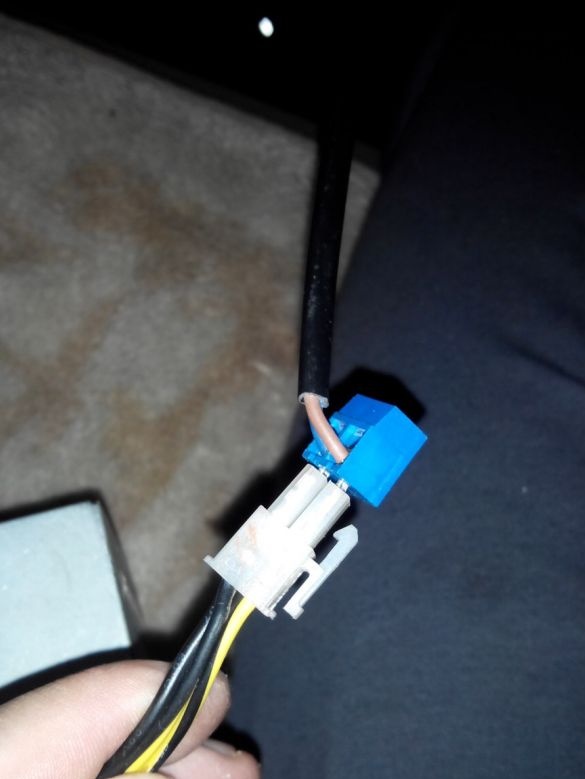
The plug of the 12 volt line that we need for the amplifier has two yellow and black wires, we just insert the power supply wires of the amplifier there.
On this homemade ready and now you can enjoy loud music at home, arrange discos and parties, all new ideas and the most unusual inventions.


