
We present to your attention a review of an interesting idea for the manufacture of a radio-controlled dump truck.
We advise you to start by watching the author’s video
We will need:
- toy truck;
- 2 servos SG90
- 2 radio control modules nrf24L01 +;
- 2 boards Arduino Nano;
- 20 kOhm potentiometer;
- two joysticks;
- engine with miniature V-belt drive;
- engine driver L298N;
- 3 rechargeable batteries for 18650;
- battery compartment;
- box for the remote control.
First, make a rotary system. According to the author of the idea, in terms of mechanics, this element is the most complex. To do this, remove the wheels and break off the pieces of plastic on which the wheels are held on both sides.
After that, we make holes in which we insert the screws, thus obtaining the base of the rotary system.
We take corners from strong plastic and make holes, as shown in the figure.
We also make through holes in the wheels.
We fix the servo drive between the screws.
We take two strips of plastic and we also make holes in them.
Next, we attach the wheels to the plastic corners.
We install the resulting structures on the screws.
If some part of the body of the machine will interfere with the rotation (in the case of the author, these are wings), then you need to cut it off.
After we make sure that nothing interferes with the wheels when turning, we remove them from the cogs and assemble the rotary system according to the example in the figure. When assembling, it is advisable to use two nuts. In this case, the second nuts will act as locknuts, which will make the design more reliable.
We install wheels with a rotary system on the screws and test.
At this stage, you need to fix the engine and its V-belt drive.
Install the servo for lifting the body.
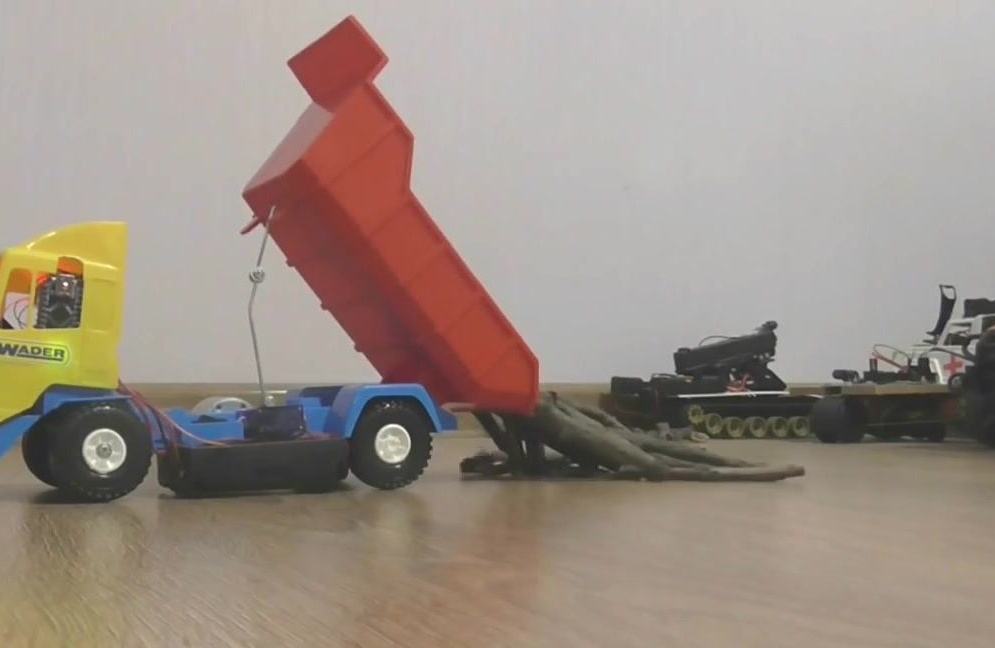
The image shows the design that the author uses to dump the body. It consists of hard wires. Please note that the second half of the structure is movable.
We flash the boards of the transmitter (remote control) and receiver using codes, the links to which are presented at the end of the material.If you are not familiar with the process of flashing Arduino boards, you can read our past materials on the manufacture of radio-controlled toys, in which we talk in detail about the firmware.
We assemble the remote control according to the scheme.
We also collect the receiver. Please note that the servos are powered not through the Arduino board, but separately from the battery.
We collect the remote control and the machine. The body leans back using the potentiometer on the remote.
References: