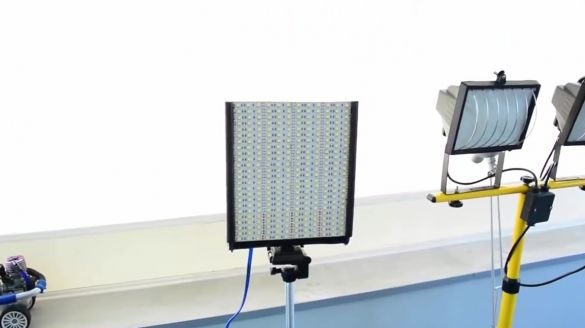
Do you shoot video or photos, do you need high-quality lighting, or is the LED panel theme just interesting. In any case, we suggest that you familiarize yourself with our next review, which is devoted to the assembly of the LED panel in home conditions.
We recommend starting with watching the author’s video
So we need:
- a piece of organic glass;
- building hair dryer;
- LED Strip Light;
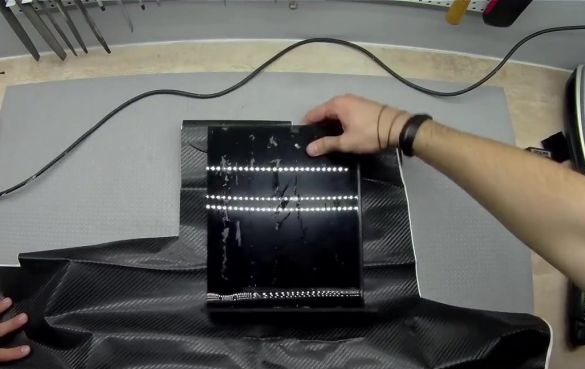
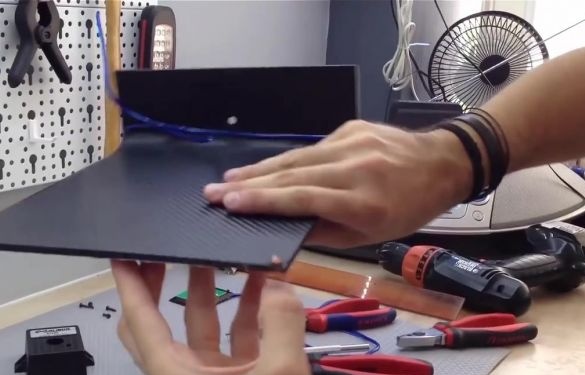
We bend the edge of organic glass at a right angle with a building hair dryer.
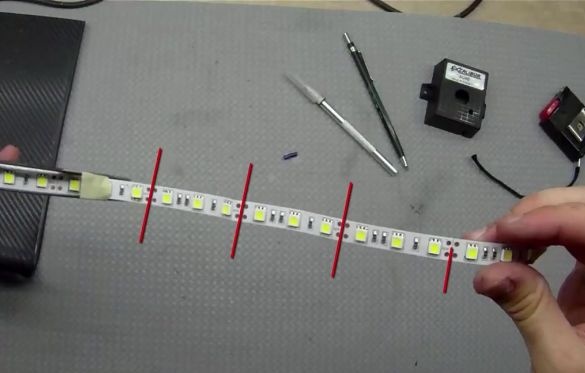
Now you need to cut off equal pieces of LED strip to stick them on a base of organic glass. The author of the idea cut off 24 strips, each of which is 20 cm long. When using the same sizes, you will need 4.8 m of tape. Each 20-centimeter piece has 12 LEDs, that is, a total of 288 is used. This design consumes 69 watts (5.7 A).
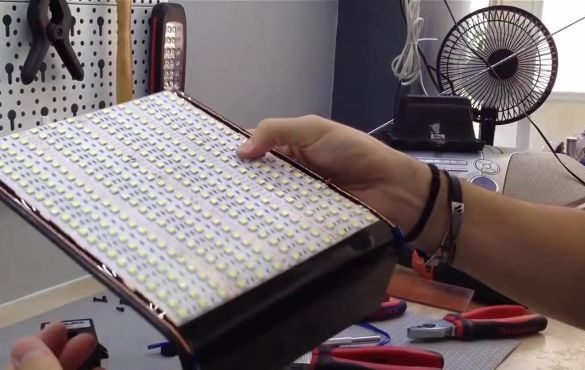
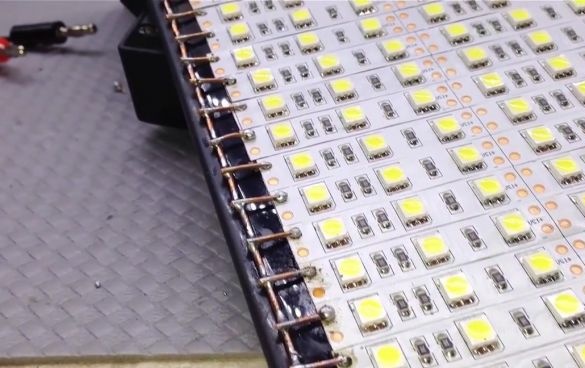
Glue the resulting pieces of LED strip on the panel. It is important that they all lie evenly and equally.
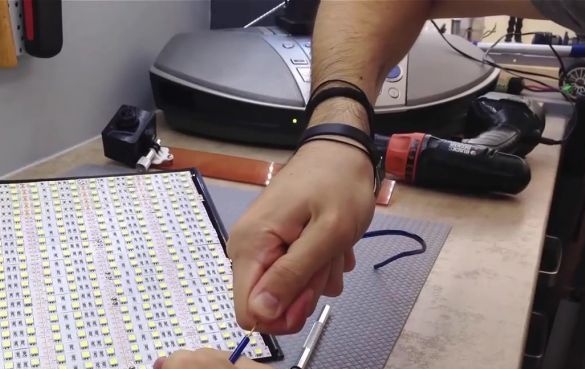
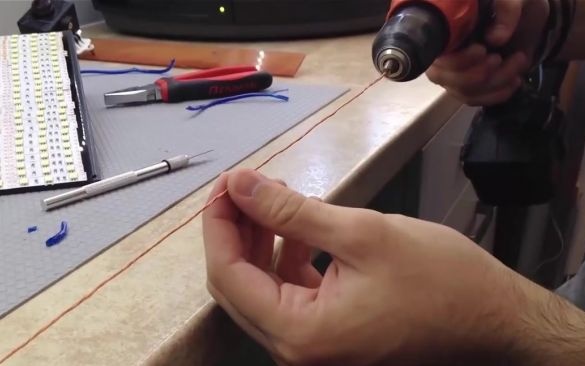
Given the sufficient power of the structure, a thick wire should be used when connecting. We expose the wire and twist on the screwdriver. You need to get two of these wires.
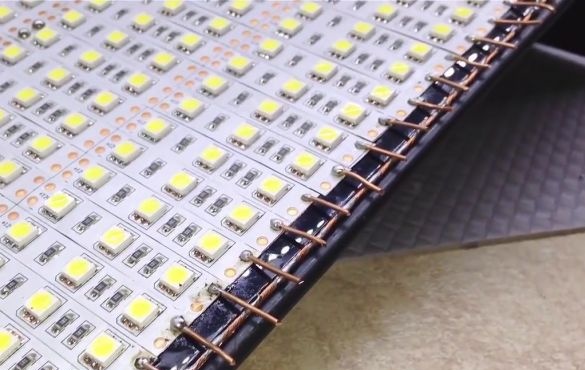
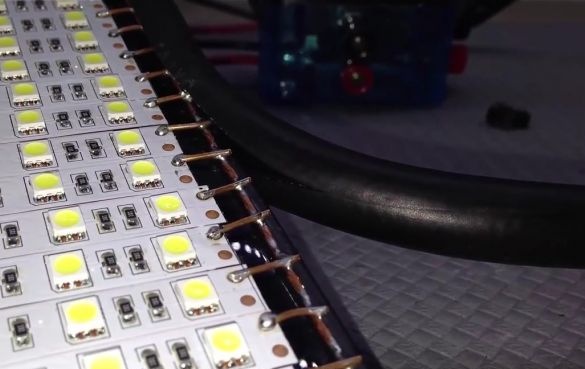
We install the wires received at the last step on the sides of the structure. From above, the wires are fixed in one place, pass along the sides and go down, that is, outside the panel. One wire will be positive, and the second negative.
Now we connect the positive contacts of the pieces of LED strips to the positive wire, and the negative ones to the negative wire.
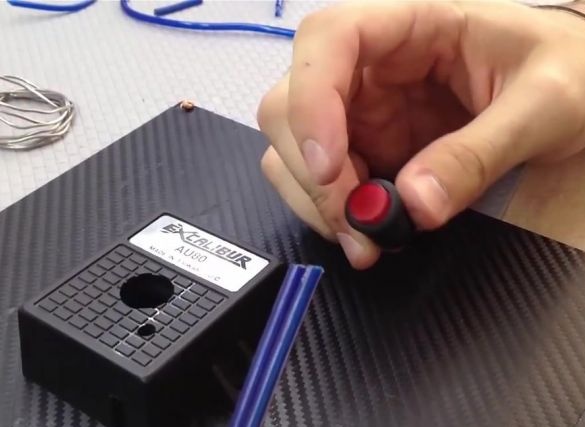
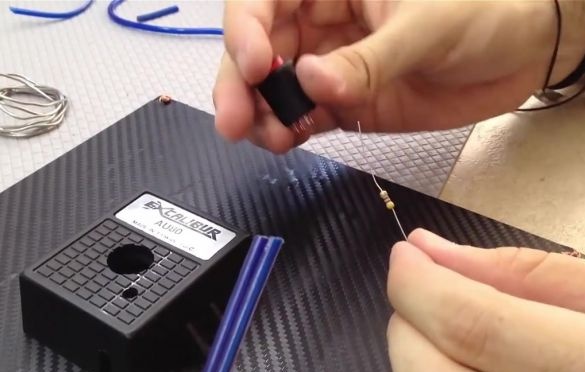
It is convenient to collect all the wiring in a small box. In it, we make a hole for the button on and off the LED panel. Please note that if the button has a built-in backlight, then a 1 kΩ resistor must be used in conjunction with it. A plus is connected to the button.
The panel is ready. Now you need to take care to hide the contacts of the wires. To do this, take a thick hose and cut it.
After that we put on the hose cut along the hose onto the panel.
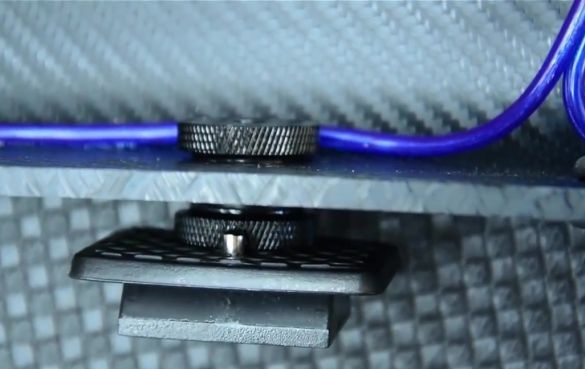
As the legs for the panel, you can use a conventional tripod, taking care of the mounts directly on the LED panel.

