

Hello to all the inhabitants of our sites, as usual in our time, not all fixtures achieved perfection and may not always be convenient, for example, using a large table lamp at night behind a laptop or reading books is inconvenient. For this reason I decided to make a lamp do it yourselfpowered by USB, which will be lightweight, compact and not blindfolding, the creation of which I will discuss in this article. The idea to make a lamp was connected with the fact that at night it was inconvenient to type text on a laptop, namely, it was necessary to examine each button to make sure that it was correct. To do this, I went to the nearest radio store and bought myself an LED strip.
In order to assemble a lamp for a laptop we need:
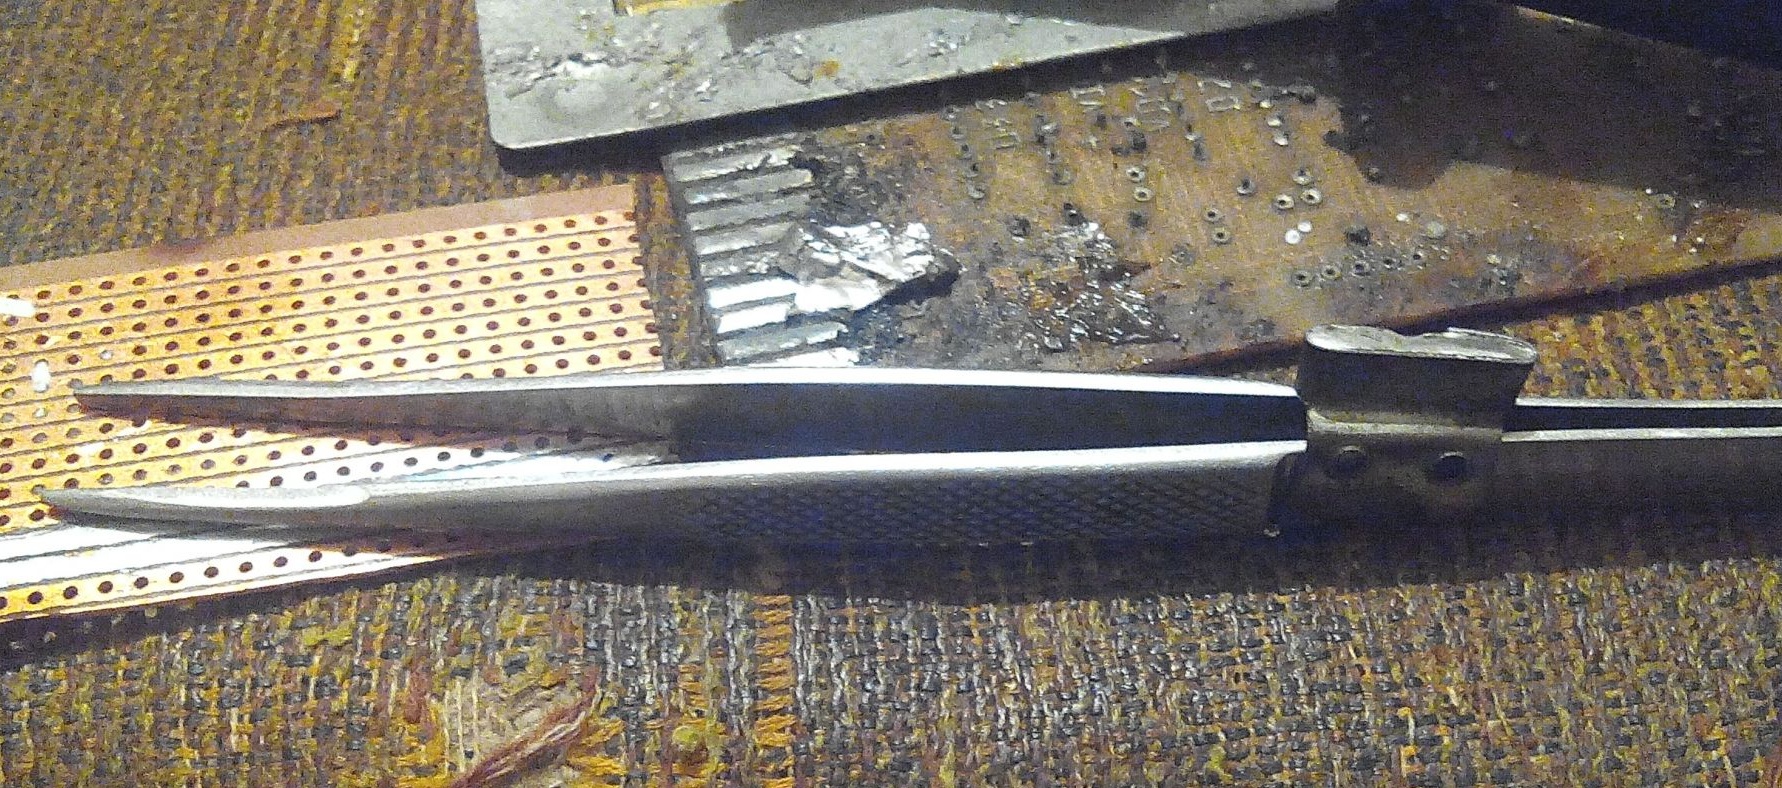
* Soldering iron and accessories.
* Tweezers, preferably small.
*Printed circuit board.
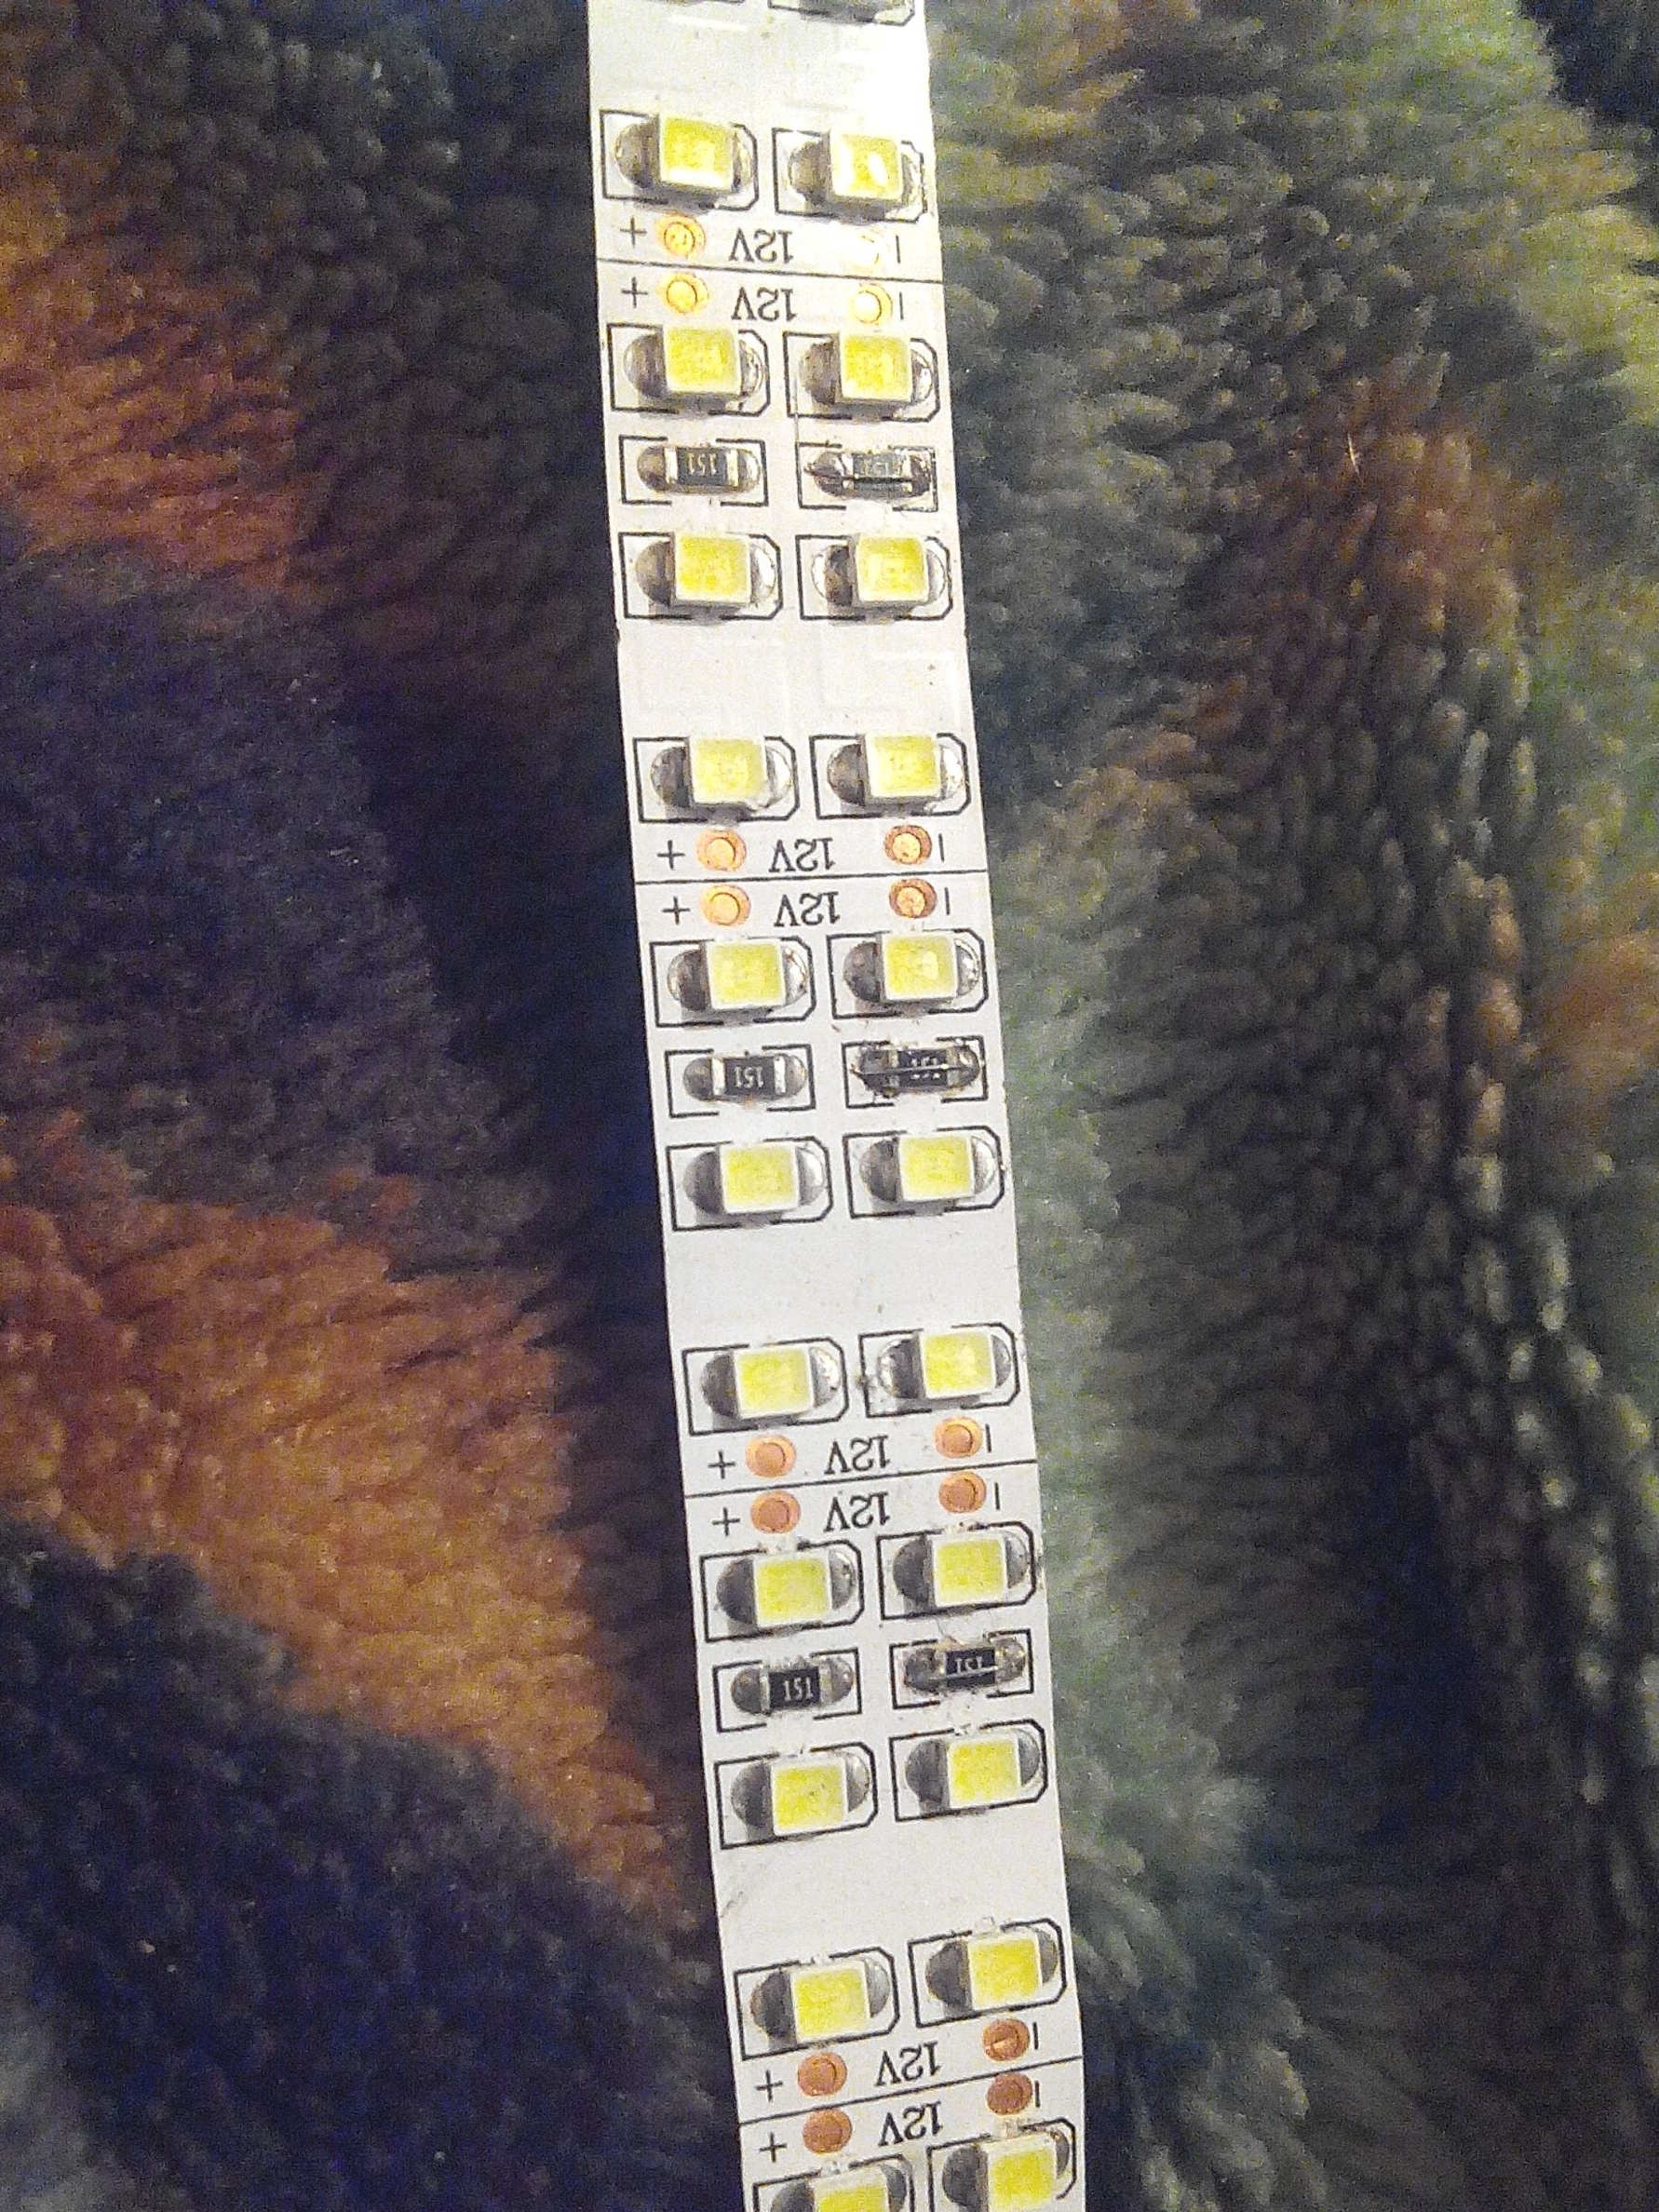
* LED strip, 15cm is enough.
* USB cable.
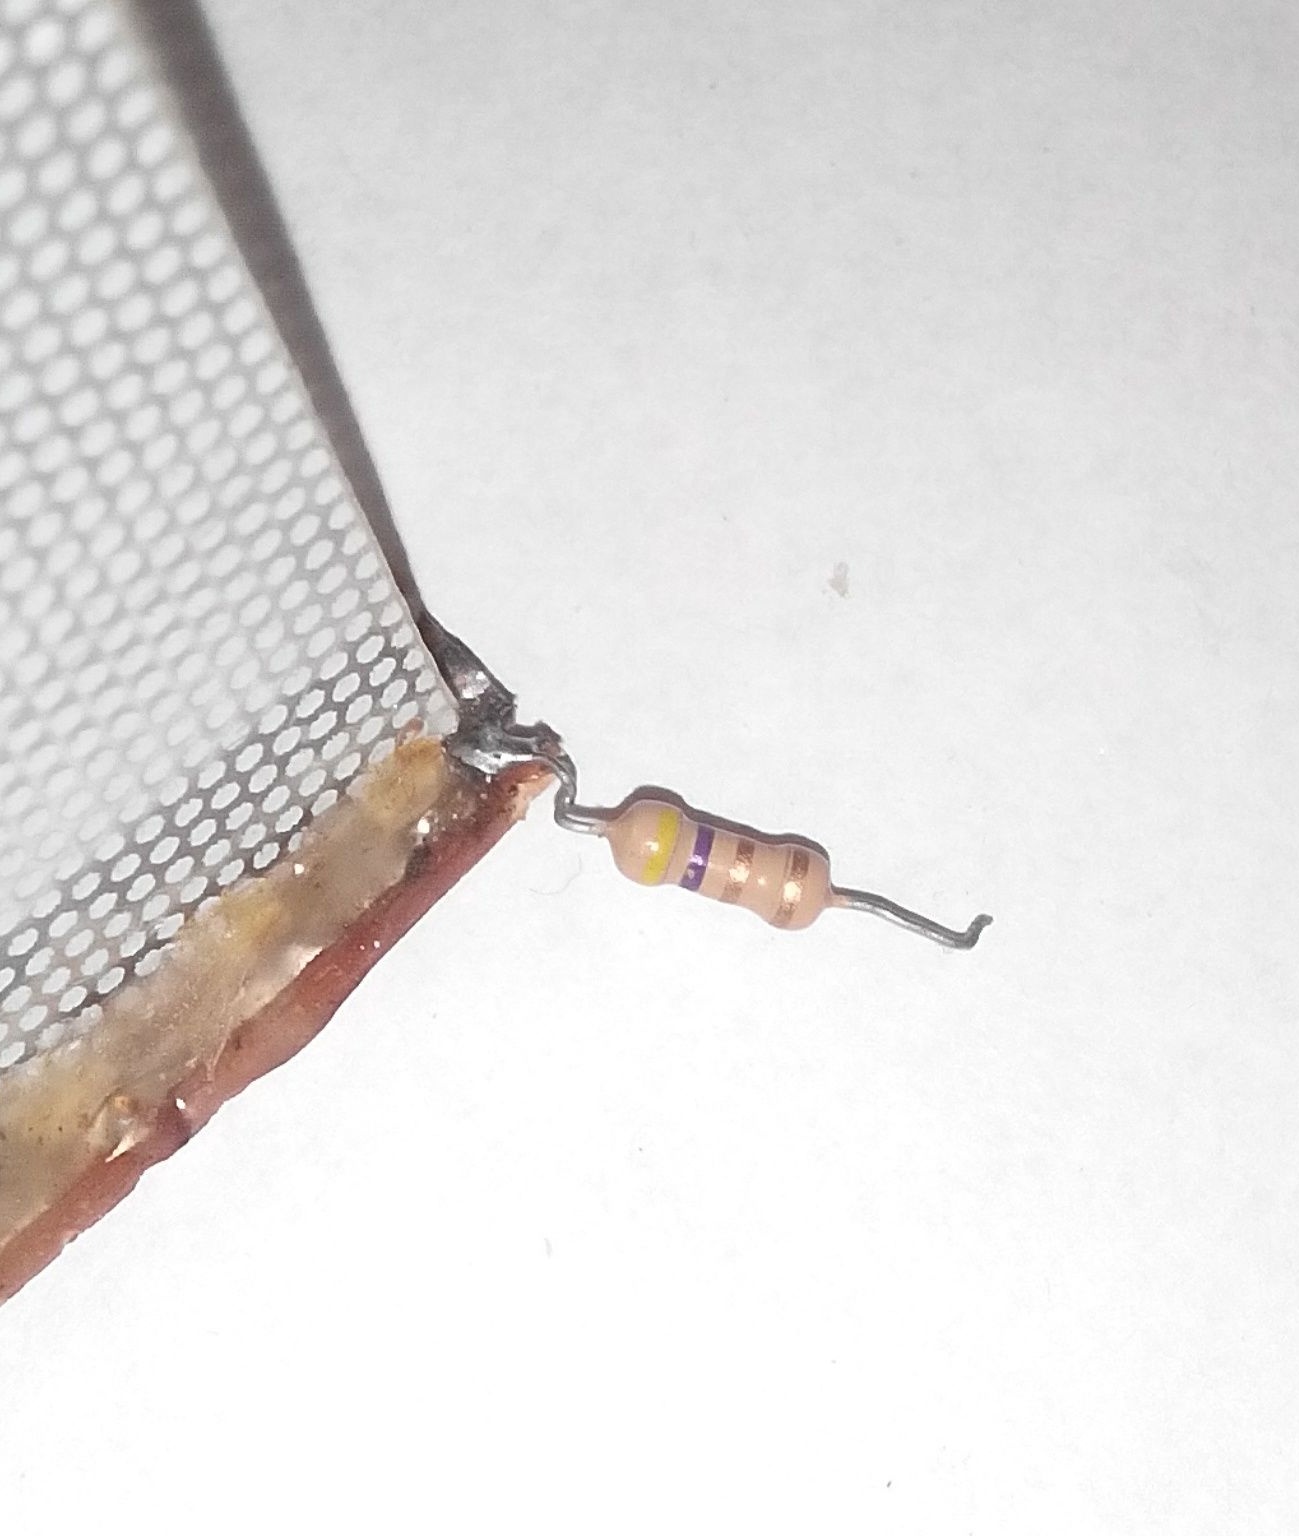
* Resistor (labeled yellow-violet-golden).
* Transparent plastic plate.
* Hot melt adhesive.
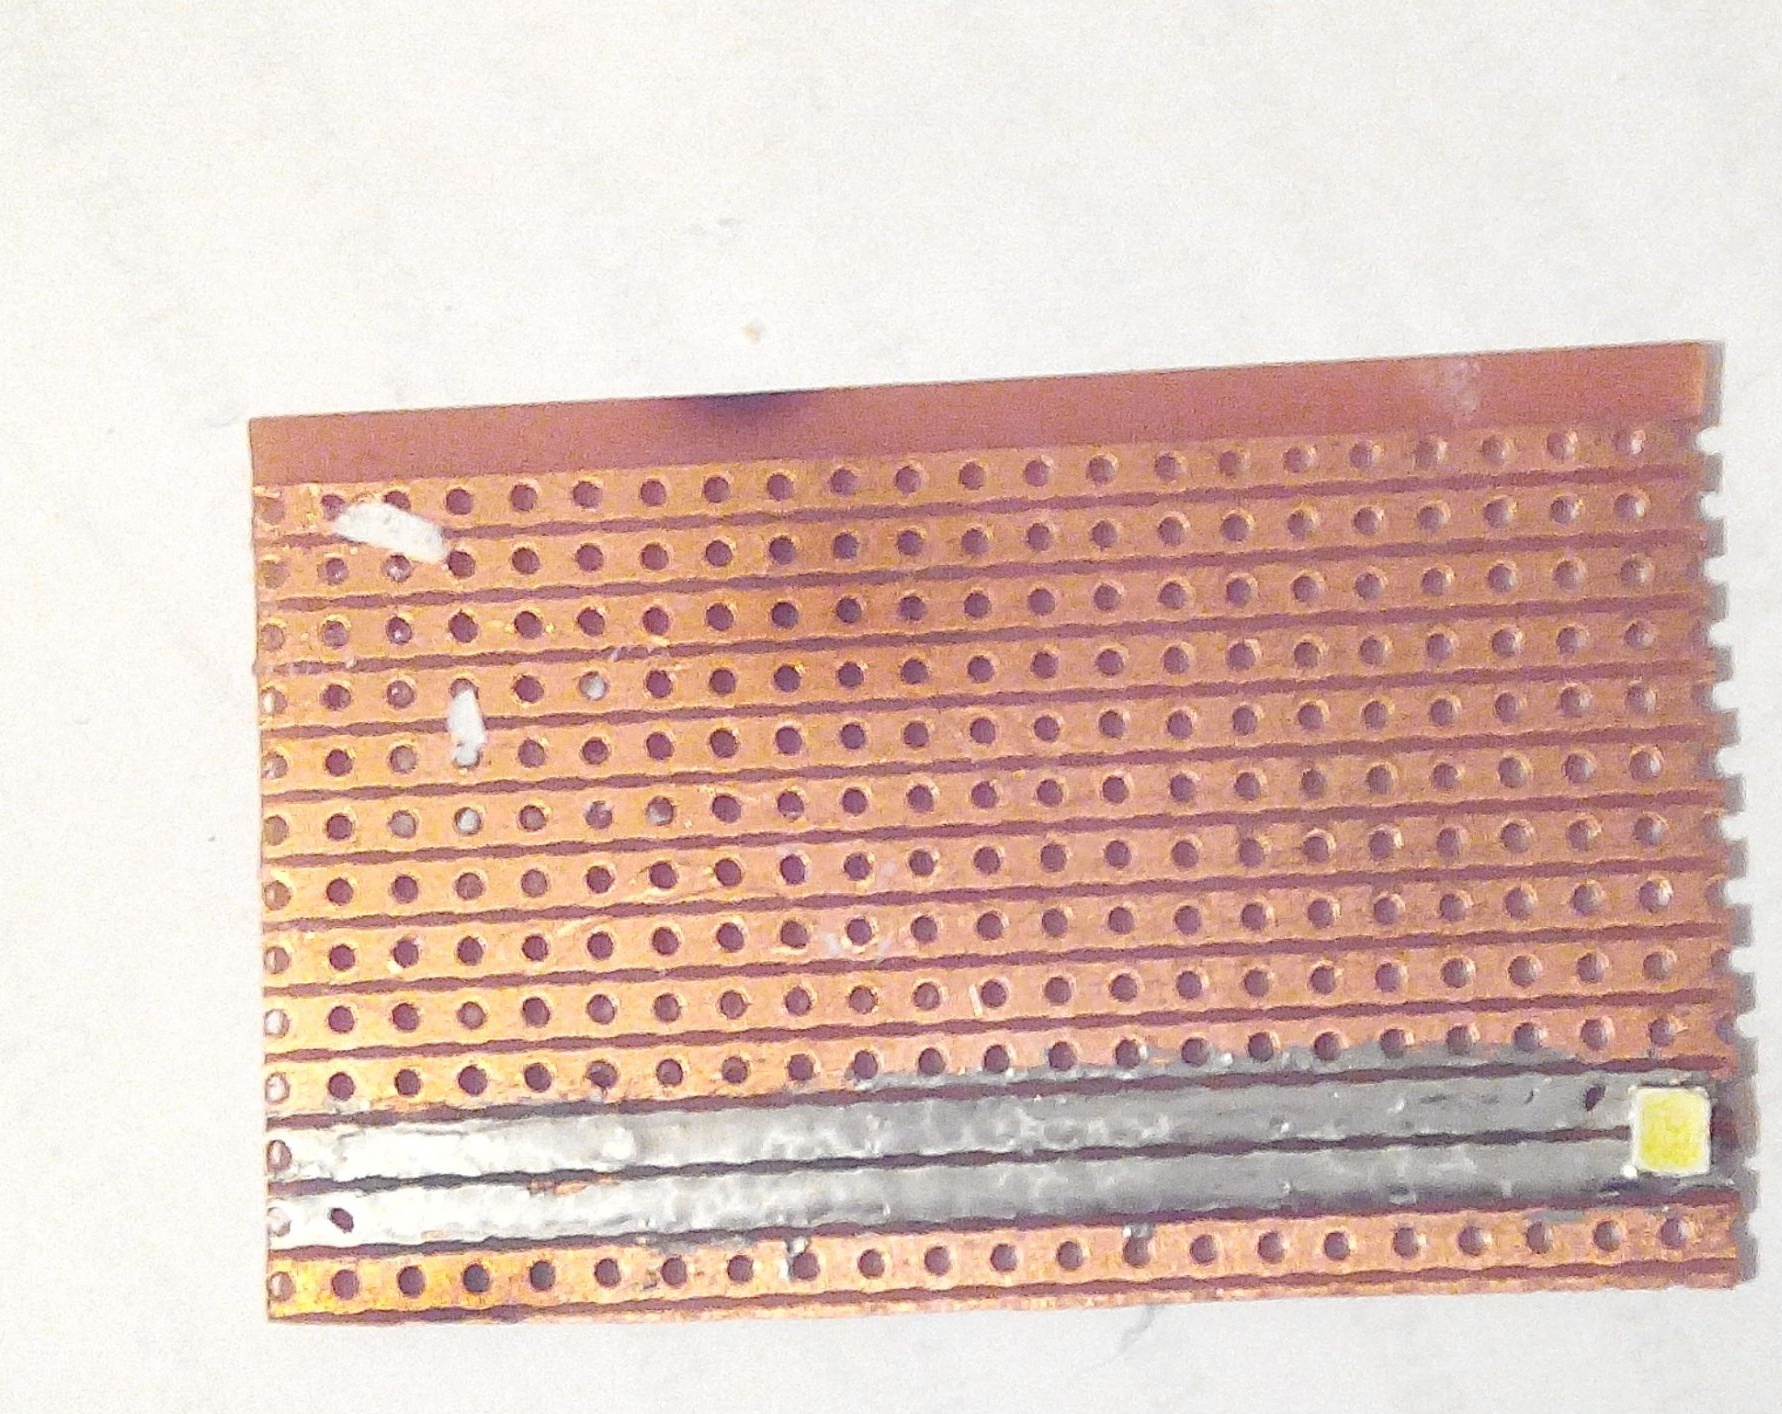
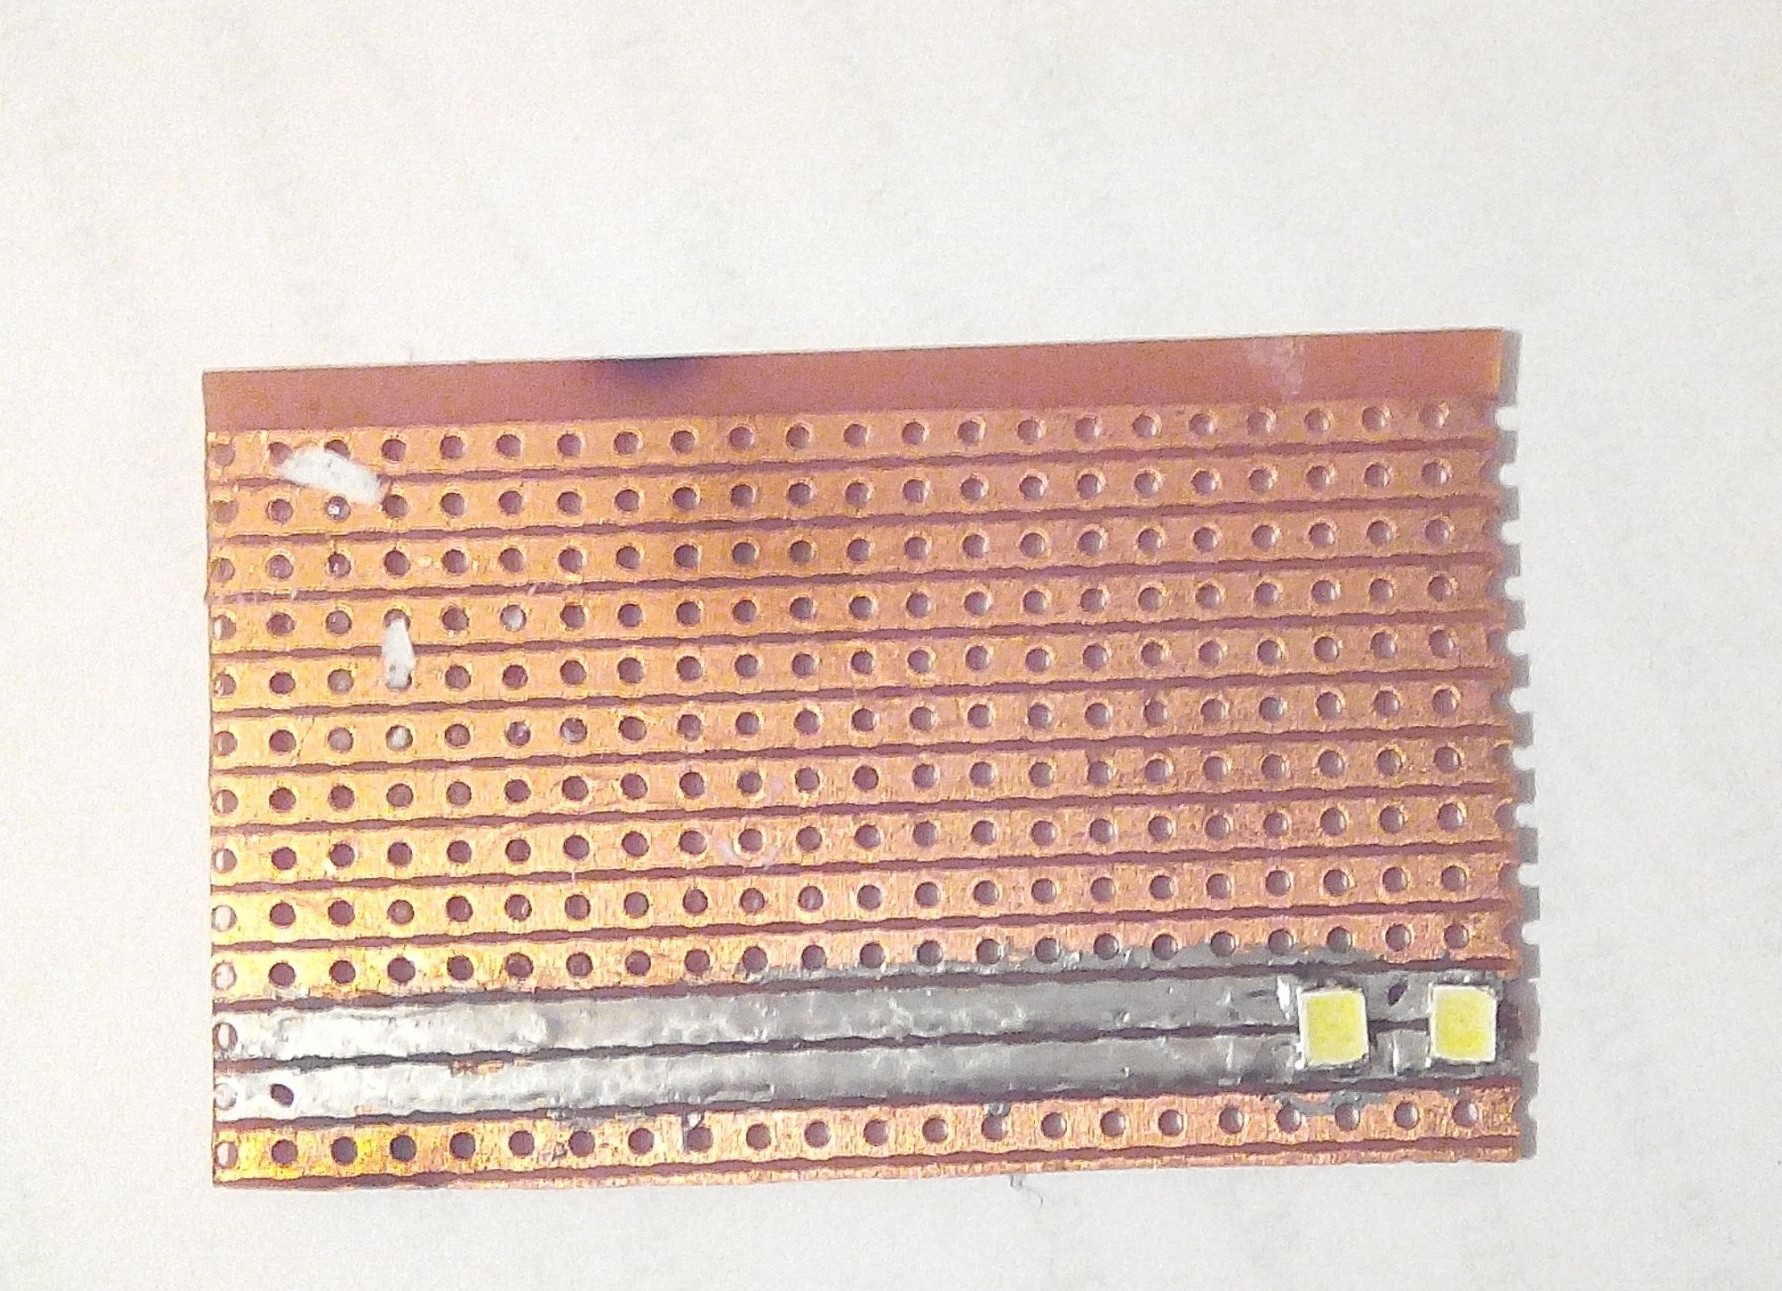
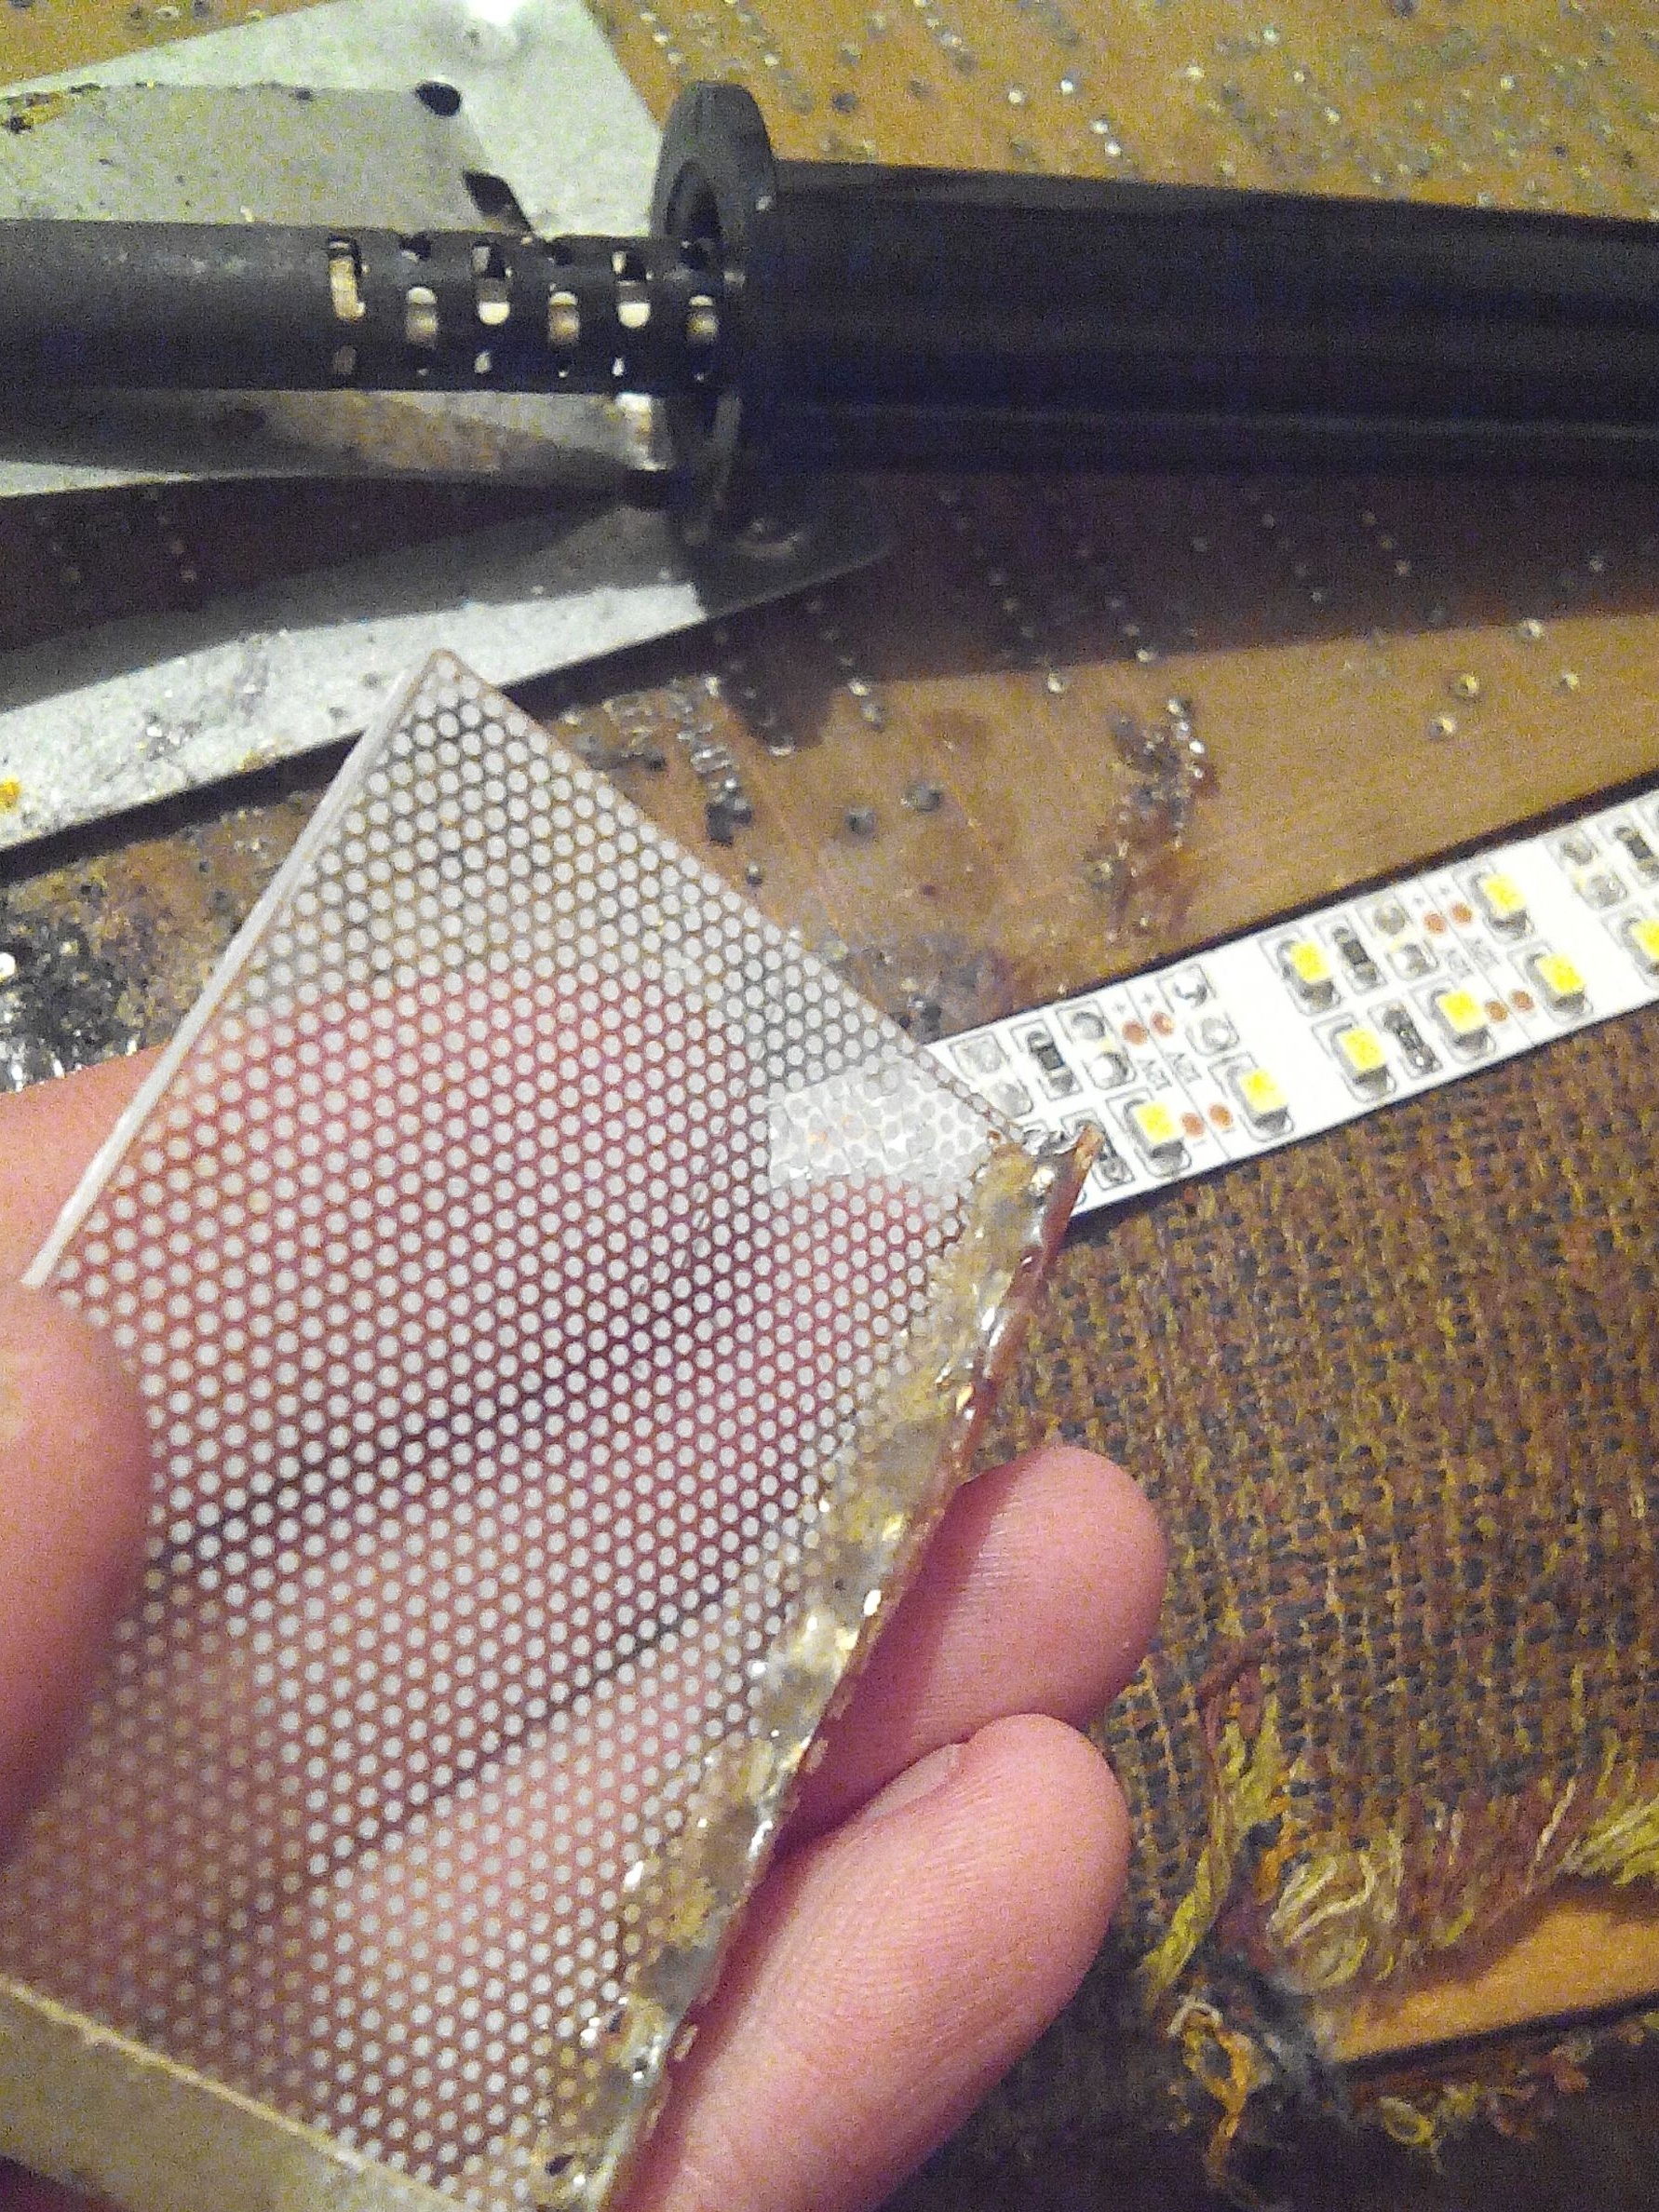
The first stage of assembly is the wiring of the LED strip, we need 9 LEDs from it, their number depends on the size of the desired lamp. It is necessary to defrost them carefully, and also not to allow overheating. After all the LEDs we need are sealed off, you can prepare the printed circuit board. I used a ready-made breadboard where the tracks are made in length, just what you need, the price for it in the radio store was 15 rubles.
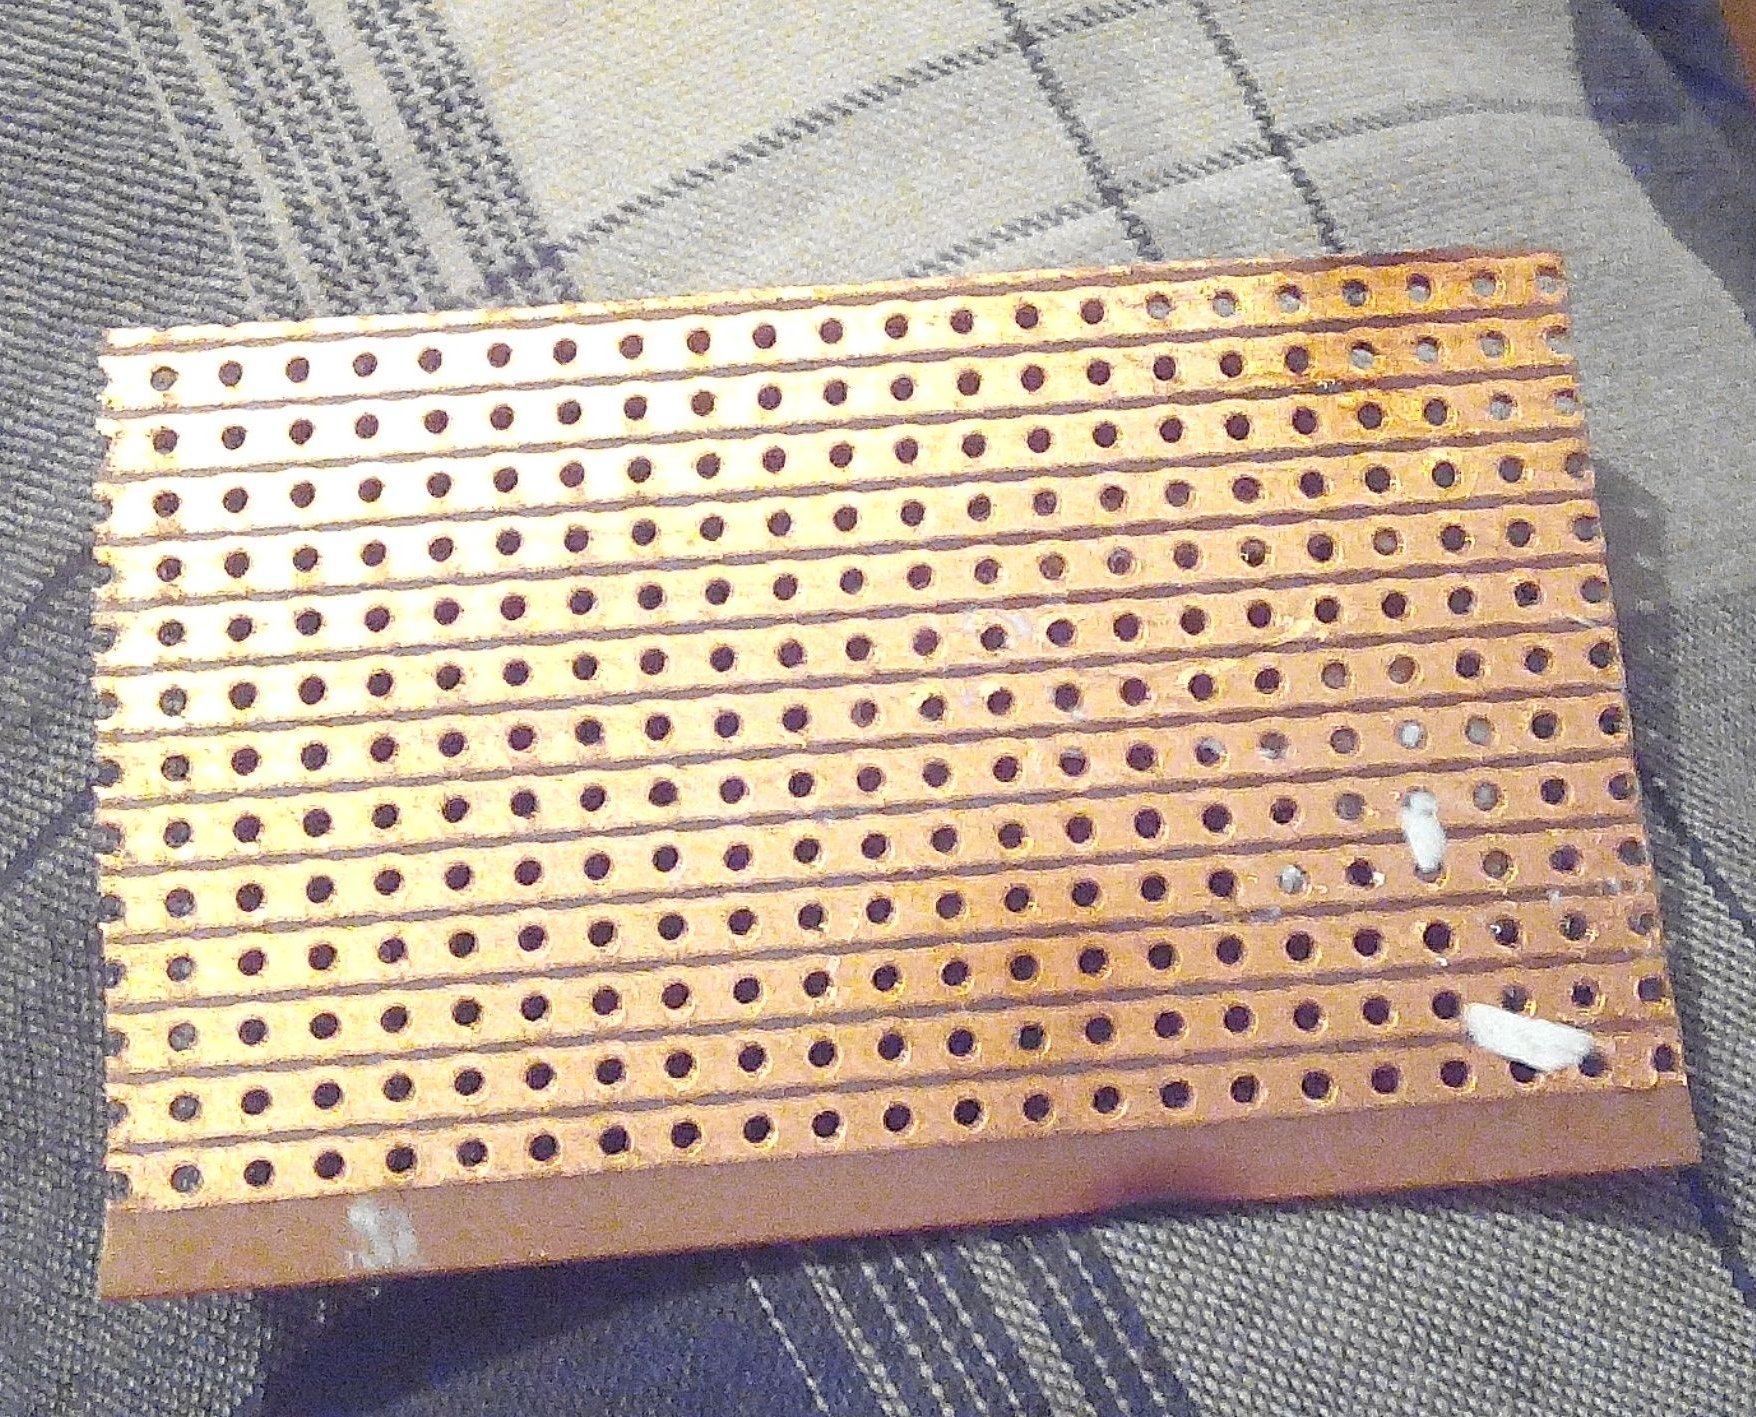
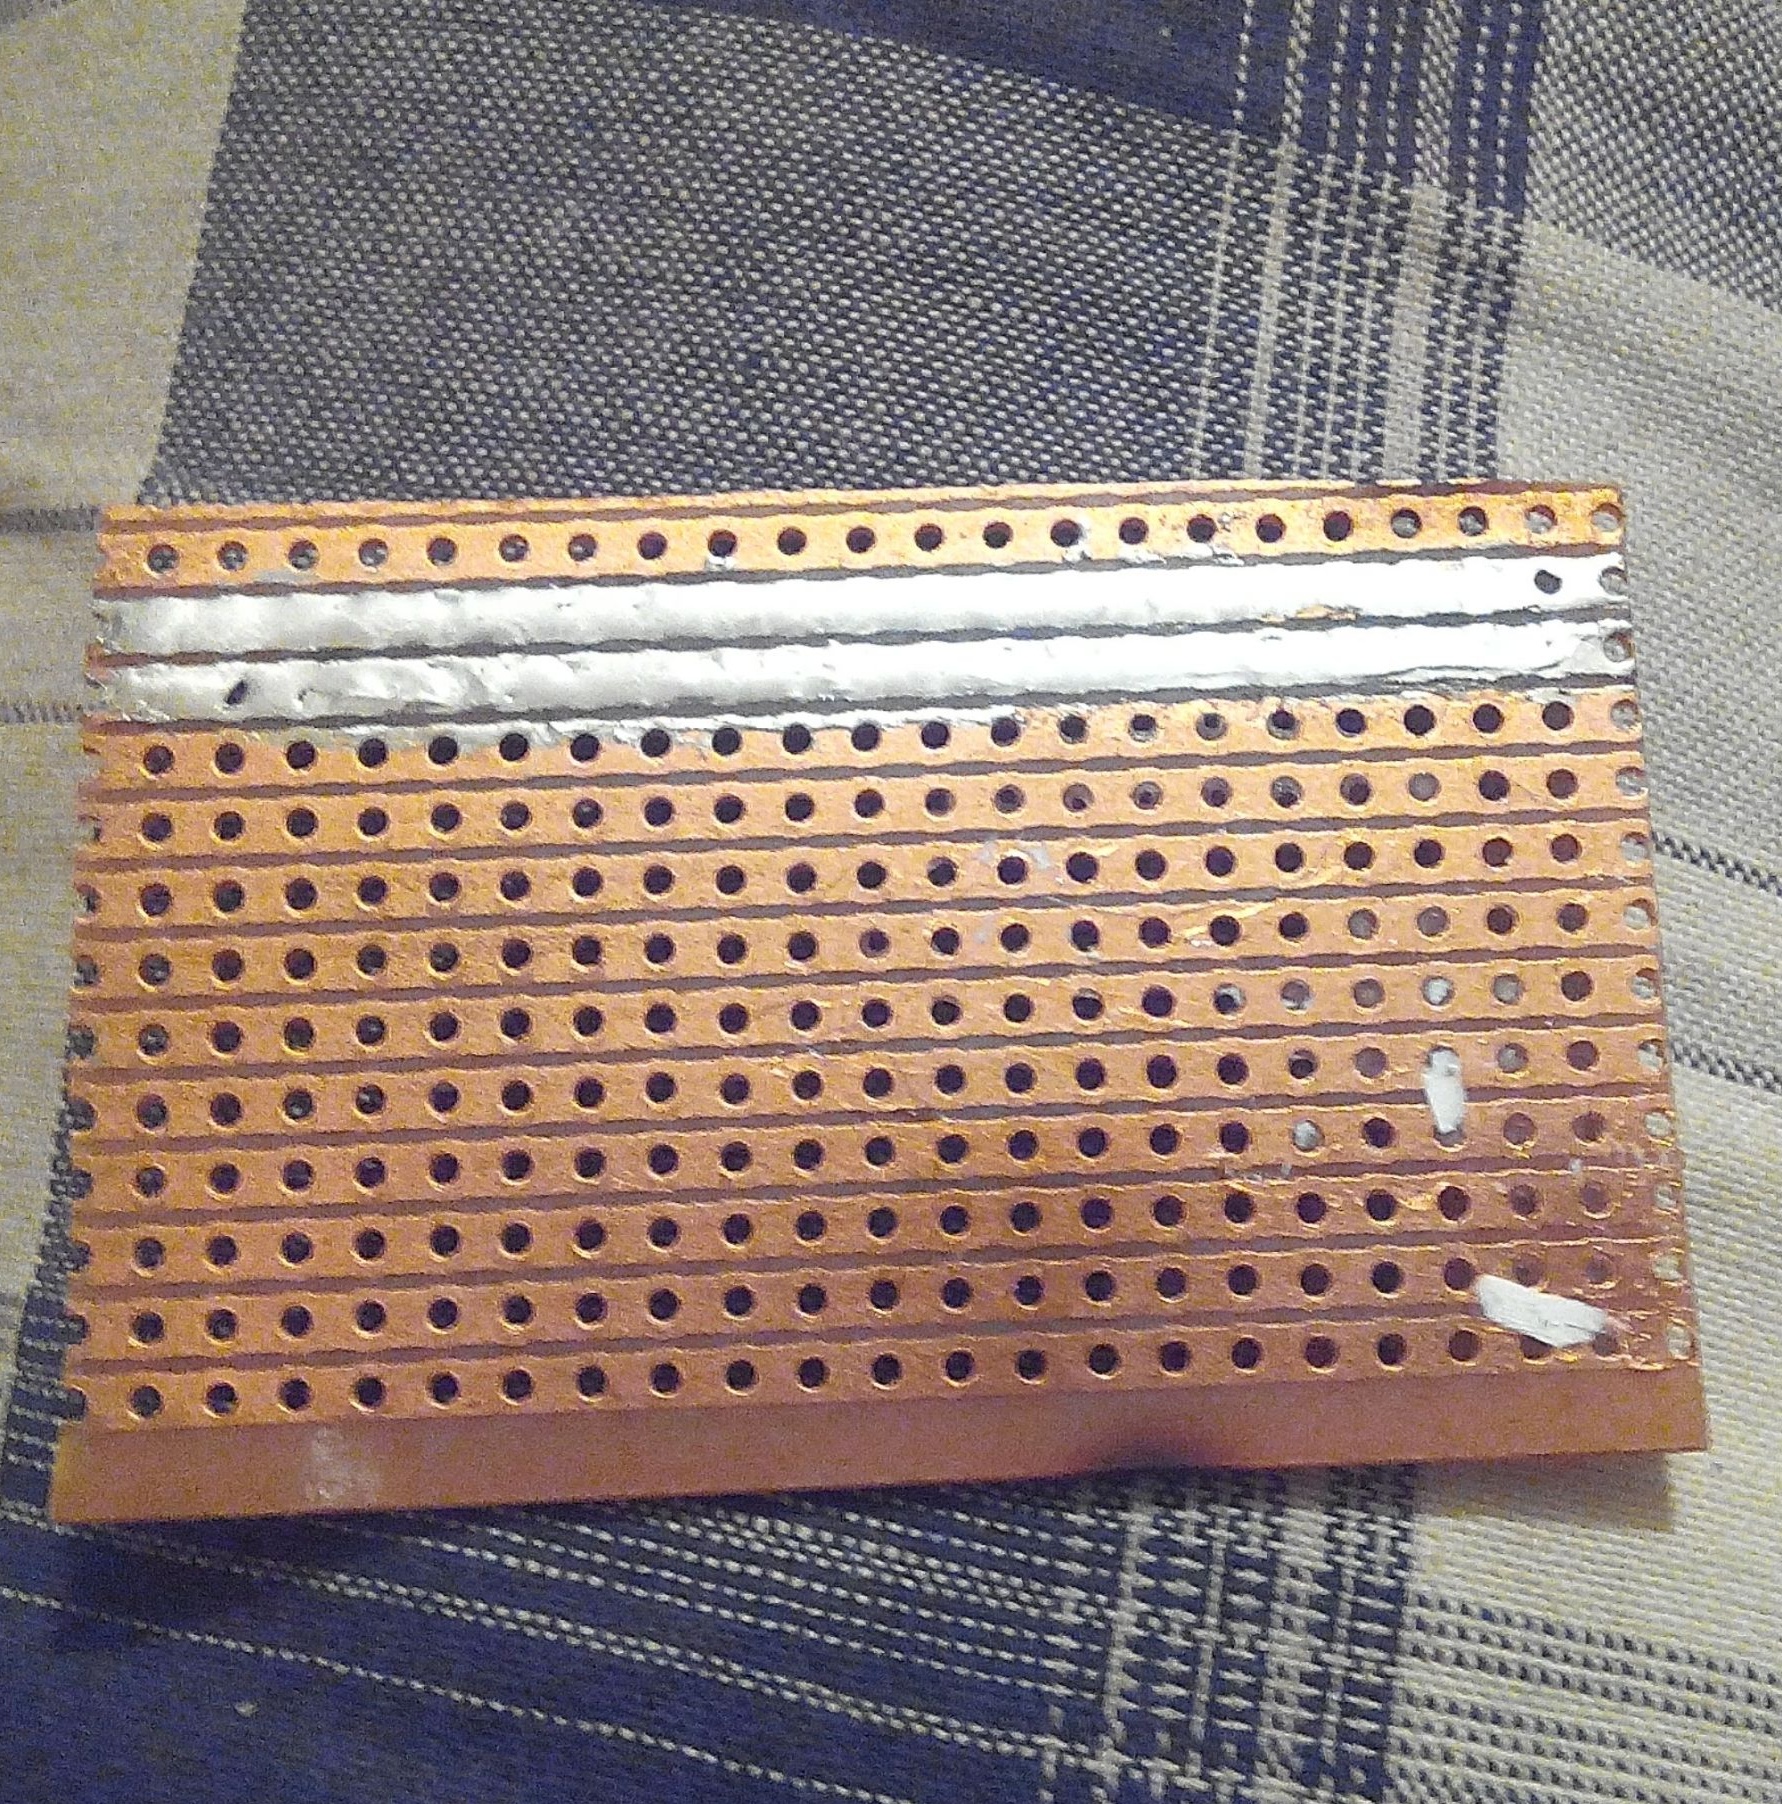
Before the soldering process, it is necessary to tin two tracks of the board, abundantly covering them with tin.
The next step is soldering our bright bulbs to the signet, the main thing is to observe the polarity, it is most convenient to hold the LEDs with tweezers when soldering.
The photo shows the process of step-by-step soldering, but I did not get stuck on each bulb, so I depicted the whole process in 4 photos.
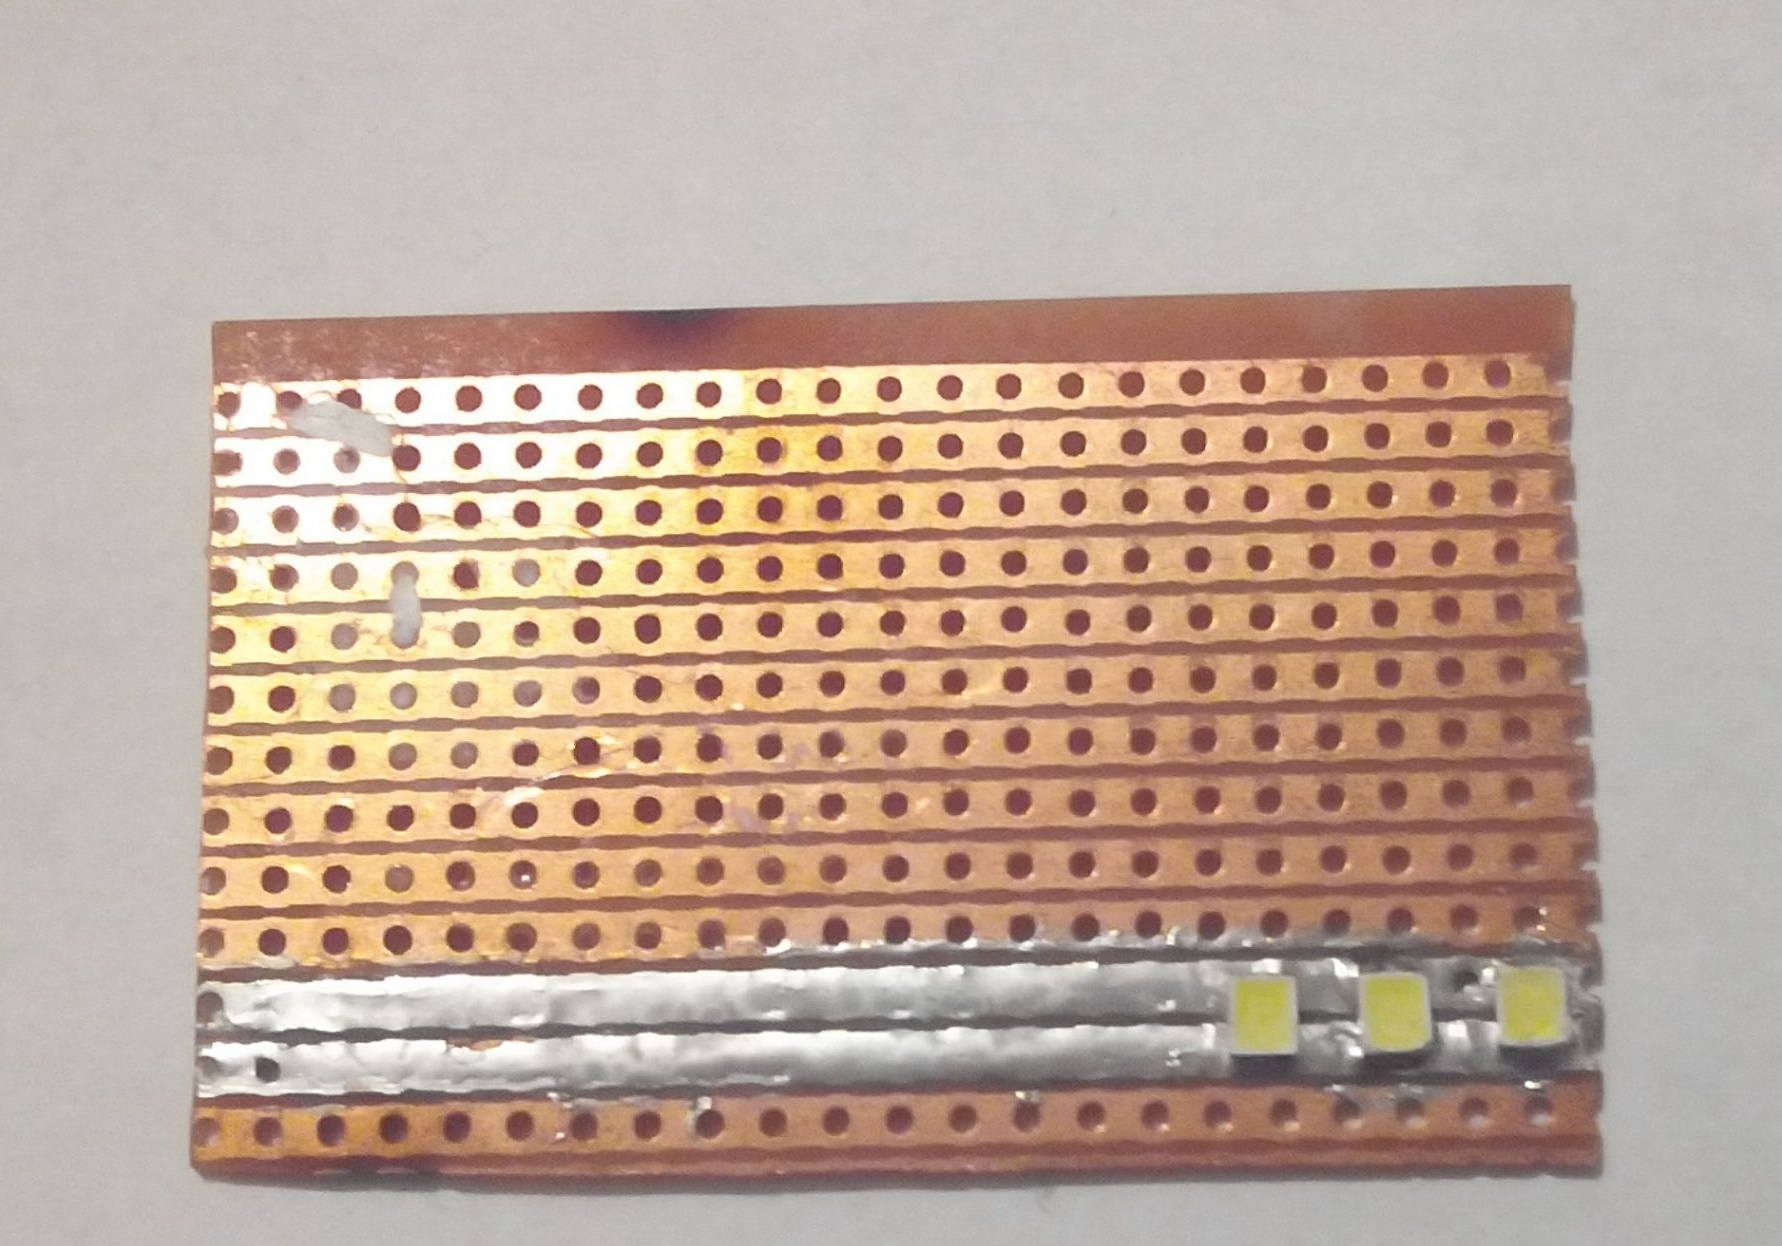
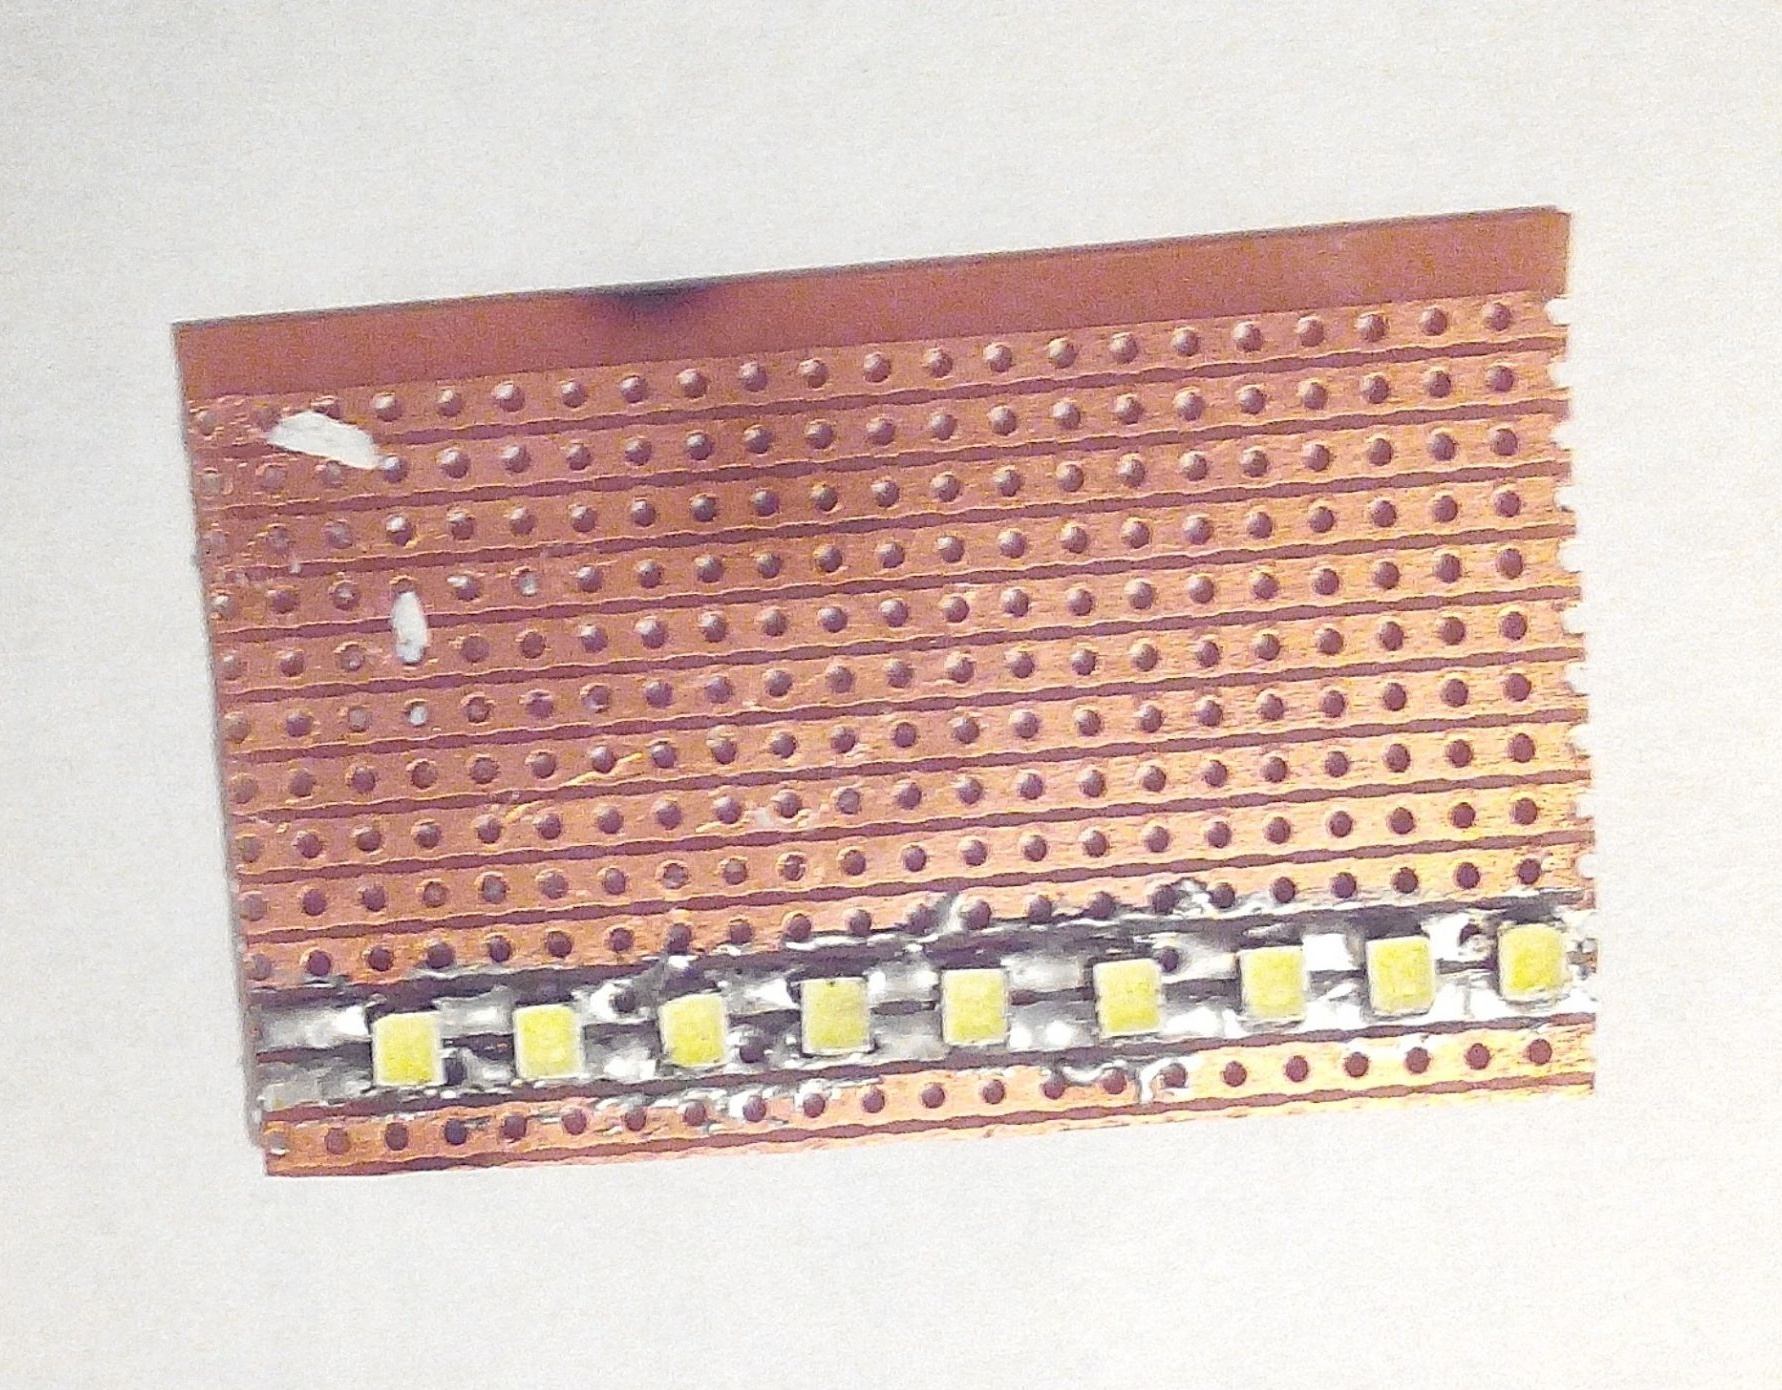
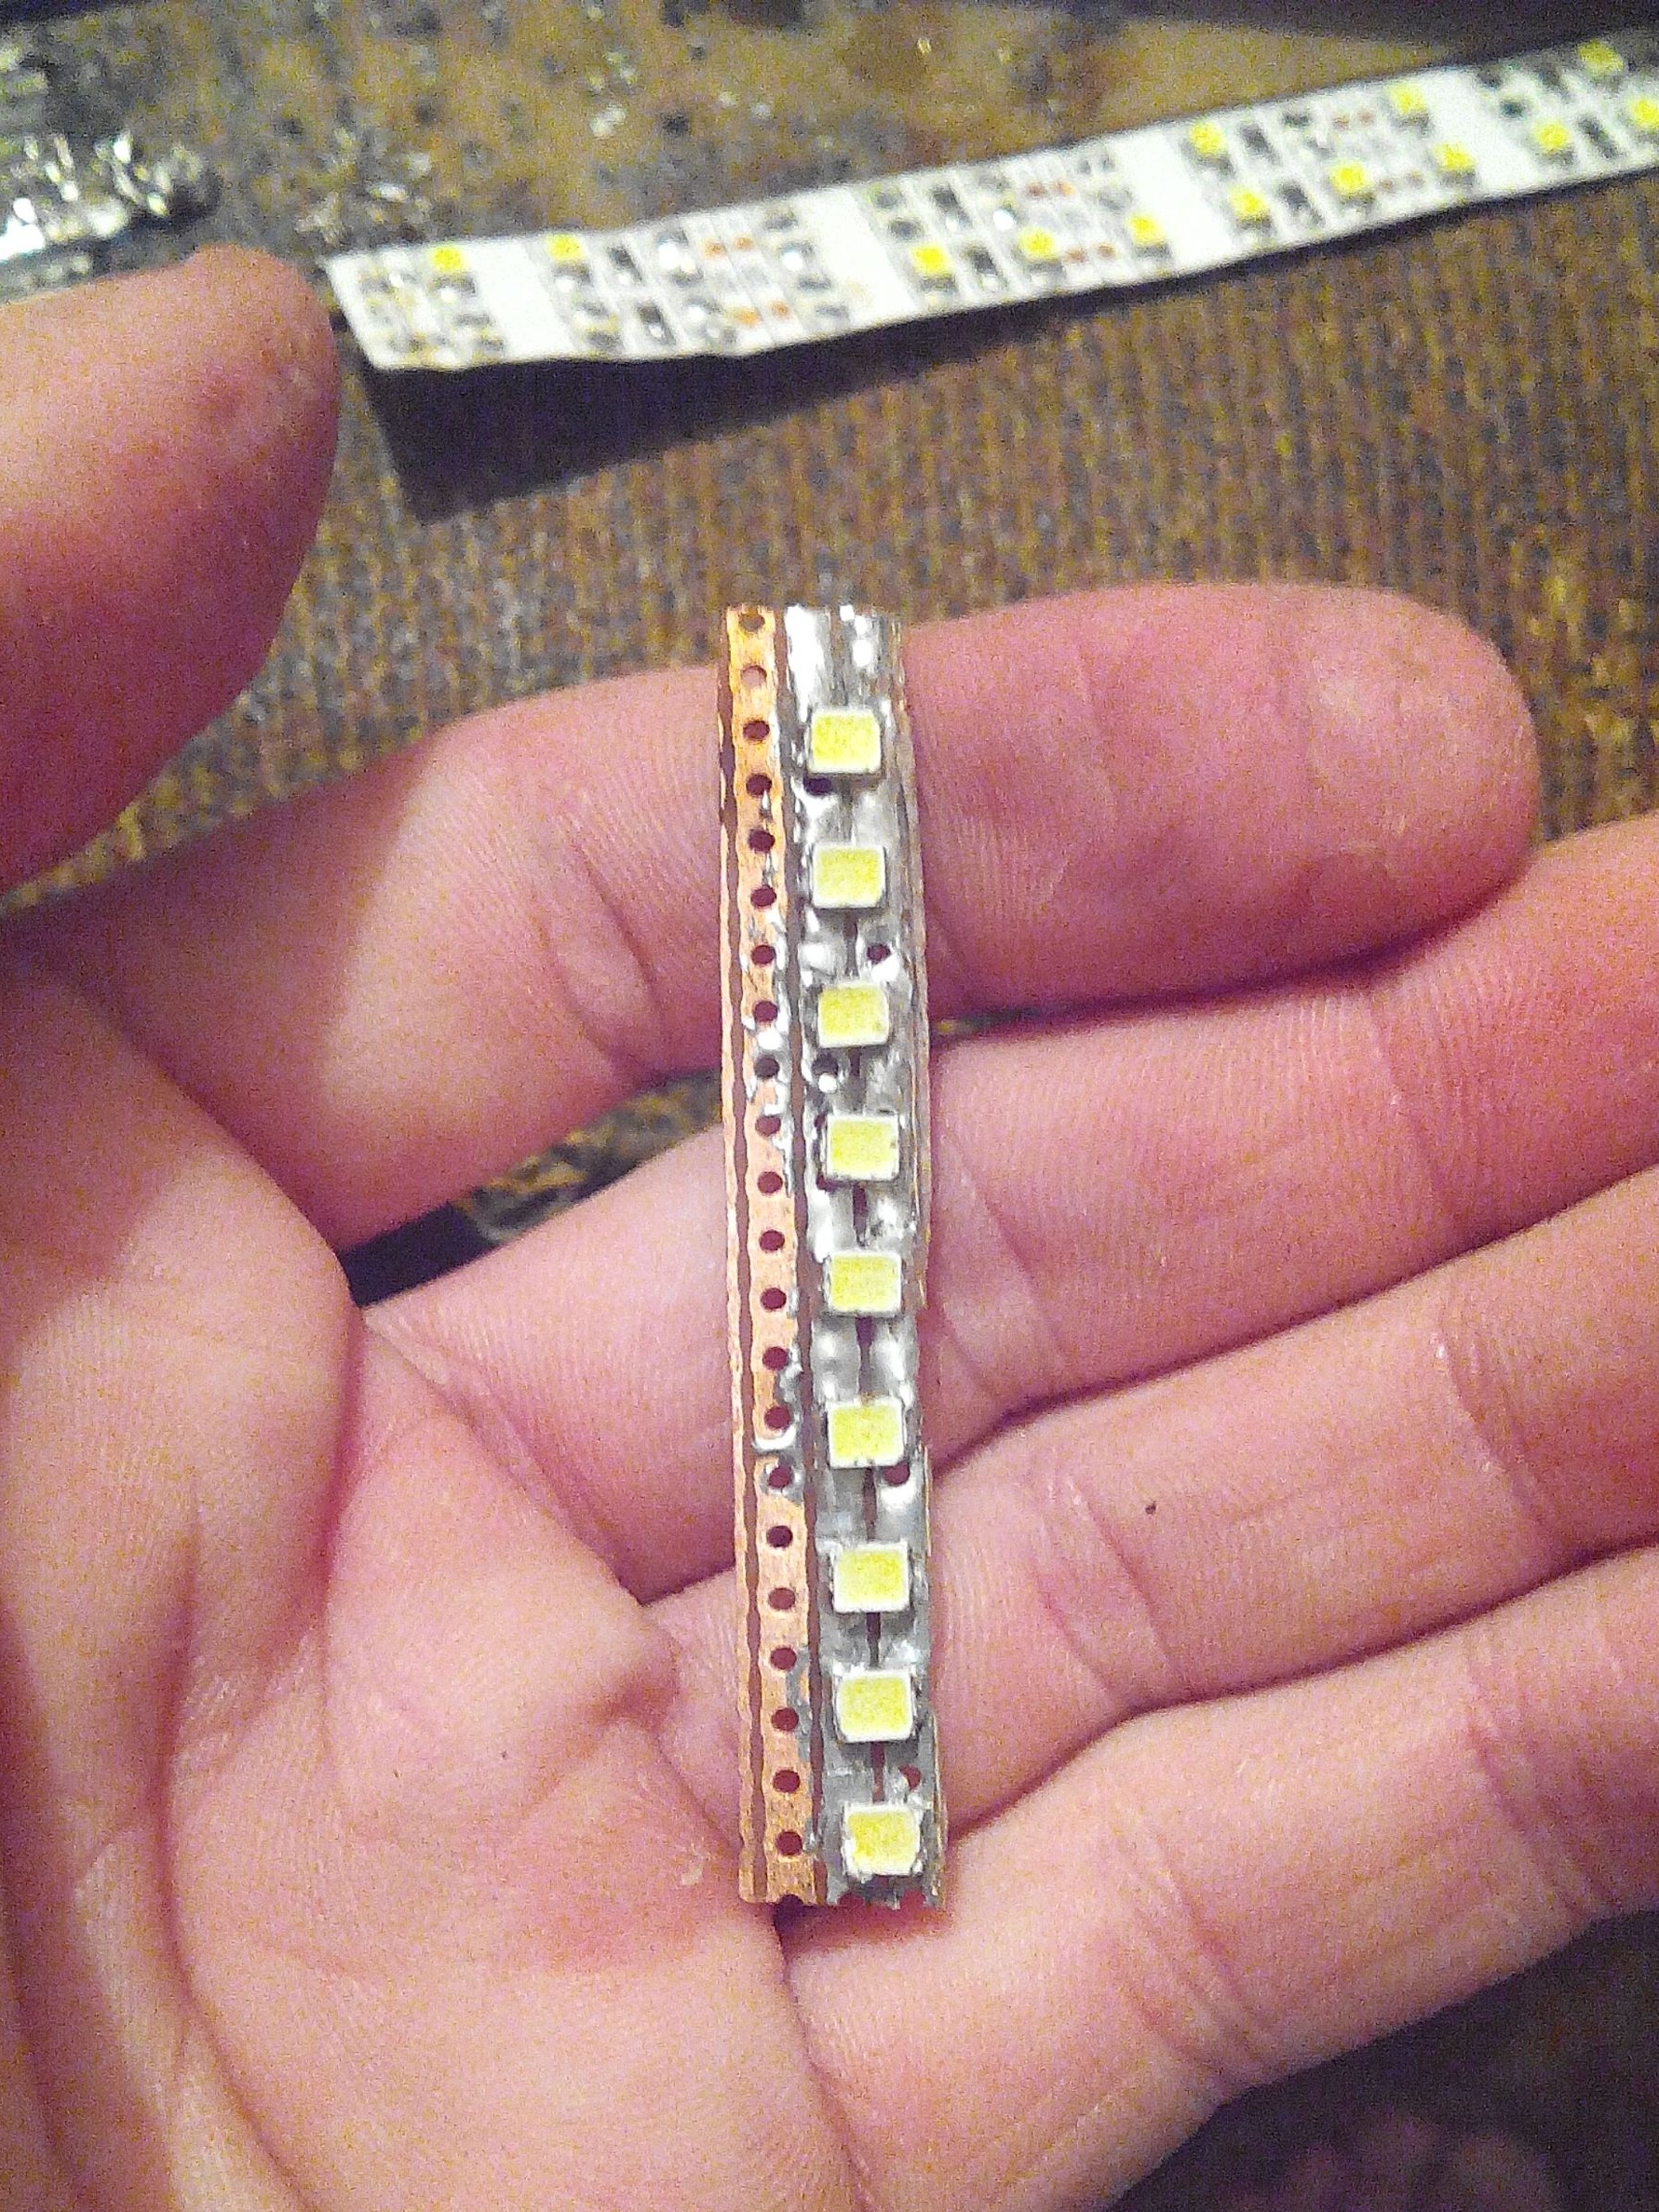
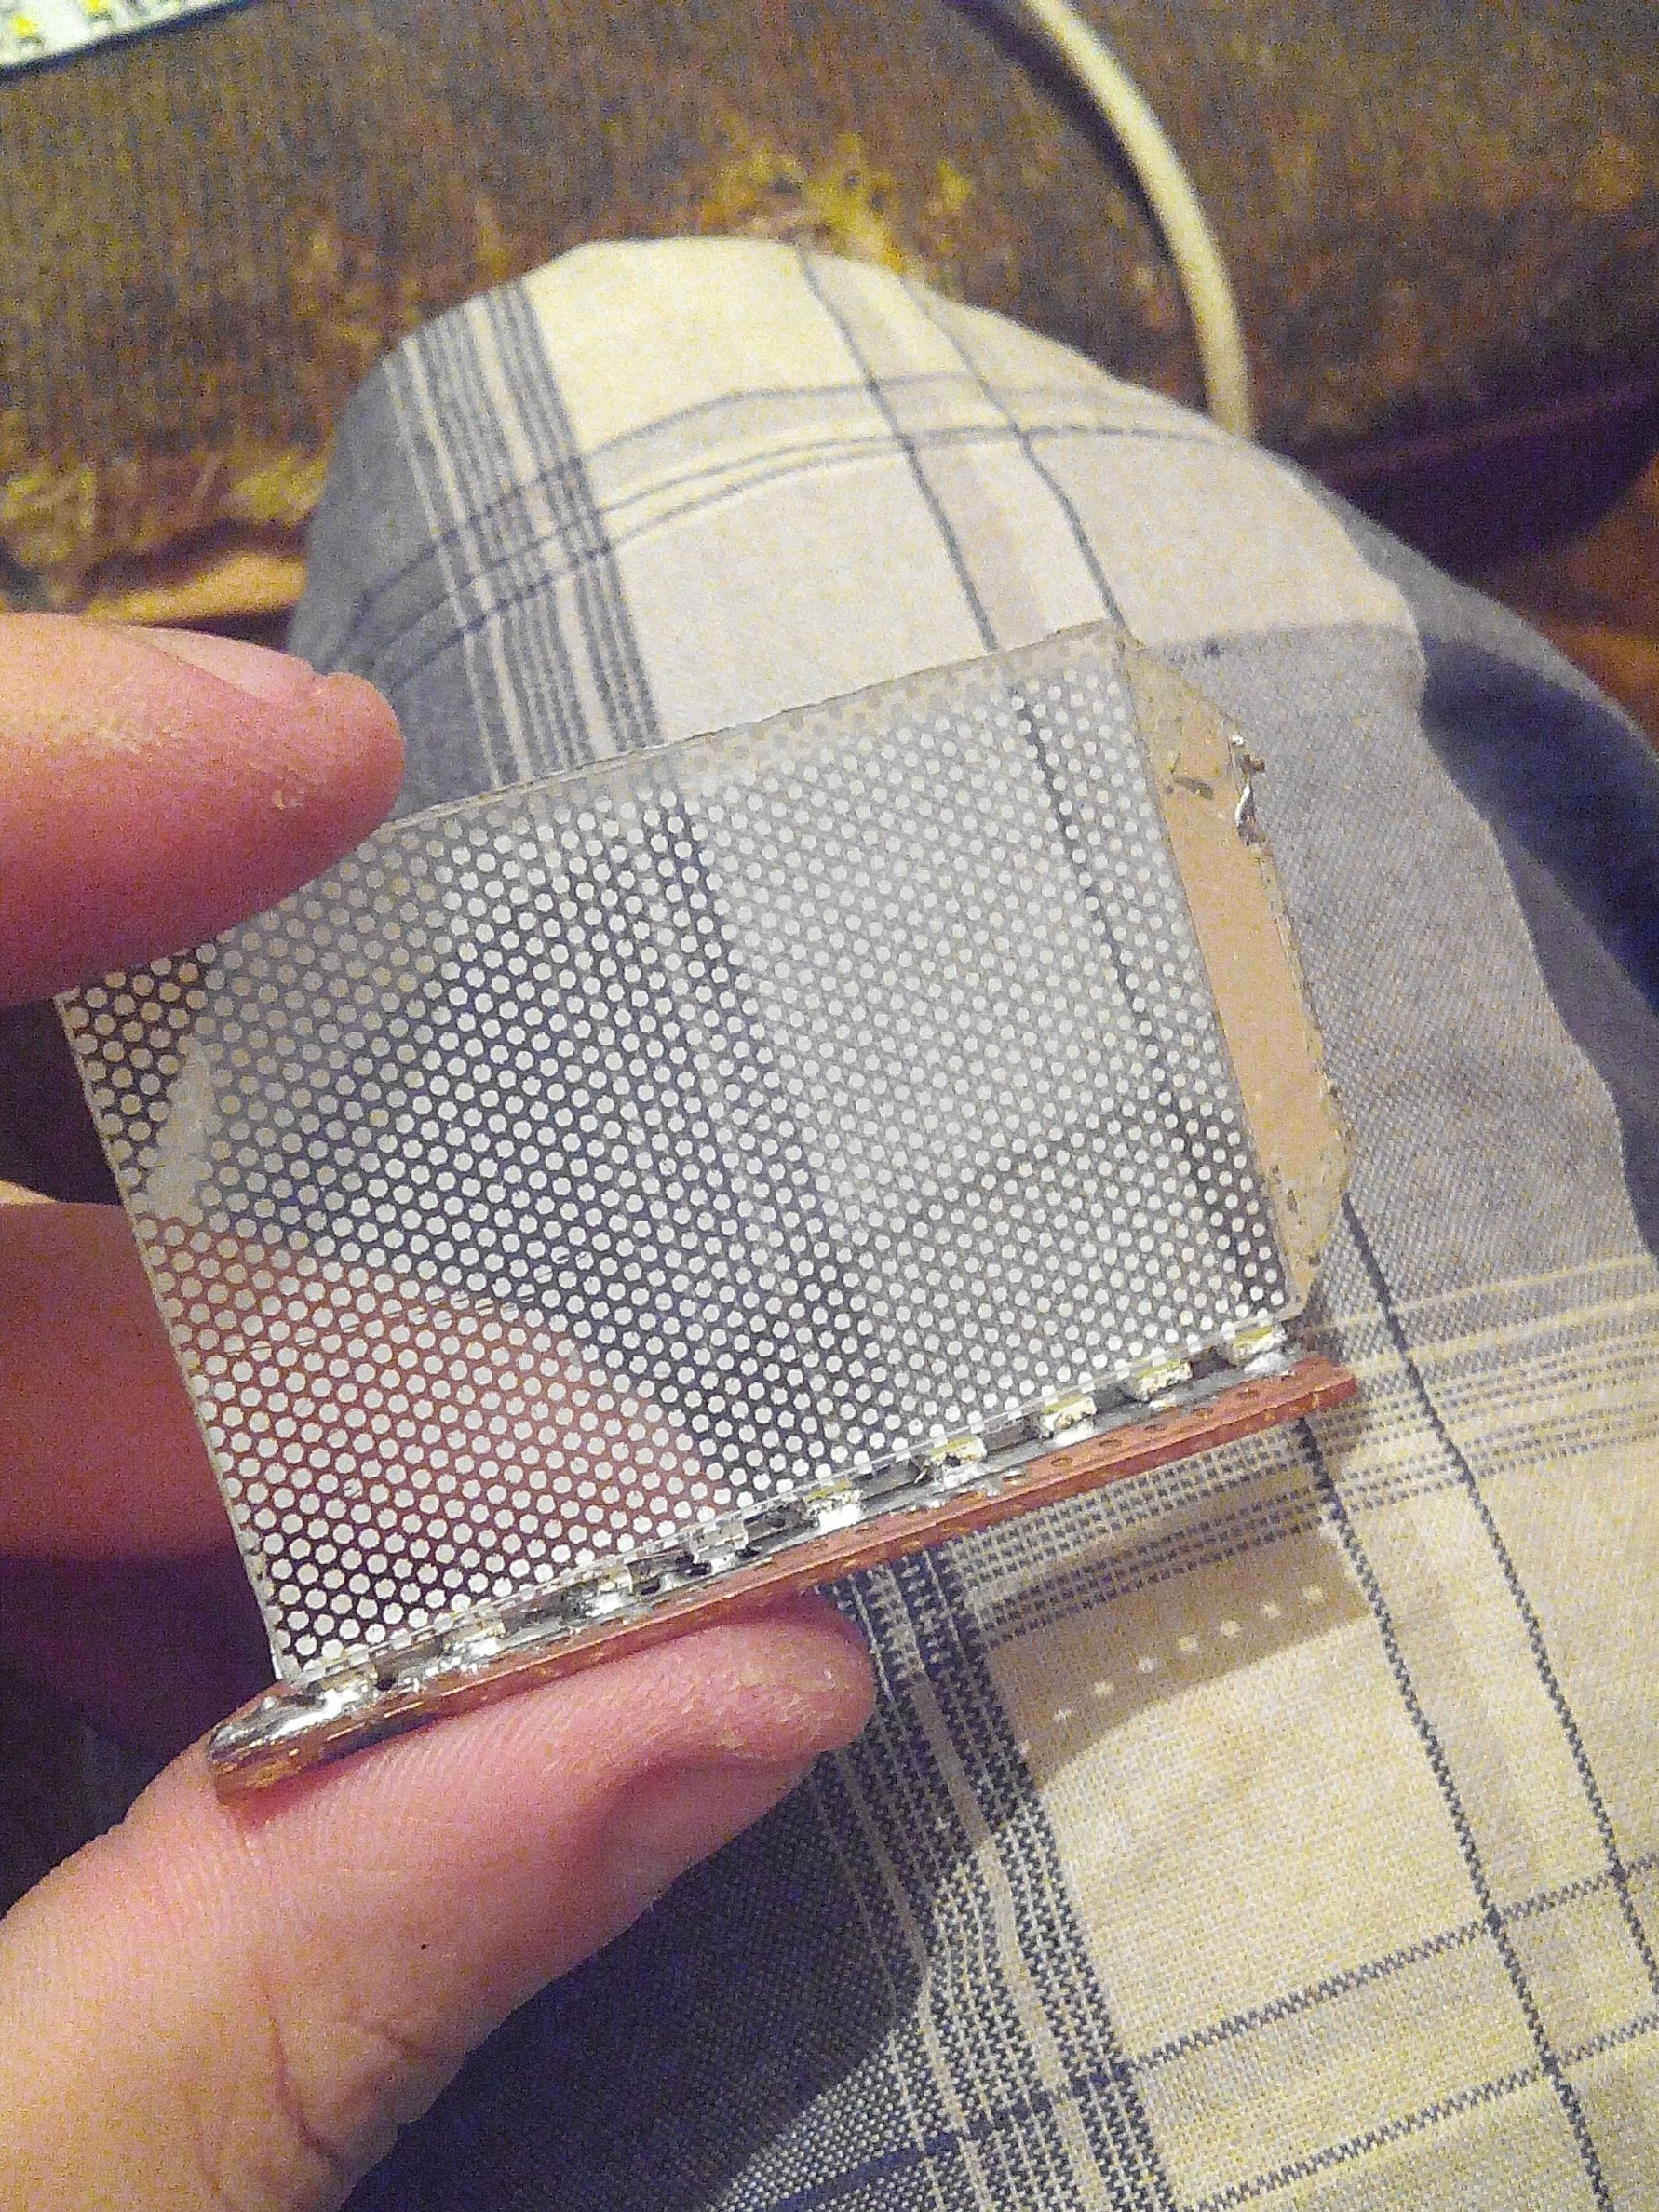
Since we do not need a large signet, we should cut off the excess part with the help of an office knife, be careful.
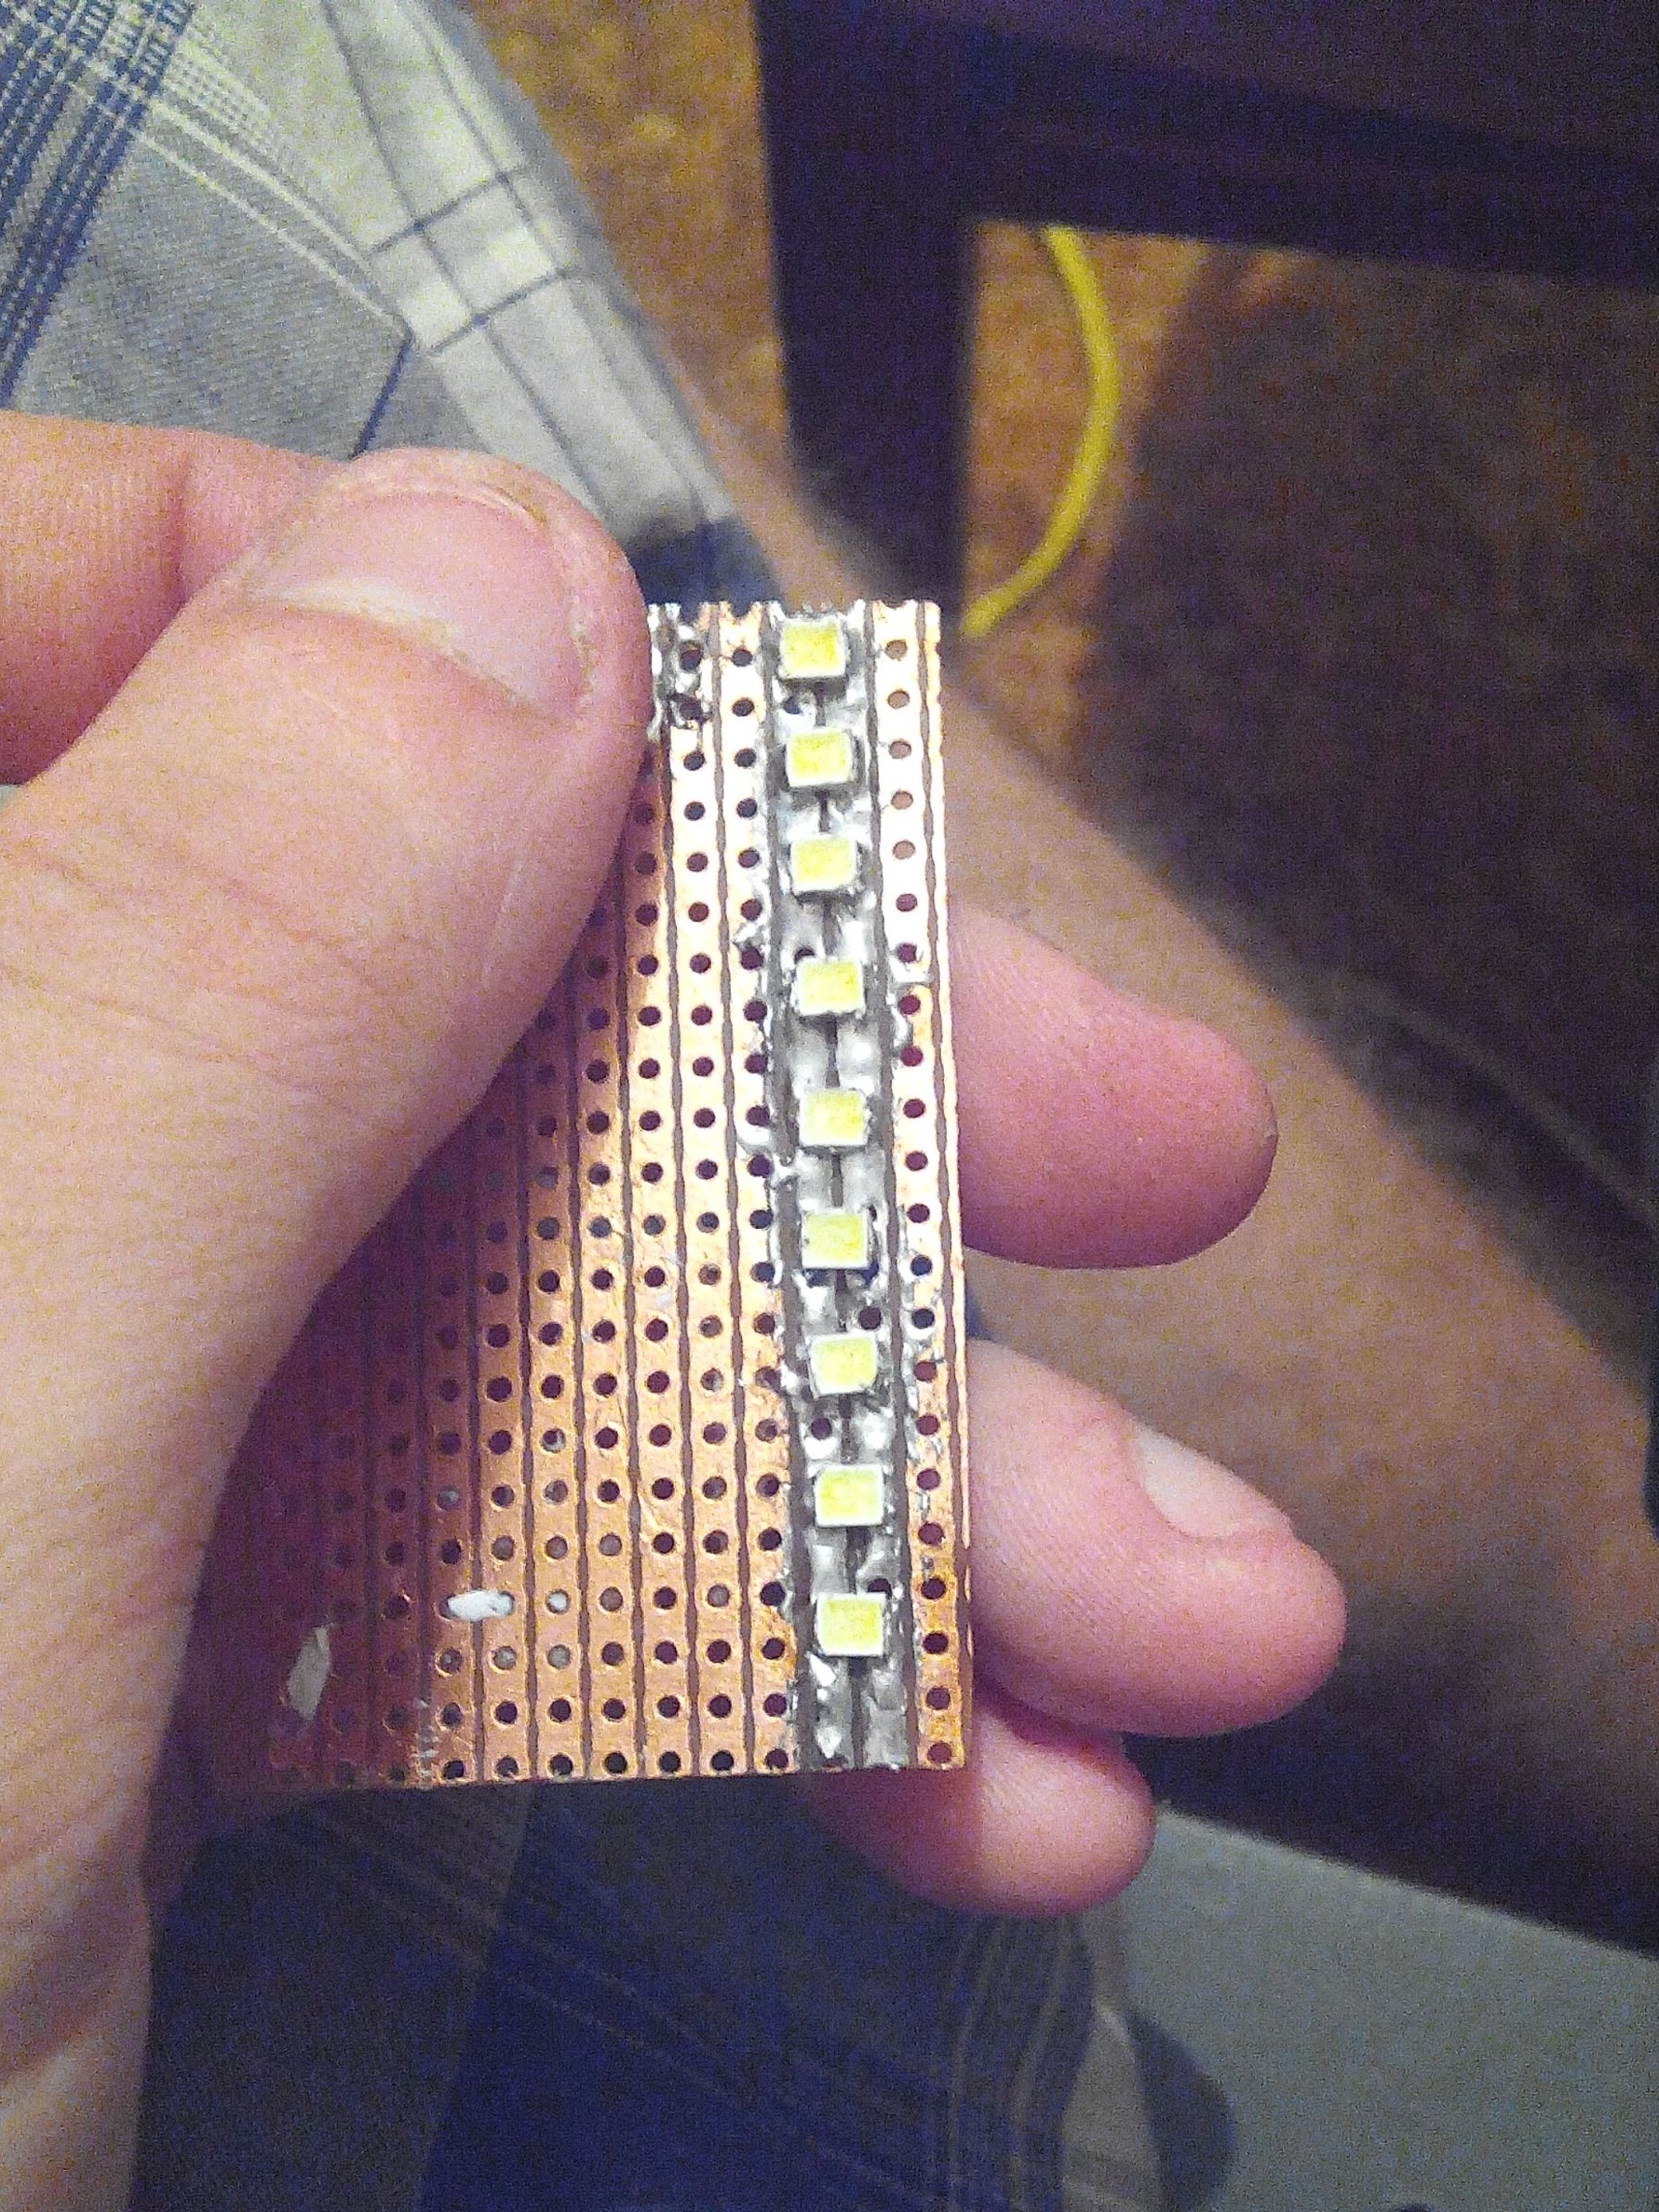
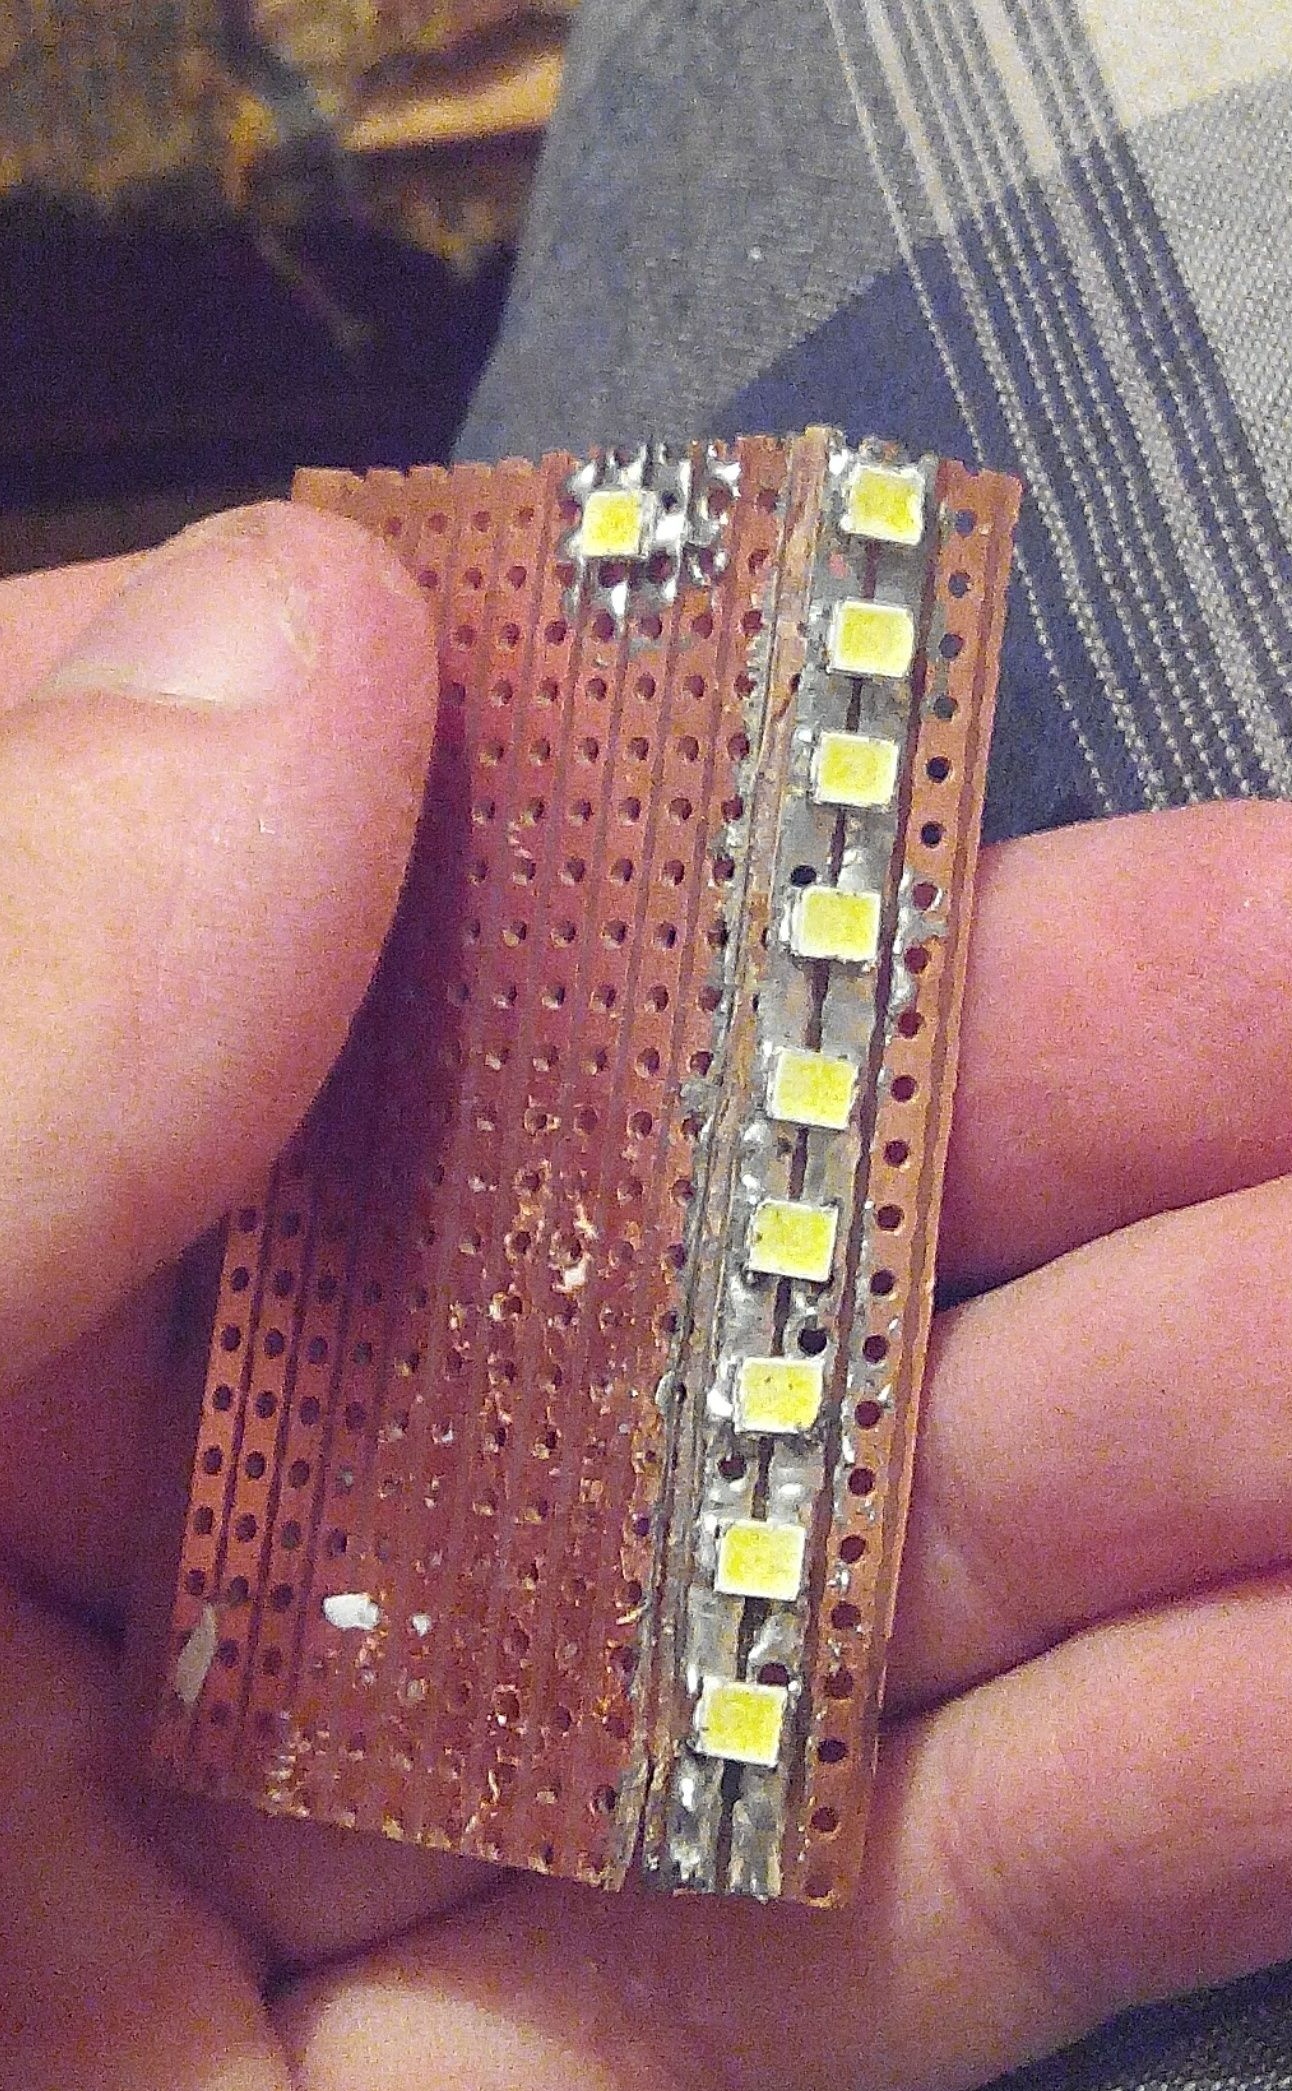
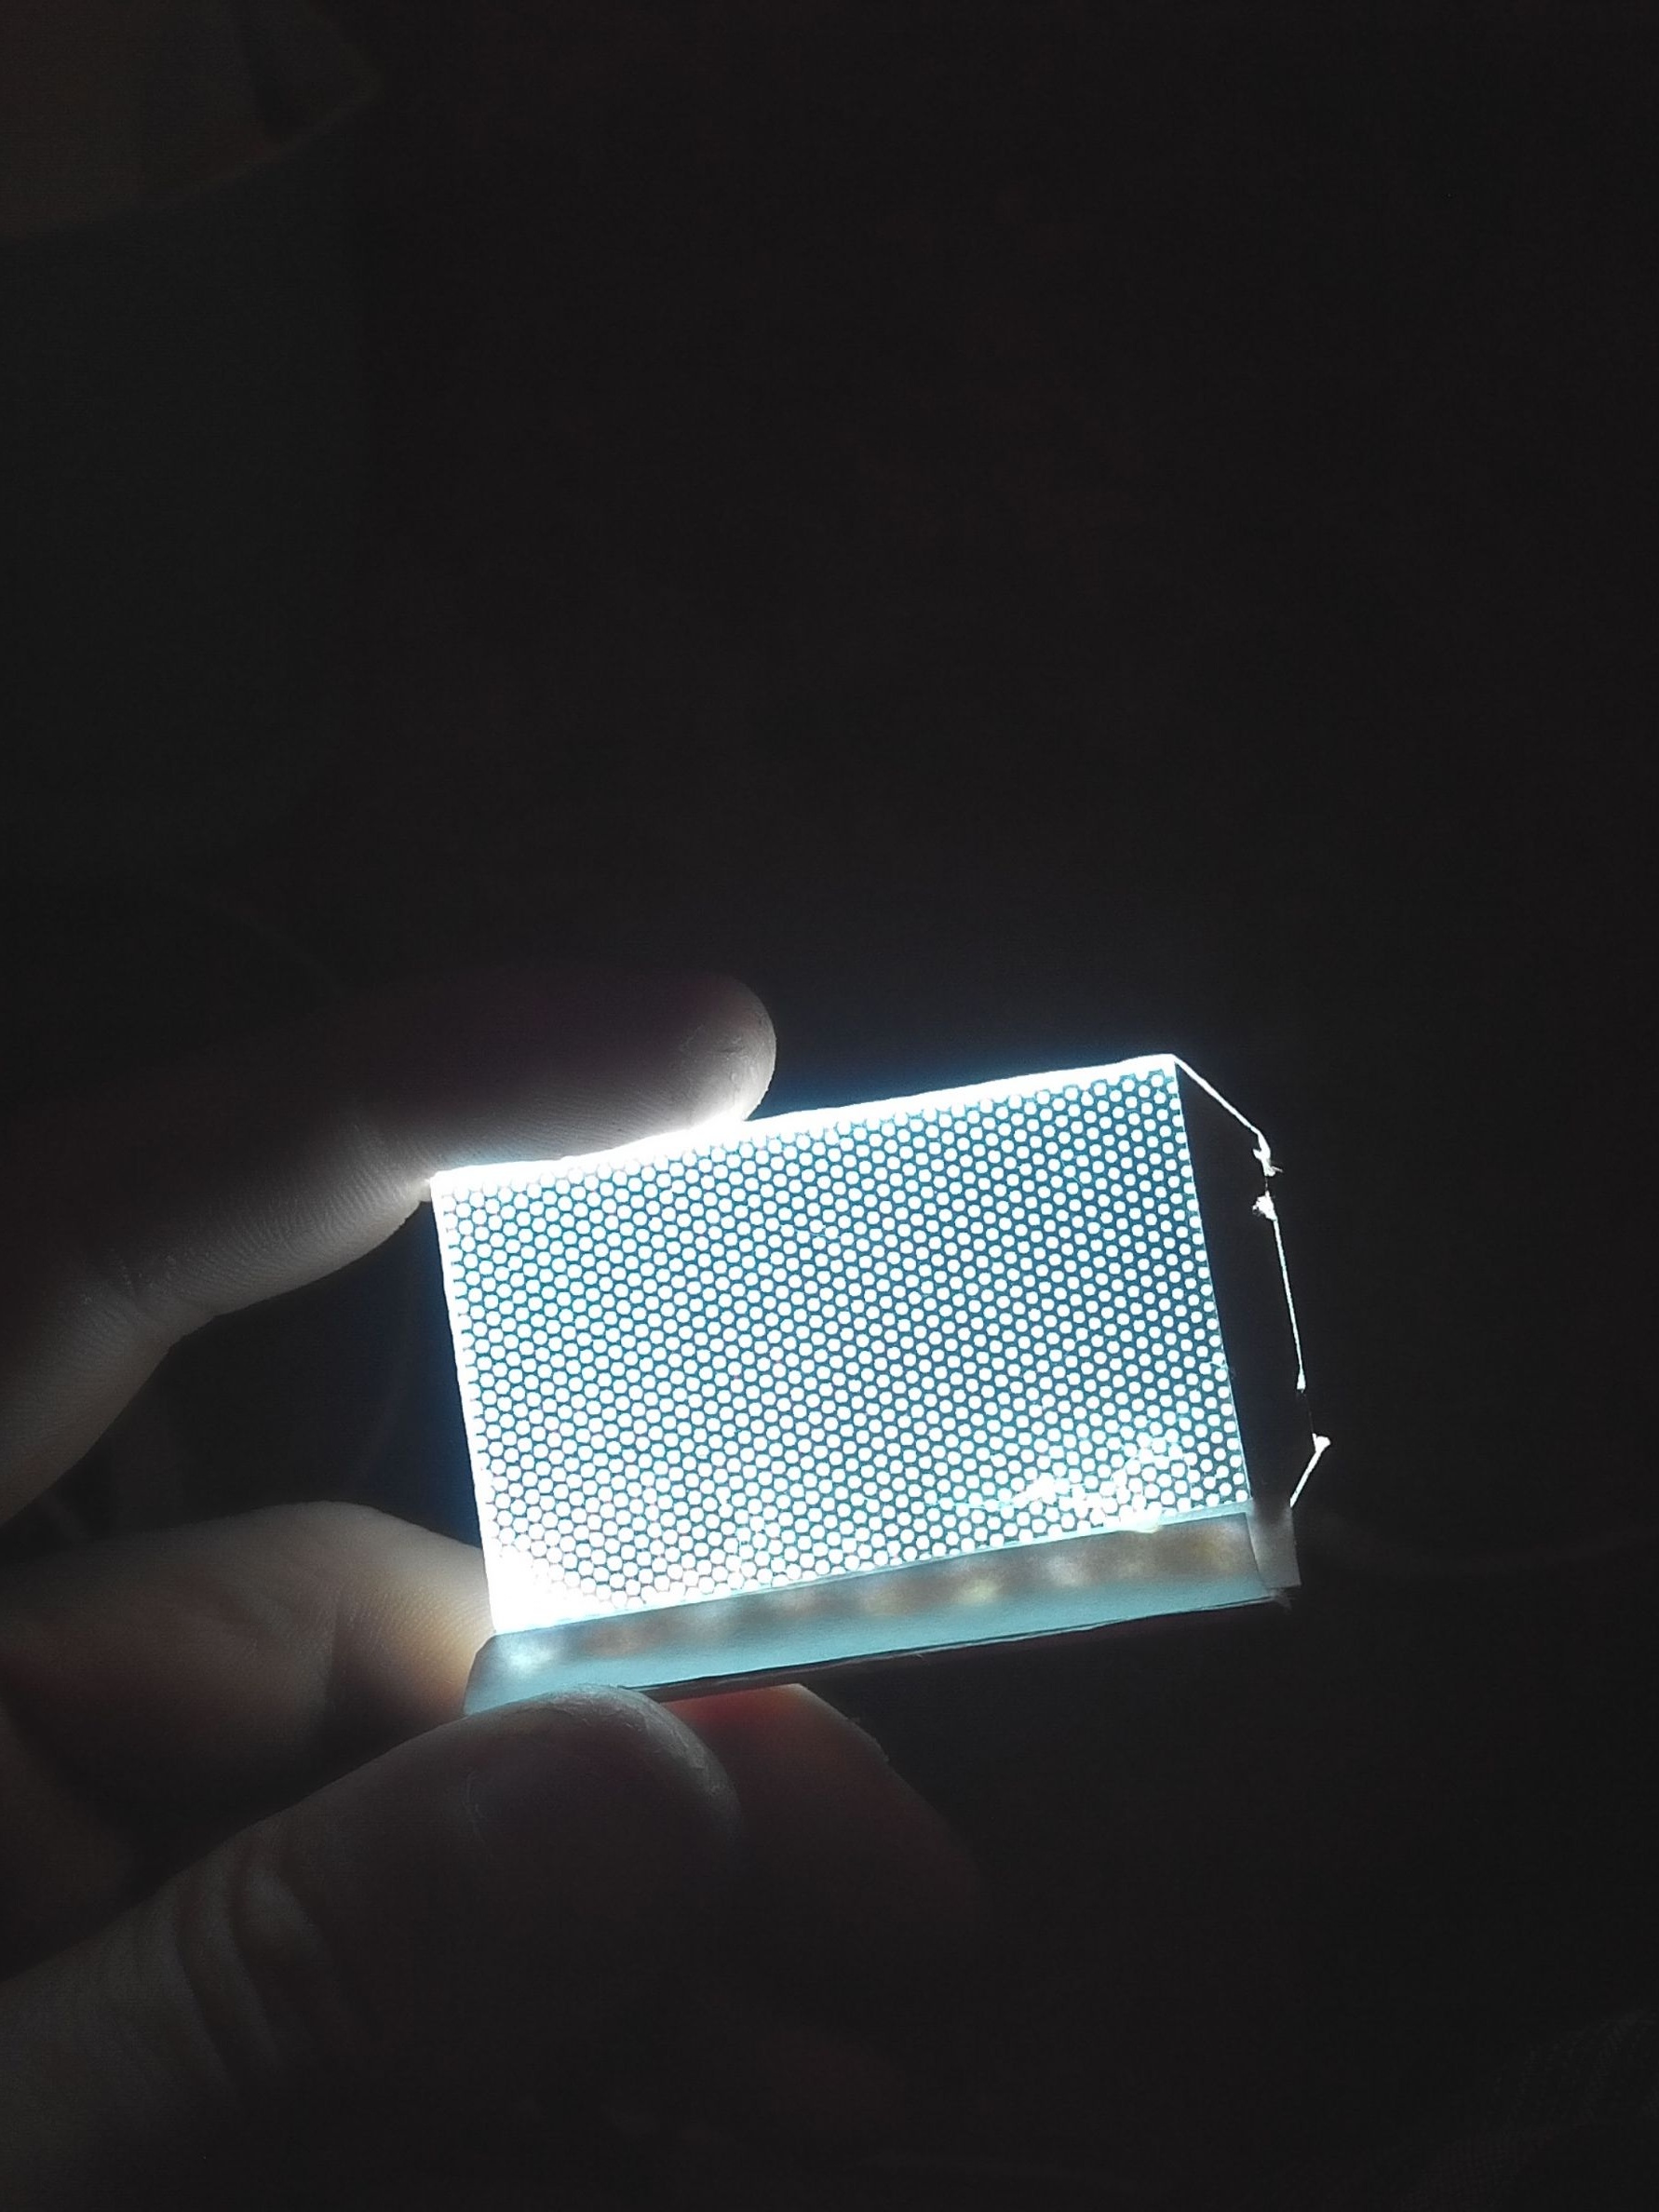
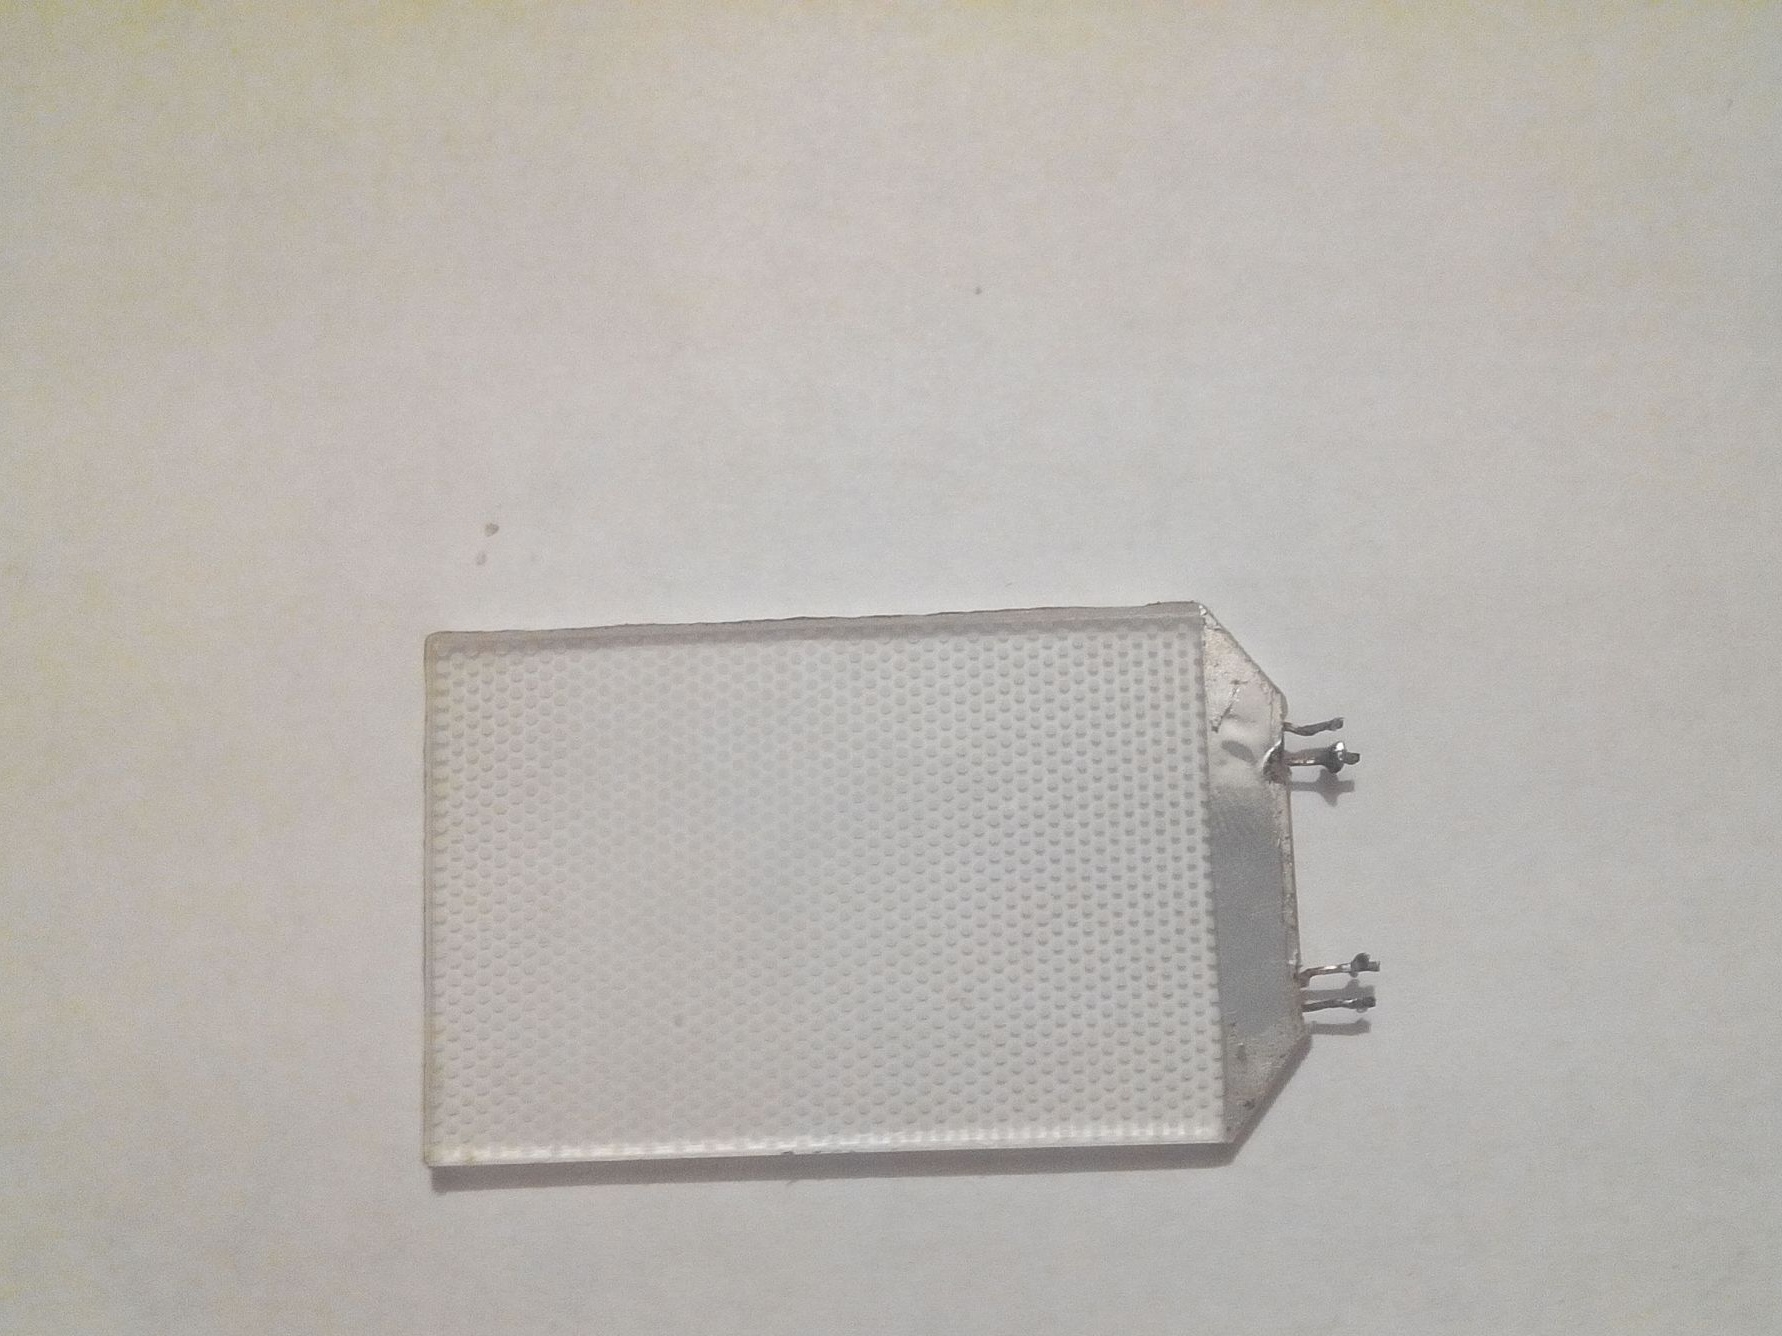
This is how the bright heart of our lamp looks.
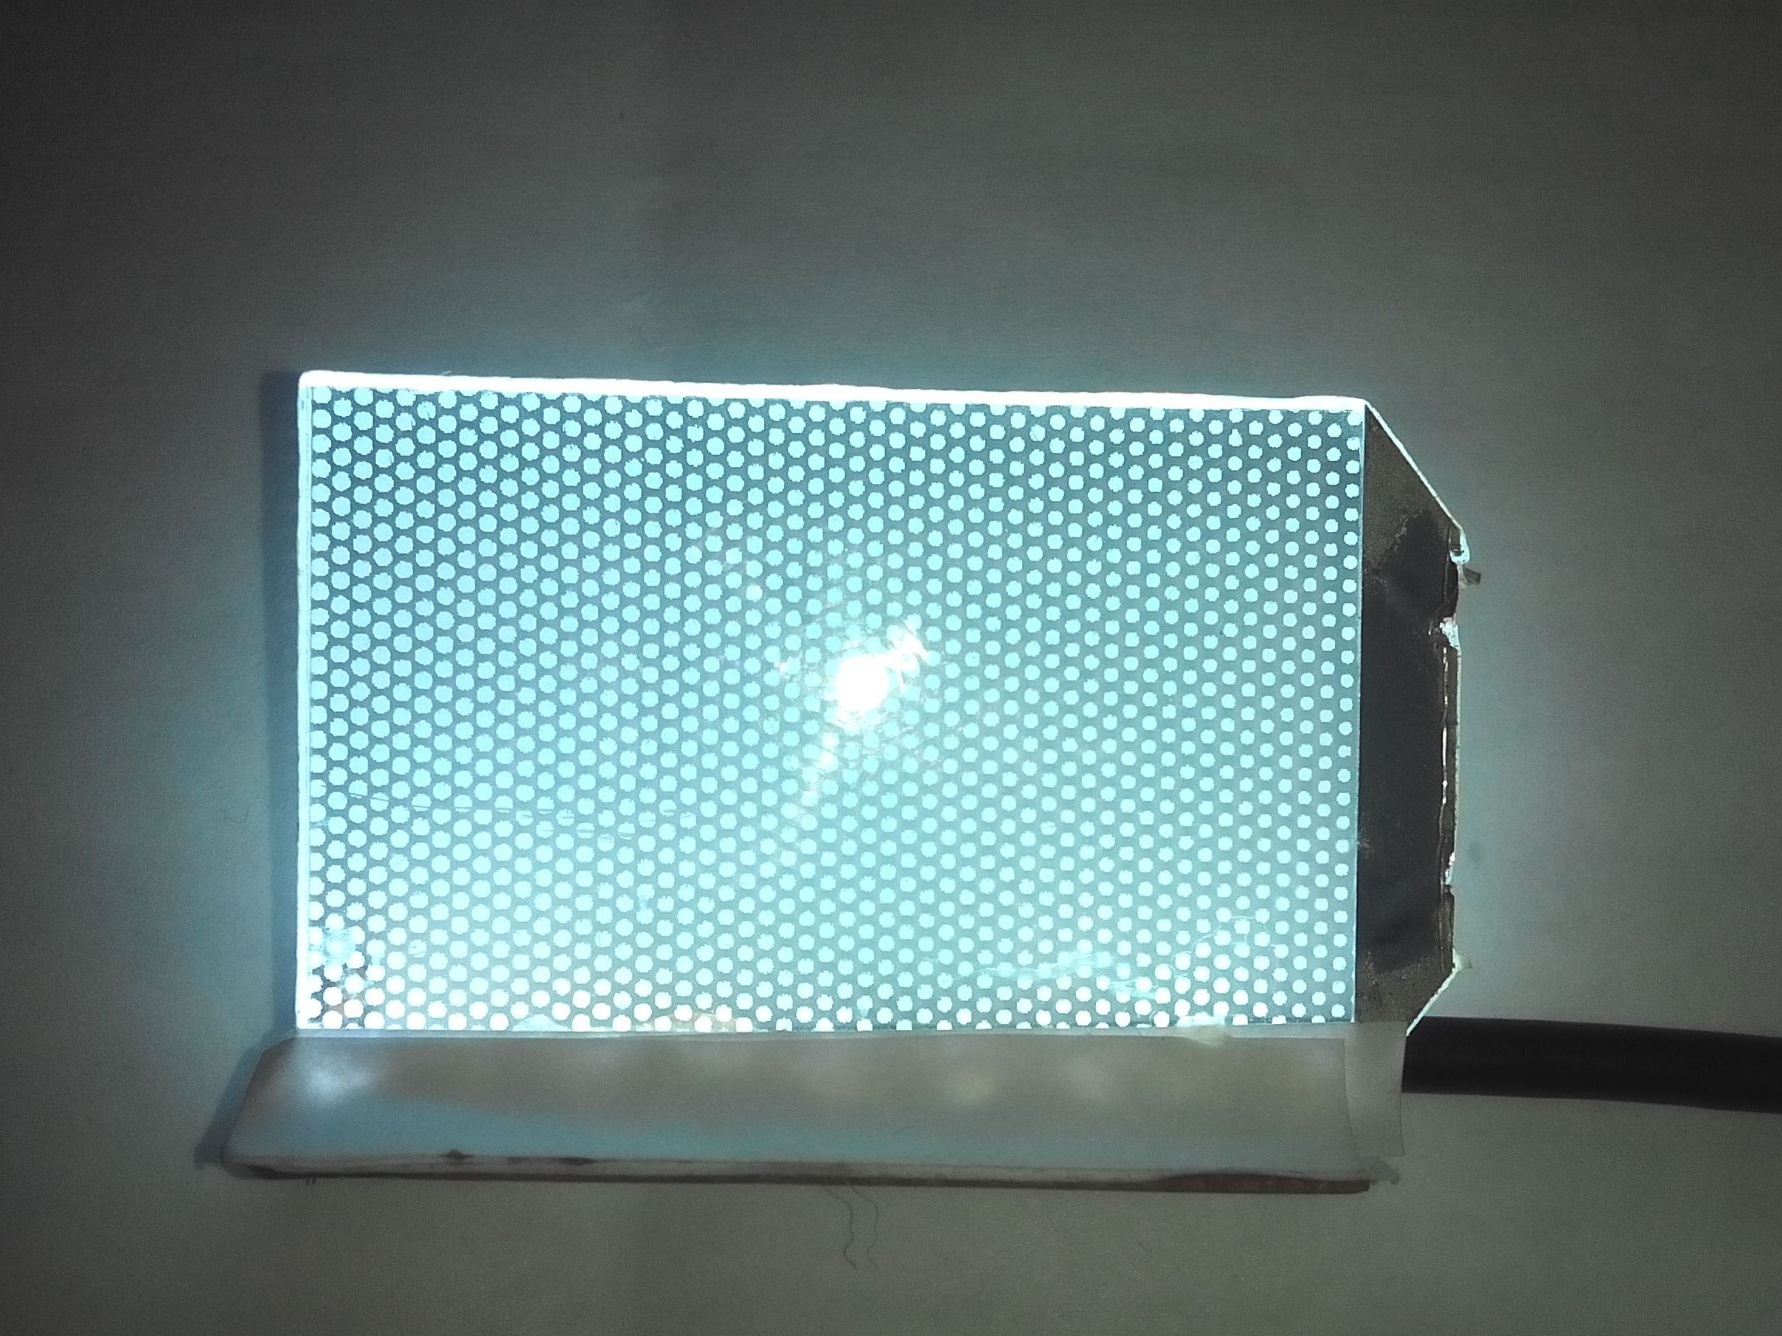
Since the LEDs shine very brightly, I decided that their powerful light should be scattered with a transparent plastic plate glued with hot-melt adhesive to the board.
The lower part on which the board is located needs to be closed, we do this using the same hot glue and album sheet.
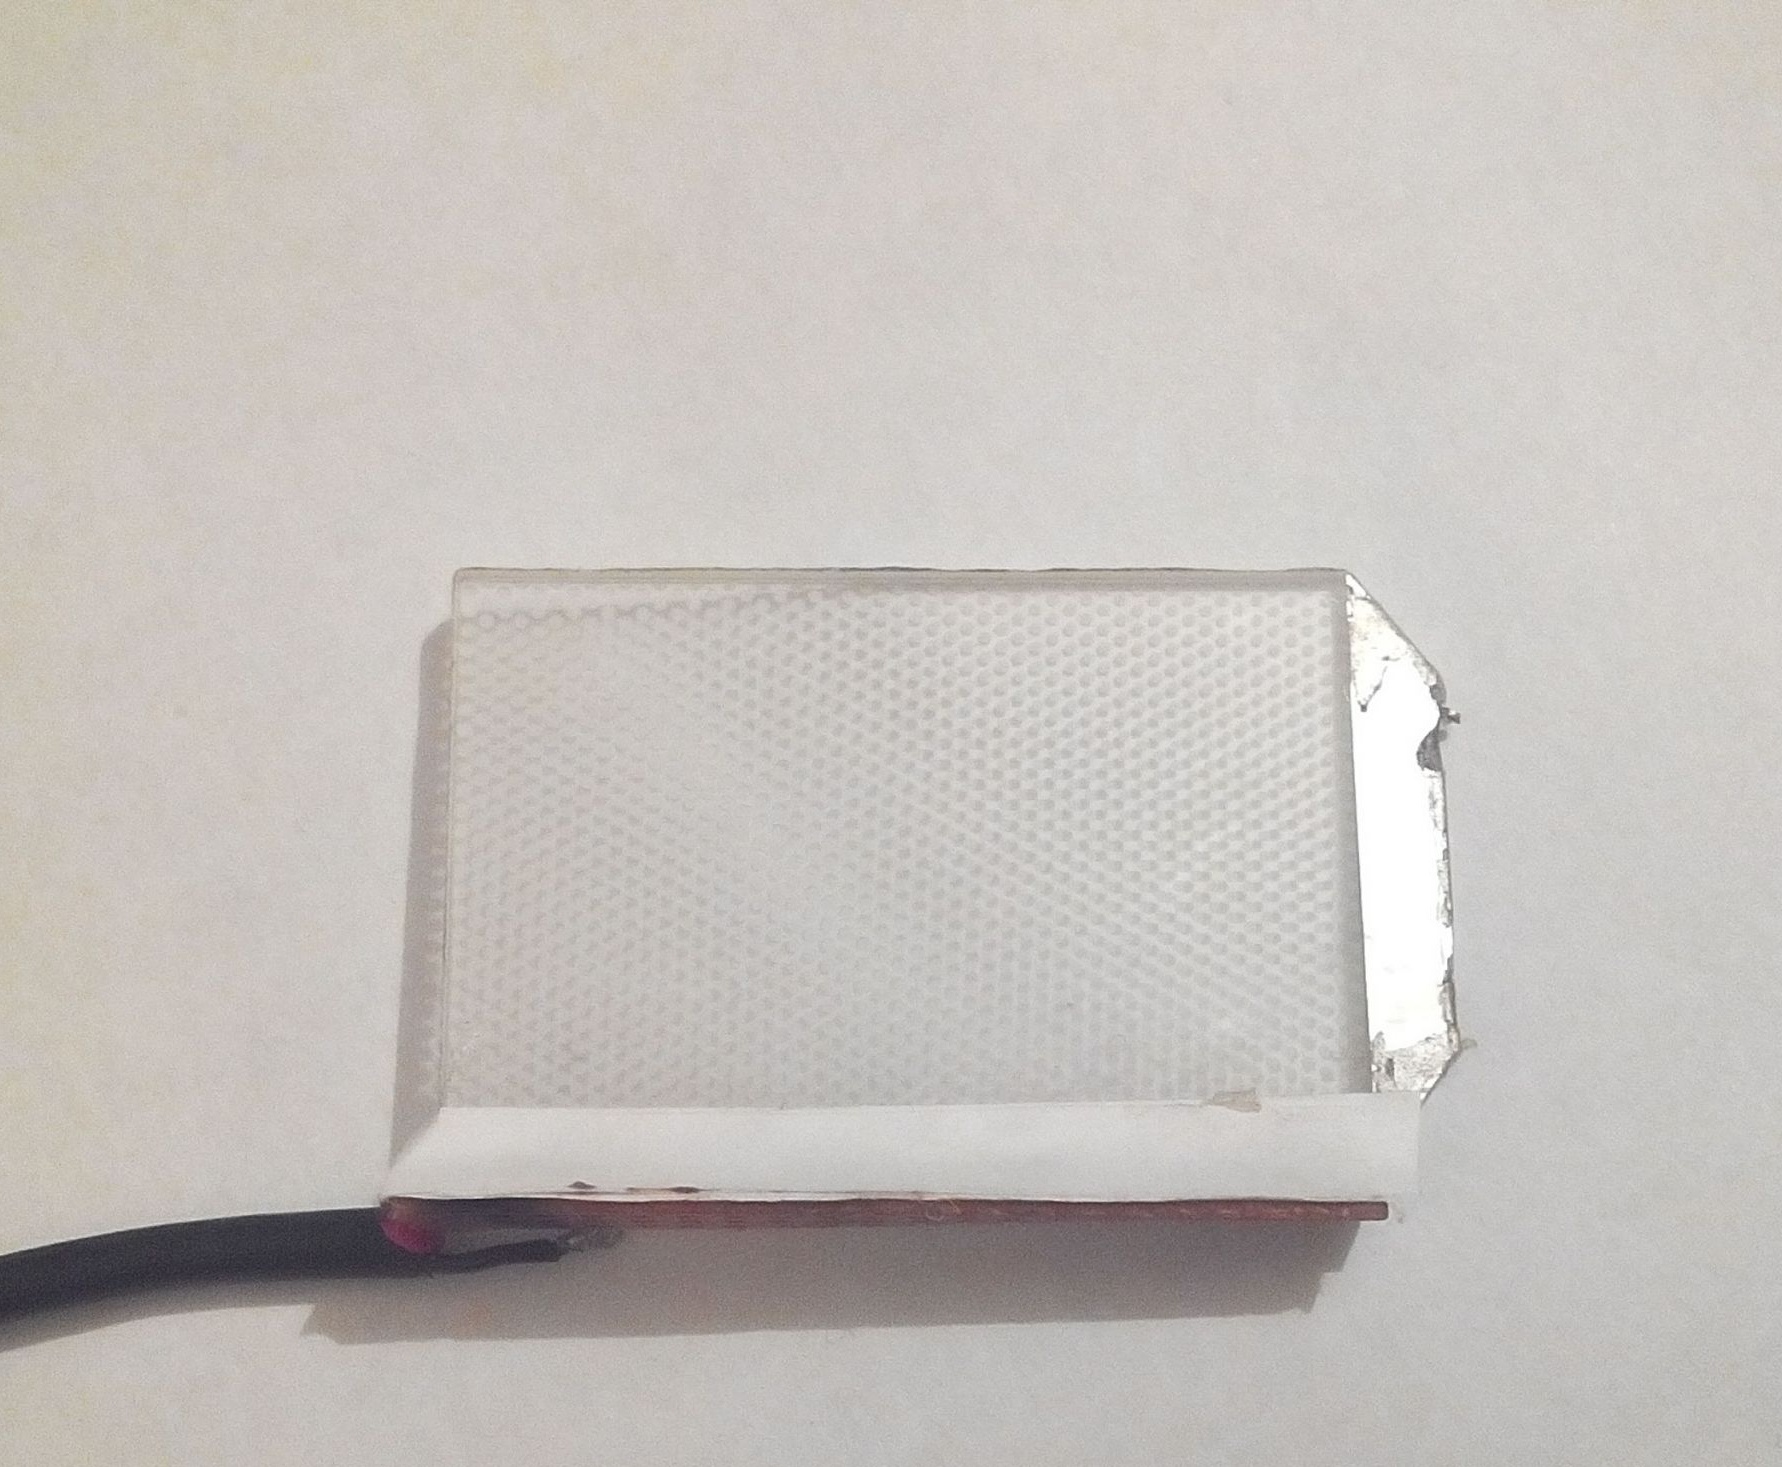
At this stage, our lamp is not yet operational, to complete it is necessary to add a USB cord from which the power will come.
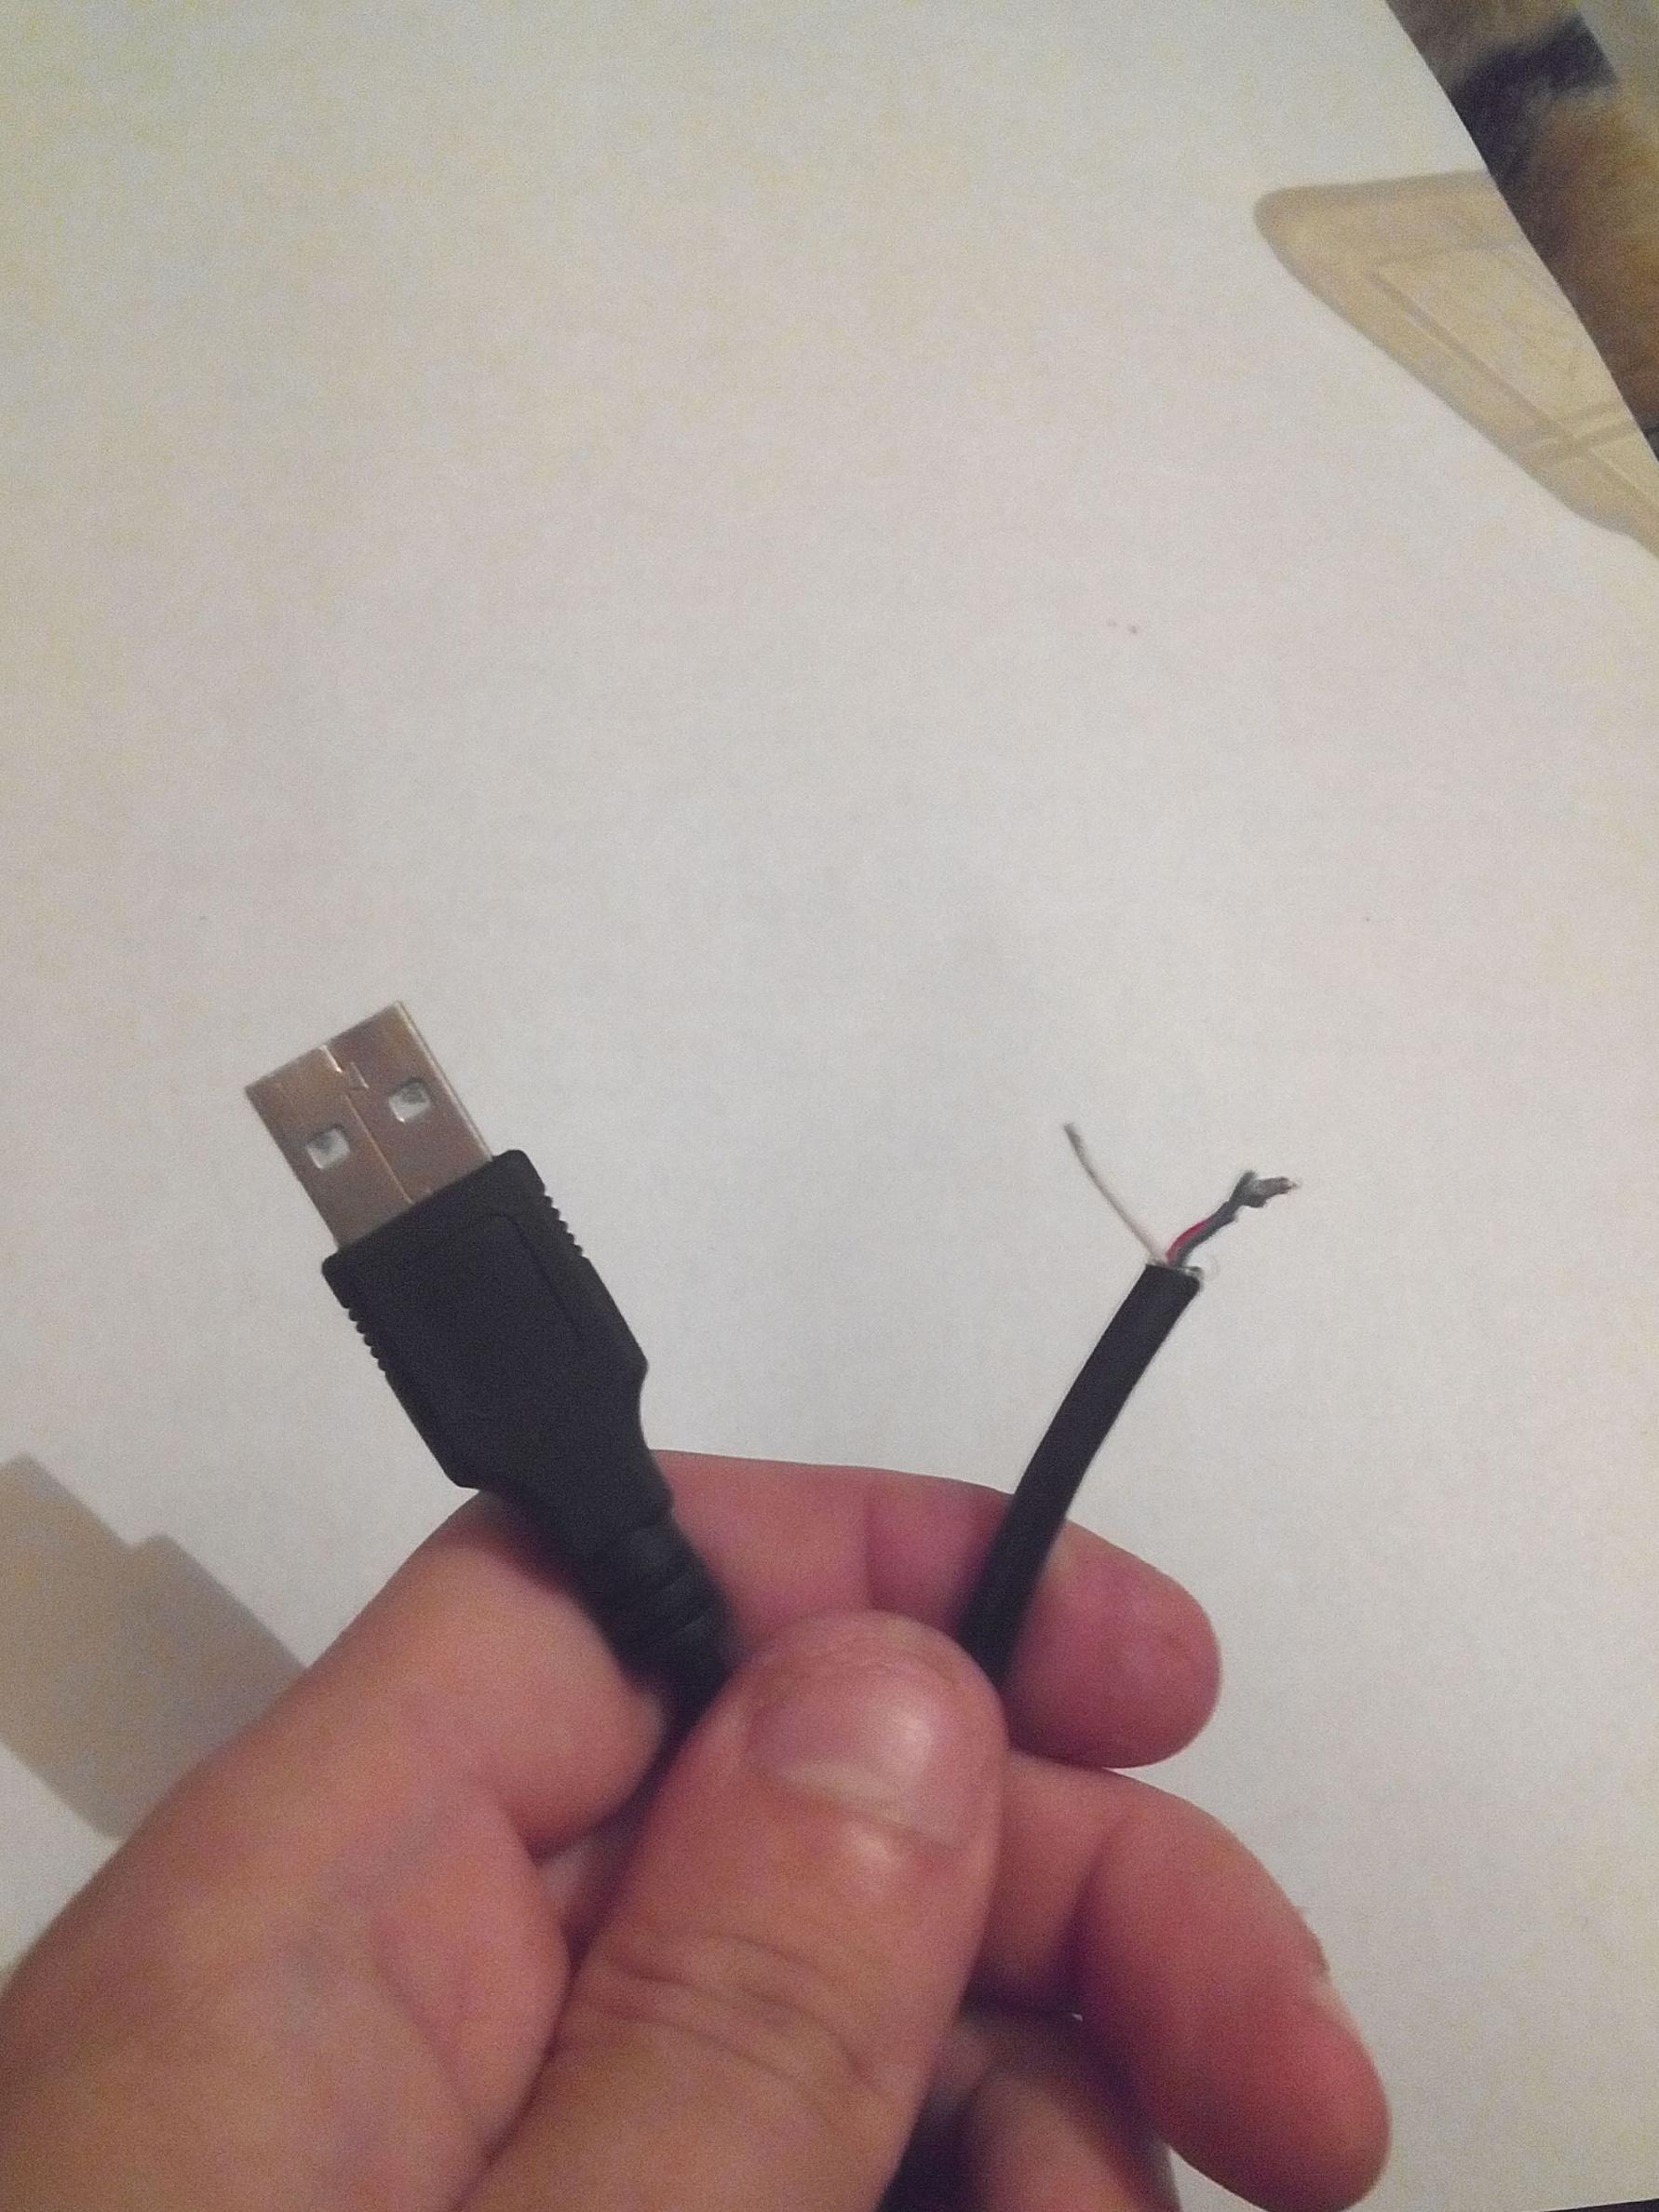
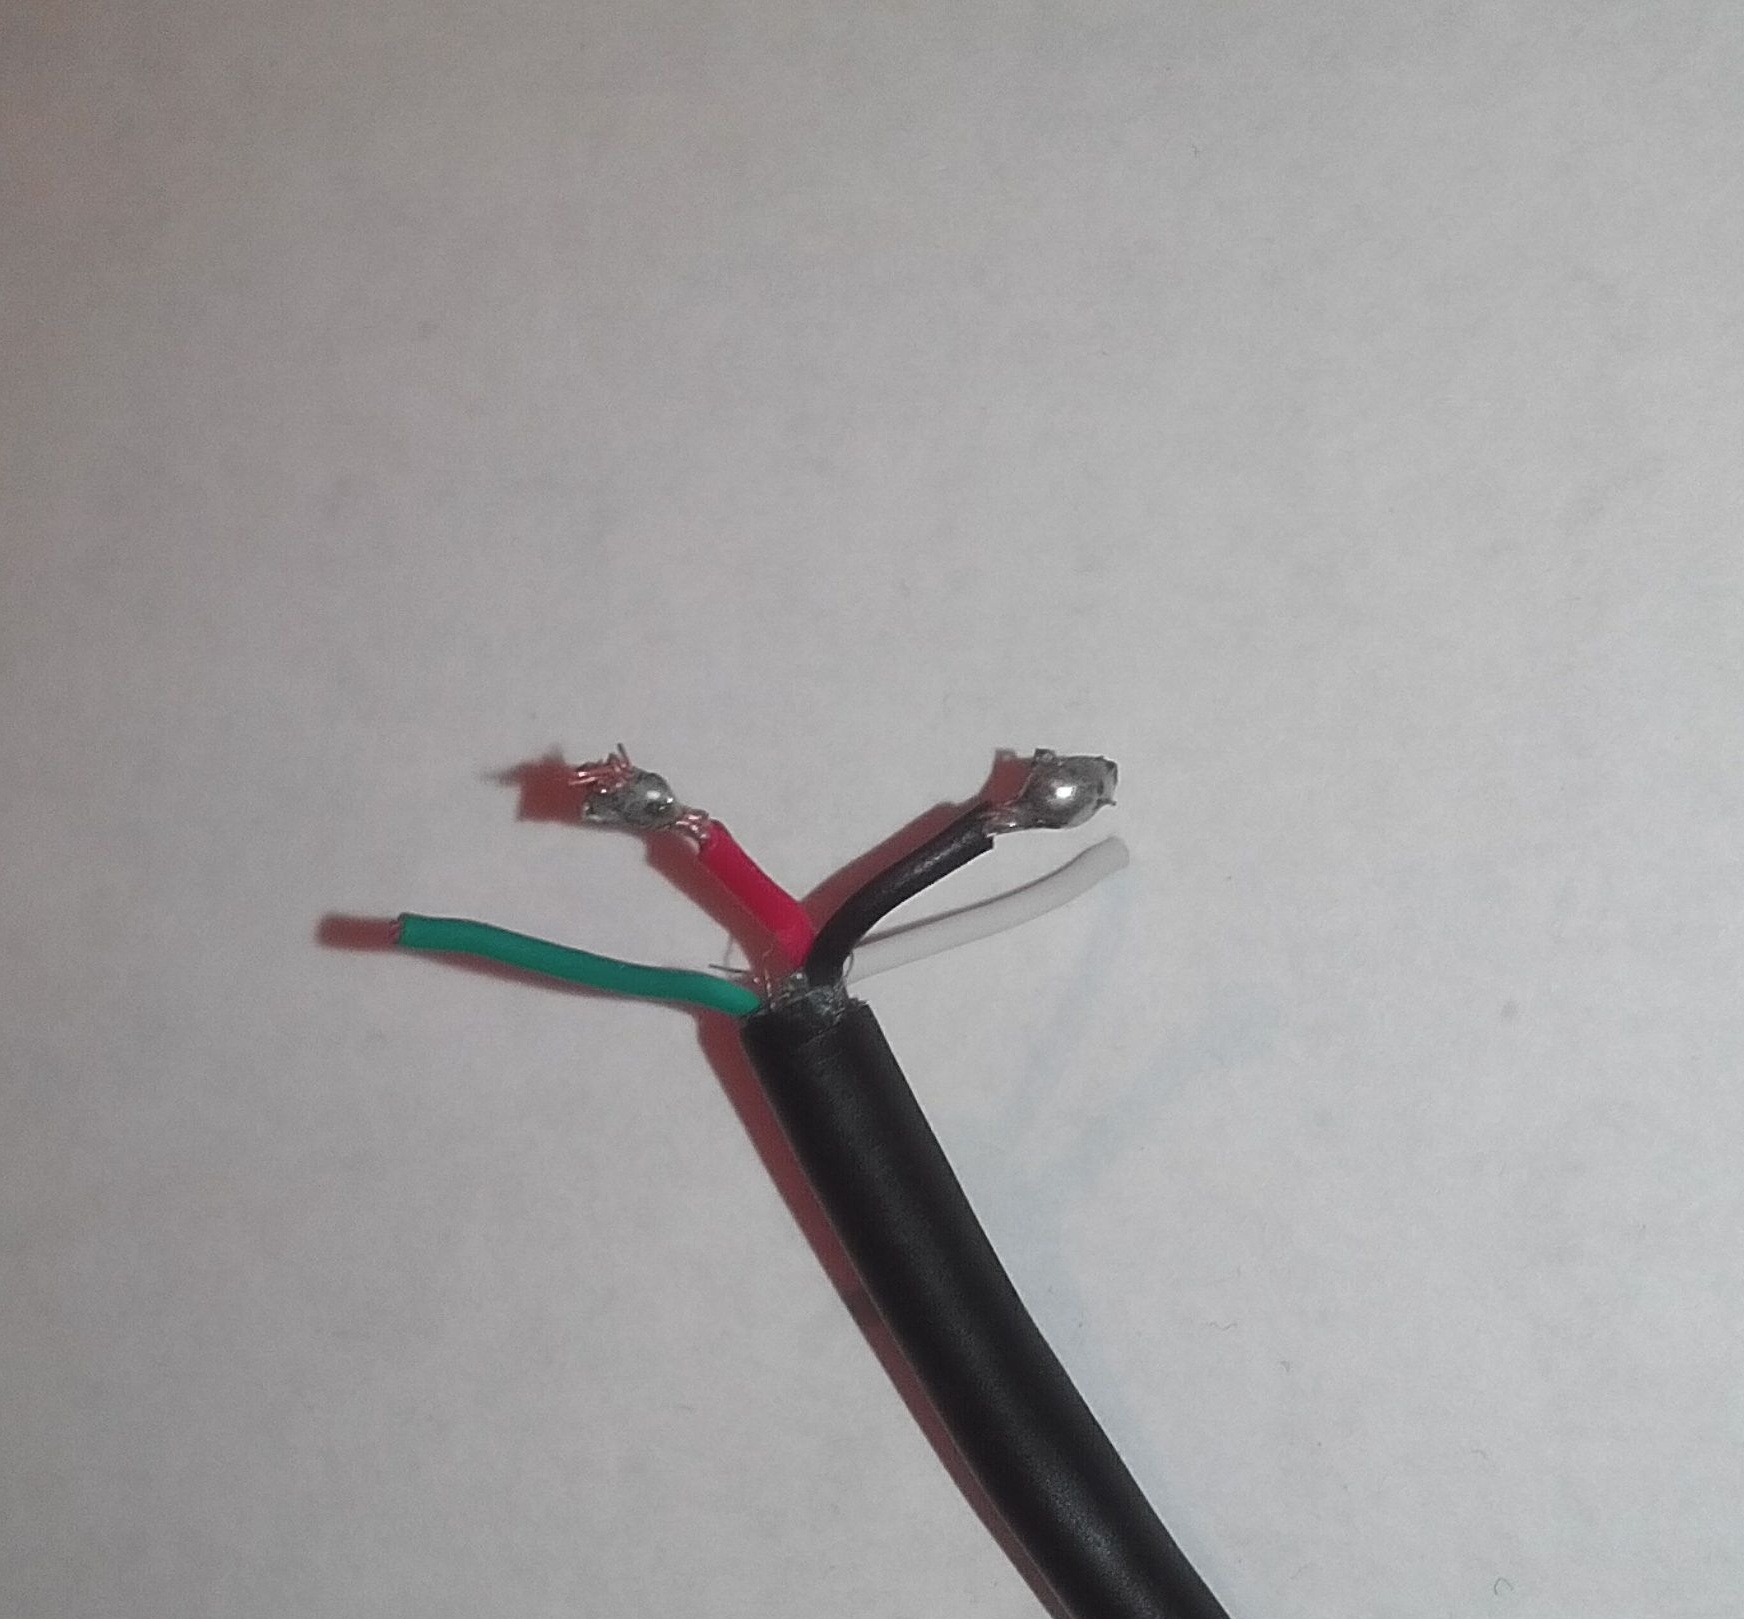
We cut off the excess green and white wires, leaving black and red, through the black wire we put a step-down resistor, since the LEDs are designed for 3 volts.
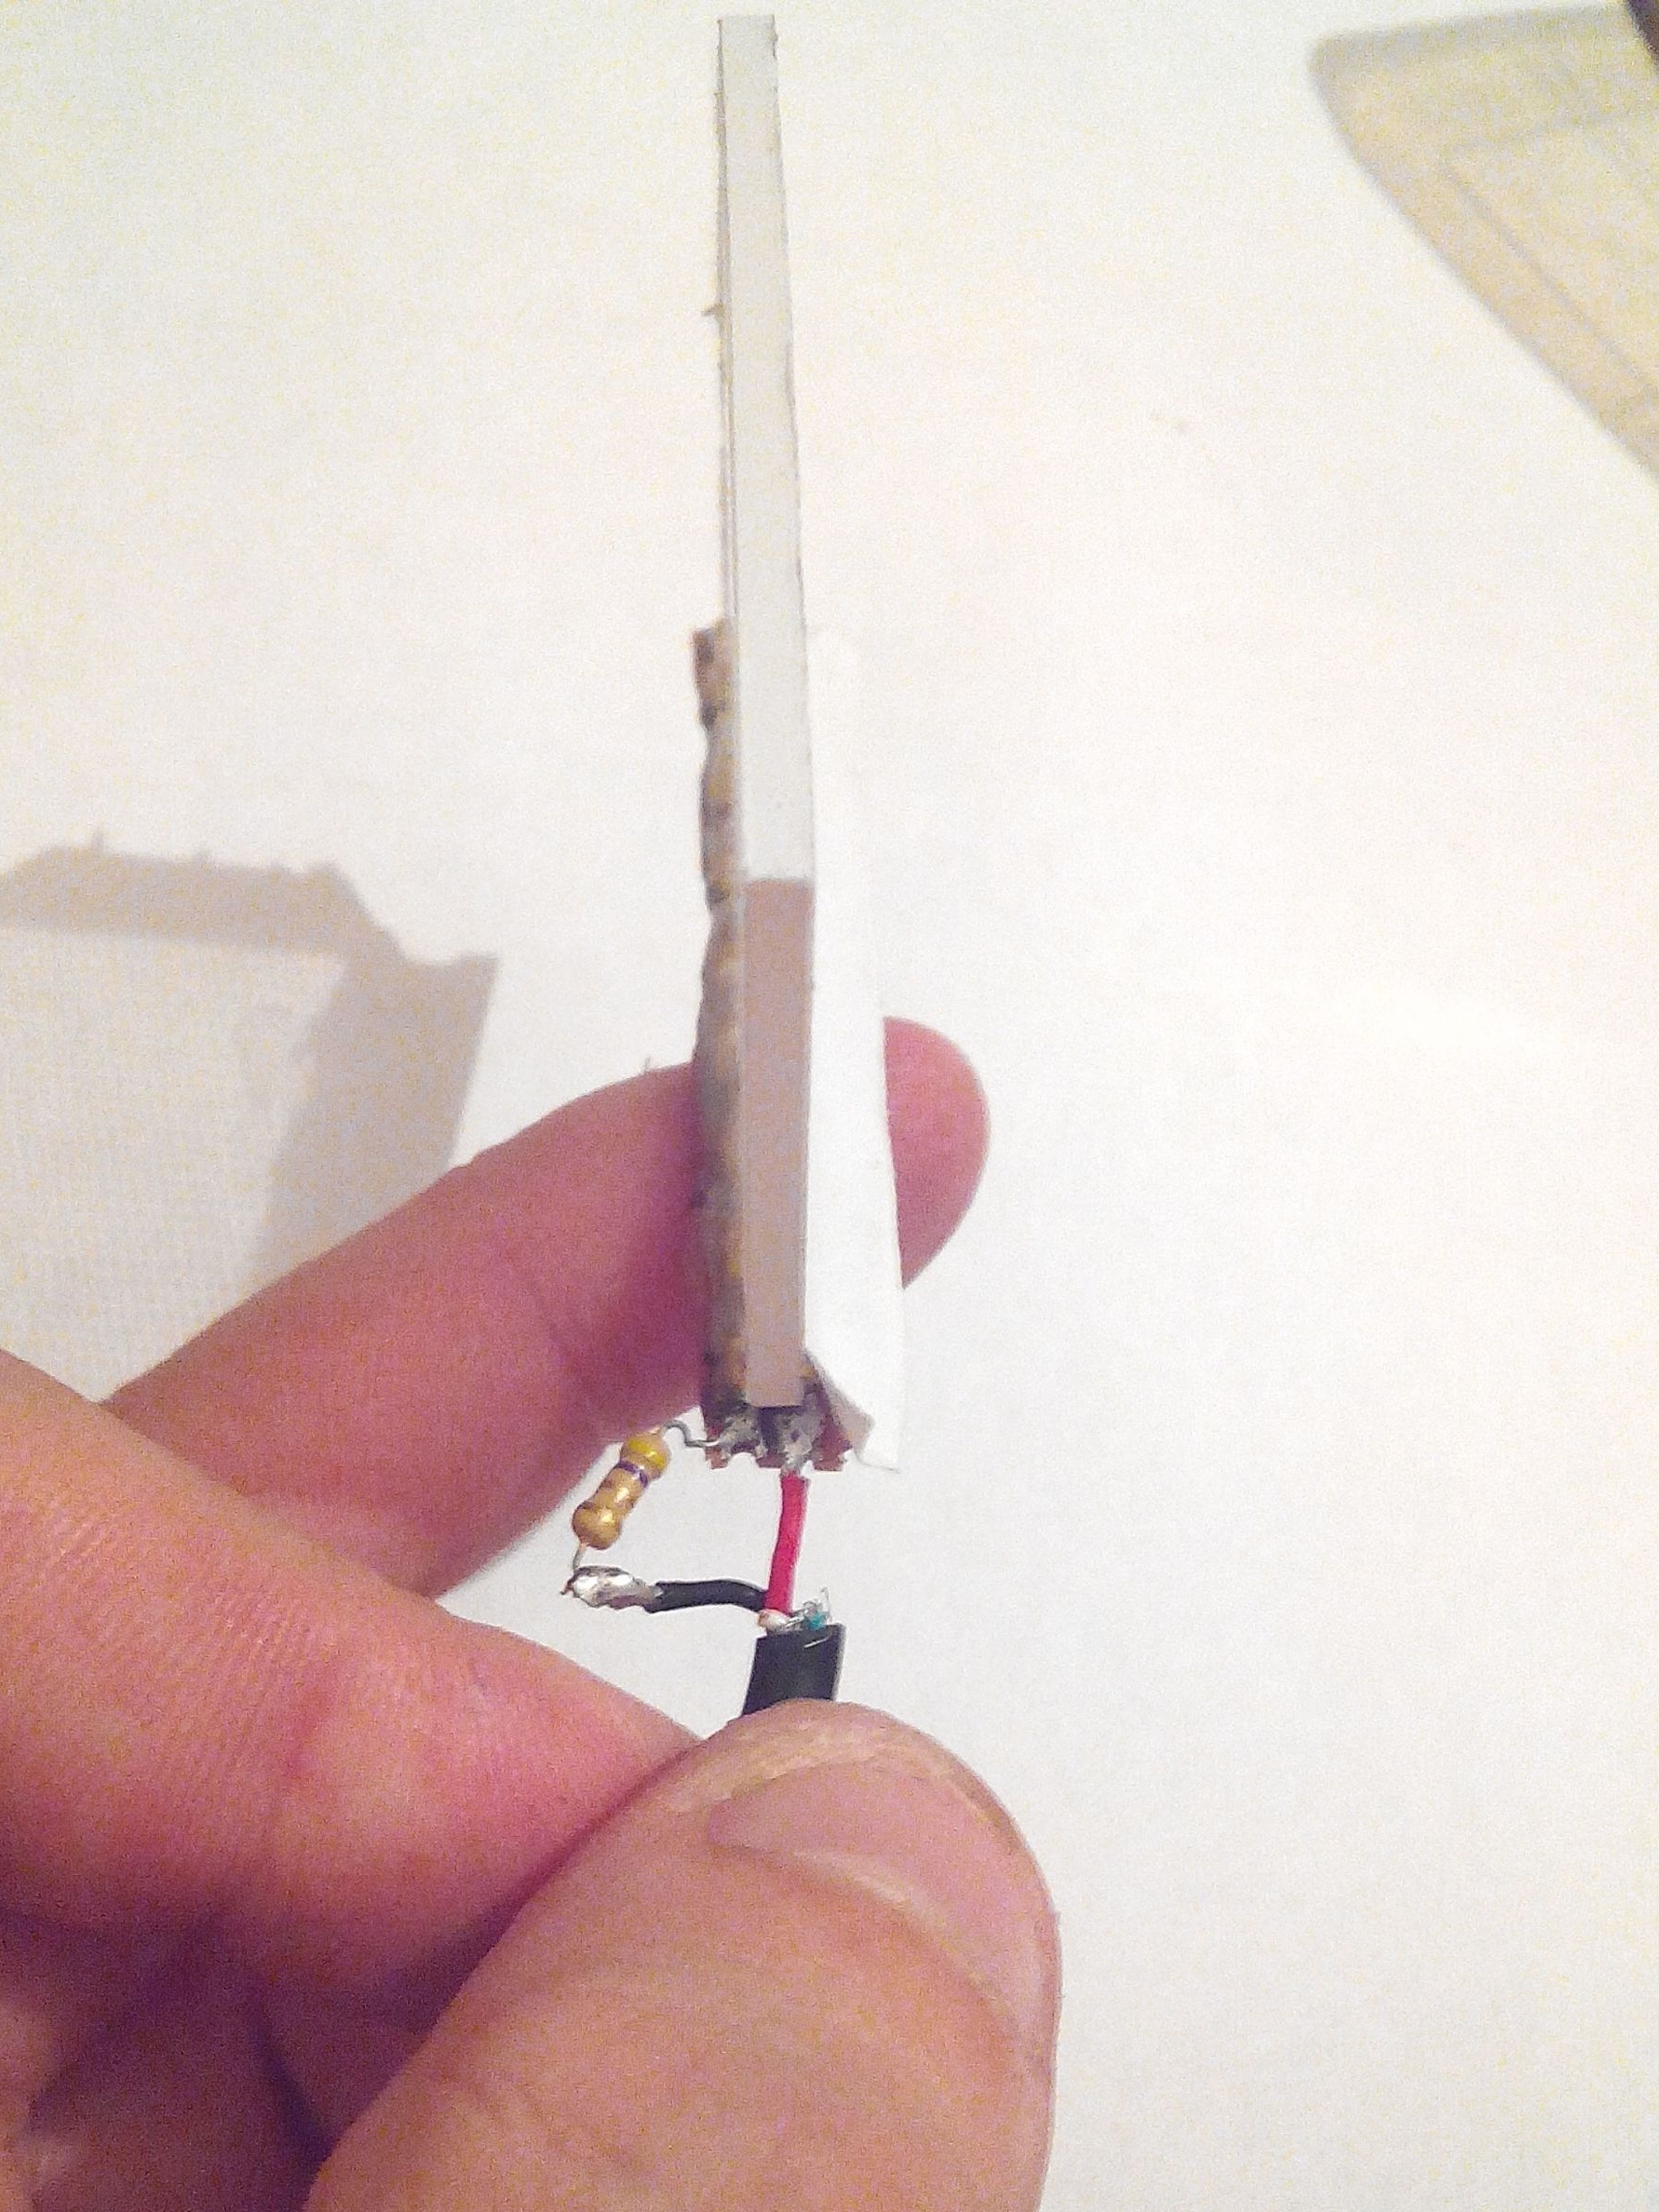
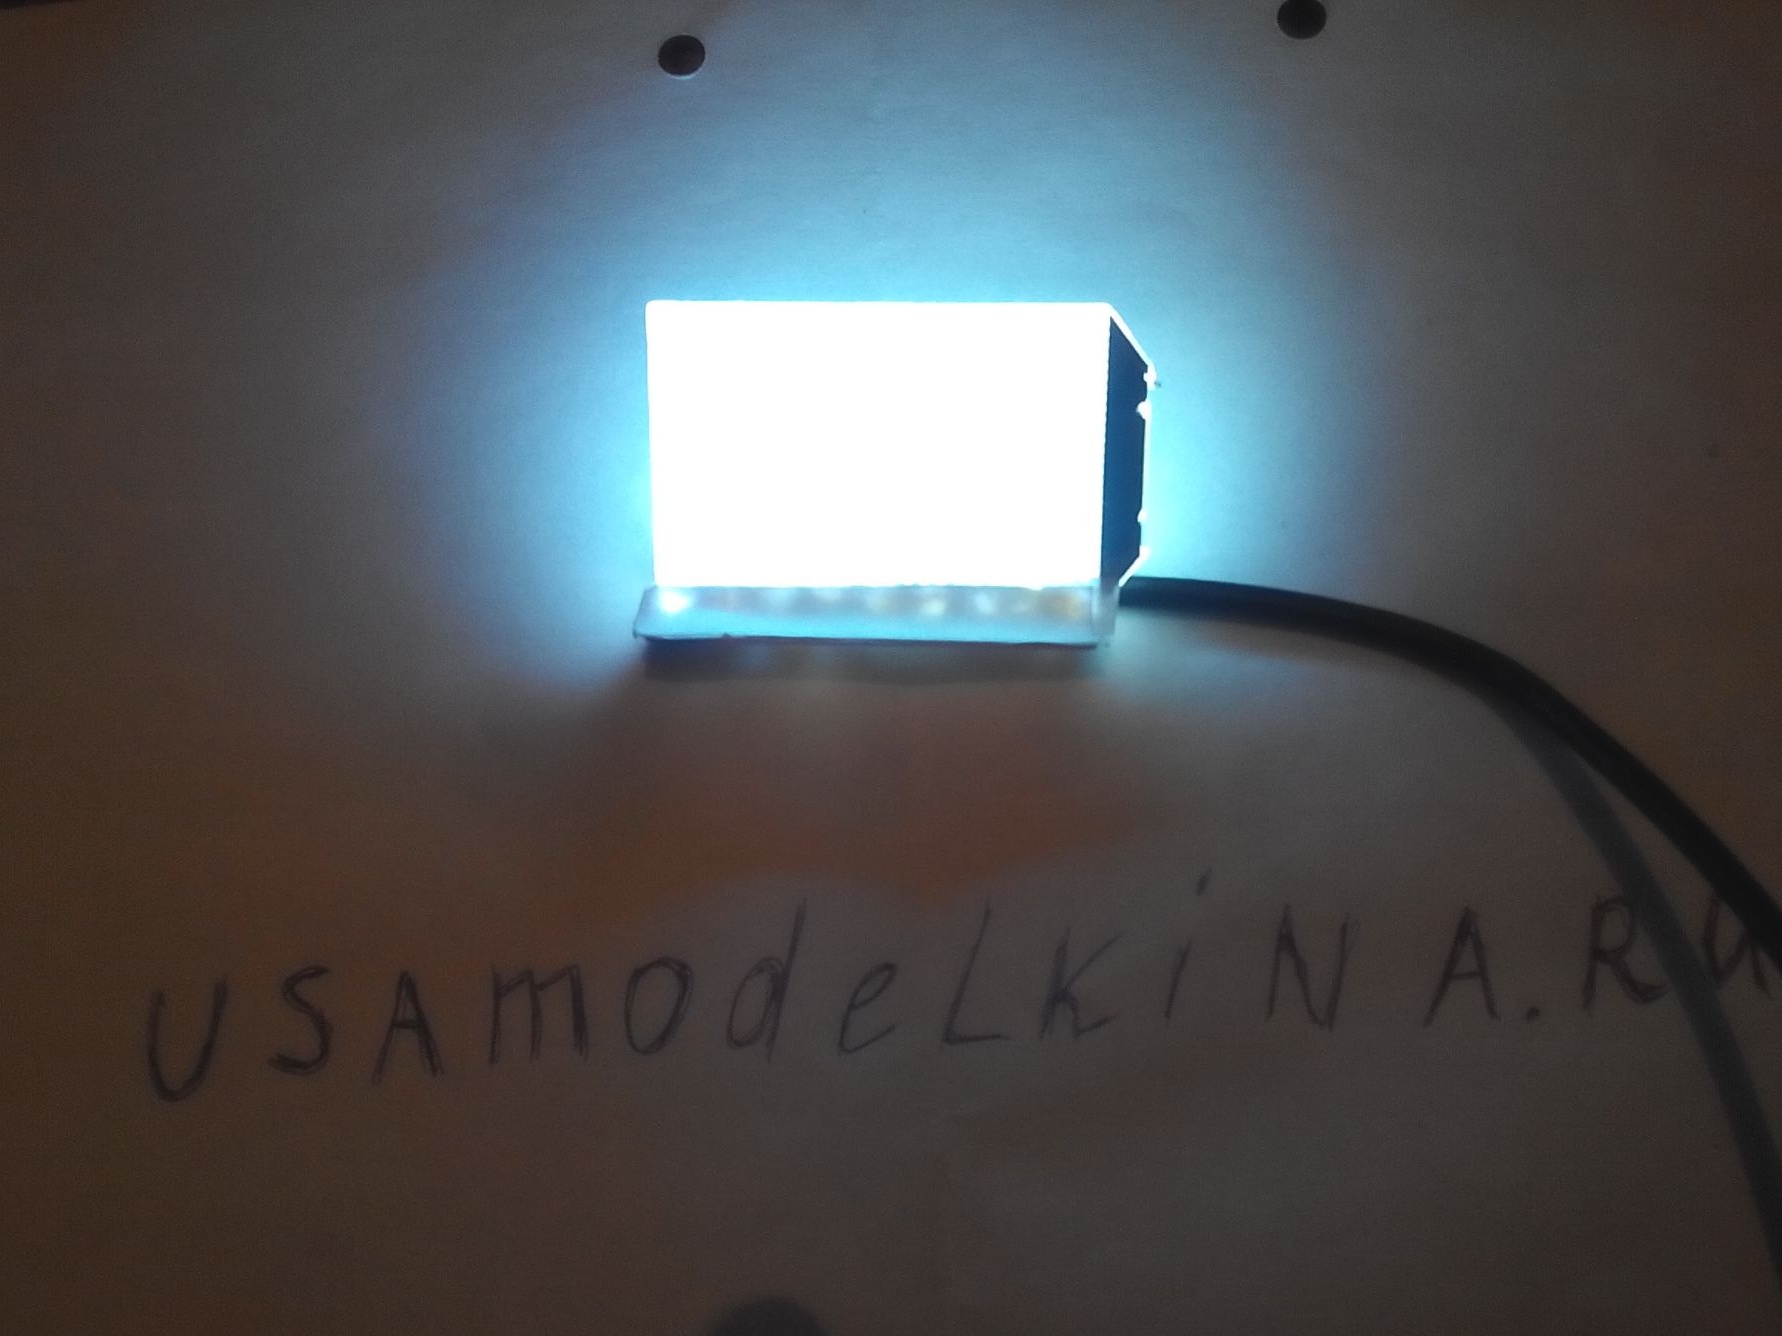
After soldering the wires to the board, it is necessary to fill this place with hot glue, let the glue cool down and check in the dark. This is how our bright home-made lamp shines in the dark, while it does not blind our eyes, which will be convenient to use with a computer or laptop, the light turned out to be quite bright and diffused.
All successful homemade and new achievements in self-construction.