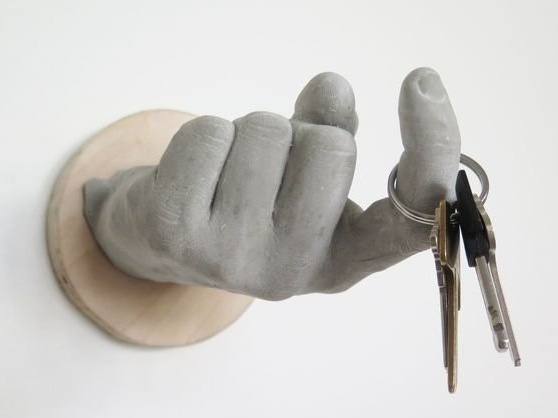
Such a very original and convenient hanger, designed for keys, hats, towels and other things, you can do it yourself. Depending on desire and imagination, she can have any form. In this case, in the shape of one's own hand. At first glance, this may seem complicated, but it is by no means true. The process is simple and fun.
The following materials will be required for the manufacturing process of a concrete hanger:
- quick-drying concrete mix;
- alginate;
- water;
- brush;
- a sharp knife;
- The usual large plastic bottle;
- washer, nut, bolt;
- sandpaper;
- threaded brass insert;
- cardboard;
- self-tapping screws;
- a piece of board;
- saw or a jigsaw;
- dowels;
- Ruler and pencil;
- screwdriver;
- drill.
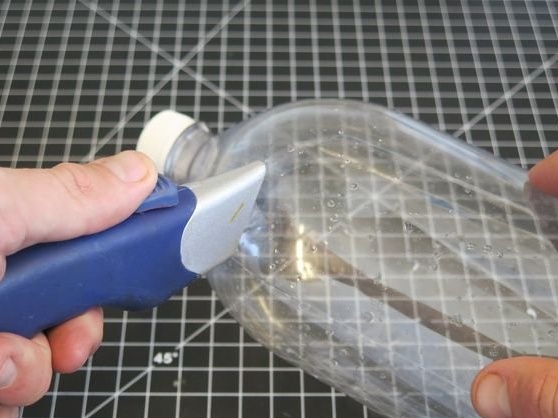
Step 1. You need to take a large plastic bottle. Cut off its narrow part, which is located at the top. Next, check that the hand can freely enter the resulting container.
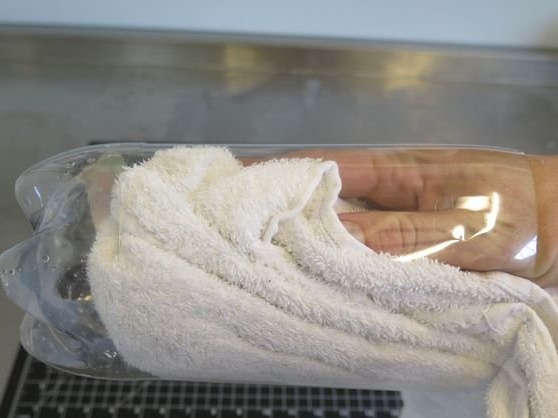
Step 2. Alginate and water should be mixed in a ratio of 1: 1.5, respectively.
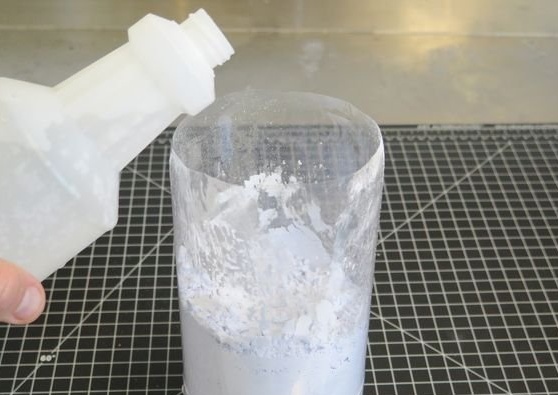
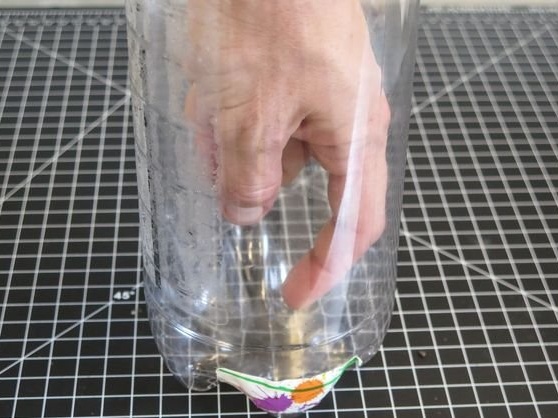
Step 3. Wait a few minutes. The impression mass should be slightly grasped. Next, you need to squeeze your hand, putting your index finger forward, lower it into the bottle with the alginate located there so that your wrist is closed. You can make a form of a different kind. In this case, the fingers need to be folded into the desired shape.
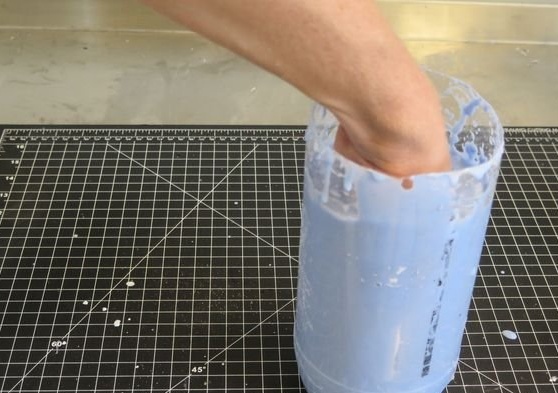
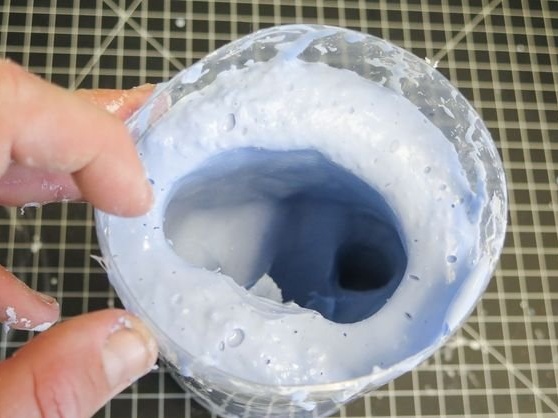
Step 4. Holding your hand in the bottle for about 10 minutes, you should carefully remove it.
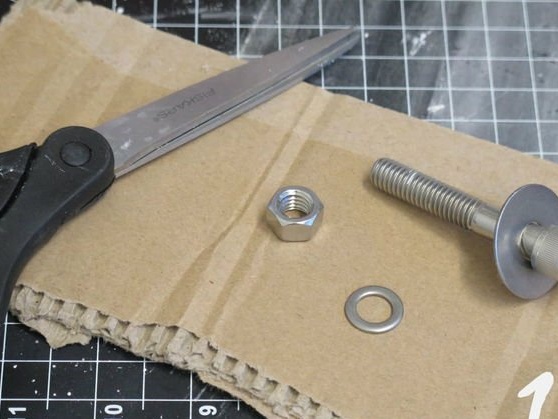
Step 5. A bolt must be attached to the cardboard.
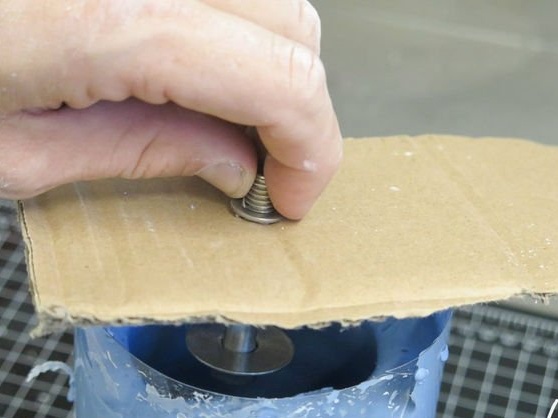
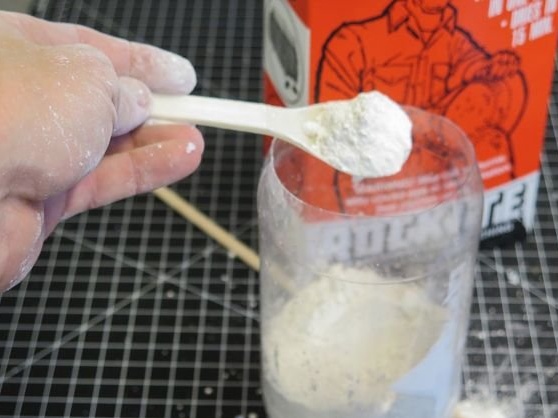
Step 6. In a separate container, carefully dilute the concrete with water. Pay attention to the recommended proportions indicated by the manufacturer.
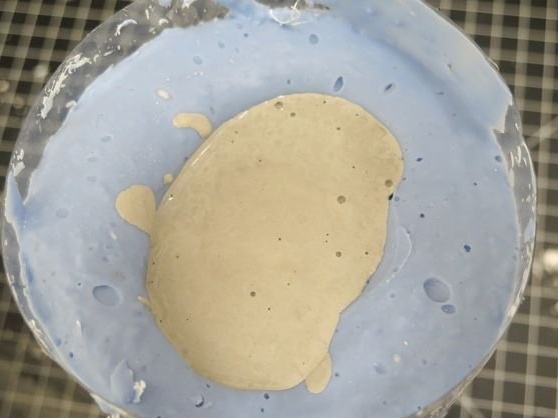
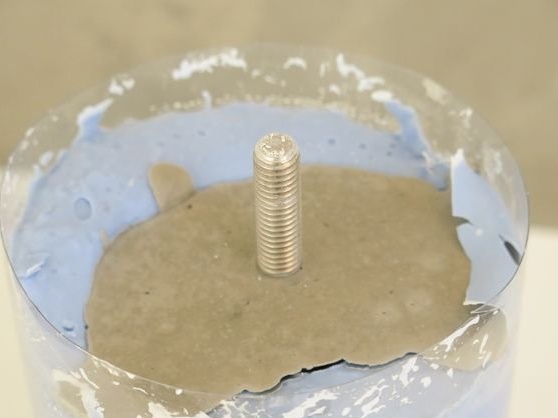
Step 7. Next, concrete is poured into the mold, and cardboard is placed on top. The bolt, however, should be immersed in the mixture.
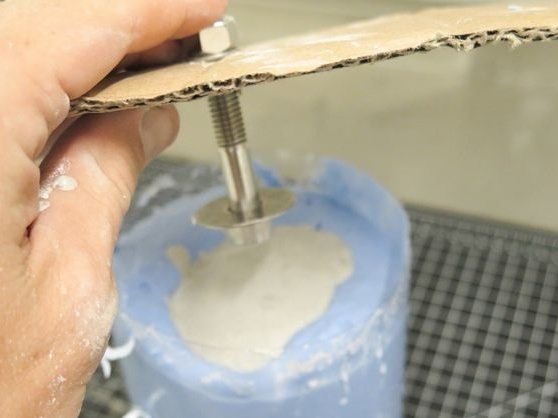

Step 8. It is necessary to wait until the concrete has completely dried, then to release the blank for the hanger from the mold. To do this, cut the plastic and remove the alginate.
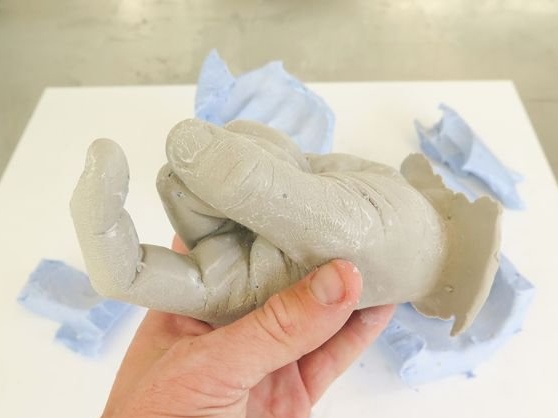
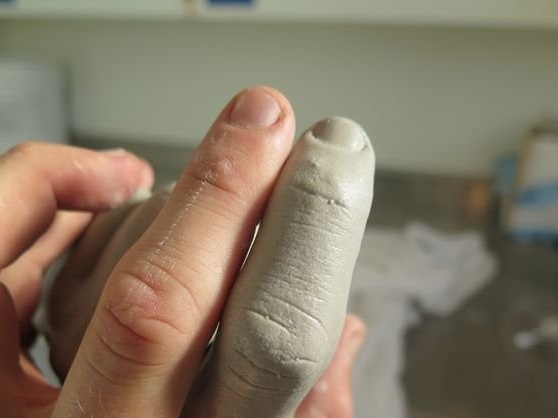
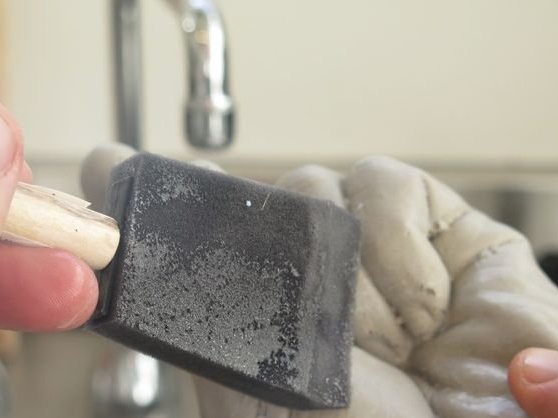
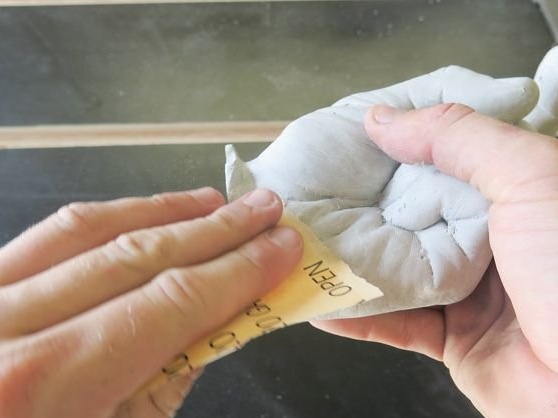
Step 9. From the residues of alginate, rinse your hand well under running water. To do this, you can use a brush with an existing sponge on the end.Using sandpaper to sand all existing bumps. In places where air bubbles are present on the surface of the hanger, forming ugly pits, you can carefully fill them with concrete mixture.
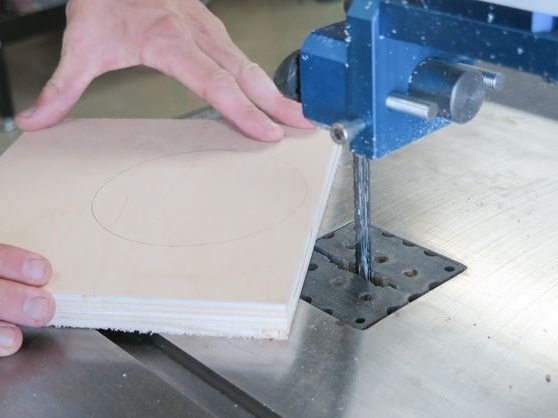
Step 10. Using a jigsaw from a piece of board you need to cut out the base for the hanger, which has a round shape. For this purpose, you can use the most ordinary circular saw.
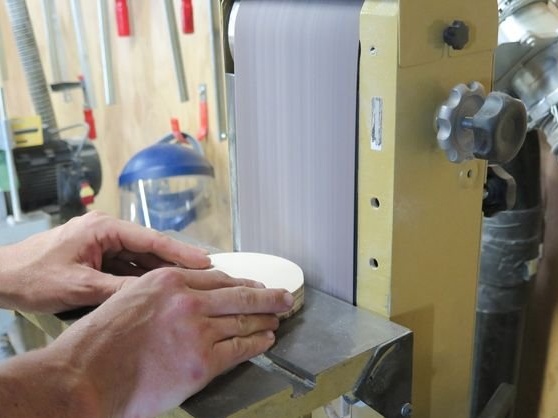
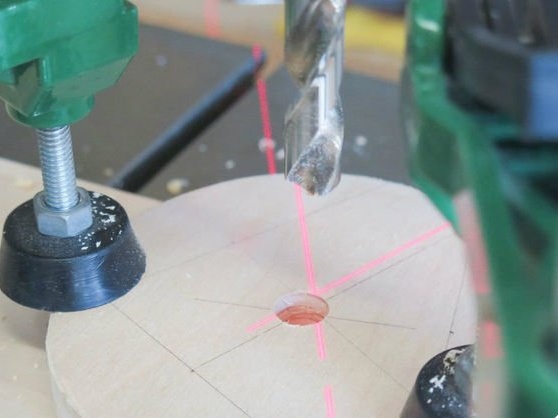
Step 11. Sand the edges of the wooden base. Using a pencil, a ruler, you need to place the marking for the hole directly under the mount
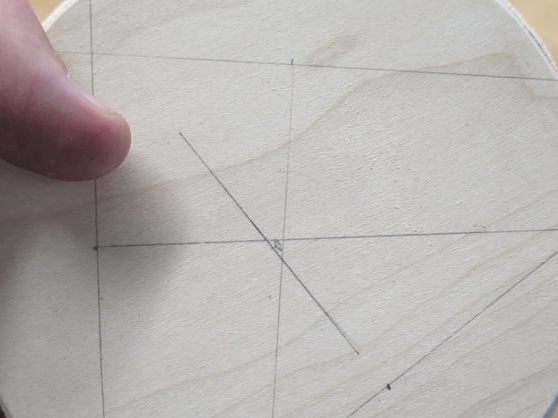
Step 12. Drill a hole in the center of the wood blank. Insert a threaded nut into it, previously lubricated with glue on the outside.

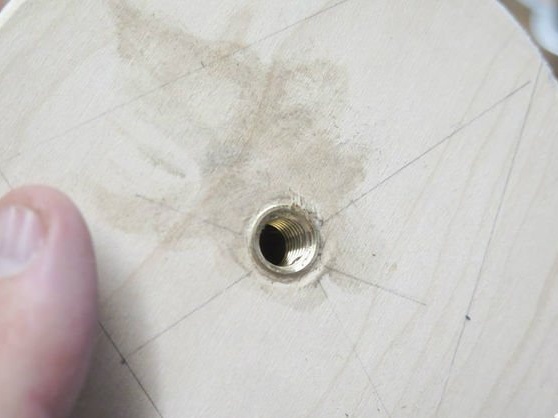
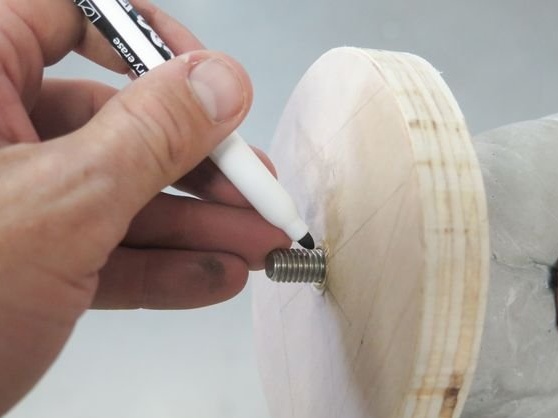
Step 13. Next, screw it into the concrete arm into a wooden base. The part of the bolt that needs to be cut will stick out at the back.
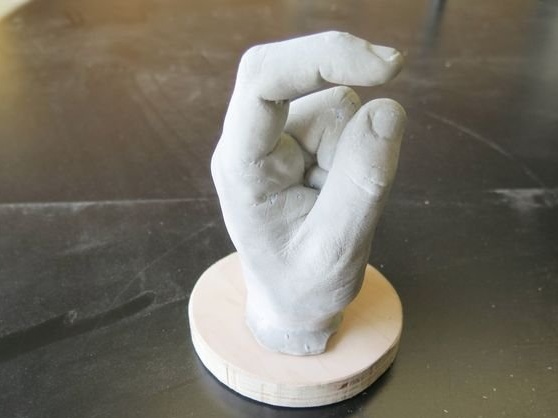
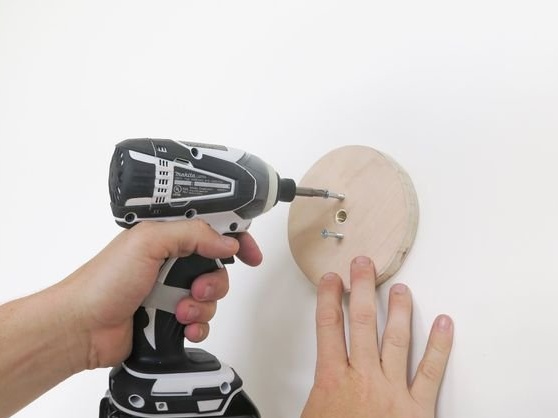
Step 14. The hand needs to be unscrewed back. Then, using screws, dowels and a drill, attach the base of the tree to the wall. Then screw the hand in again.

Thus, the original home-made concrete hanger is completely ready!
