
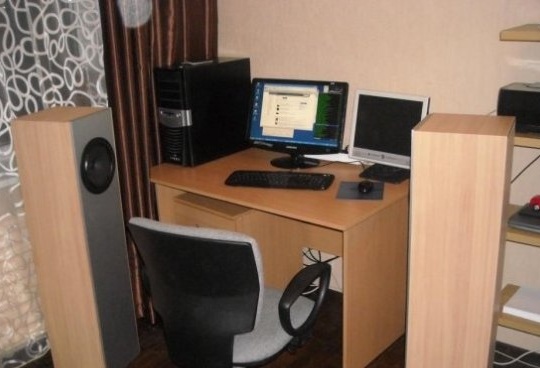
To listen to good quality music, it is not necessary to buy expensive “tricked out” speakers in a company store. It is quite possible to get high-quality sound from a computer using acoustics of our own production. In this case, in the process of manufacturing columns, any experiments do not even have to be carried out. It is enough to use proven, proven more than once, creation technologies home acoustics. What can happen after a short survey is shown in the photograph.
And in what sequence you need to carry out work and how to do everything - we will now consider.
Choose speakers
A good amplifier will be valuable when quality speakers are connected to it. You can have the most expensive computer, “branded” wires, a Hi-Fi amplifier, but without the necessary speaker, all this is a pile of scrap metal.
You can choose a dynamic head either domestic or imported.
From "ours", the S90 is considered a good option. But to start making acoustics like this is a thankless task. Firstly, three speakers. Secondly, this is the manufacture of an additional filter for matching all speakers.
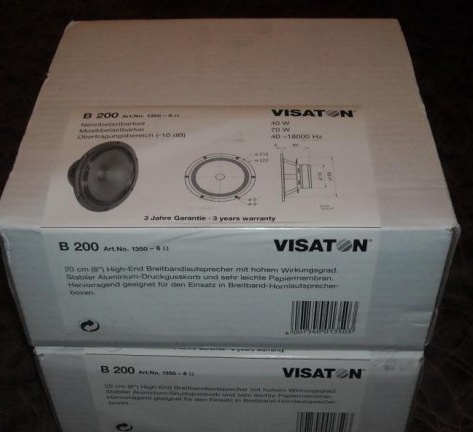
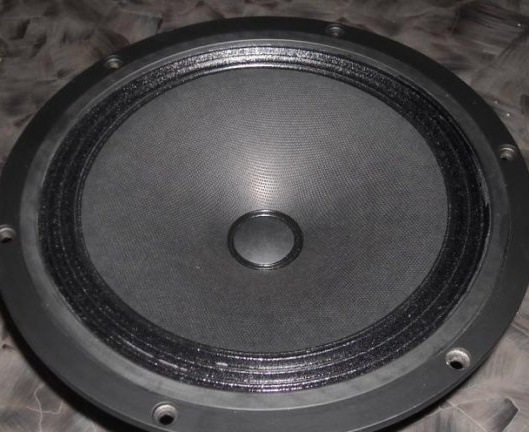
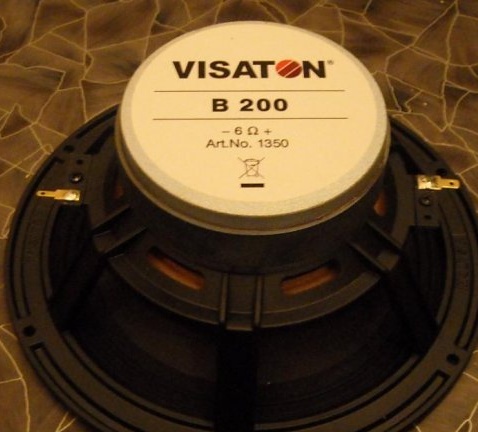
As an alternative import "substitute" with good characteristics can be considered broadband Visaton B200. With a sensitivity 10 times greater than that of the S90, such a “monster” replaces three speakers at once and ensures uniform sound reproduction at frequencies from 40 to 18000 Hz with a filter, and from 57 to 18000 Hz without a filter.
But quality requires certain conditions. We have such a condition - a box of 150 liters.
Choosing a sound card for your computer
If the computer has a working built-in sound card, then choosing it, or rather replacing it with another, is a matter of taste and personal preference.
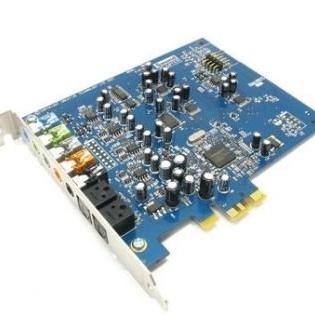
When designing the speakers, we tried to use sound cards, we thought it would be better, of two types: first, the economy version of Creative X-Fi Extreme Audio,
and then the more expensive ESI Juli @.

And in the first case and in the second, there was not much difference in sound.Even testing both boards with the RMAA program did not determine the best. That integrated zvukovuha that additional - all worked approximately the same.
Amplifier mounting
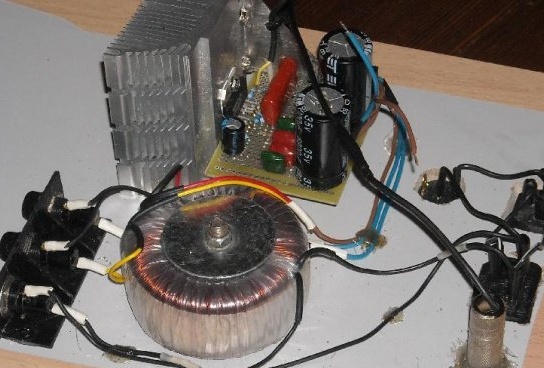
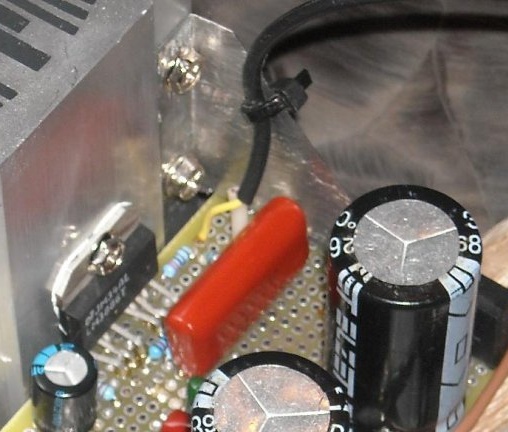
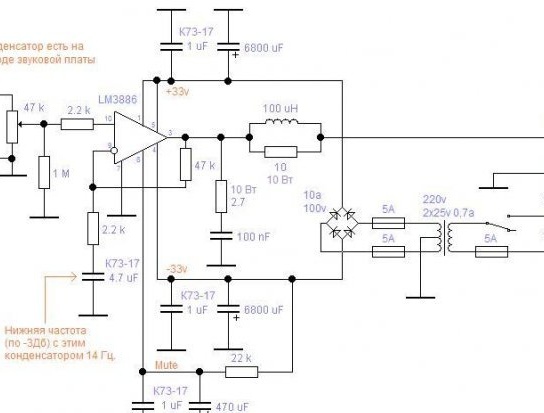
The best option for assembling a high-end amplifier may well be an LM3886 overheat protection chip. In terms of performance, it is even better than the Hi-Fi standard.
By assembly, the first debug version of the amplifier is better to assemble not on a printed circuit, but on a circuit board. You can always refine, modify, improve the "native brainchild." It is better to transfer an already completed design to a printed circuit board.
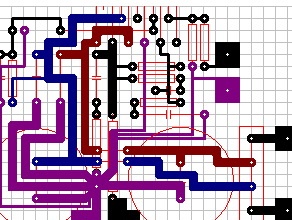
Here is the “signet” for this scheme.
Drawer assembly
Sometimes MDF is used for the column body. The material is modern, but useless for acoustics, moreover, expensive. It has even been proven by the RMAA. But 16 mm thick chipboard just right. The quality is the same, but easier to work and cheaper.
It happens that it is not always possible to make the walls of the future column even yourself, there are no necessary tools. Not a problem. If necessary, you can cut the material at the point of sale.
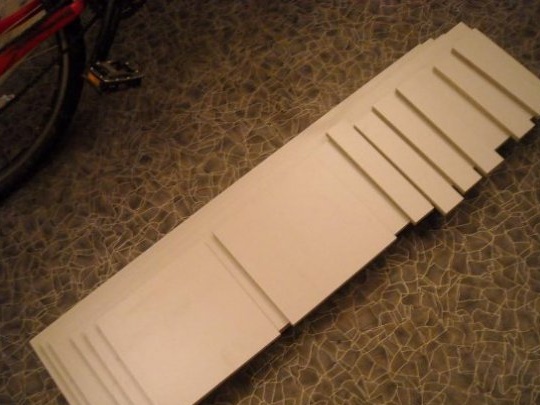
In size, its subtleties. In a high column, unlike a low one, the speakers are located at the level of the head, which is much more convenient for music perception.
Separate parts can be connected both with self-tapping screws and with glue. As an option - "liquid nails."
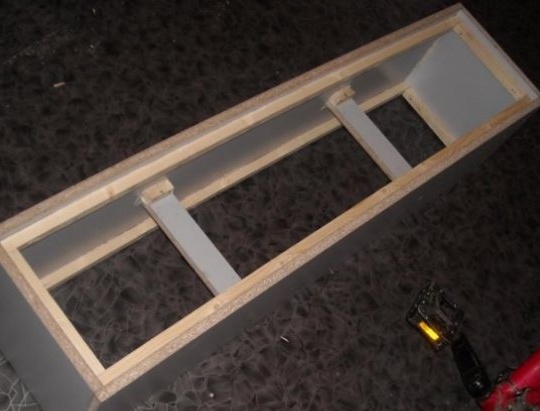
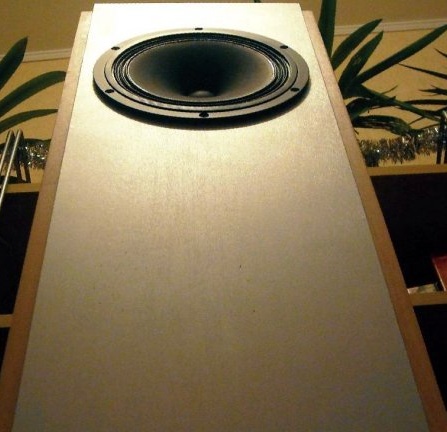
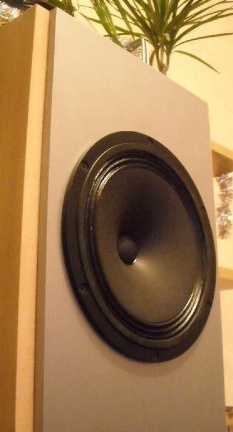
To enhance the aesthetics of the assembled speaker, it is not necessary to cover the speakers with a metal grill or fabric. Natural is better than artificial. In addition, if the fabric is unsuccessfully selected, the sound will be muffled.
The finally assembled box, in this case, will look like this.
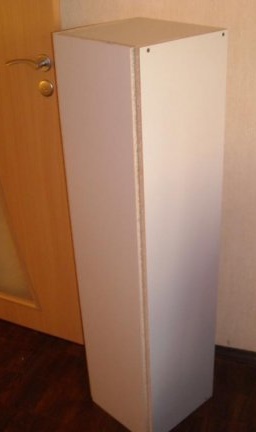
At the final stage, paint or wrap the case with a decorative film. But before that you need to putty all joints and cracks.
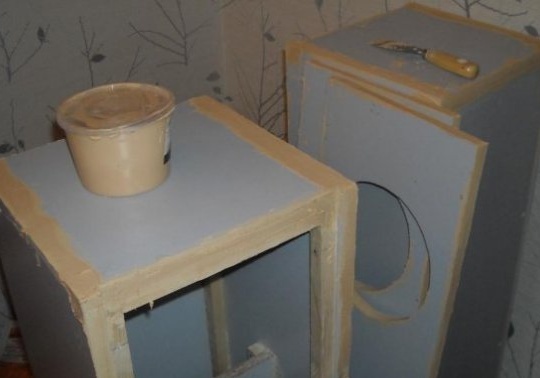
Then we stuff the inside of the column with synthetic winterizer or branded damping material.
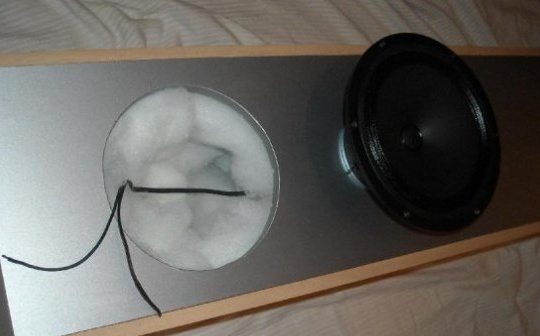
The first is cheaper, the second is more expensive. We select the first. For the sound quality, according to the “conclusion" of RMMA, there is not much difference.
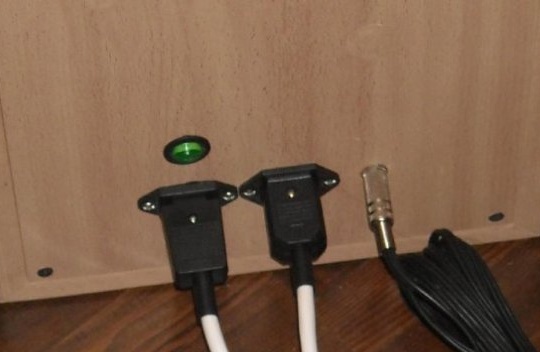
As the connection connector, select "Jack 6.25 mm." It does not require adapters.
We take a radiator from the processor.
All work will require:
a) Particleboard plus cut - 1000 rubles;
b) speaker (2 pcs.) - 15,000 rubles;
c) radiator (2 pcs.) - 400 rubles;
d) synthetic winterizer - 400 rubles;
d) film - 300 rubles;
g) glue - 200 rubles;
h) power wire - 200 rubles;
i) a transformer (2 pcs.) - 1600 rubles;
j) sealant - 100 rubles;
l) silver film - 500 rubles;
m) putty - 100 rubles;
m) additional details - 1000 rubles.
All the pleasure will cost 20,000 rubles, plus two weeks of work.