

People have long learned how to use wind energy in windmills. Now wind energy is used to generate electricity. Any person who is well versed in mechanics and electrical appliances can make a wind generator from improvised tools with his own hands.
1st stage: start of assembly.
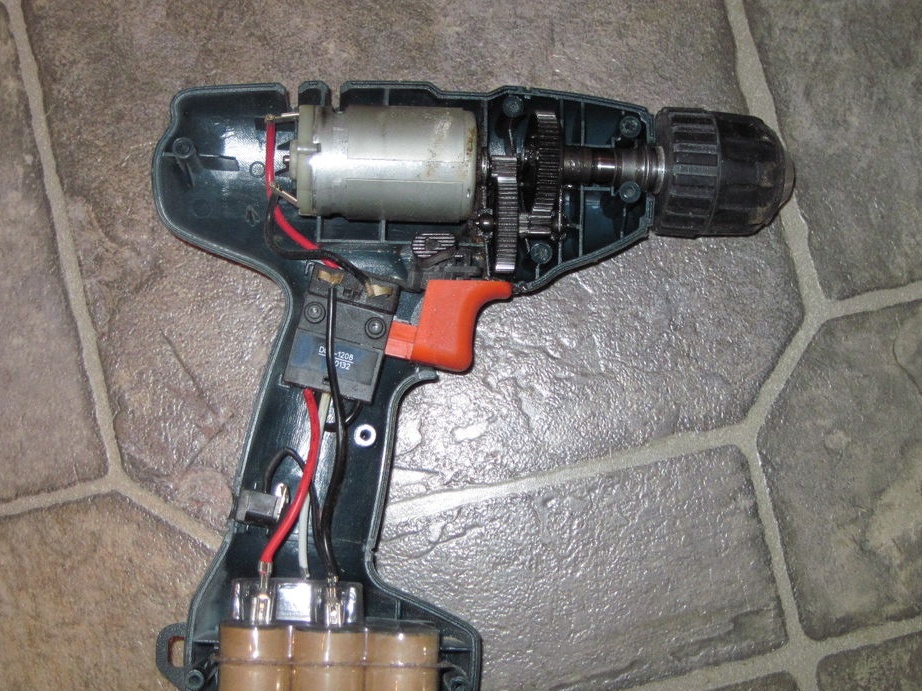
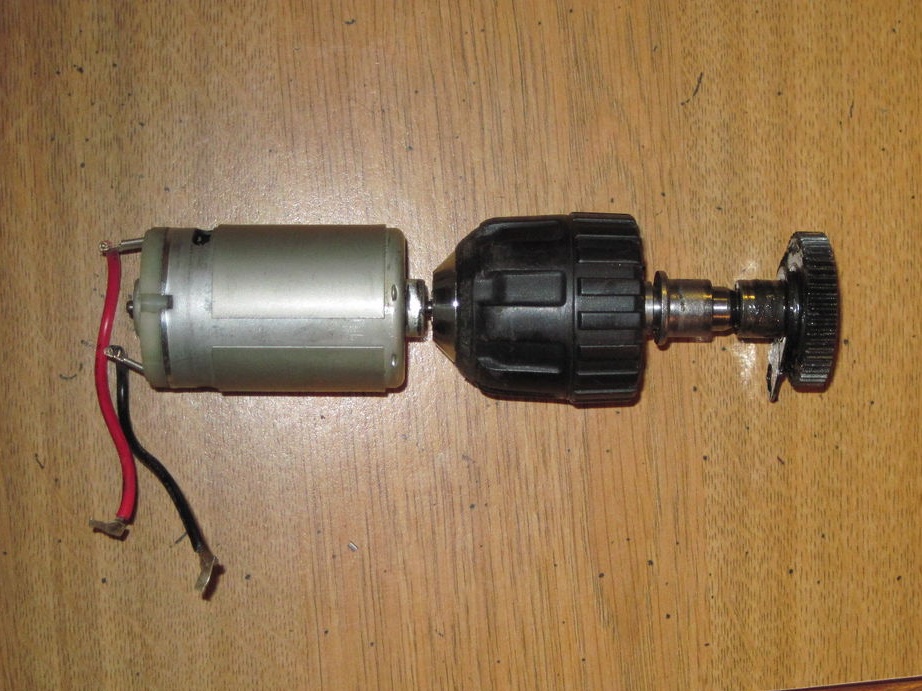
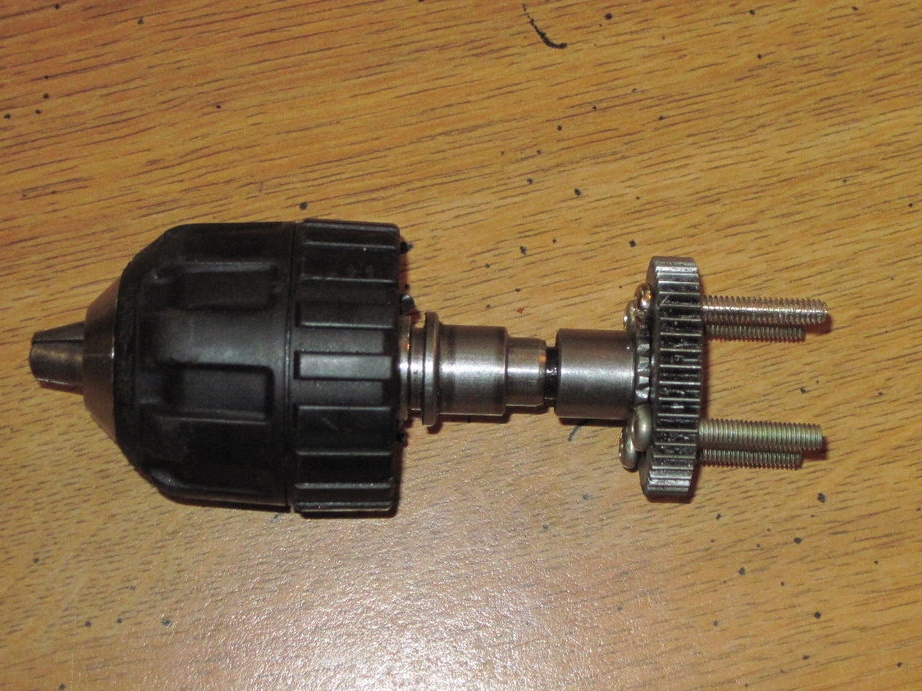
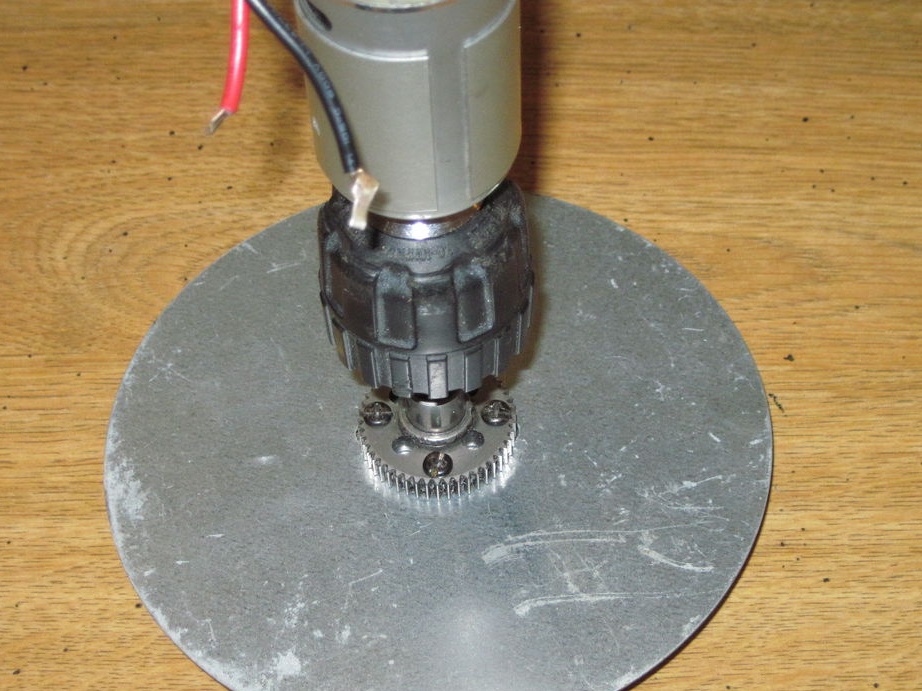
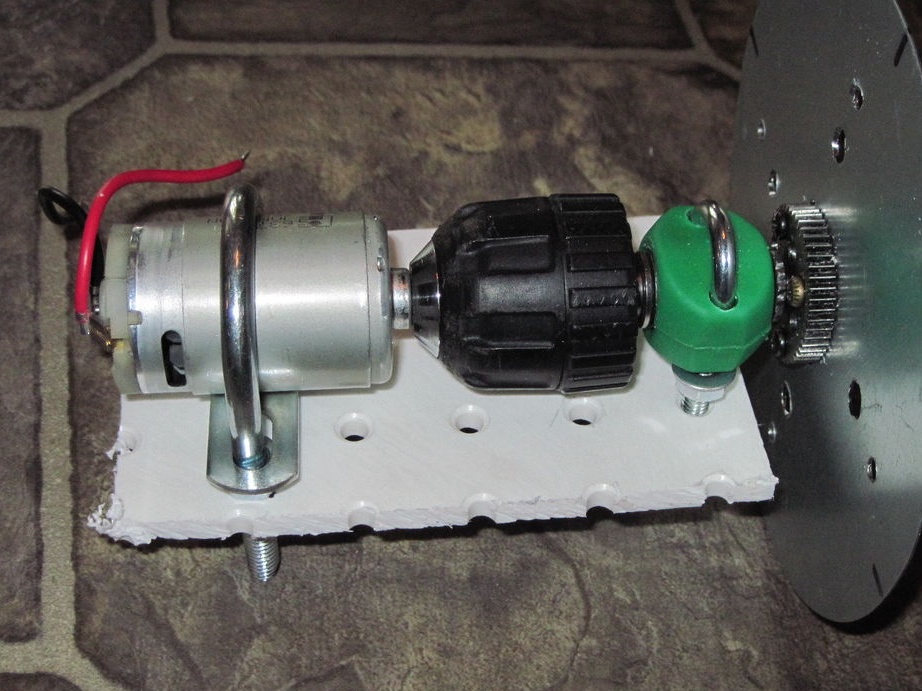
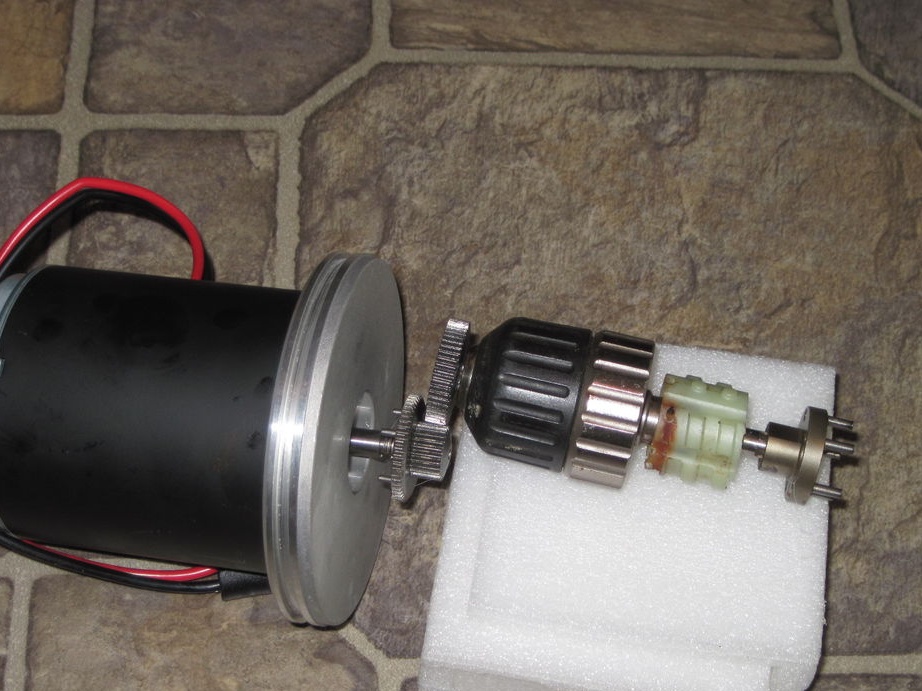
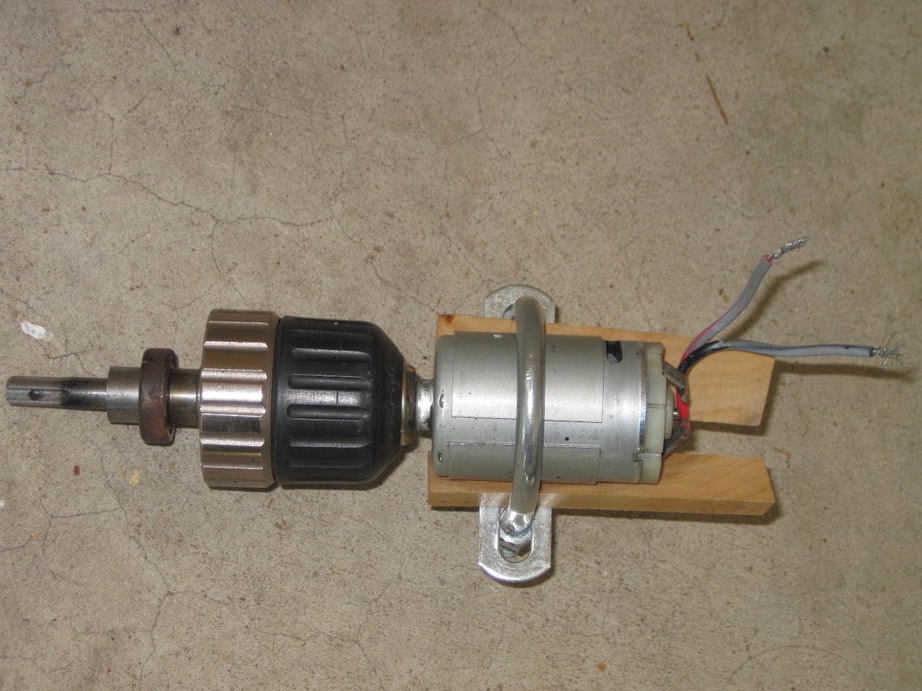
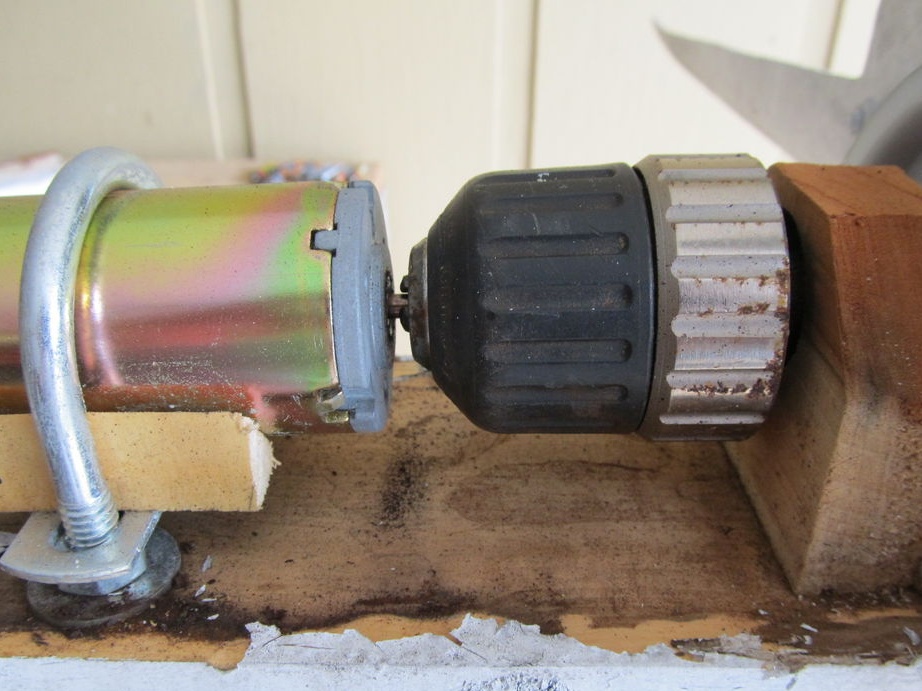
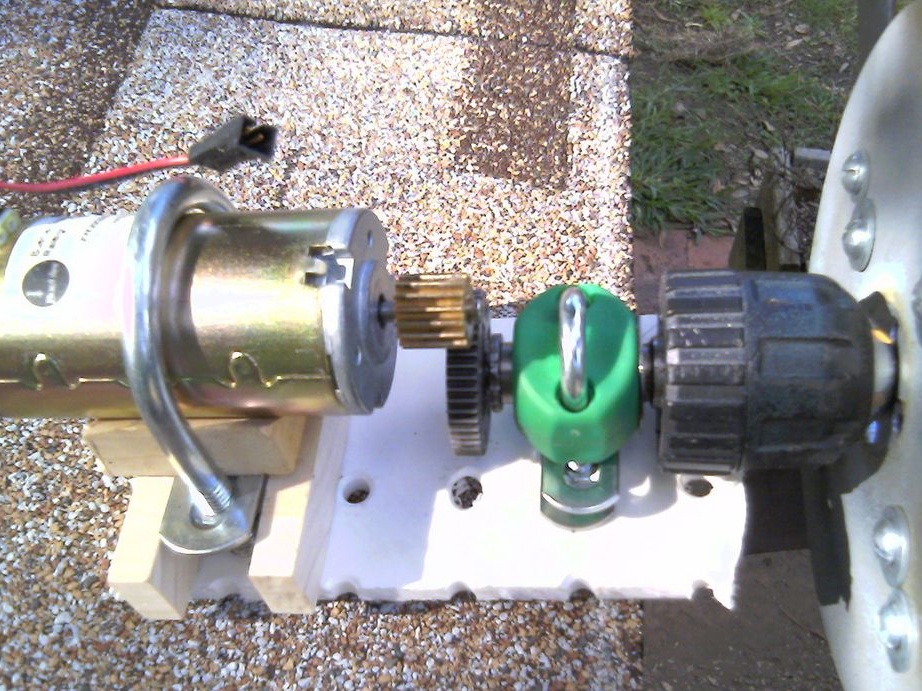
As a generator, we use a cordless drill, having previously disassembled it. For fastening in the chuck, which is attached to the electric motor through the main mechanism, we prepare a large, lightweight disk on which the blades will be placed so that the rotation is clockwise.
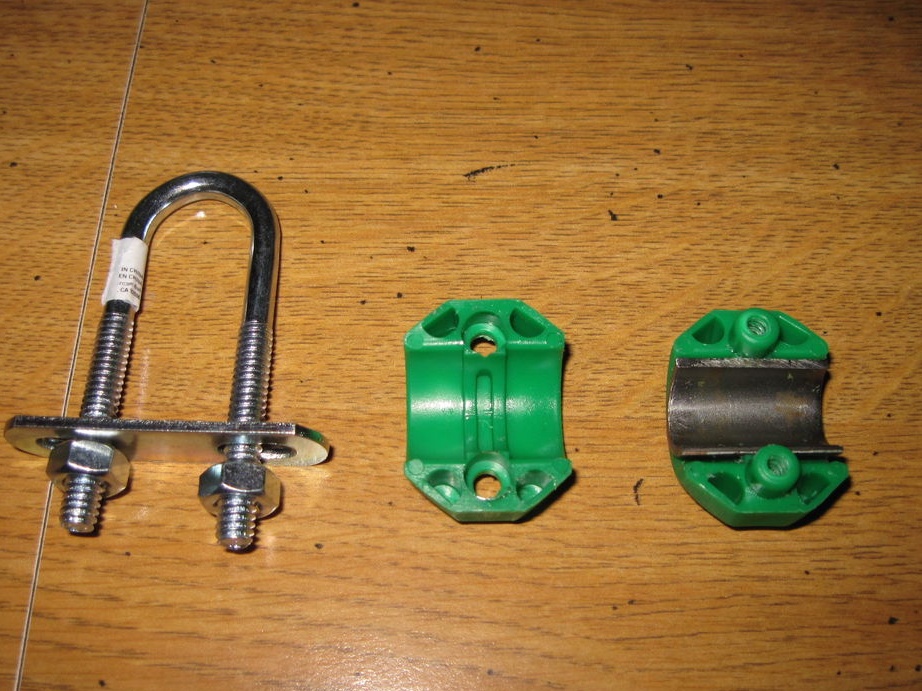
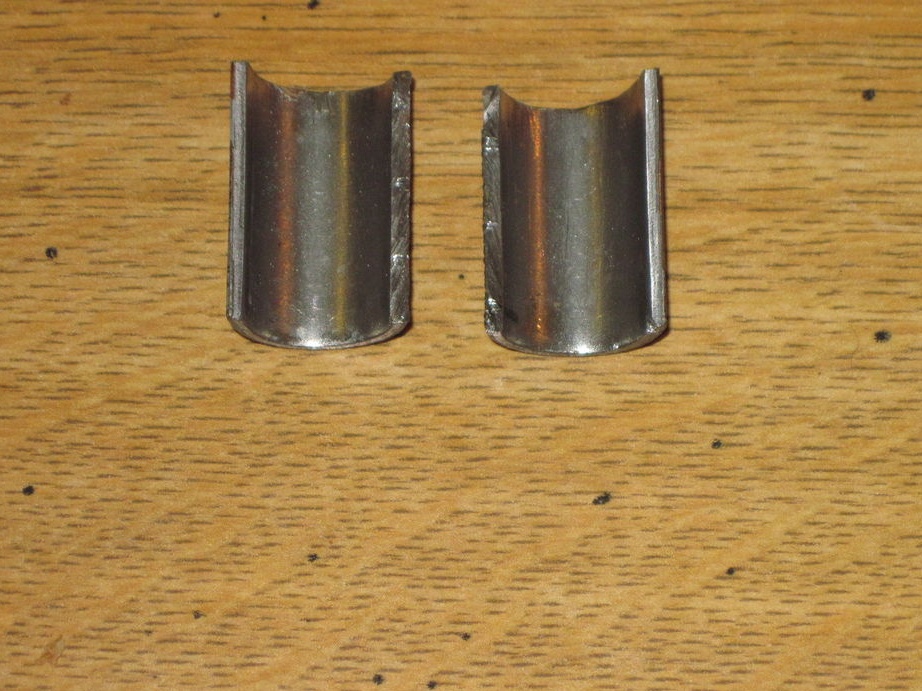
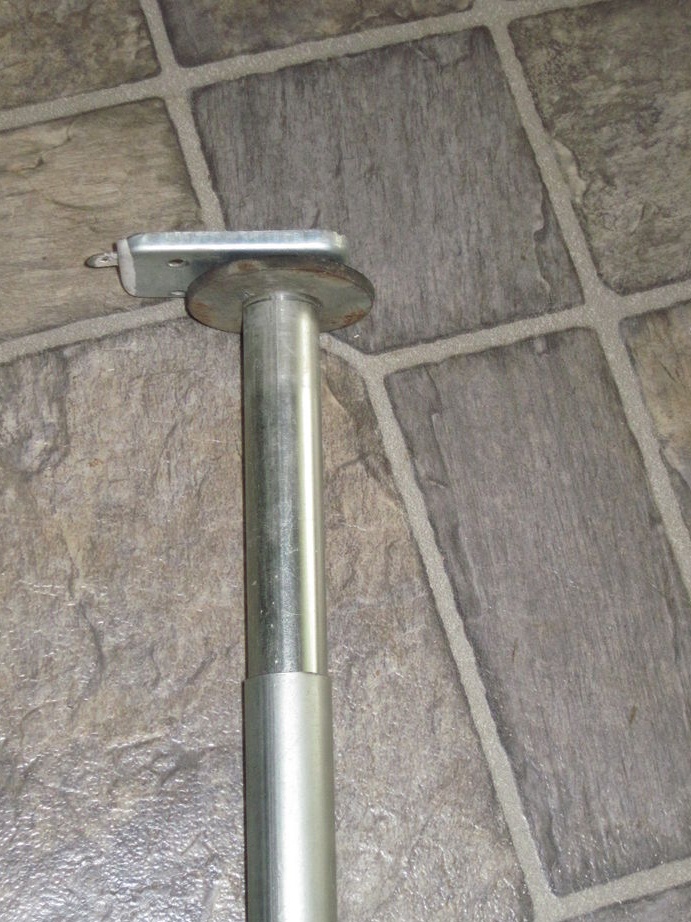
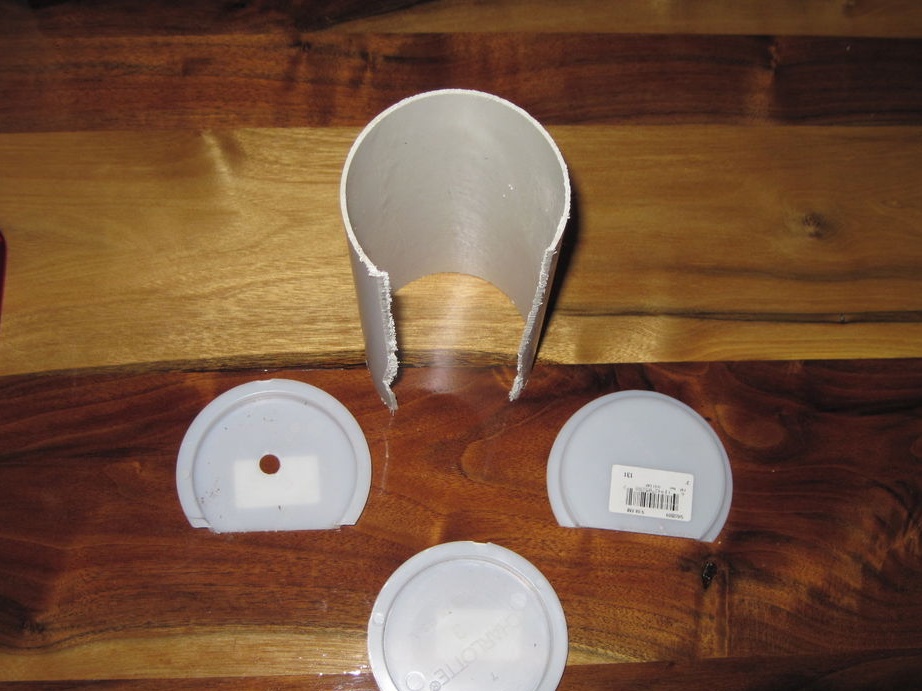
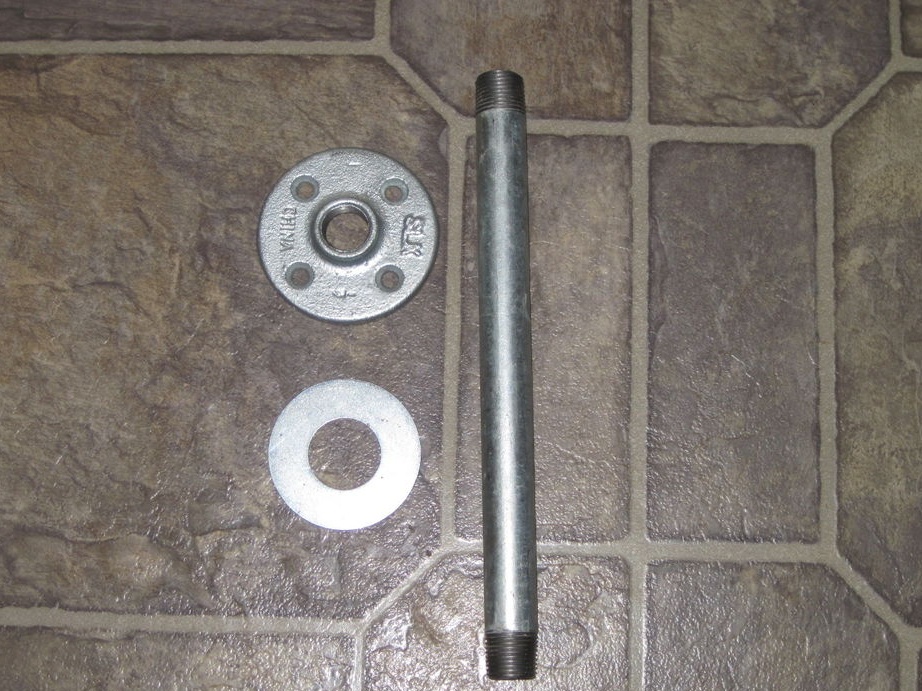
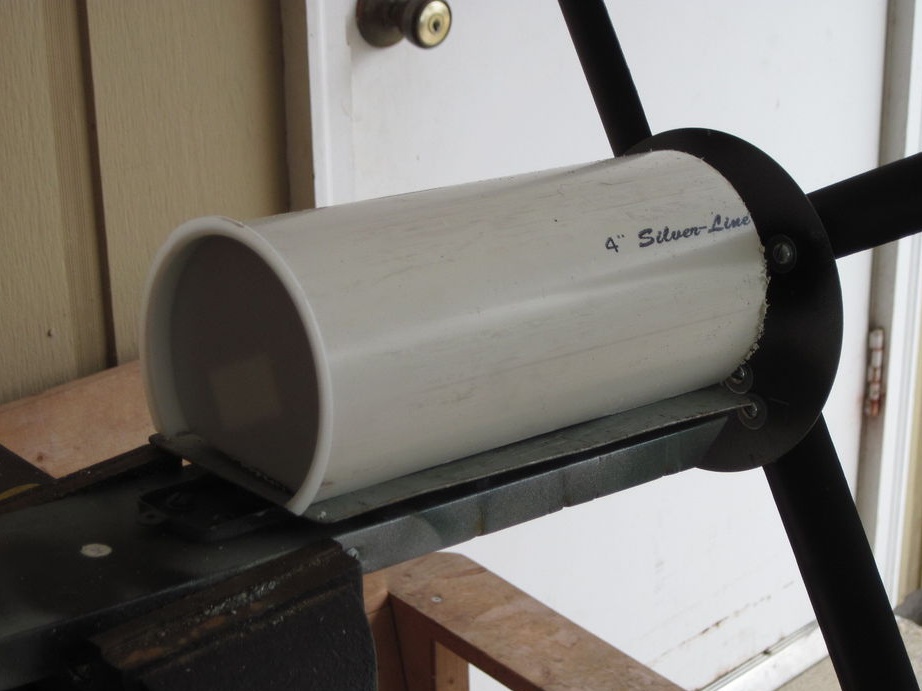
Take a pipe whose outer diameter is slightly larger than the base and cut it (Fig. 2). This is necessary for reliable fastening of the entire structure.
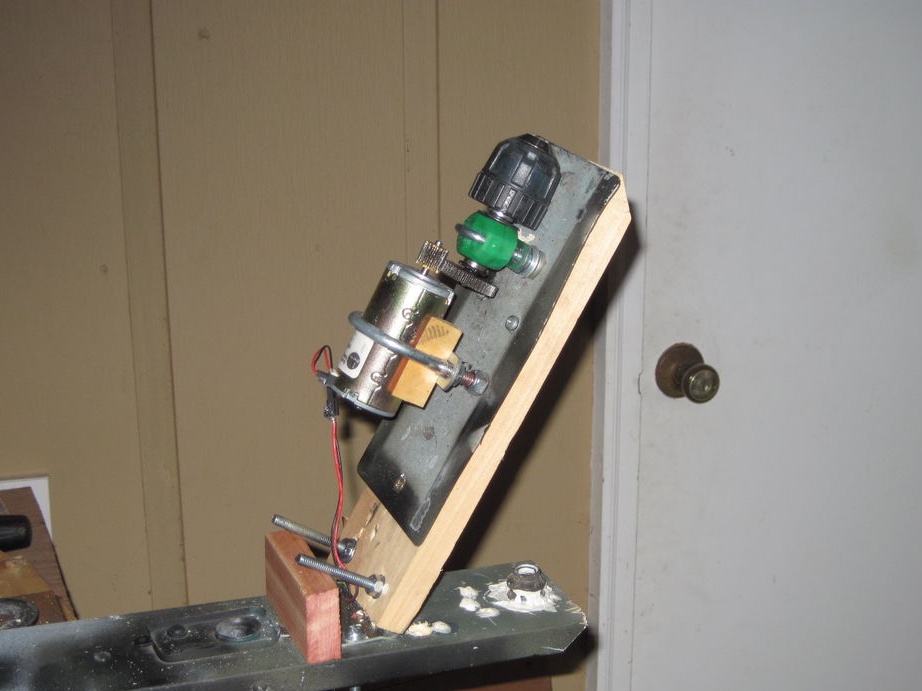
The whole mechanism is fixed to a plastic platform (Fig. 8).
On the opposite side of the main mechanism, we attach a coffee can to the chuck.
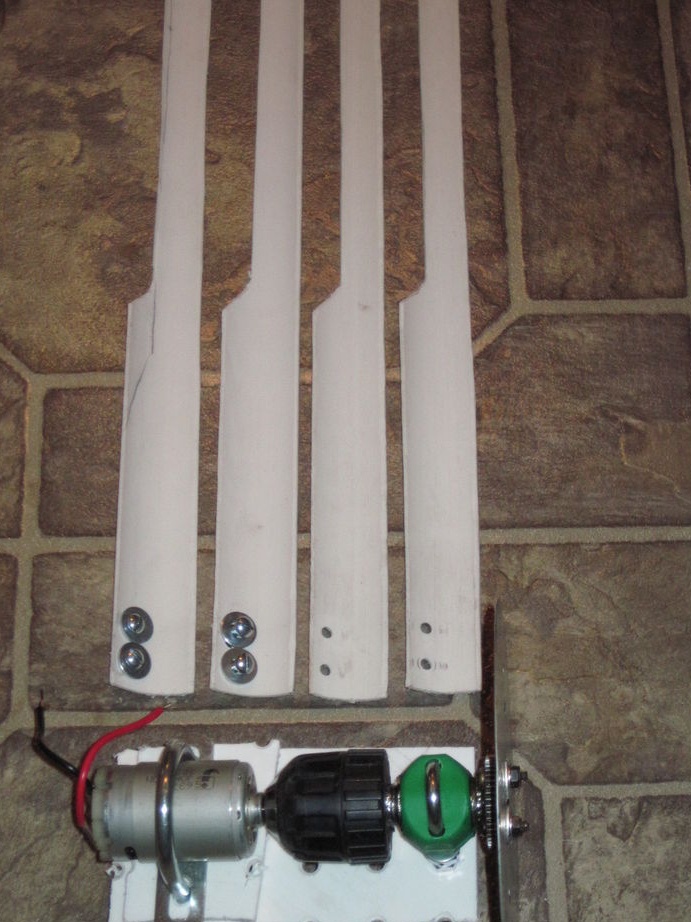
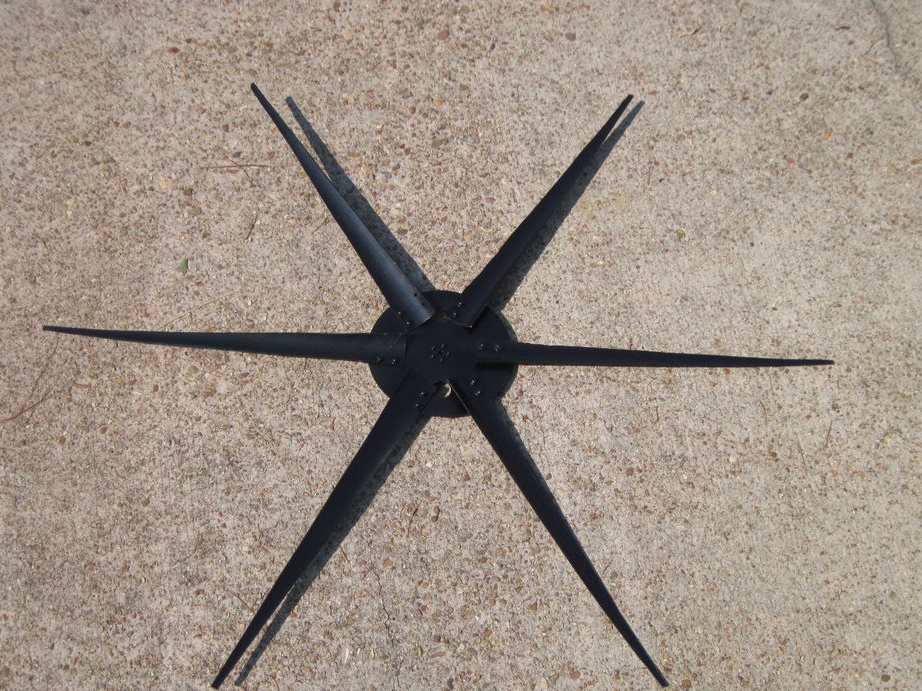
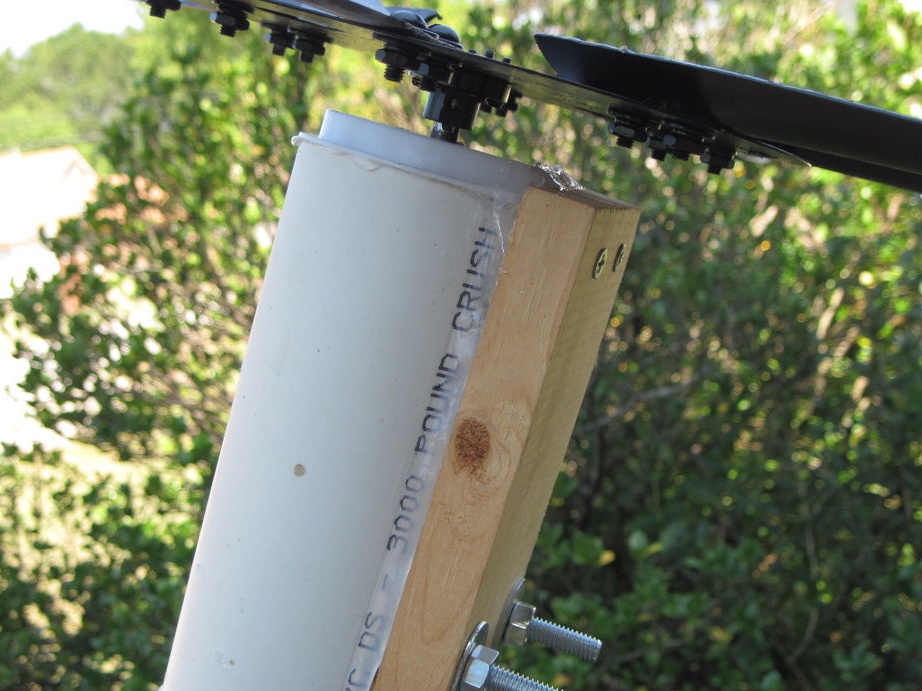
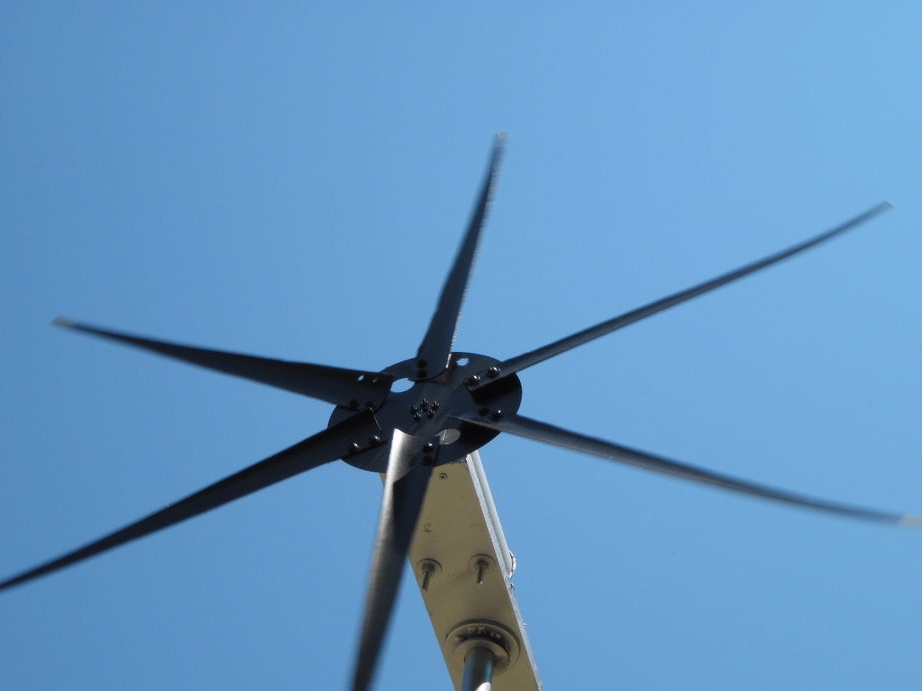
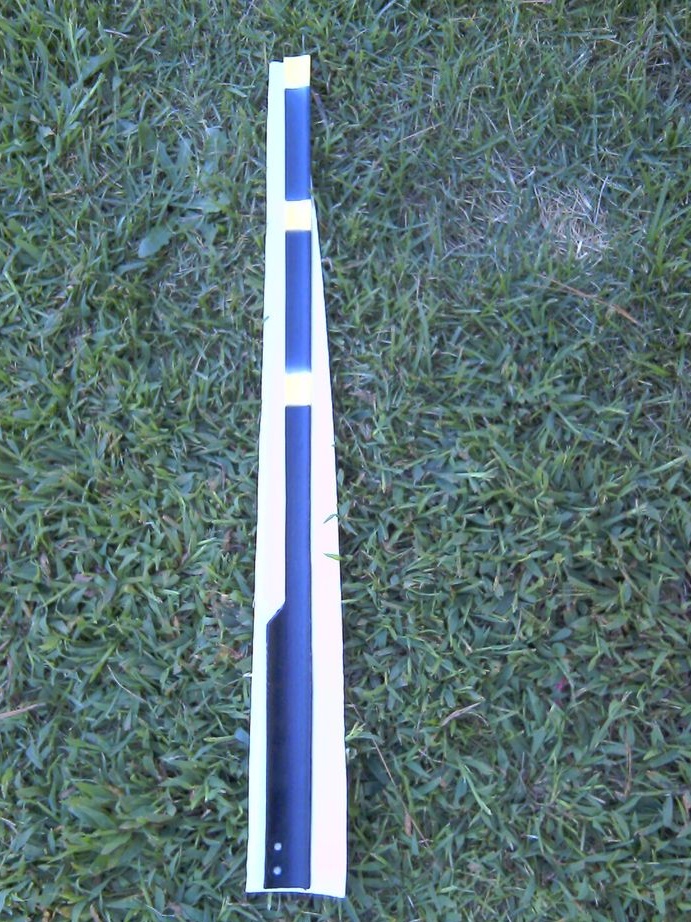
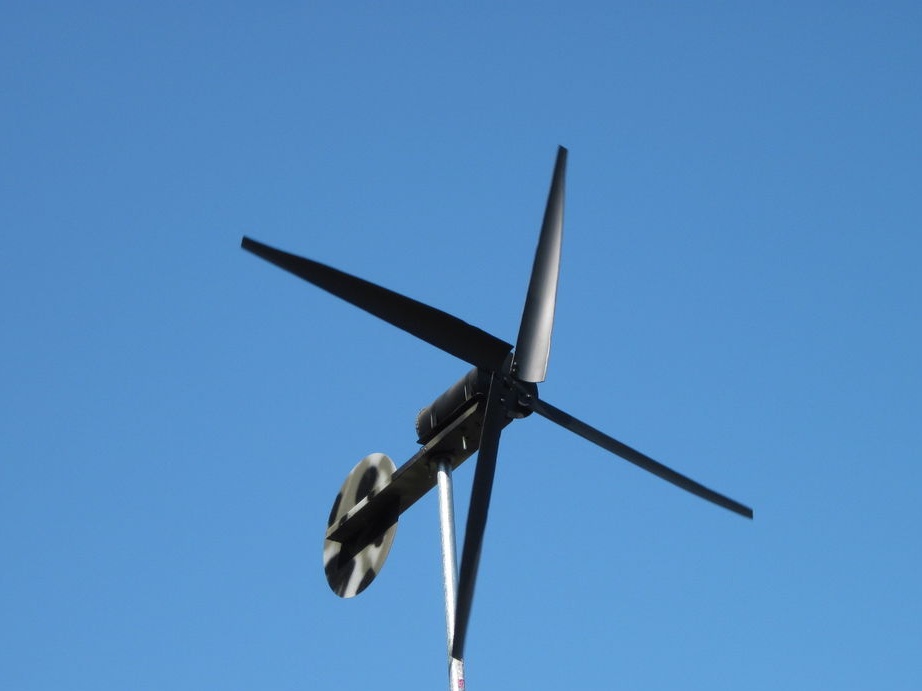
The blades, previously made of PVC pipe, are fixed to the disk (Fig. 9).

2nd stage: Installation of the installation.
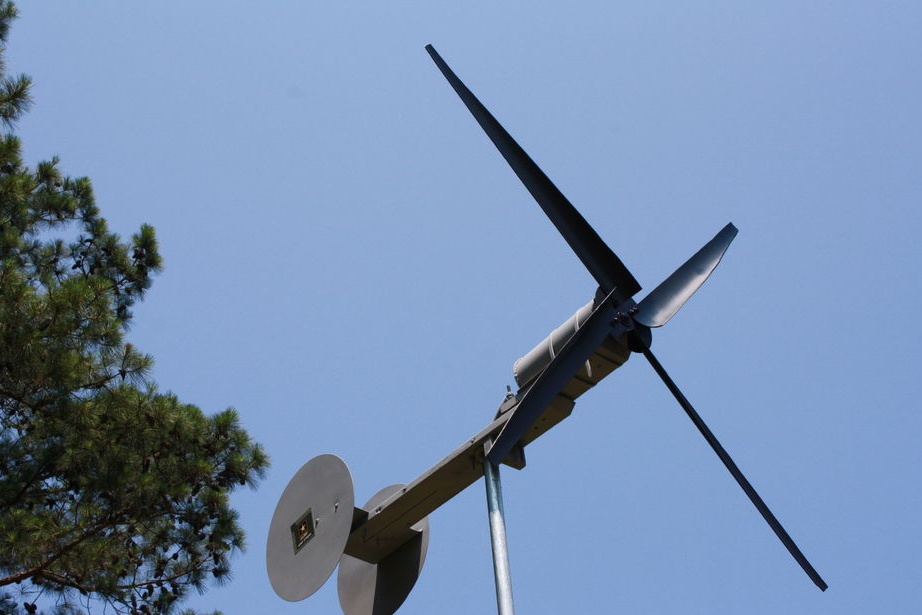
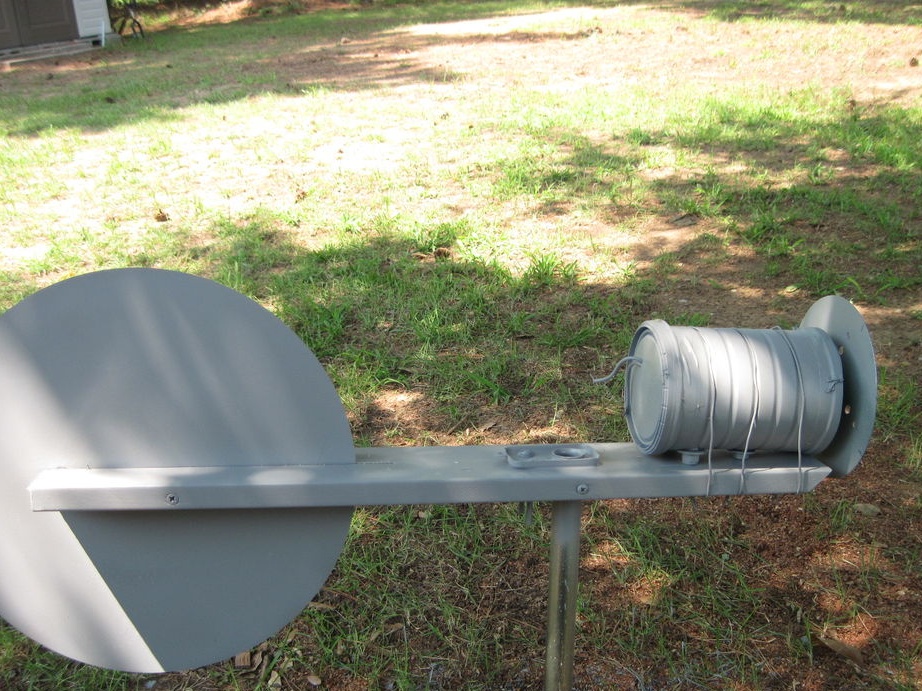
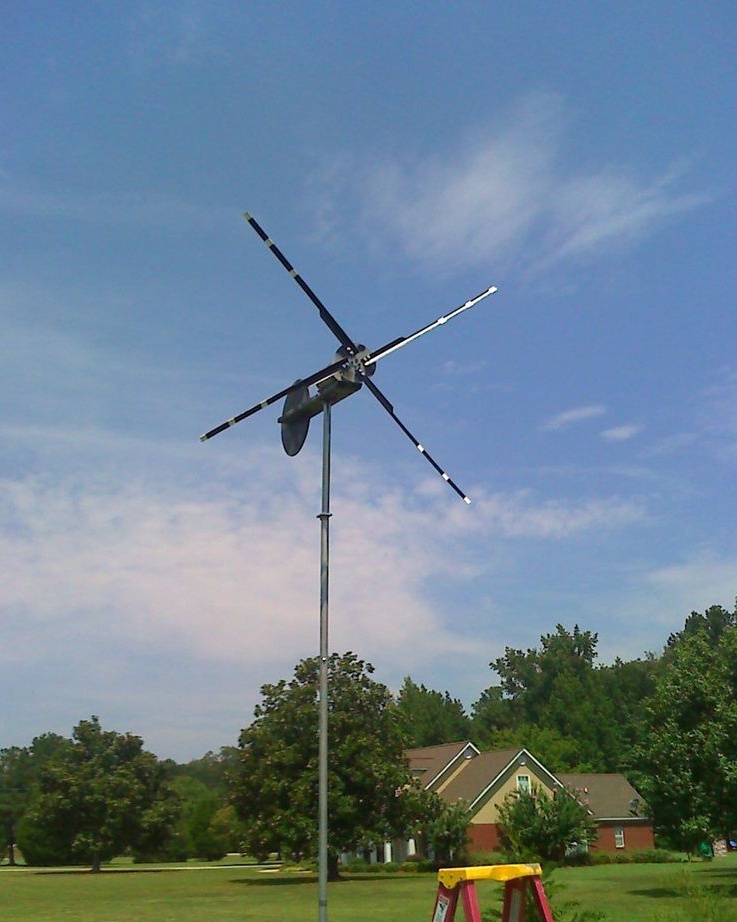
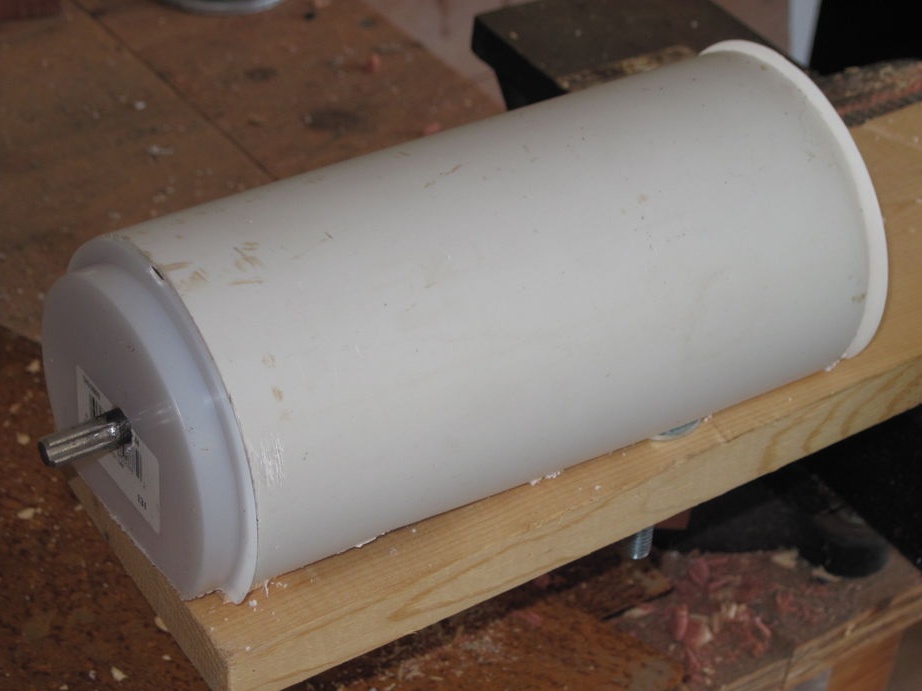
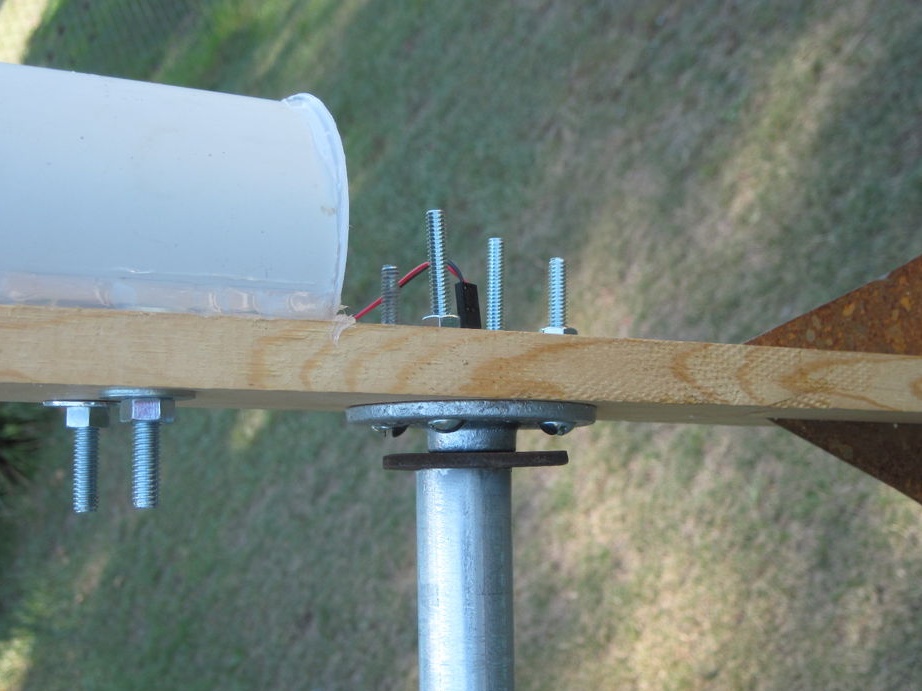
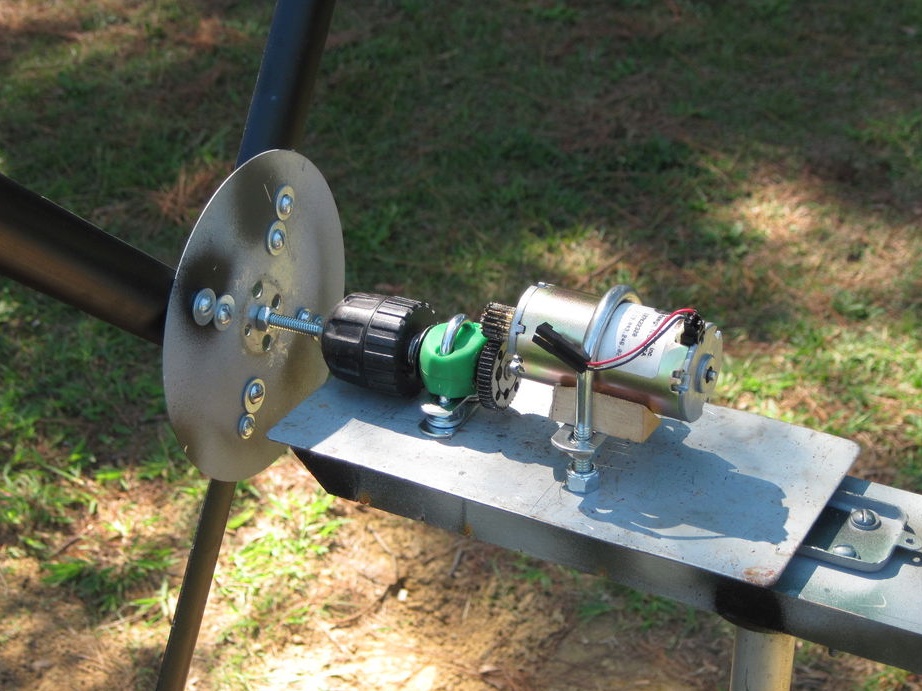
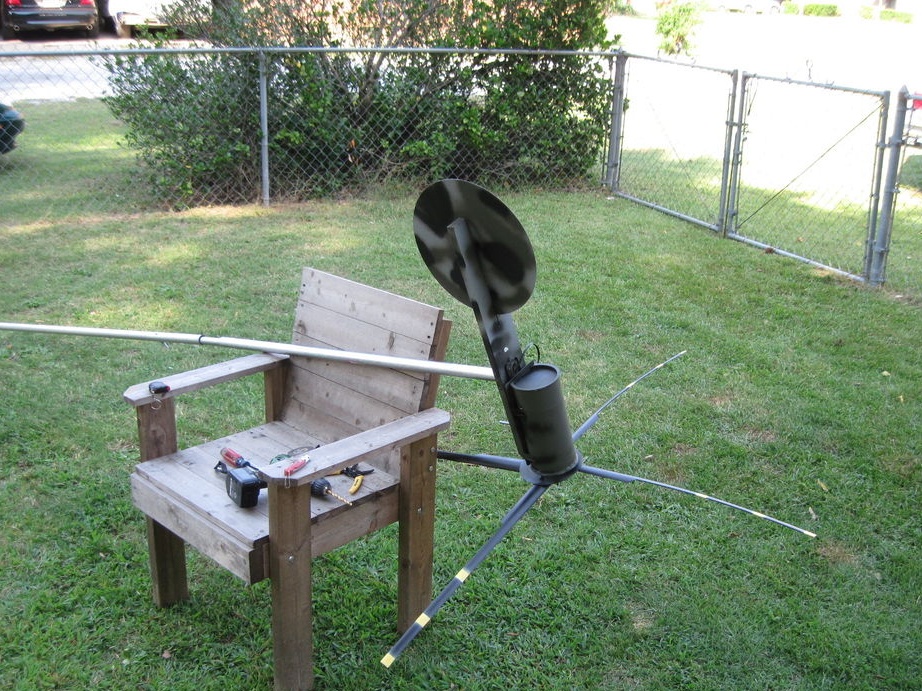
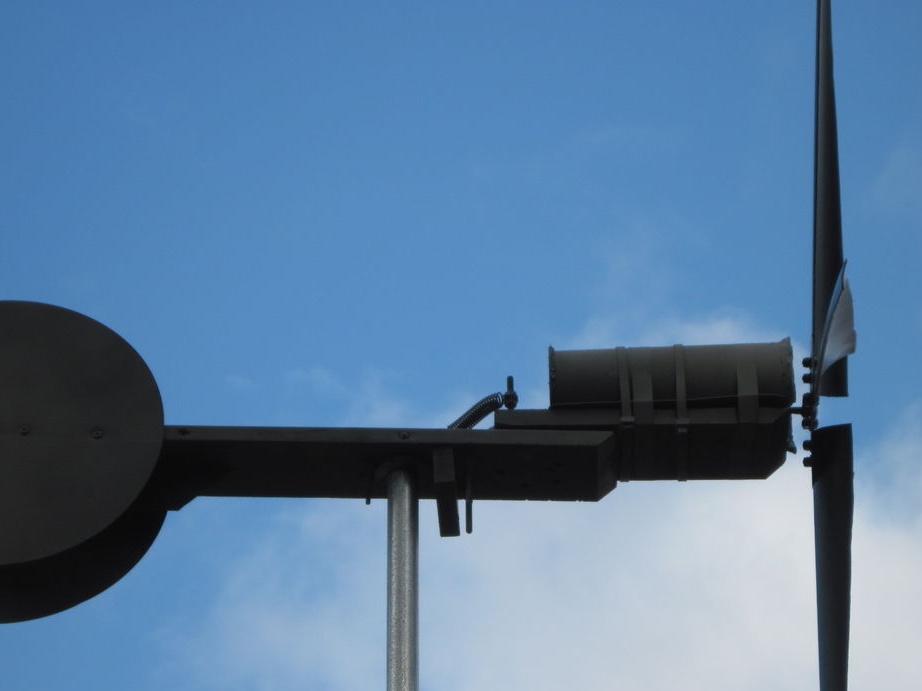
We attach a small piece of wooden board to a long pipe. We install the generator in front, we mount the metal disk on the other end. (fig. 2 and 3). For better preservation and better appearance, if desired, paint a pipe and a plank. The paintwork color can be selected so that the design fits into the design of the site where we will install the wind generator.
Stage 3: suitable weather
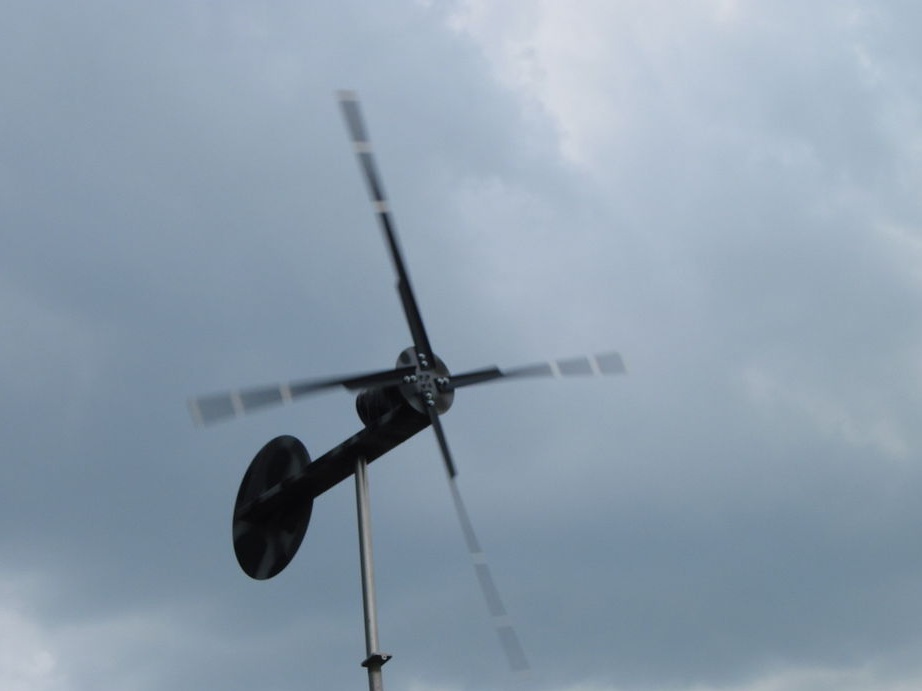
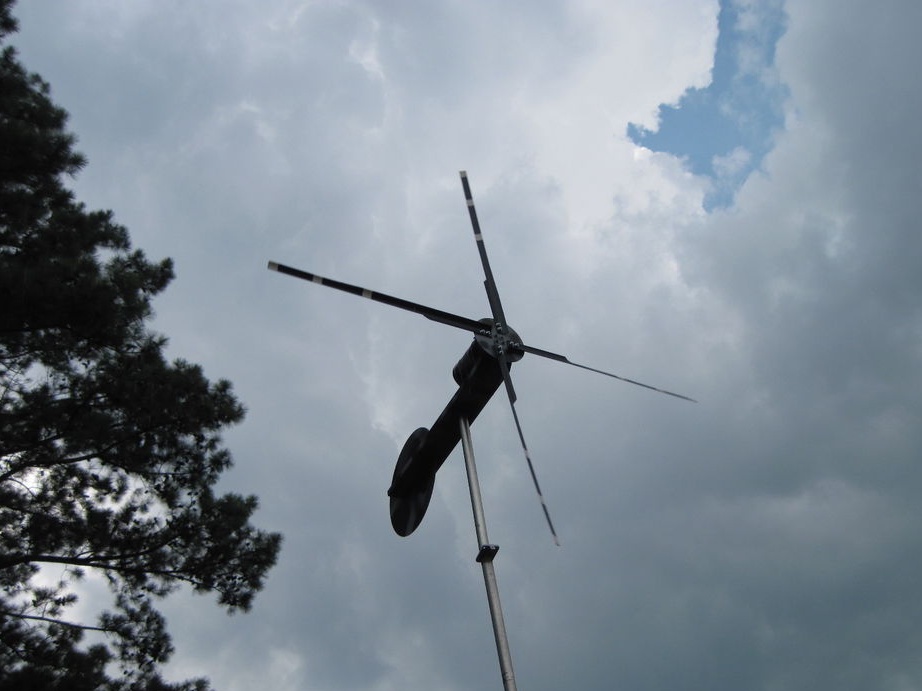
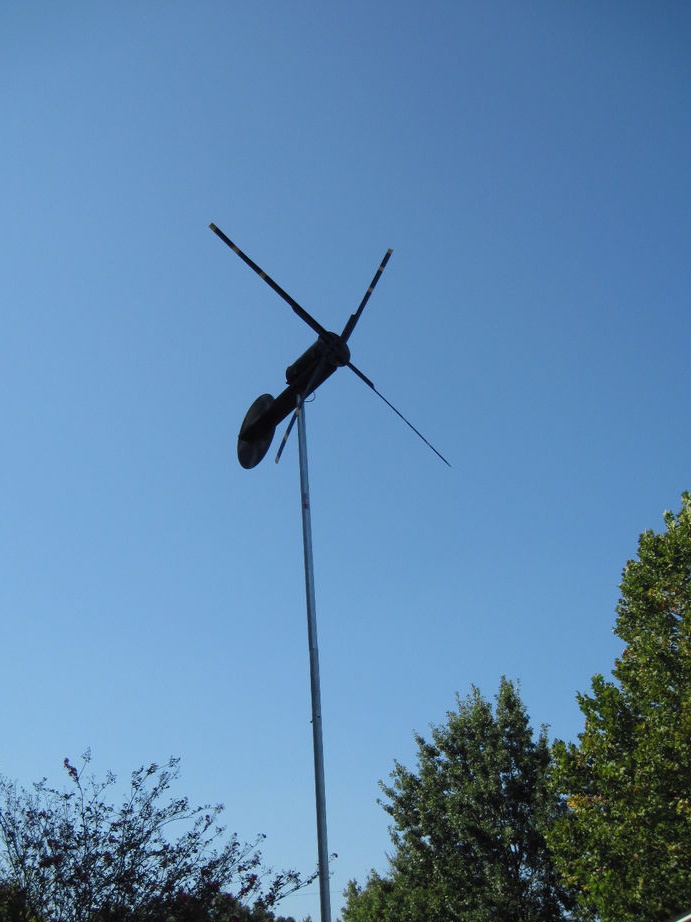
We install our installation and expect the appearance of wind.

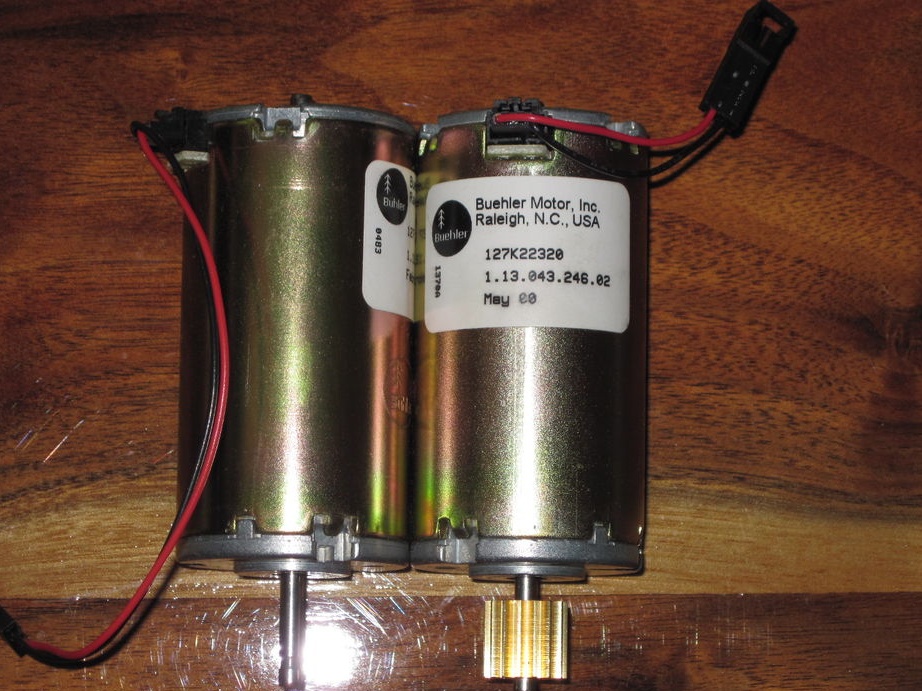
Stage 4: power increase
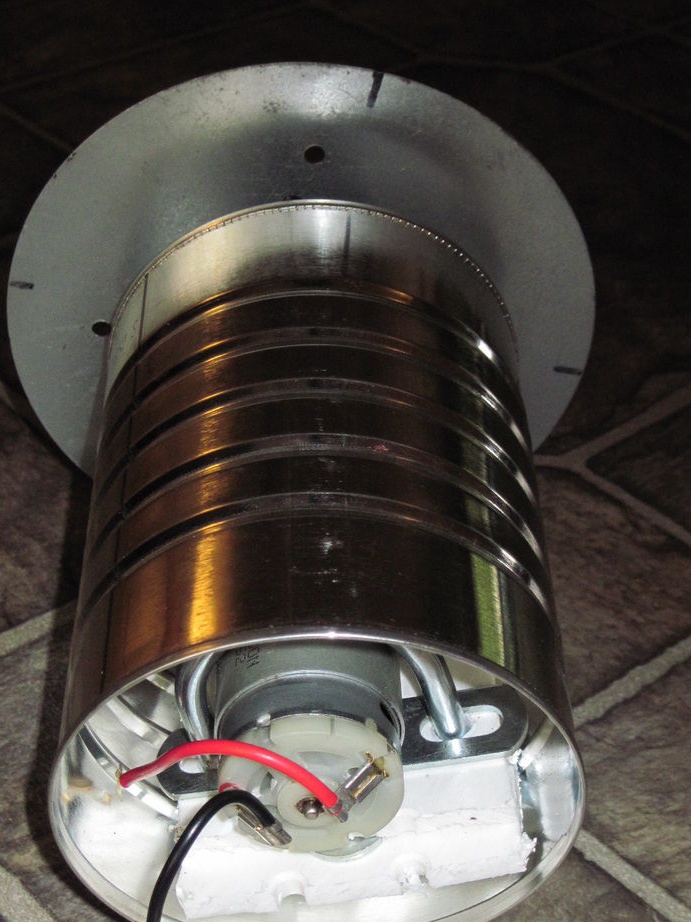
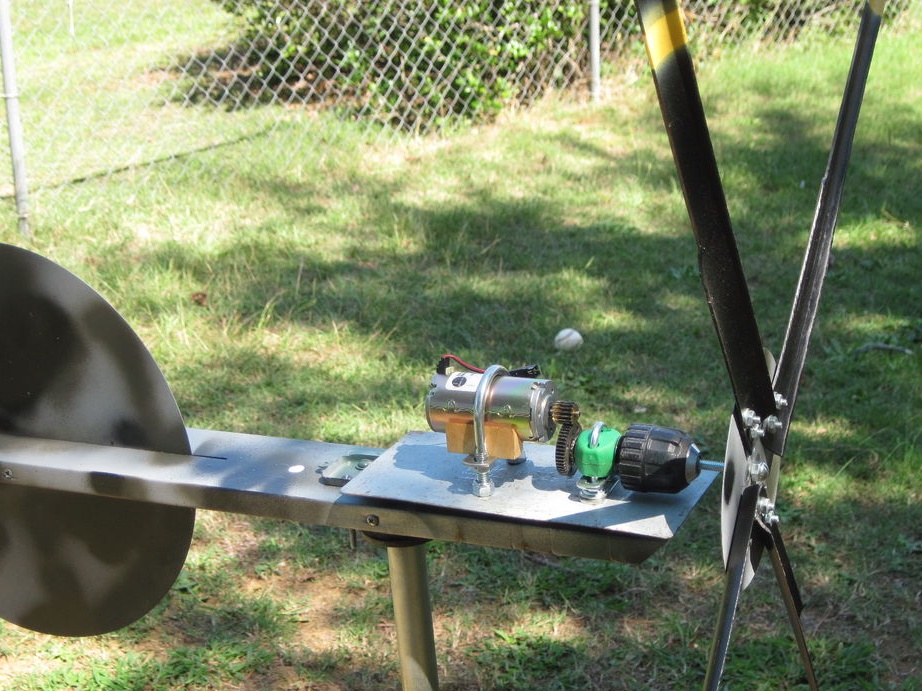
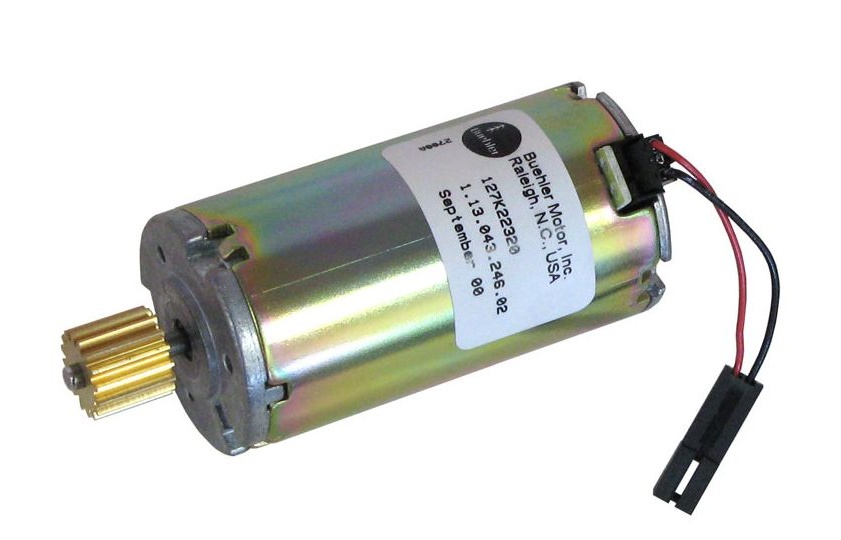
To replace the electric motor from a lower power to a large one, remove the coffee can. In this case, a 12 V motor with a rotation speed of 3000 rpm is used (Fig. 1). In this regard, the design will have to be substantially modified.
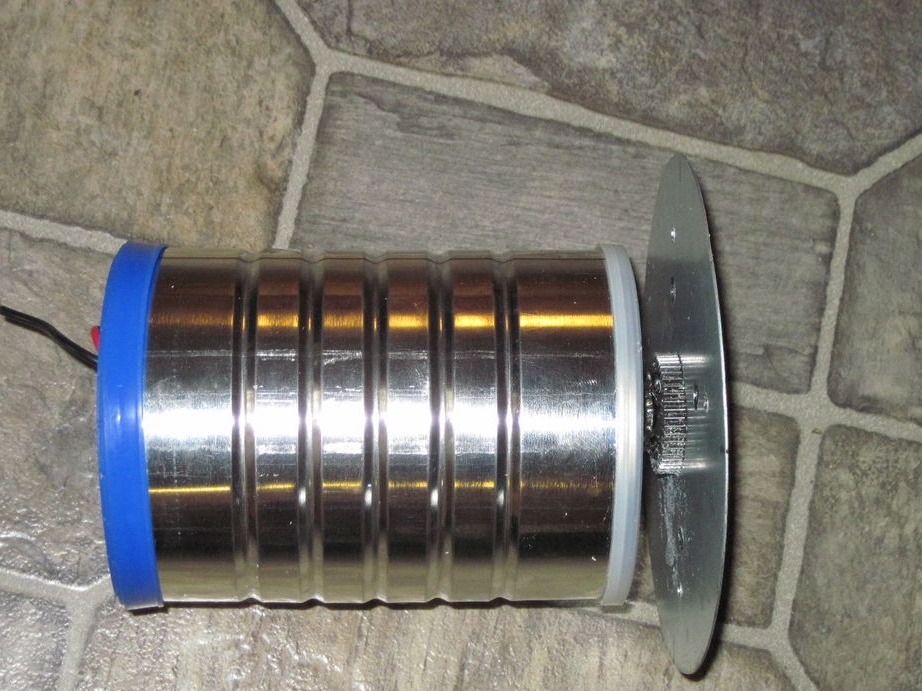
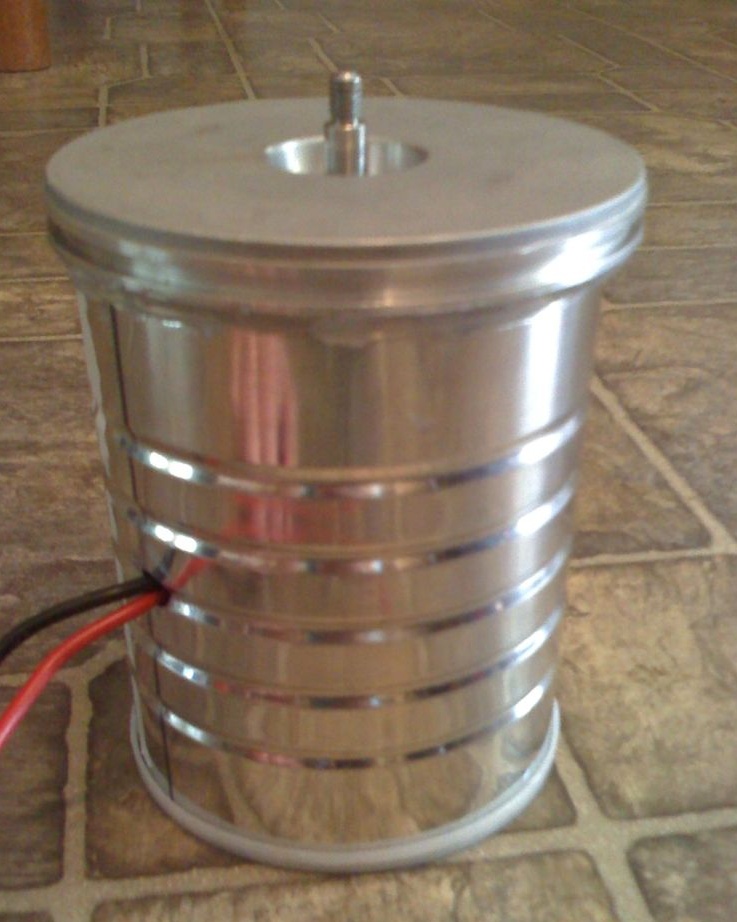
We place the entire installation in a larger aluminum can (Fig. 3).
5th stage: analysis of the results
Replacing the engine did not really increase the amount of electricity received. Of no small importance is the place where we are going to install the wind installation. The village is exactly what you need.
6th stage: tests
We connect the lighting system of the house in the village to our invention, when the wind appears. There was enough electricity that was generated, but its quantity was small.
A big disadvantage is the possibility of a wire break between the house and the installation in very strong winds.
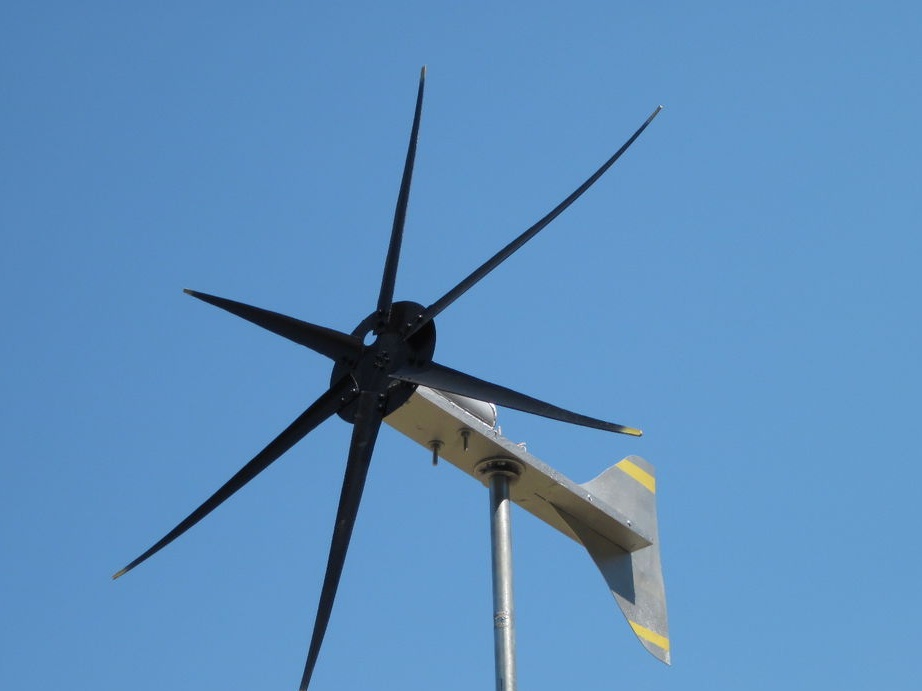
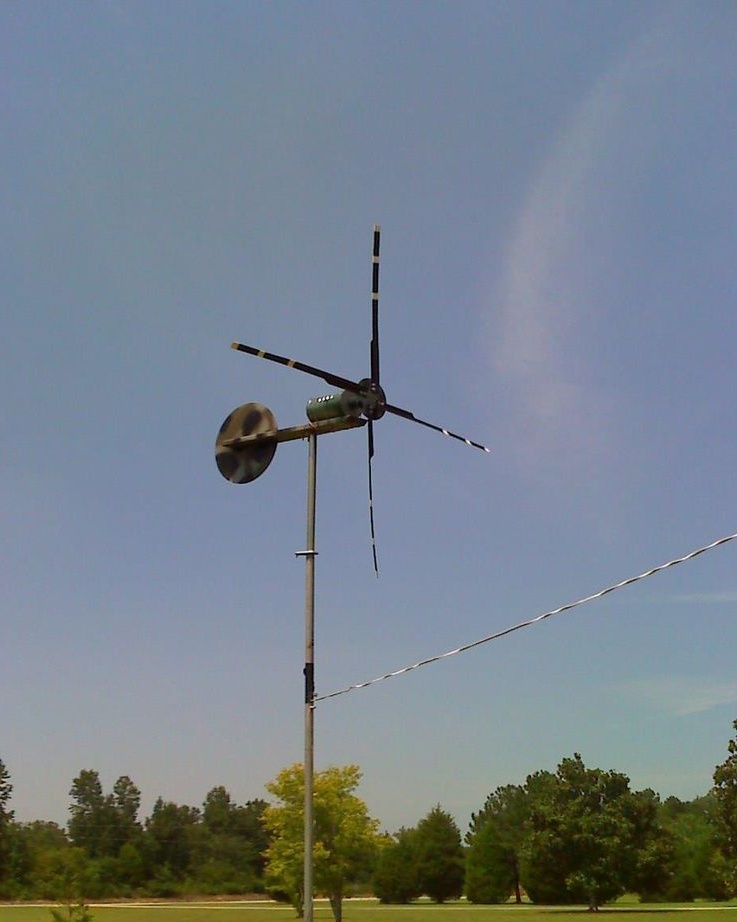
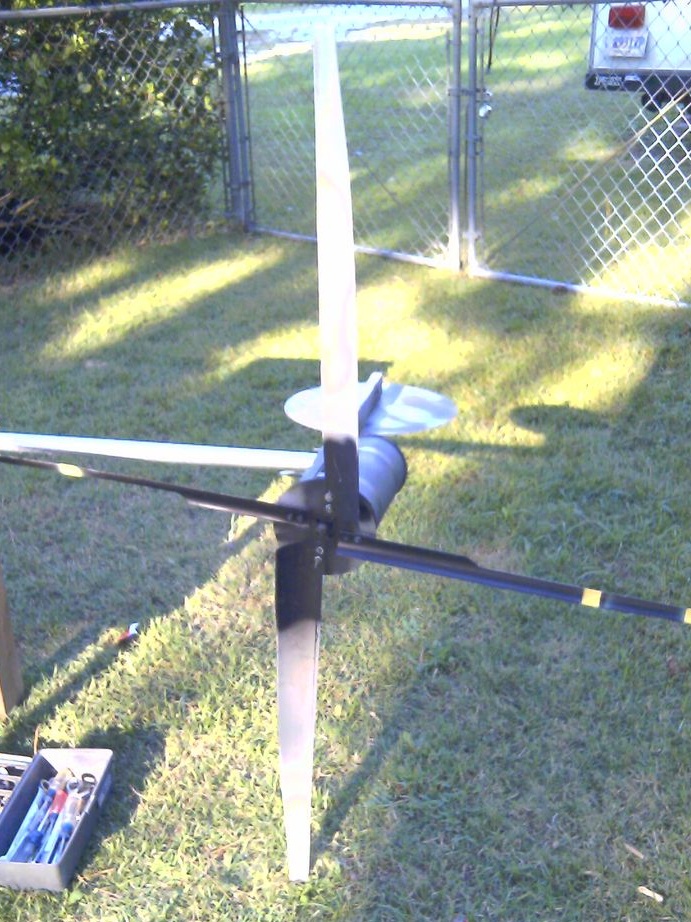
7th stage: 2nd installation option
The principle is the same, but we will do everything differently.
In this model, the following were used:
1. Old Dewalt cordless drill;
2. As auxiliary parts, wooden bars (2pcs.)
3. Blades 7.6 cm long made of PVC pipe (6 pcs.)
4. A metal pipe 46 cm long
5. For steering a sheet of metal.
Stage 8: Selection of the blades
To increase the capacity of the installation, we will conduct an experiment with the selection of blades, taking them from the first model. True, our capacity has not changed significantly.

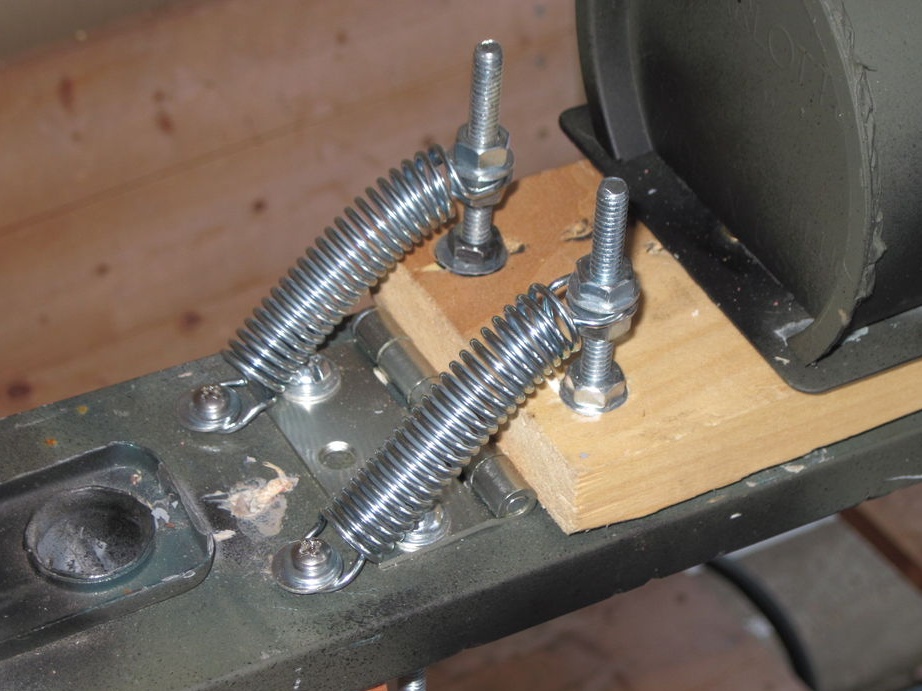
Stage 9: Perfection has no limits!
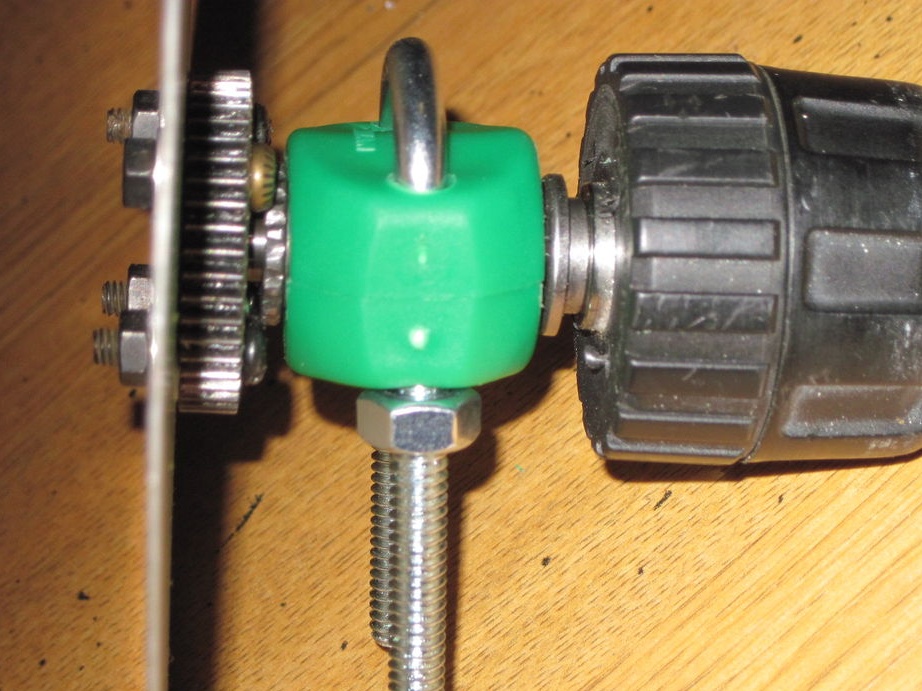
Using two springs, two pieces of a board and a metal platform, we get even better indicators, in case you suddenly decide to use such an installation for yourself, it should be refined in this way.
Below in the video you can see how such a mechanism works in practice.