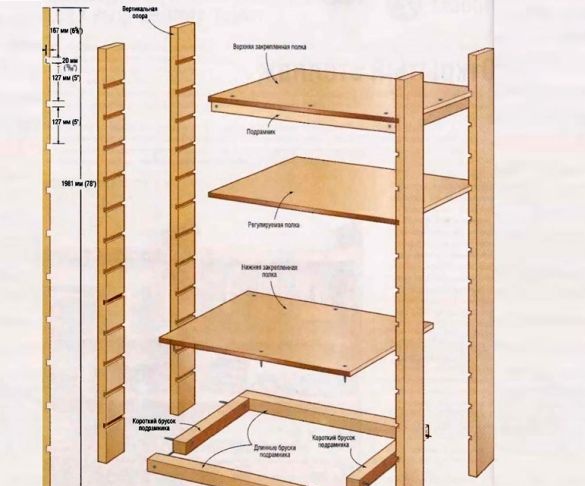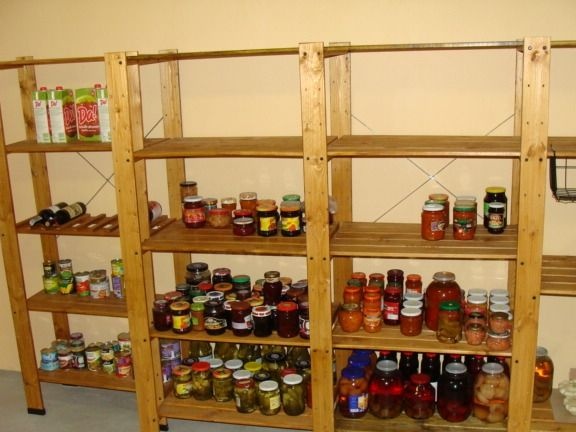
Autumn has come, which means that it is time to prepare our stocks for the winter. The whole summer we grew vegetables and fruits in the garden, and when the crops were harvested it was time to think about how to preserve them better so that we could spoil ourselves with the gifts of summer all winter.
You cannot find a better place to store our workpieces like a cellar or a cold storage room. Thanks to the cool air, which is constantly maintained indoors, we manage to preserve our vegetables throughout the winter. But often we are faced with the problem of lack of space to store our workpieces. This issue can be resolved without radical restructuring or expansion of the storage area, but we can simply make racks do it yourself.
The design of the shelves and the material from which they will be made, you can choose yourself, it all depends on your capabilities and skills to work with this or that material. But before proceeding with the direct manufacture of shelves for the cellar, you need to go through several preparatory steps.
1. Make a layout of future shelves on paper and calculate the future dimensions of the shelves:
the dimensions of the rack and the shelves themselves depend on two factors:
- the total area of your basement;
- the size of the container in which you will store your workpieces.
In order to correctly calculate the size of the shelves, take the size of the container for storing vegetables as a basis, taking into account that your hand can freely pass above the container itself and you do not have any inconvenience in the process of arranging cans on the shelf of the rack. That is why I advise you not to get carried away with excessive space saving, but initially correctly calculate everything so that you do not have to redo it later.
2. Decide on the arrangement of future shelves:
You can place shelves in the basement in sections or make the structure monolithic on one wall. An example is if the width of your basement is more than two meters, shelving can be put on both sides of the basement. For convenience, the passage between the shelves should be at least ninety centimeters.
3. Select the material from which you will make the rack.
I can offer you a choice of several types of materials with which you can easily make a shelving for a basement with your own hands.
- Particleboard, this material is perfect for a rack on which small containers will be stored. Particleboard can break under heavy load. In addition to low strength, a significant drawback of this material is the fear of moisture.
- Metal, durable and reliable material. Such a rack lasts a long time, and its robust design can withstand heavy loads.
- Concrete, strong and reliable material. The only drawback is the immobility of this structure, if you have already built the rack in a certain place with concrete, then you cannot move it or in any way deploy the rack, therefore, if you decide to make the rack with concrete, plan in advance where and how your rack will stand and which the size will be shelves. The concrete structure can be further strengthened with metal profiles.
- durable plastic, reliable and durable material, perfect for making shelves, it is very easy to work with it, even a beginner can cope with this work.
- Wood is the most common material for making shelves for a cellar.
To make a wooden shelf with our own hands, we need a board 20-30 mm thick, a wooden beam of the same section, one metal bracket or a metal pipe.
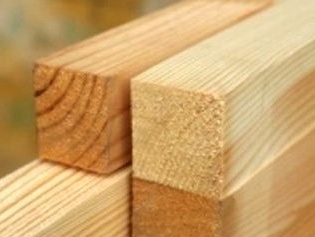
We start by taking measurements and determining how many shelves the size we have planned can fit on one of the basement walls. I suggest choosing the most optimal size is 300 mm, on such shelves it is possible to store not only three-liter jars, but also boxes with shoes or boxes with various vegetables.
We make markings on the wall according to the intended sizes and proceed to fastening the beam to the wall. For fastening, durable self-tapping screws are best suited, their number and thickness of fastening you determine yourself, it all depends on the length of your bars, for an average short you need 2-3 screws, for a long 5-6. I suggest a side beam length of 300 mm, this is the most optimal shelf depth for storing cans.
When the frame of our rack is ready, we can begin to manufacture the shelves themselves. To do this, we need to first, cut the desired size of the board under the rack frame made by us, then process these boards. For processing boards, you can use it as a simple sandpaper, or if you do not have time to mess around, then in order to speed up the process, you can use a special nozzle on the grinder. If you want to extend the operating lines of your shelves, prepared boards can be additionally opened with a protective substance from moisture.
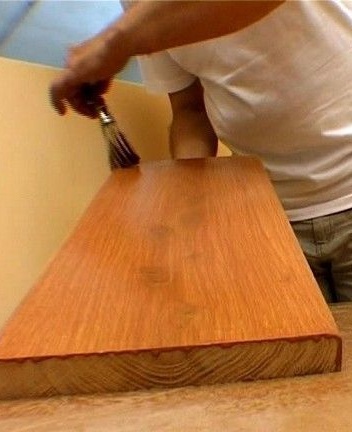
In any hardware store you can find a lot of tools to protect the boards from moisture, you can choose any one to your taste. This procedure is optional, so whether or not you choose to do this.
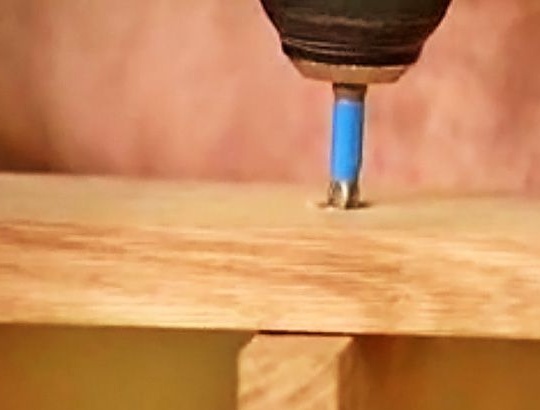
Finished boards are stacked on a rack and attached with wood screws. If you want to further strengthen the shelves so that they do not bend under a large load, you can use the usual metal pipe, which is used to of furniture. The pipe is fastened to the racks between the shelves using flanges, it is important to put all parts of the pipe in one horizontal line, only in this case the whole structure will be securely fixed and work effectively.
So our rack is ready, now we can place all winter supplies on it.
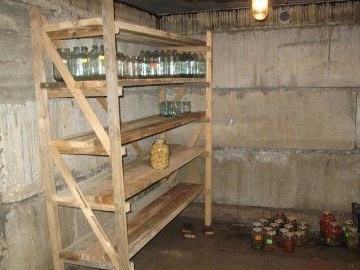
The same rack can be made not only for the basement but also for the storage room in the apartment.

