
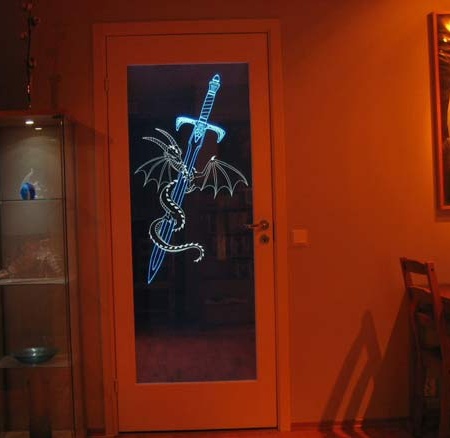
In this form, an illuminated inner door stood between the hallway and the living room until the master discovered some flaws. The tree is slightly bent, possibly due to evaporation of moisture. For the first time, one sheet of Plexiglas was used, which was dirty, and the dirt also lit up. The same thing happened with fingerprints, and guests and homework often touched the glass with his hands.
I had to redo it all over again.
This time, inexpensive pressed boards and four layers of glass, 3 mm thick each, were used — two external polished glass and two internal acrylic glass. Plexiglas is better suited for applying a pattern to it. It is lighter, moreover, acrylic glass has better light transmission, unlike ordinary glass.
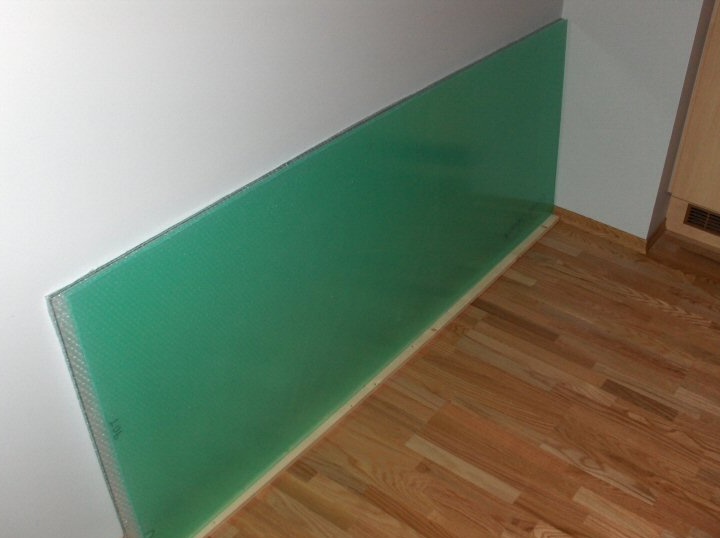
They brought four sheets of green glass with a protective plastic coating.
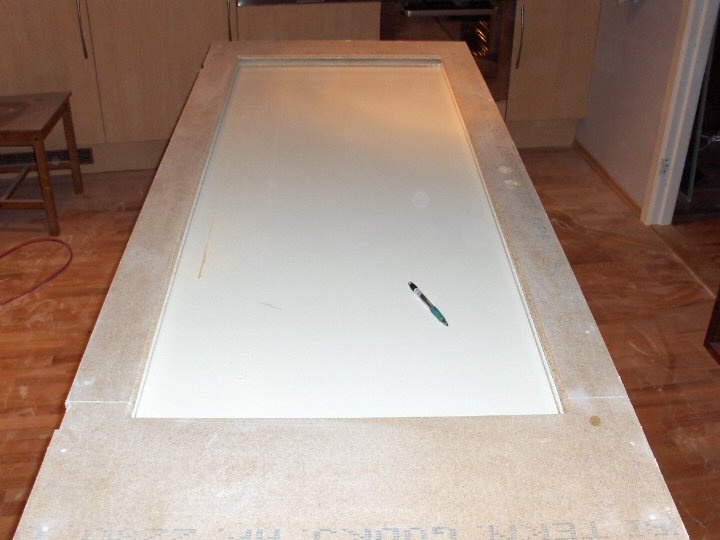
Next was sawing wood in the desired shape. It took a milling machine to cut off excess thickness of 2 mm from all boards; the boards were 22 mm each, and the door was 40 mm thick.
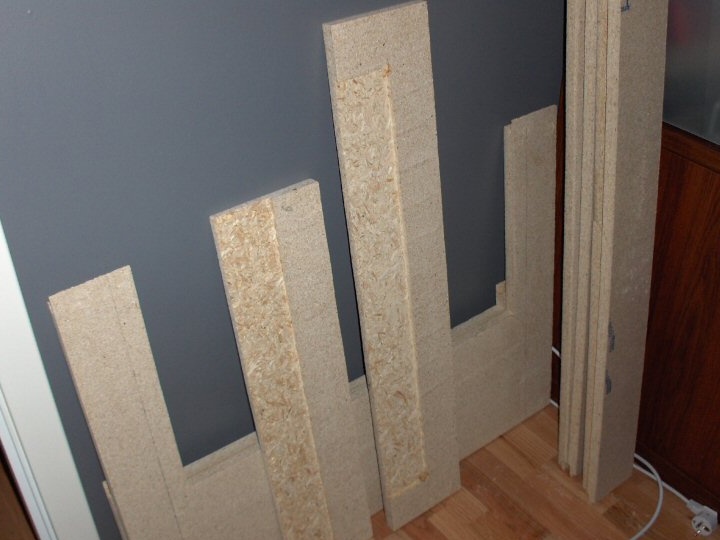
Still, it was necessary to cut out grooves for glasses. All boards have been prepared. The grooves are sawn in two boards in the middle.
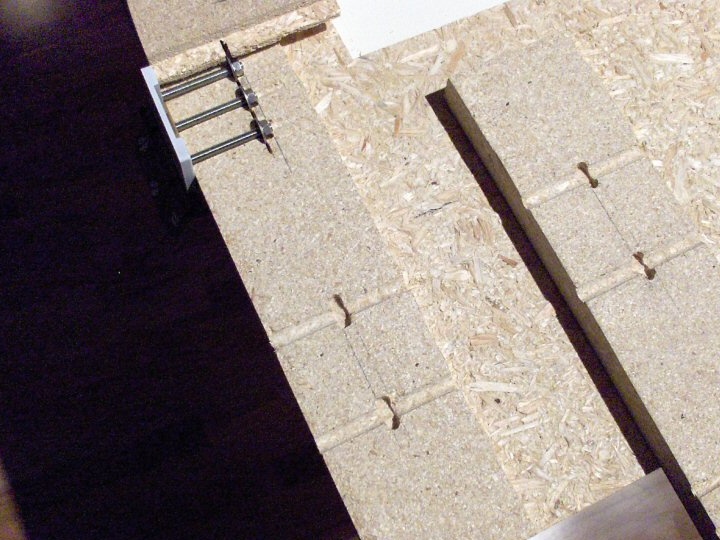
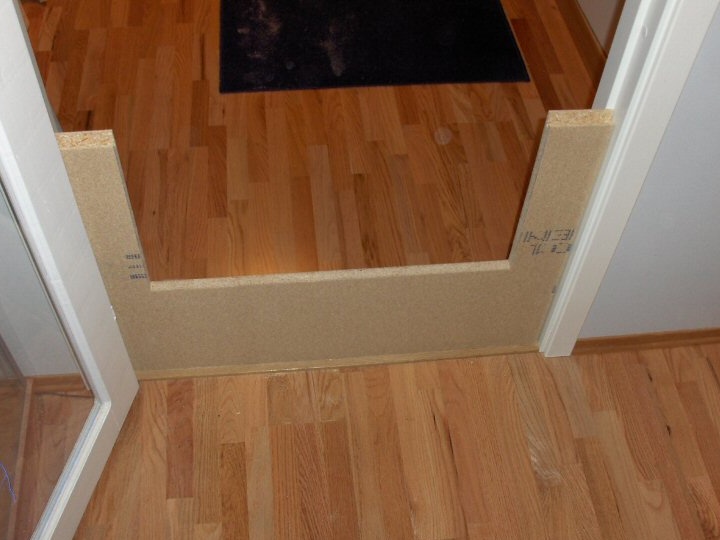
This is the bottom of the door. For better structural strength, instead of the usual wood screws, the master made small cuts between the two boards, and glued three A4 stainless steel nuts and M5 washers into them. For reliable support to the glass, grooves are made for 2 nuts of 6 mm and 2 metal rods with thread. Glass slips through the bottom of the door (uncomfortable from above, due to the frame's high strength). Under the glass is a board and 2 metal rods. Between them is inserted another piece of wood for compaction and uniformity of weight.
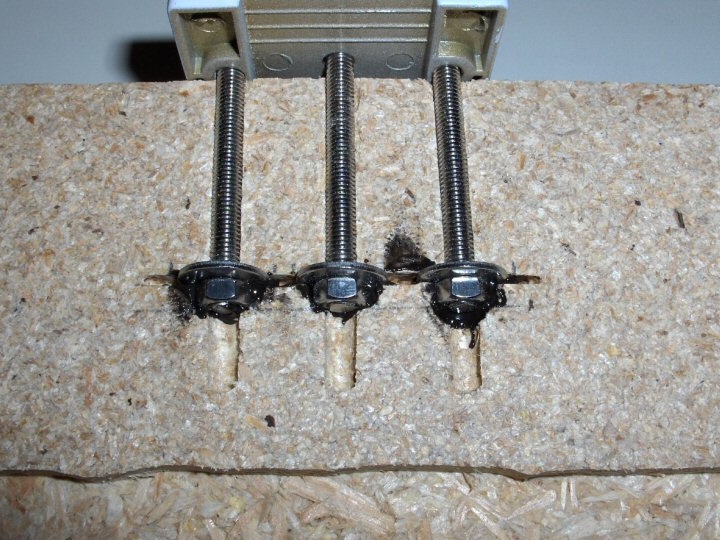
The nuts took their place. In a large-scale image, nuts and washers for the loop are visible. The loop itself and the screws are already screwed.
Everything is glued and sealed with filler.
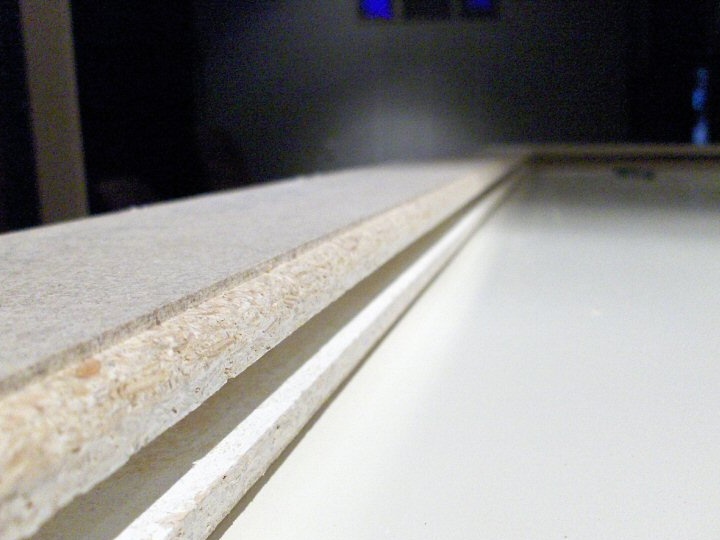
Glass grooves close up. For better adhesion of the glass to the grooves, a filler was used; without it, the glass sheets may not be able to stay in the groove.It was also necessary to carefully file the edge on the milling machine. At first it seemed to the master that the paint would be enough to fill all the bumps and make the tree smooth. Not enough. I had to use a filler.
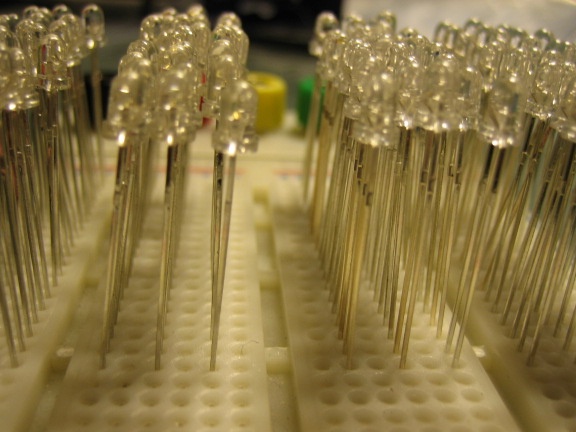
LEDs - 120 pcs, 60 blue and 60 white to illuminate the glass.
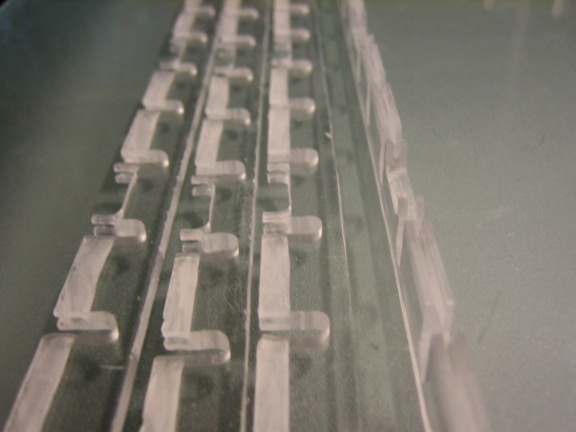
The holders for LEDs are cut from 3 mm thick organic glass strips, width-length - 1 cm x 62 cm. For each LED, one socket and one hole for resistors have been made (for three LEDs there is one resistor). Separately, I had to cut a passage for the cord. It will pass above and below the glass, under the pressure of the 1st layer of plexiglass.
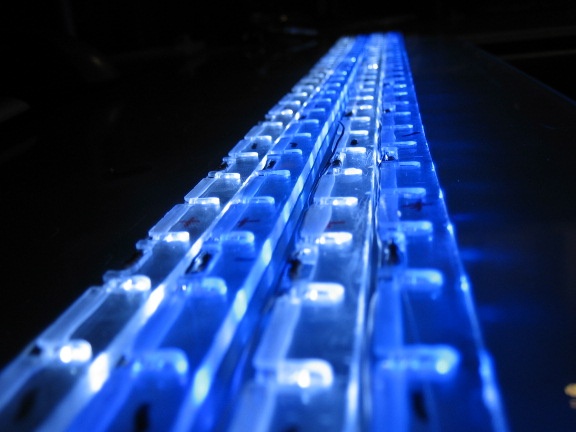
A large-scale shot of the strips with LEDs looks very beautiful. It seems that the white light shimmers into blue, a little different than with your own eyes (you could adjust the contrast on the camera).
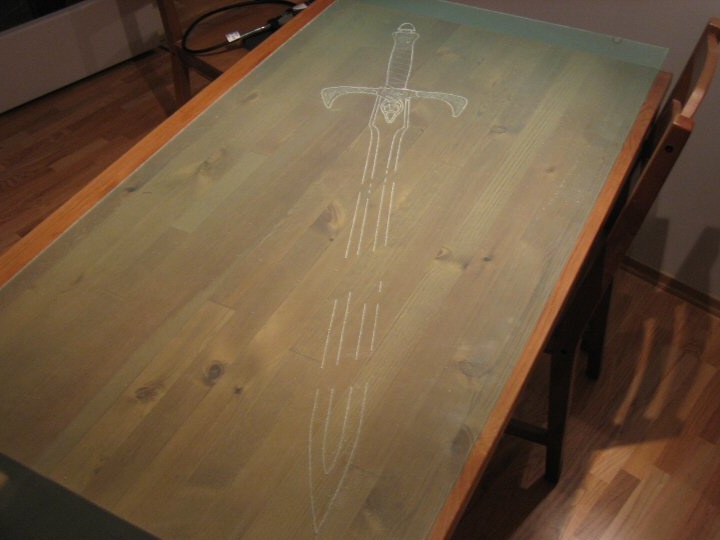
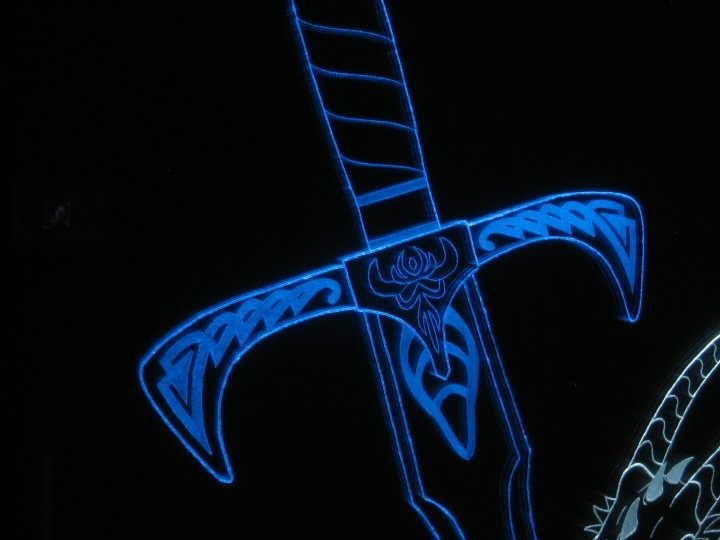
The first sheet of glass with a picture on the plane will be blue.

The second layer will be white.
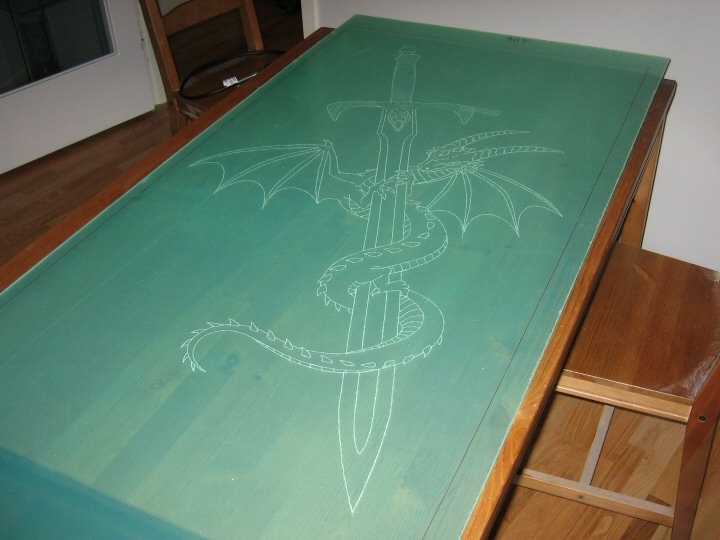
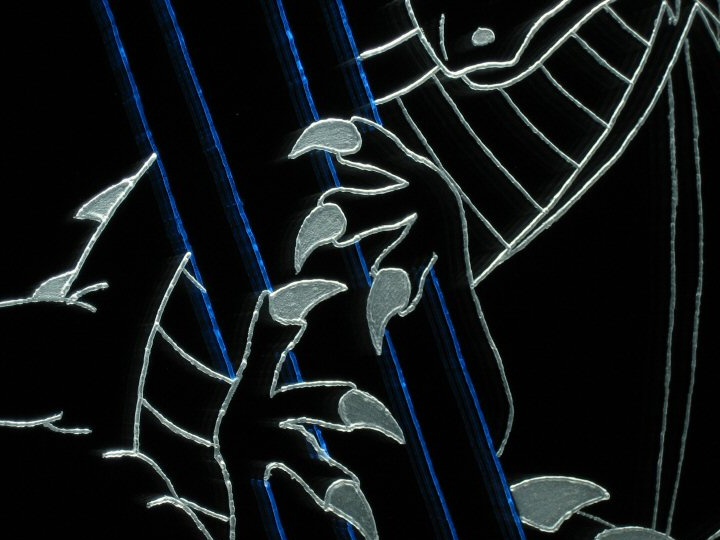
You see the connected layers. Drawings are located on both sheets of plexiglass from different sides. Perhaps it would be better to draw a picture on both sheets from the same side, but in this case it looks great at a right angle, and the image is bifurcated at a different angle (~ 3 mm).
And so, the drawings on the sides are located facing each other. As a result, the image seems a little sharper on the one hand than on the other. But it turned out pretty well.
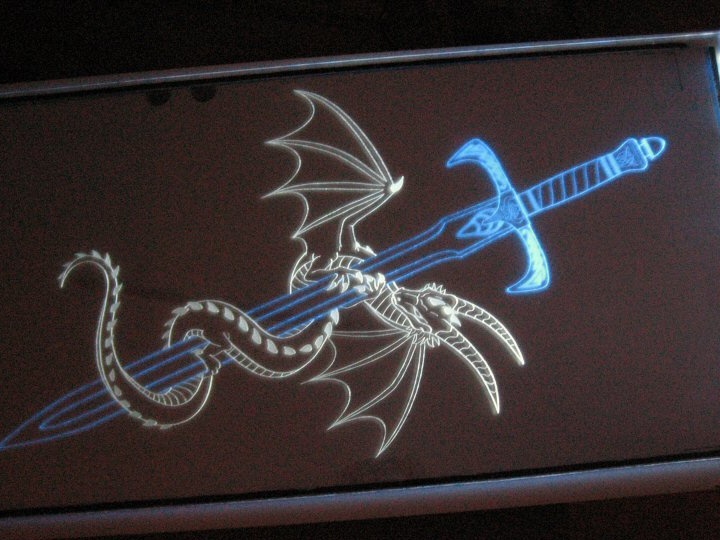
This is how the image looks when you first turn it on. Four layers of glass are laid on top of each other. In the picture you can see the black edge of the electrical tape, which acts as a sealant.
See how the light scatters across the glass. The outer glass does not let it through, and plexiglass lets it through two different colors. In fact, the blue color is much more distinct, it happened because of the error of the camera.
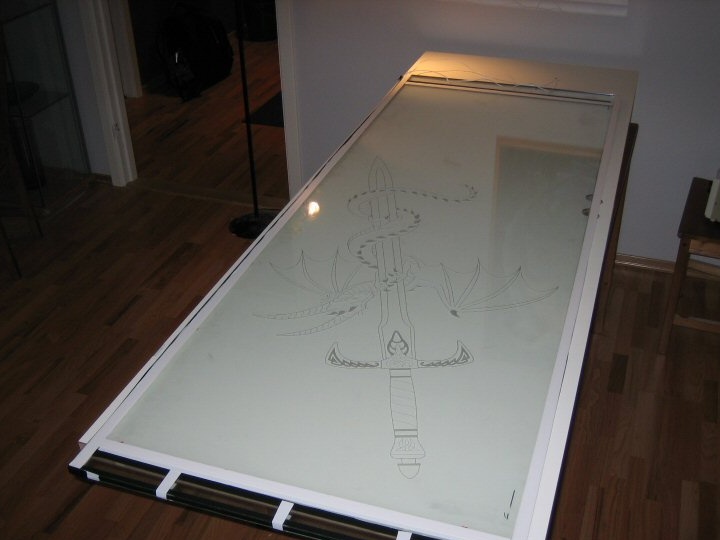
Finished construction. White film tightly holds glass in a wooden frame. The “sandwich” was even too dense - the master had to press hard on the glass to insert it into the frame. Spend a lot of grease in order to push the glass into the frame. It will be good if you never have to take it back.
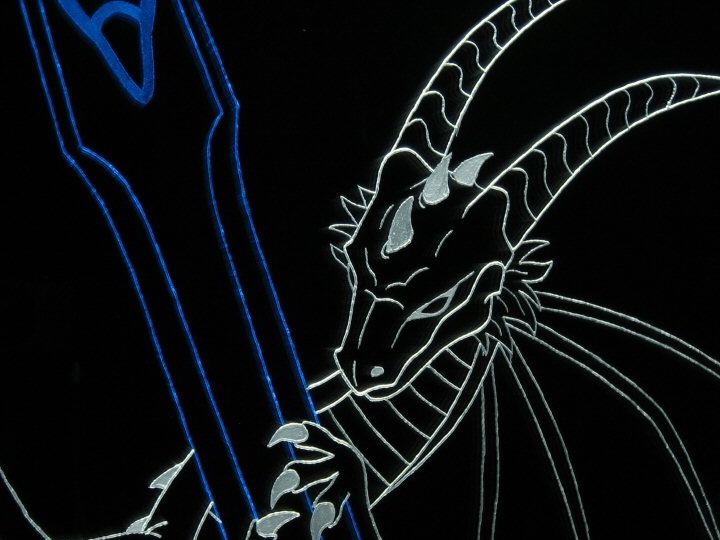
Close-up photo of the picture.

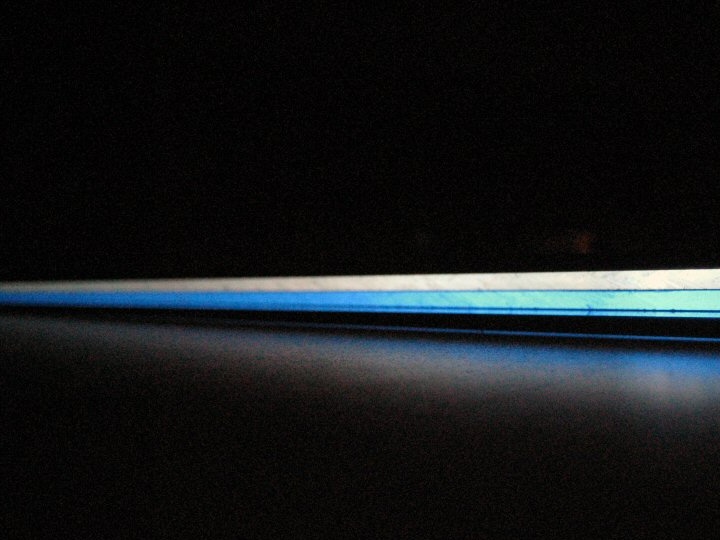
Blue and white are slightly overlapping. In the picture, blue seems heterogeneous, but in reality it looks better. This is because white is shown on the “right” side, and blue is “on the inside”.
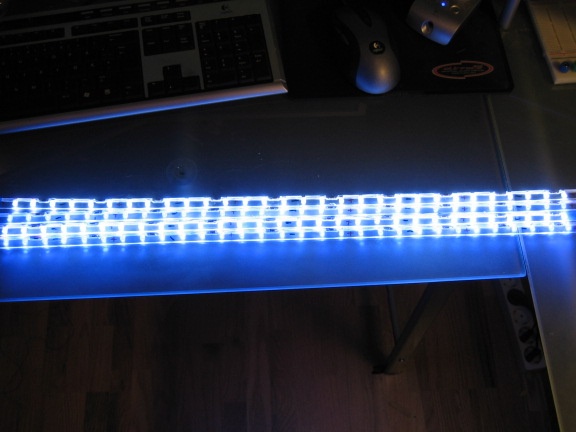
Ready door stands in a lighted room.