
Weeping willow in the garden or in the country is not only a very attractive element of decor, but also a source of universal material for creating exclusive jewelry. Freshly cut willow branches are easily released from the bark, and after a couple of days of drying are already fully ready for use. New branches, however, grow very quickly.
Armed with a very small amount of materials and tools, you can make a beautiful garden lamp from willow twigs.
For work, we need:
- access to an adult tree of weeping willow;
- deep vase made of thick glass;
- a small sheet of plywood;
- self-tapping screws;
- sandpaper;
- glue;
- finishing paint, colorless varnish;
Of the tools at hand should be a pencil, knife, brush, drilling and sawing tools, an automatic screwdriver.
Beginning of work
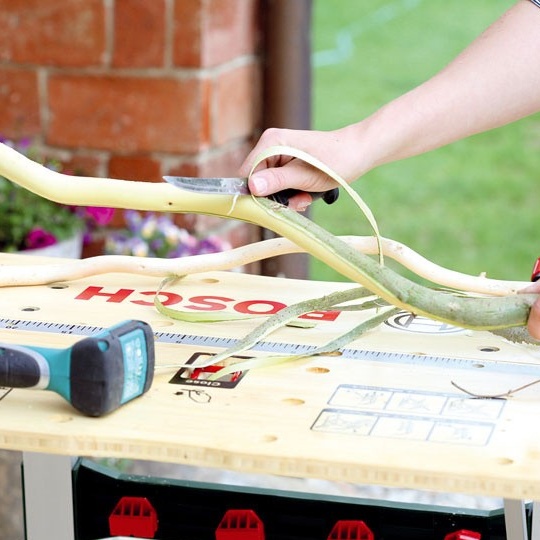
1. The first step is to prepare willow branches of different thicknesses and lengths. For this, suitable rods are carefully cut with a chain or cordless saw.
2. The resulting material is carefully protected from bark. It is not difficult to do this, the bark is easily removed from the branches with an ordinary knife. Then the blanks are exposed under the sun for 3-4 days to dry, and then polished with sandpaper.
Parts manufacturing
3. Based on the external dimensions of the bottom of the vase, the base of the lantern is created. The branches selected for this are alternately applied to the lower part of the vessel and marked with a pencil in the places of cutting so that the resulting blanks frame the vase from below.
4. Using a jigsaw, the workpieces are given the desired size (excess is cut off).
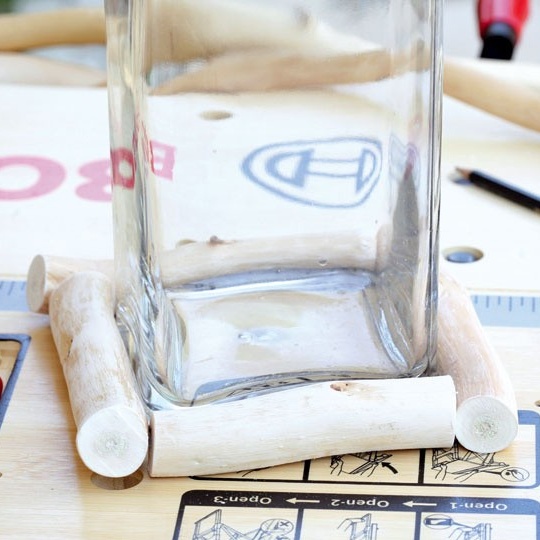
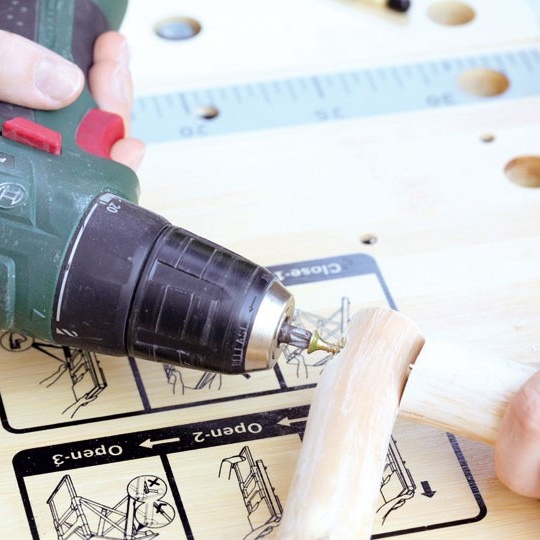
5. Now you need to make sure that all the details converge properly, placing them as intended.
6. Using a tool, prepare the desired diameter of the hole and countersink under the countersunk heads of the fasteners. Next, the design is assembled on self-tapping screws.
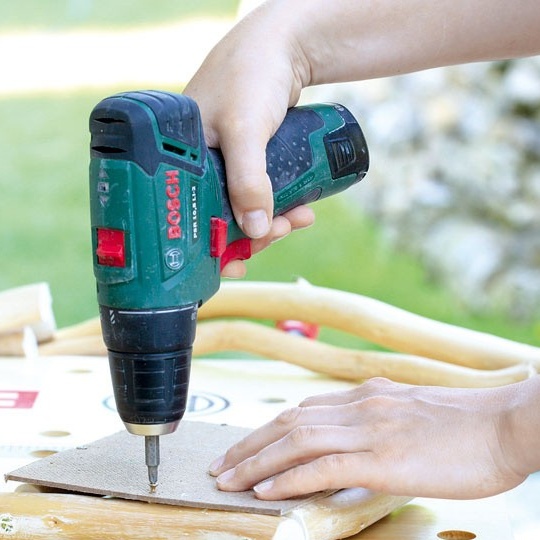
7. To finalize the bottom of the lamp, the resulting workpiece must be placed on a piece of plywood and circle around the perimeter. Trim the plywood sheet according to the layout.
8. The plywood part is screwed onto the stand of the branches with small screws. The lower part of the lamp is ready.
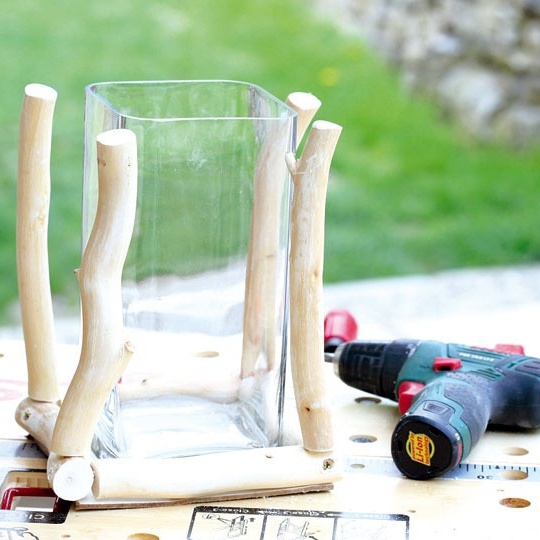
9.Now, focusing on the height of the vase, you need to raise four willow pegs from the corners of the base to the top. Pegs are fixed with screws screwed in from below.
10. To make the bottom of the flashlight complete, attach a frame of twigs to the base. Its size may be somewhat wider than the base itself.
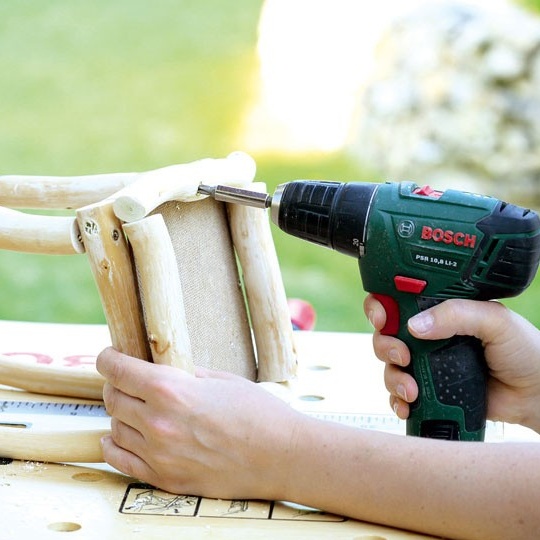
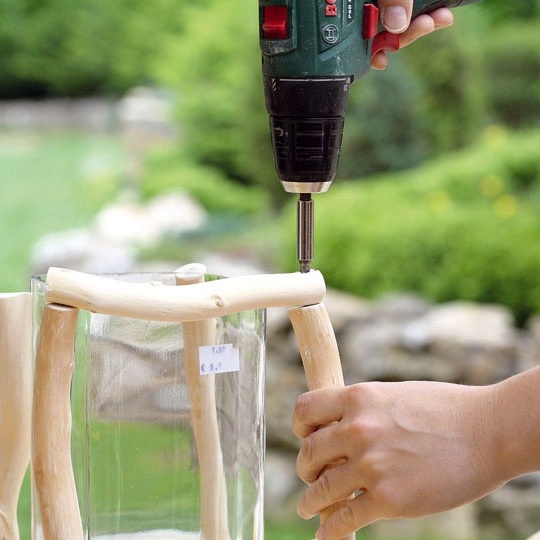
11. Ahead - assembly of the upper part of the lamp. First, two willow branches are cut, the size of which is equal to the distance between the edges of the two side rods.
12. Finished parts are screwed to the main structure.
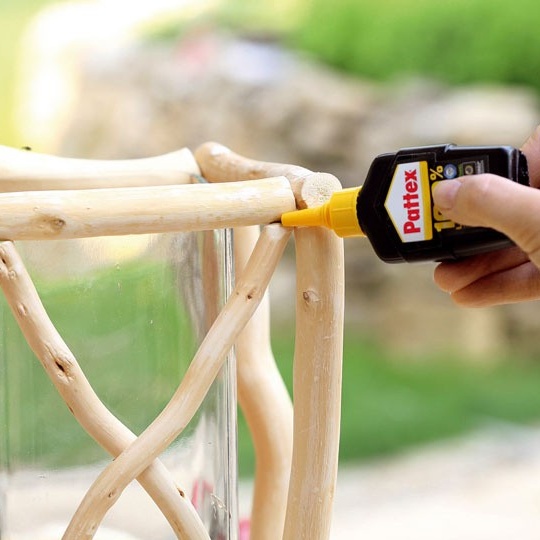
13. The remaining two rods must be cut so that they fit snugly between the first two rods of the upper border. You can put them on glue, or you can fix them with screws, depending on preferences and skills.
Final stage
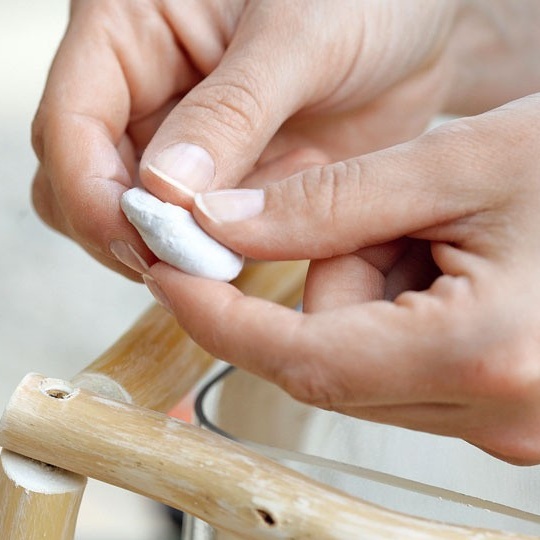
14. All cracks and traces of self-tapping screws should be masked. Helped in this softened clay or wax, rubbed into all the bumps.
15. The excess sealant, the remaining roughness is conveniently eliminated with fine-grained sandpaper.
16. The lantern will become more stable if you strengthen its walls with branches cut to size and placed diagonally.
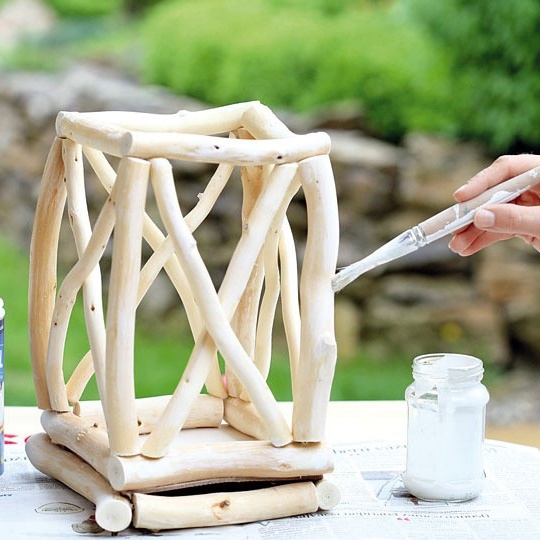
17. The specified additional elements are best installed with glue.
18. Next, prepare a place for painting. Dilute the water-based paint with water. The color can be any, but the most elegant design will look in white tones. Gently paint all surfaces of the flashlight using a soft brush.
19. The final touch - dried under the tree coat with a colorless spray varnish. Place a glass vase inside the wooden frame and place candles in it. And now, every day, especially after dark, you can enjoy the look of a stylish, handmade designer gizmo.

