
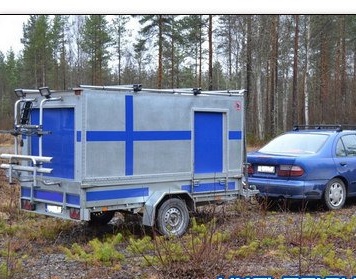
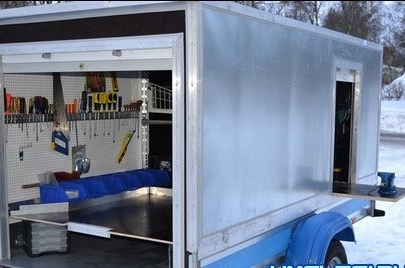
People who are professionally involved in various repair work, one way or another, encounter difficulties in transporting their many tools and equipment. But few people know that this problem can be solved very simply, namely by equipping a special trailer. Such a trailer is suitable for convenient and orderly storage and transportation of special tools.
In order to equip a mobile workshop you will need: a standard car trailer (2.5 m long, 1.25 m wide). The height of the finished trailer will be 1.43 m.

Also, to work on a trailer workshop, you must purchase:
• racks with a section of 30 by 30 and a height of 1.4 m .;
• conventional galvanizing;
• plywood sheets (they will be used in the process of arranging the roof);
• a couple of shutters (they will be installed as doors);
• additional materials for the external decoration of the trailer.
In addition, you will have to spend money on the purchase of the trailer itself and consumables. Trailer installation work usually takes no more than three days.
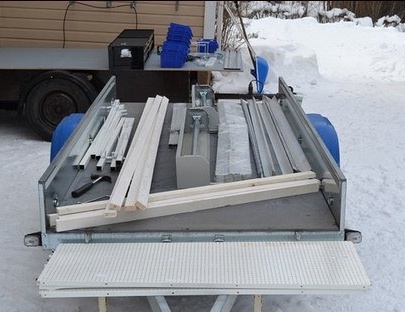
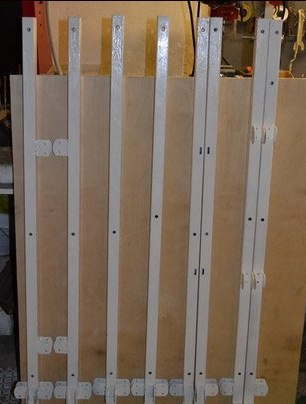
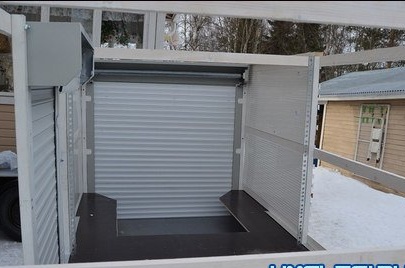
At the first stage of the work, it is necessary to install and securely fasten the racks, which will play the role of the main frame. After that, the same racks are installed on top of the fixed racks (as a result, one more tier should be obtained). Now you can proceed to the installation of shutters.
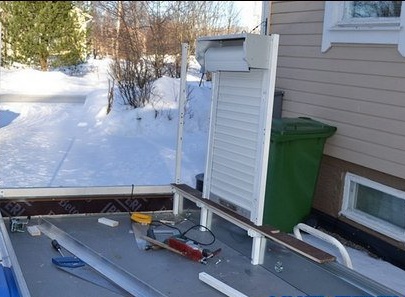
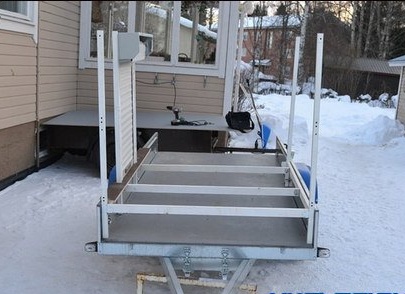
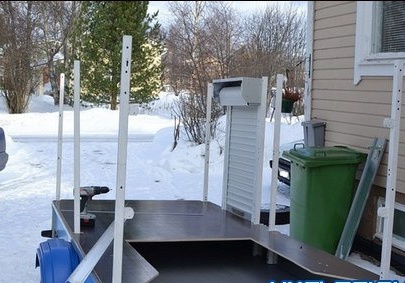
As for the method of installing racks, there are no special conditions, so the method can be selected based on ease of use. Roller shutters are recommended to be installed on the principle: one on the side and one on the back. This will provide good and unhindered access to the content. In order for the structure to be sturdy, the rack must be fixed to the sides of the trailer.
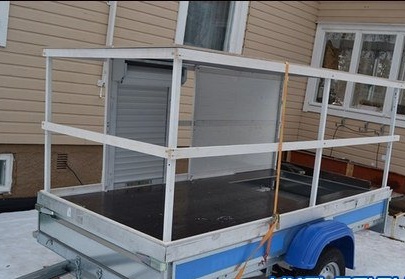
After the first racks are installed, you can begin the installation of the second level. In this case, it is necessary to ensure that all elements are securely fastened.
After fixing all the racks, they proceed to arranging the plywood floor of the superstructure of the second floor.
Then they install panels that will support the frame and at the same time the basis for fastening doors from shutters.
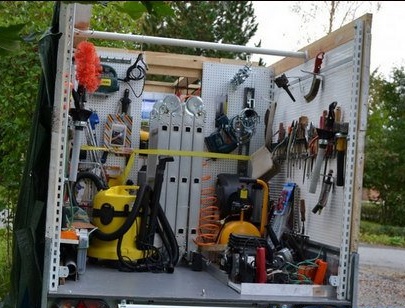
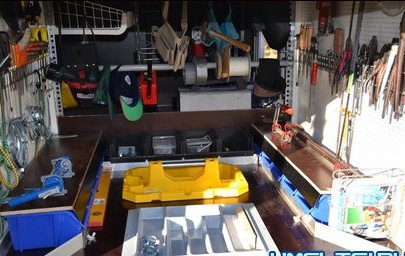
In the future, these panels can be used as original shields on which tools will be placed. Therefore, it is necessary to take care of strong mounts - holders for hand tools.
You can also implement a mixed version, where one half of the trailer will be decorated with panels with wall mounts, and the second half will be covered with a standard plywood sheet.The second half can be used to store custom size tools.
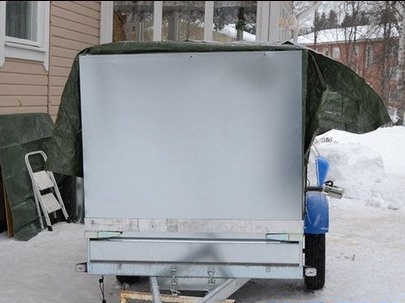
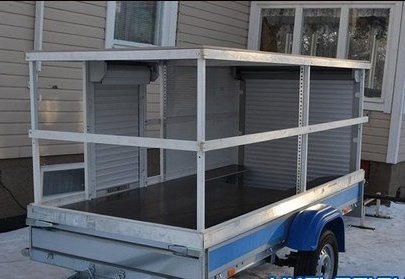
To decorate the mobile workshop and protect the plywood sheets from possible rainfall, the trailer is fitted with a canvas cloth.
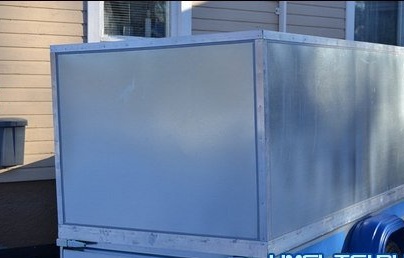
To enhance protection against rainfall, the workshop can be covered with galvanization or other moisture-resistant material.
Depending on the specific preferences, galvanizing can be decorated using overlay decor (for example, applying a company logo) or left without an external finish. After the trailer is equipped, you can begin to place tools and equipment in it - it will take no more than two hours.
And in the end, I want to note that the trailer-workshop of its own assembly is several times cheaper compared to ready-made mobile workshops from eminent manufacturers.
Trailer Video: