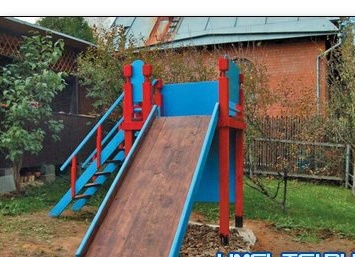
It got colder on the street, leaves almost flew from the trees. Very soon, a cold snowy winter will come, and with it comes a turn of fun children's fun and entertainment: sledding, skiing and ice skating. In order to fully enjoy every frosty day, you should pre-build a children's slide in your suburban area.
The list of required materials and tools:
- A beam measuring 100x100x600 mm in an amount of 4 pcs.
- A beam measuring 500x500x800 mm in an amount of 1 pc.
- Flooring size 40x130x600 mm in the amount of 3 pcs.
- Waterproof plywood with a size of 1500x1500x120 mm in the amount of 2 sheets.
- A planed board measuring 40x130x600 mm in an amount of 5 pcs.
- Round rail with a size of 30x1200 mm in an amount of 2 pcs.
- Universal wood screws 4x60 mm and 4x80 mm, screwdriver, drill, manual milling cutter, jigsaw.
- Paint, brush, roller.
The order of work.
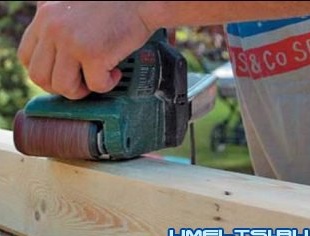
1. Preparation of material for construction. According to the drawings, elements are cut, the surfaces of the board and timber are machined with a planer and sandpaper, bevels must be removed, this is because there are no dangerous sharp corners in structures that are designed for children to use.
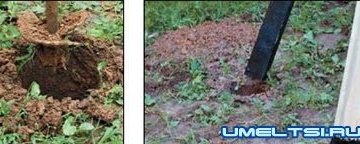
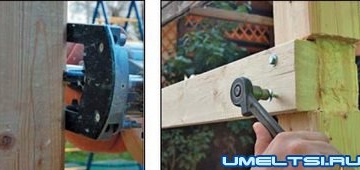
2. Marking out the space reserved for the building - you will need a square with an approximate area of 1200x1200 mm. Using a garden drill, holes 60 mm deep are cut into the ground. The bars are installed in them, serving as racks, their ends are pre-coated with waterproofing mastic. Using a milling cutter or chisel, grooves are cut in racks 20 mm deep. Then the supports are interconnected by a planed board - it is inserted into the grooves and the racks are pulled together by bolts or screws.
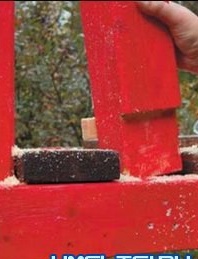
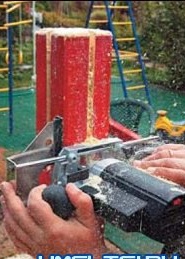
3. The remaining two racks of timber are screwed to the resulting frame, before this a groove of 20x40 mm is cut out at one end. Later, the sides of the stairs and the ramp will be attached to these racks.
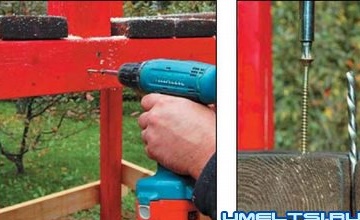
4. The flooring is made. Boards painted in advance are screwed on with self-tapping screws, while gaps are left between them. This is necessary so that water during rain can freely flow to the ground. The floor boards are reinforced with metal corners or retaining bars in those places where they are connected to the beam.
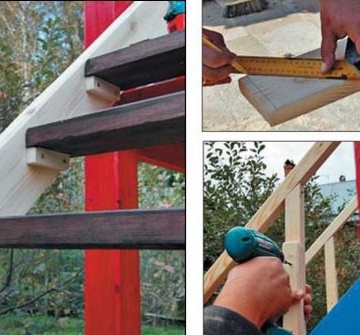
5. Installation of the ladder sidewall is in progress. One end of the board is sawn off at an angle of 45 ° and attached to the racks with screws. Bars are attached at regular intervals. Steps are laid on them, which are screwed with screws through the sidewalls. We install balusters with a height of 500 mm, to which the railings are screwed. The upper ends of the railing are fixed on racks.
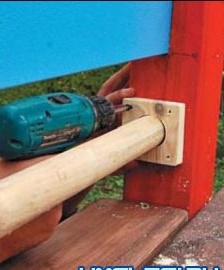
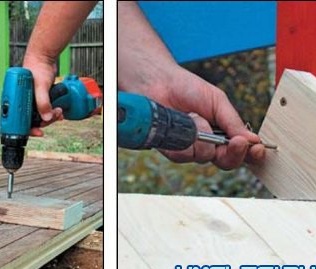
6.On the side faces of the uprights with the help of a milling cutter, grooves are arranged with a depth of 20 mm and a width of 12 mm. At a height of 200 mm from the floor level, the grooves should end. Then, plywood walls cut in advance are installed in the grooves. In the gap between the walls and the floor, cylindrical rails are mounted. The whole plywood sheet is screwed to the back wall.
Useful information for the wizard
- Using the coupler parts grooves and rails of the design provides the necessary rigidity and strength.
- On a free wall of plywood in the future you can arrange a climbing wall.
- To give strength to the balusters of the stairs, they need to be strengthened with the help of additional trims.
- The finished design is best painted with acrylic paint of various bright colors. Such paint will protect the wood well from any weather conditions. Paint is applied in several layers with intermediate drying.
