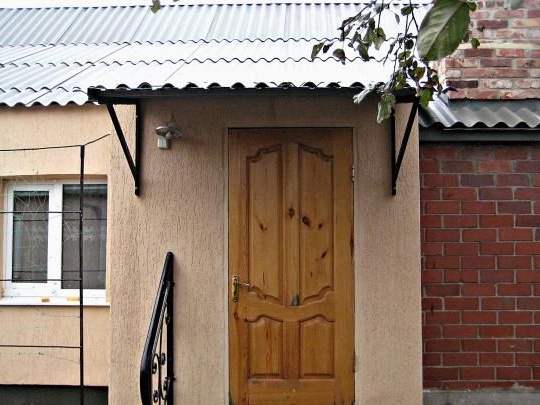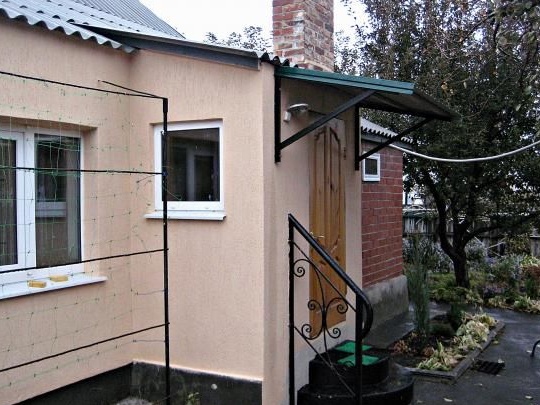
A rain canopy can also have a decorative function, but it is also very useful in rainy weather. Opening the door to anyone, I don’t want to get cold water in my face or snow, and it’s also very useful device for smokers.
Used materials and tools:
- Proftrub 20kh40mm
- 4pcs anchor bolts
- Professional sheet 93cm * 2m
- Three boards
- Self-tapping screws with washers
- drill
- Bulgarian
Detailed manufacturing description:
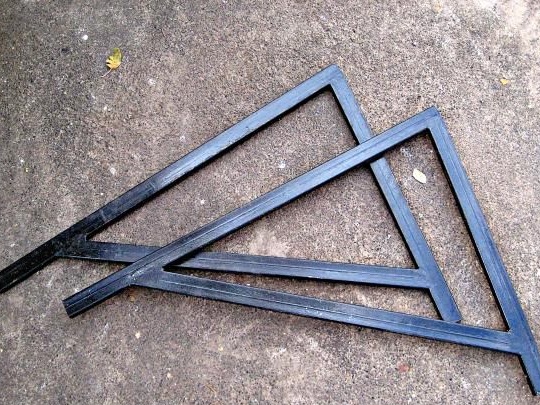
From the pipe, the author makes the corners of the right size by welding. It will take such 2 pieces. After that, these “scarves” are primed and painted. The color is black, as it is neutral. Also in the finished product, 2 holes are drilled in places of attachment to the wall. On this preparatory work with the "scarves" is over.
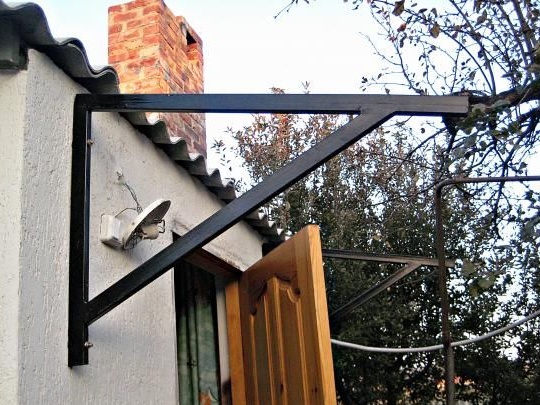
Further, using anchor bolts 10x100mm, the base for the canopy is attached to the wall at the height you need. Mounting is made in two places - above and below, as seen in the photo.
At this stage, canopy boards are prepared. The author made 3 boards with the following dimensions: width - 100mm; thickness - 25mm; length - 168cm. Drill holes are prepared in the board through holes for "sweat".
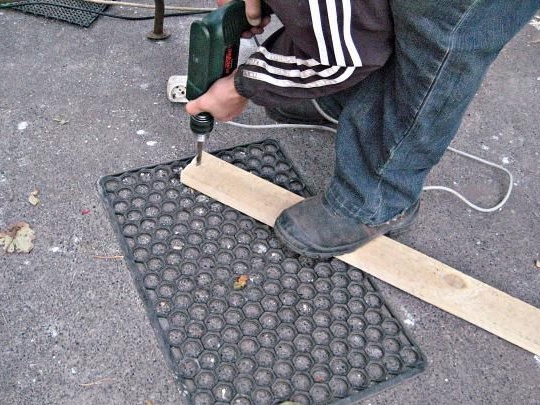
In diameter and depth, these holes correspond to a screw head.
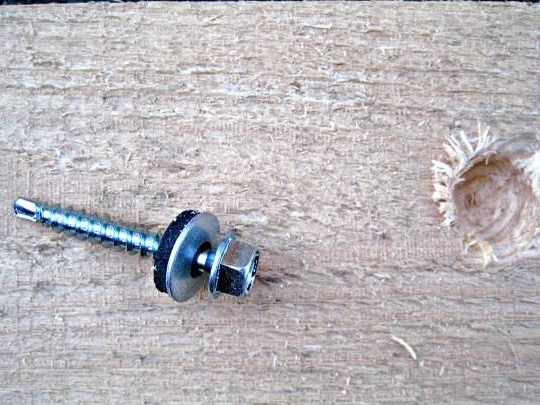
When everything is ready, you can proceed to fastening the boards to these same “scarves”. First of all, the author advises fixing the board, which will be located closest to the wall. With the help of this board “scarves” are fixed among themselves.
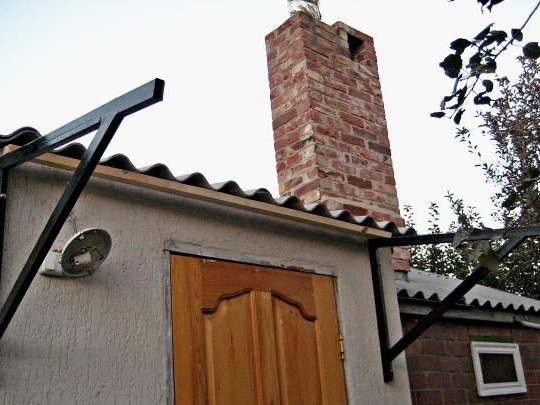
The second board is installed from the back edge, thereby firmly fixing both “scarves” to each other.
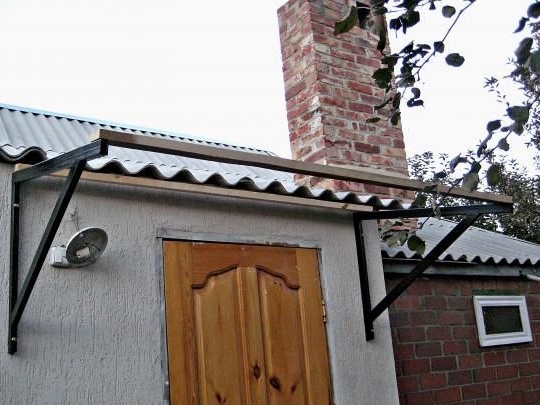
And for a rigid fastening, a third board is installed in the middle, between the first two. This design allows you to reliably fix the profiled sheet on a future canopy.
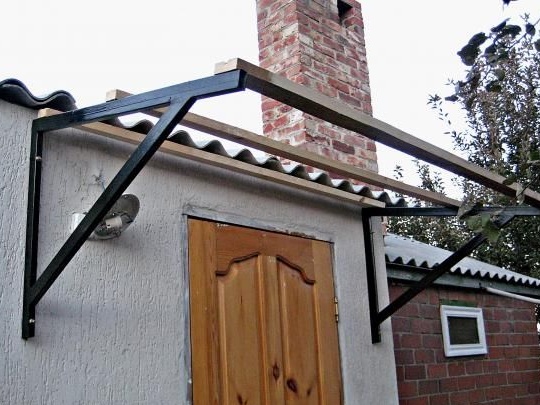
The base for the canopy is already waiting in the wings. As a covering material, the author uses a professional sheet of the NS brand.
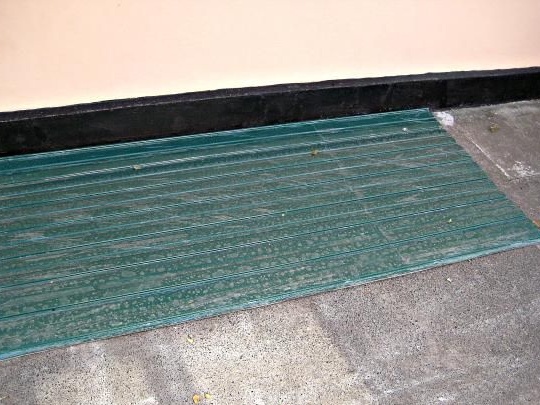
For this canopy design, the profiled sheet is cut in half. Before cutting, the sheet must be marked in order to get 2 even pieces.
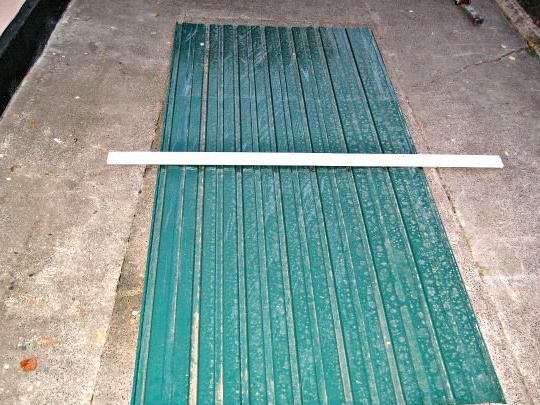
The sheet is cut by the grinder exactly according to the preliminary marking.
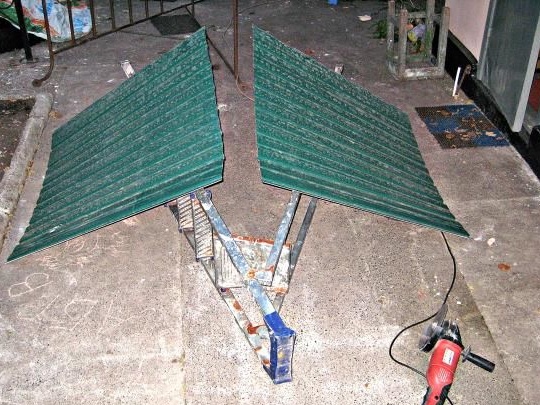
To protect the "scarves" from unwanted water, the edges of the profiled sheet are bent on both sides.
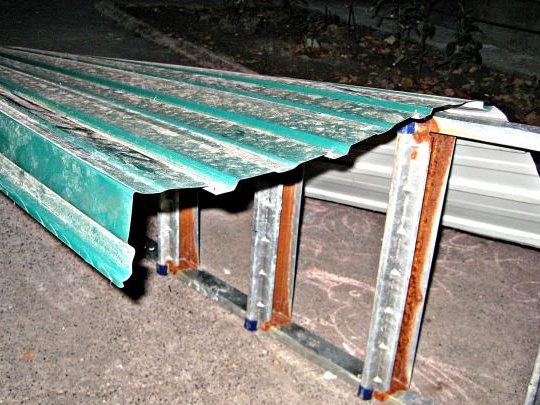
Now the film is removed from the professional sheets, and they are fixed on a prepared basis. For the convenience of this procedure, the author sequentially puts the sheets on the frame.
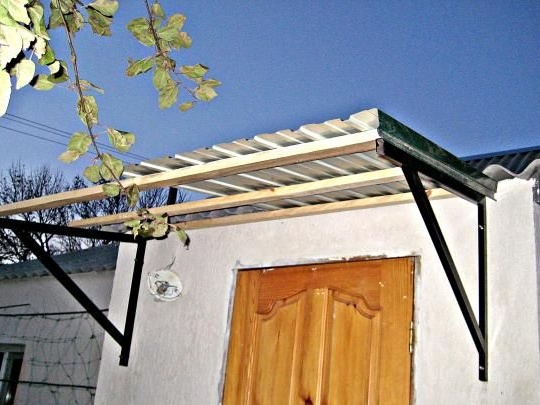
Further, the sheets are simply fixed together.
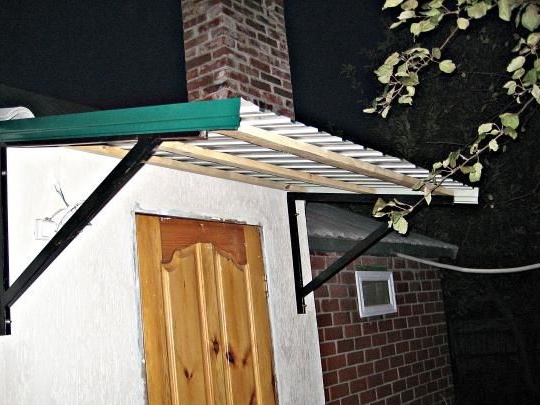
The final chord is painting the boards in the color of the roof for an aesthetic appearance of the canopy.
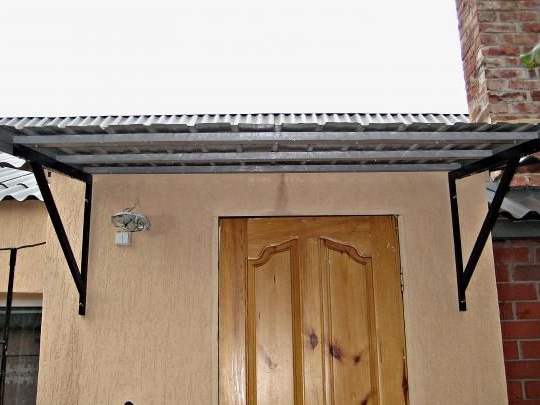
Ready canopy will last for many years and protect the owners of the house from rain at the exit from the house.
