

Good day, dear the inhabitants of our site.
Since I breed rabbits, I always need some accessories - feeders, drinking bowls and so on.
I have accumulated many canisters from under various liquids - oil, antifreeze, and more. It’s a pity to throw out canisters, in agriculture they can come in handy, so I didn’t throw them away.
Yesterday I had a need for a bunker feeder for my eared pets. In canned food cans, in which I give them loose mixes, a lot does not fit, I have to monitor the presence of grain in them every day. And they pour food from them. Therefore, there are big losses. Our grain is expensive, and if the farm has about seventy rabbits and several dozen rabbits, then at the end of the month a tidy sum of what they spilled can come out.
So, as I said, I have accumulated canisters. Of these, I decided to try to make a bunker feeder. On the Internet, I saw one such, but the difficulty was that the inside of this “device” needs to be cut out of tin, which is quite inconvenient. It takes a long time to tinker with fit, figured cut to the corners of different canisters.
Therefore, I decided to make my version of the hopper feeder from the canister. I present it to you.
So, let's begin.
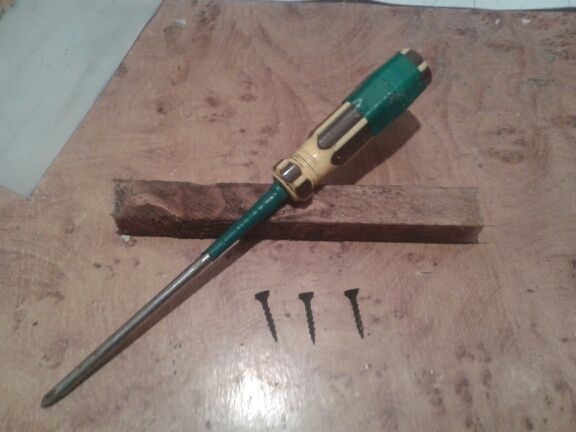
For work, we need such tools and accessories as:
Stationery knife
Any liquid canister
Curly screwdriver
Wood screws
Hammer
Wooden block
Piece of tin
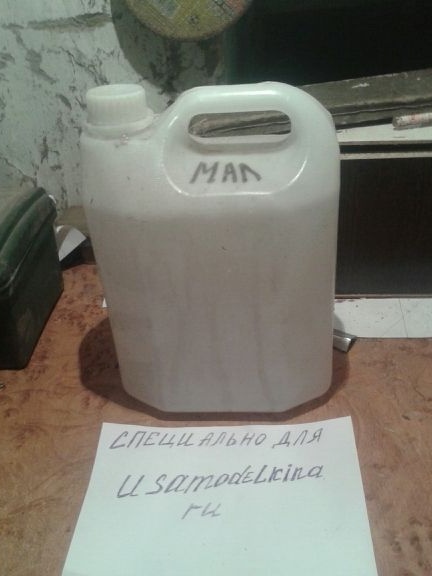
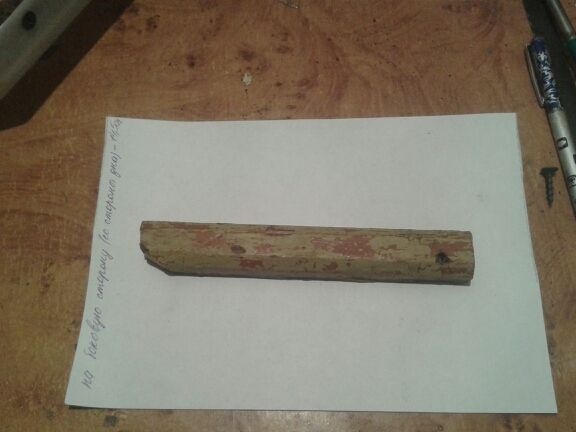
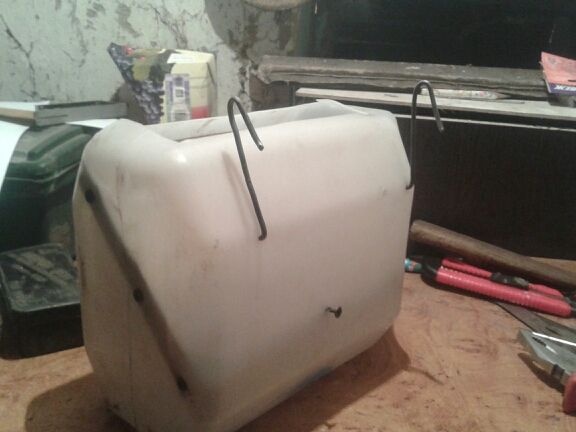
Here is my canister from which I decided to make my feeder
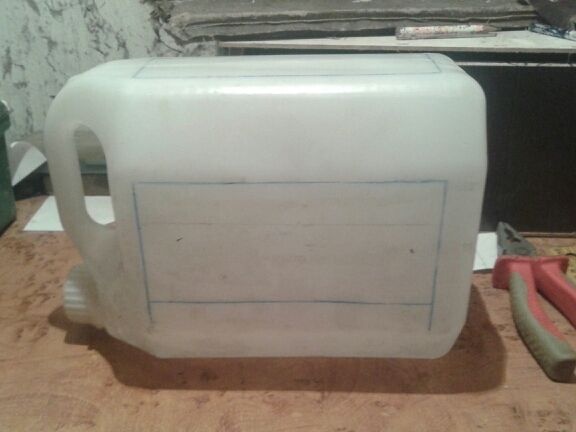
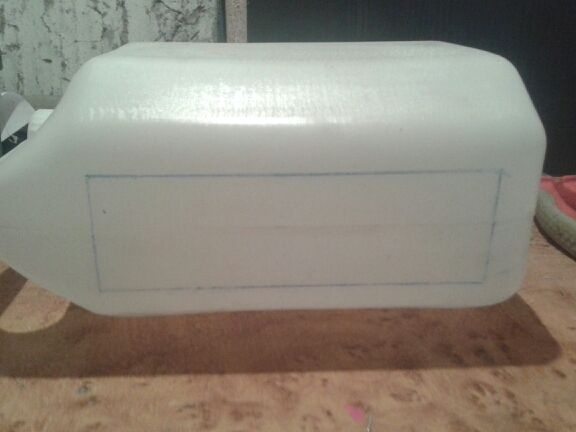
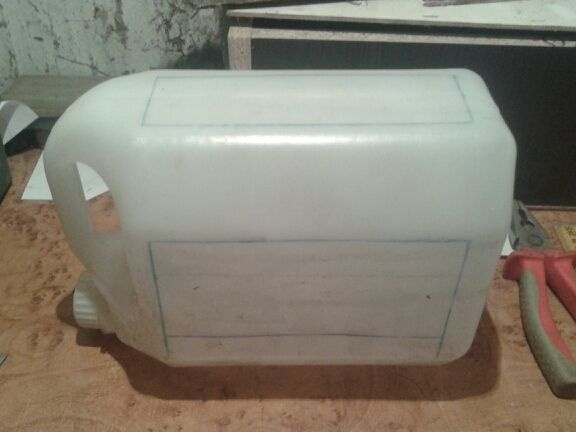
Step 1. To begin, I marked the places of the cuts of the holes for filling the grain and directly the holes where the rabbit will feed
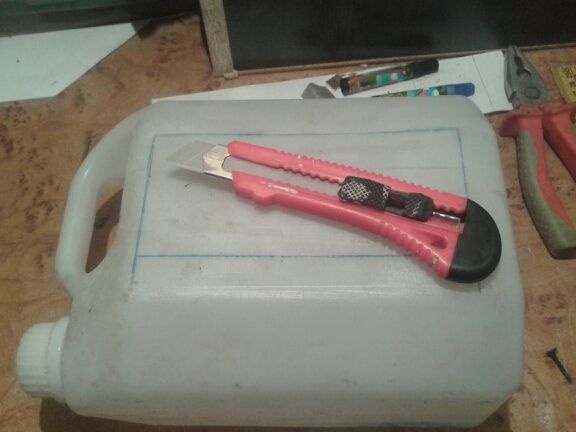
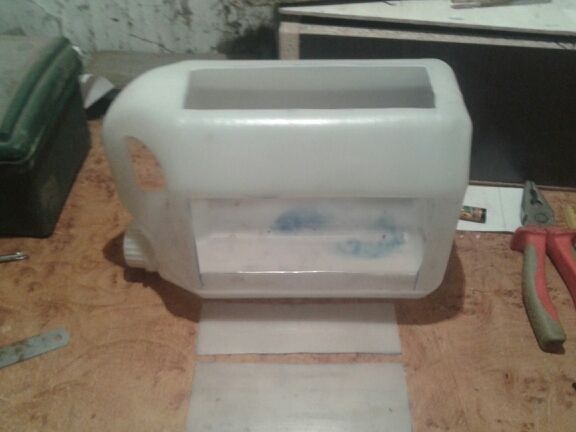
Step 2. Now take a clerical knife and cut holes along the contour marked with a marker
Step 3. After we cut everything, we take a small block, and saw off the length of a little more than the cut out lower hole on the canister, a couple of screws and a figured screwdriver
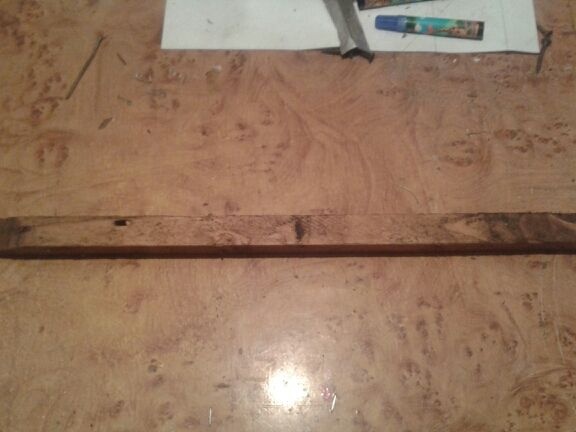

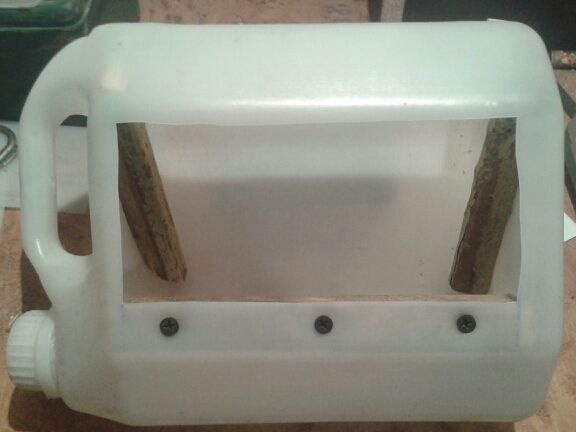
Step 4. We fasten this bar to the bottom edge
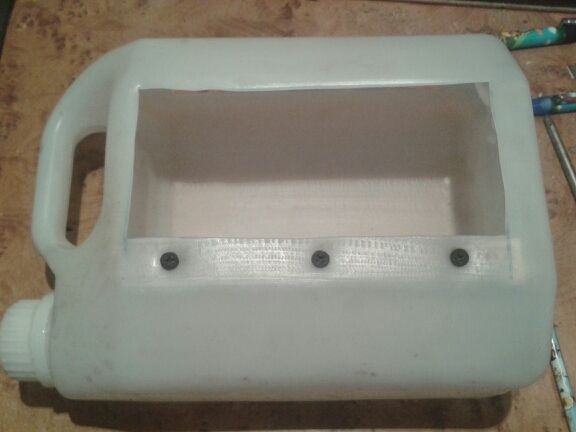
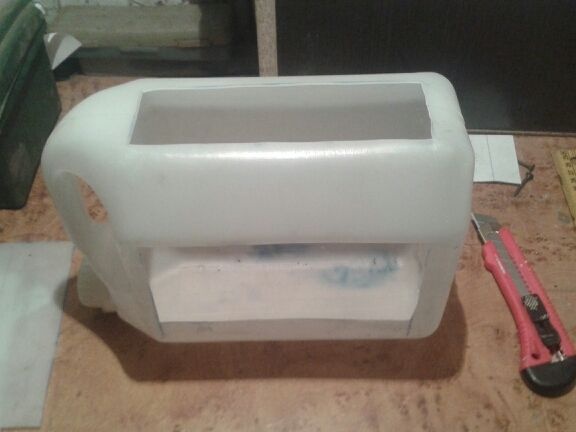
This we will have a limiter for grain or other loose mixture. The rabbit, even if it is rowing, the minimum amount of feed will fall out, which is already quite good. Also, a tin strip will be screwed to this bar so that the animal does not gnaw a piece of wood
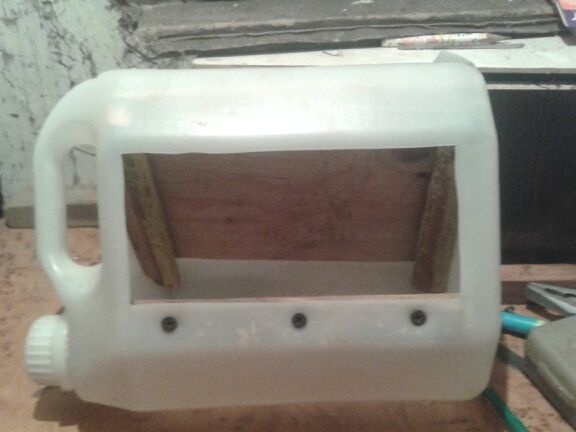
Step 5. Next, you need to make lateral holders for part of the hopper, or, in other words, an inclined piece of plywood, on which grain will be poured
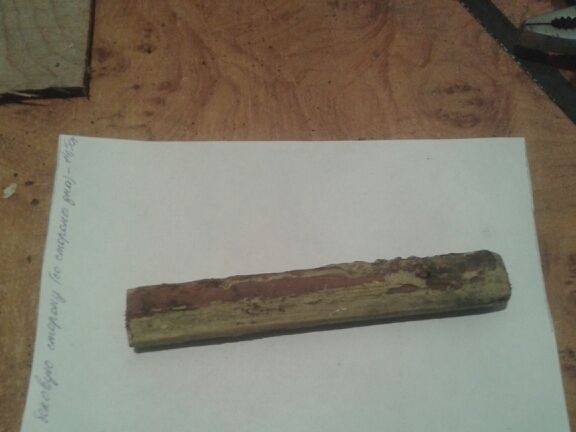
Step 6. For this, again, we take a small block (each one has the necessary material in the yard).In length, it came out to me fourteen and a half centimeters. Next, we mark the slope we need in the canister so that the bulk feed can easily and completely pour out and fall into the feeder tray.
I got it like this. To make it clearer, I show you the bar itself and its inclination in the future feeding trough
Step 7. Next, saw off another bar of exactly the same length (fourteen and a half centimeters)
As you can see in the photo, one edge of this part is a bit sawn at a slight angle. This is done so that the bar fits as tightly as possible to the canister (from the neck side)
Step 8. Attach it from the inside. This is the second plywood holder
It looks like this.
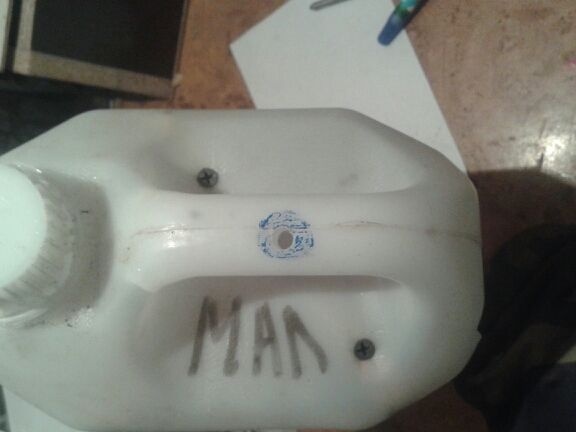
Step 9. For the convenience of fastening the bar, I drilled a small hole (marked in blue) in the canister handle, the same diameter as the diameter of the working part of the screwdriver, and screw the next screw
Here is what you should get
These are guides for plywood (inside view)
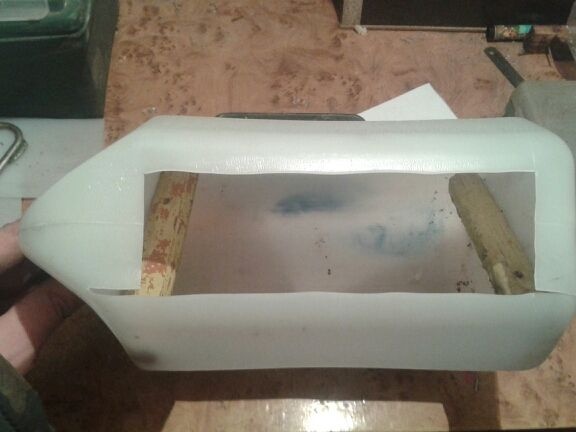
And this is a top view
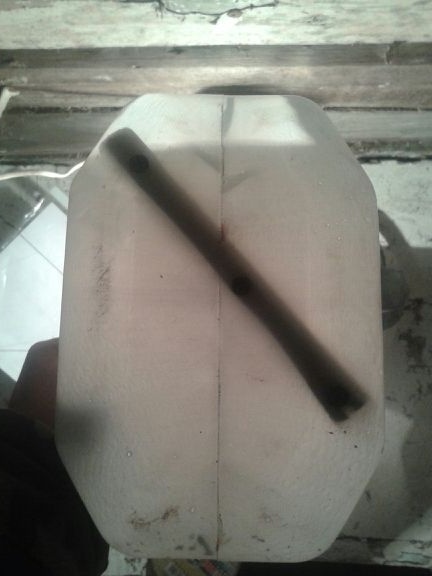
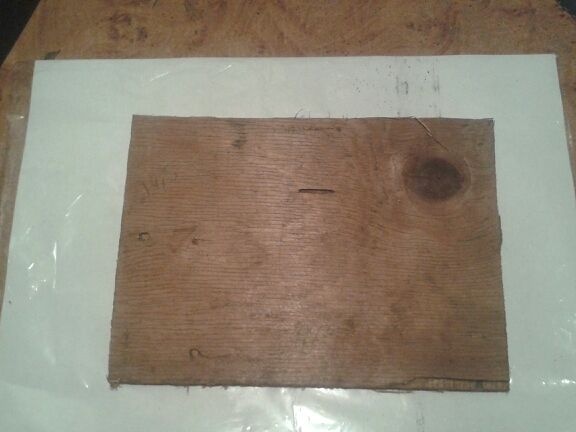
Step 10. The next step in the work will be cutting a piece of plywood to fix it on these inner bars
The dimensions are nineteen and a half centimeters in width and fifteen and a half in height (for each canister they will be different if the canister is not exactly the same as in the photo)
Step 11. Along the edges of the already sawn plywood, screw two screws. This is done immediately for convenience, because a hundred later it will be quite inconvenient, since the part is at an angle and, in addition to everything, the upper hole for filling the grain will interfere. We screw the screws so that only the sting goes out. That's what happens after all the manipulations
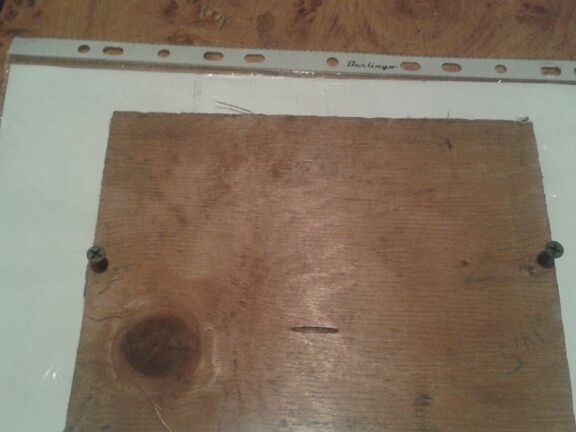
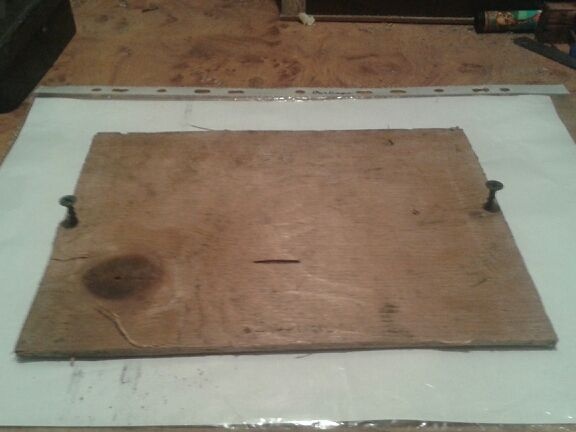
Step 12. After screwing completely. Two screws will be enough
This is a top view of the interior of our hopper feeder. As you can see in the photo, there are two small incisions along the edges of the loading hole. They serve to make it convenient to place plywood inside the feeder.
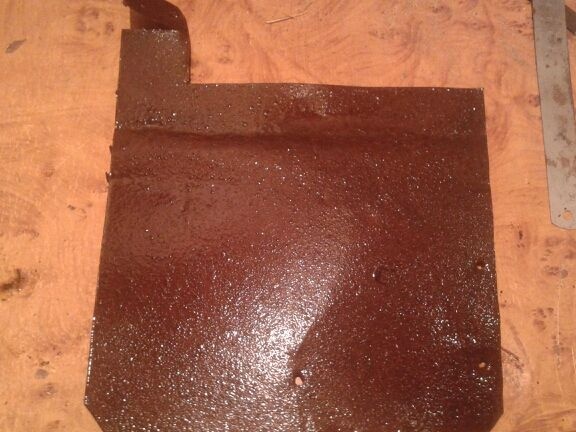
Step 13. Next, we need a small piece of tin to attach it to the bar-limiter.
Cut off a piece from it, slightly larger in size than the limiter bar itself and bend it along the entire length in the shape of the letter G
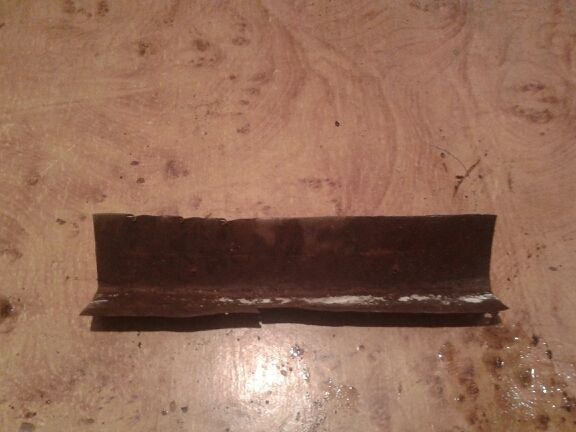
Step 14. Fasten it to the bar-limiter
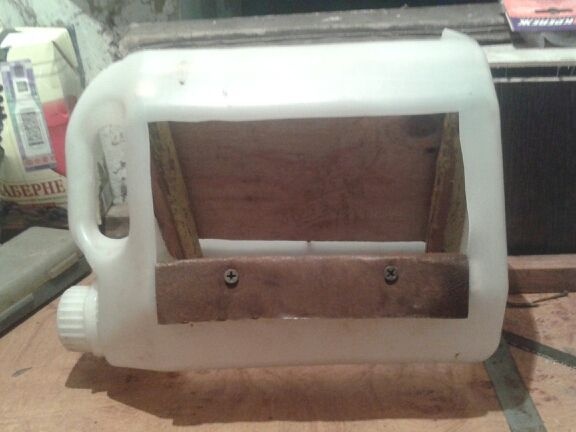
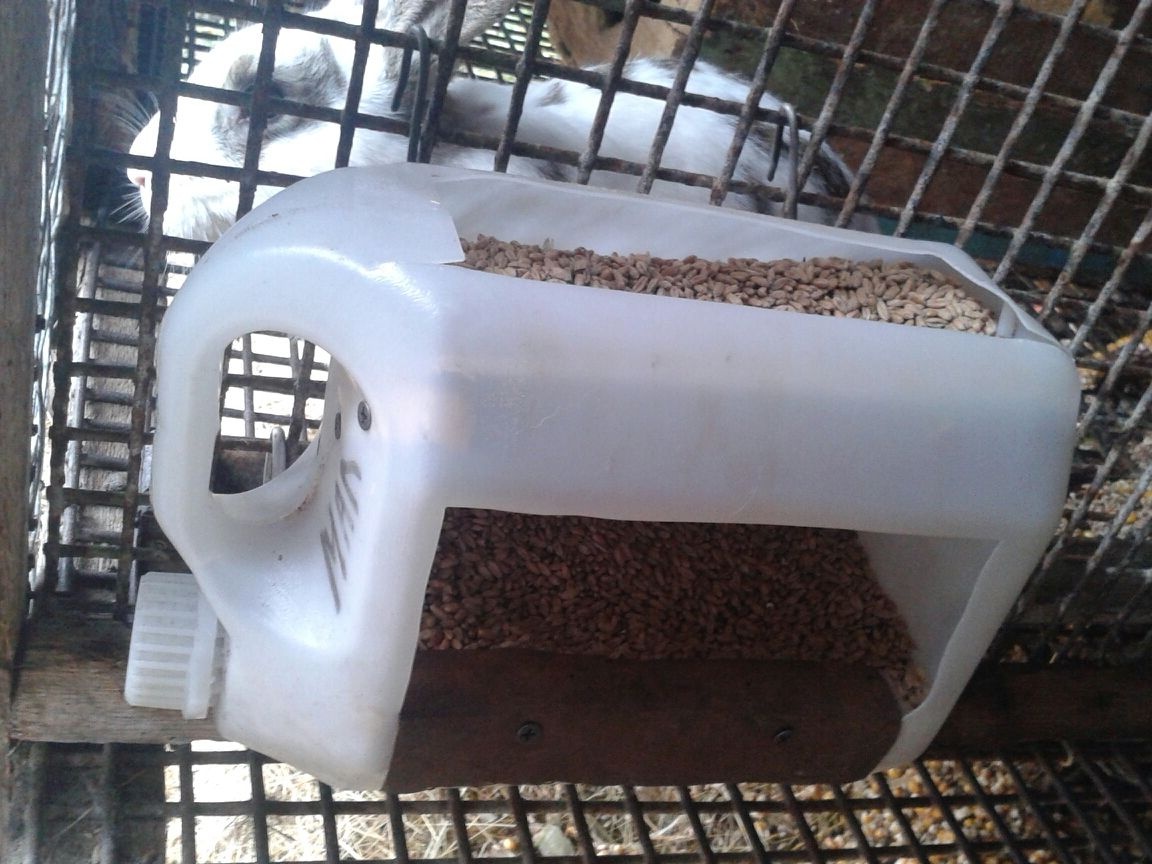
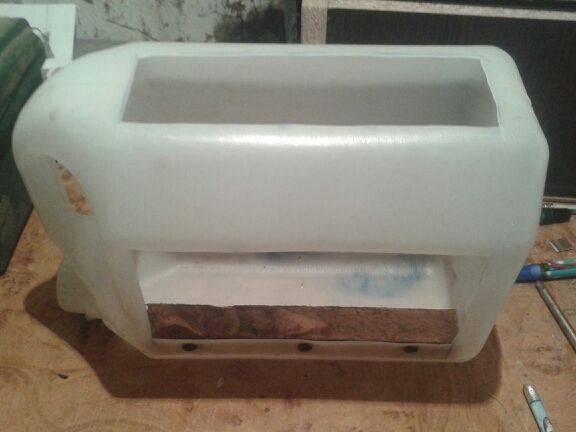
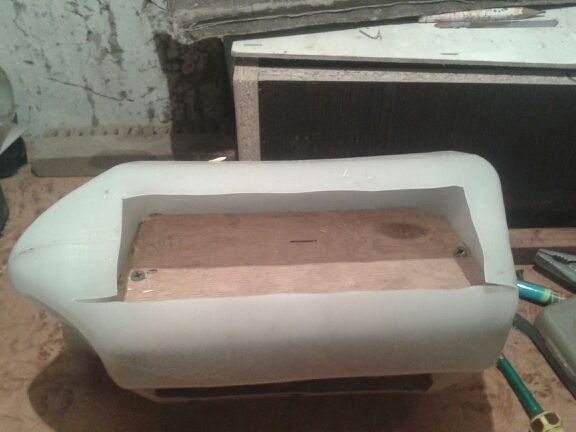
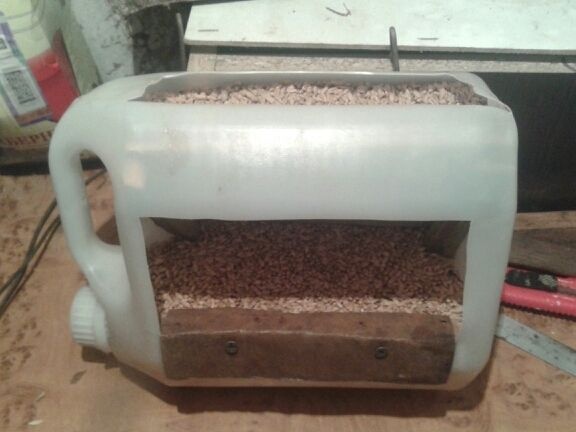
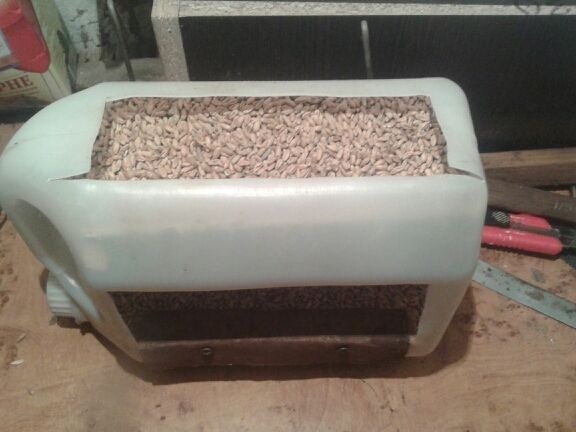
Here we have a practically ready bunker feeder for rabbits and not only.
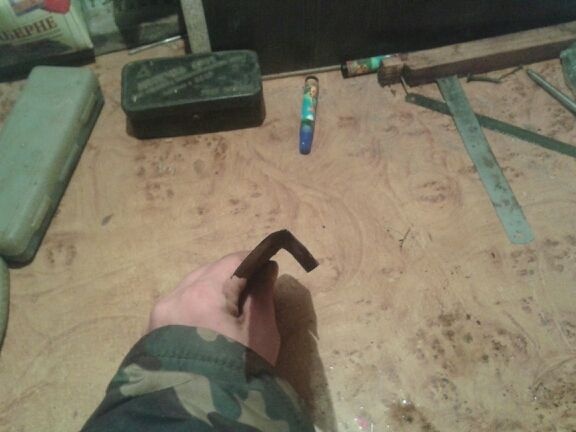
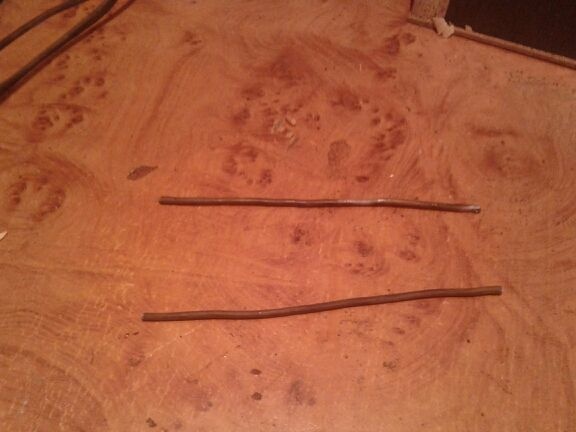
Step 15. Now it remains to make hooks in order to hang it in a cage. To do this, take a piece of wire, preferably soft (can also be found in your yard or in the barn)
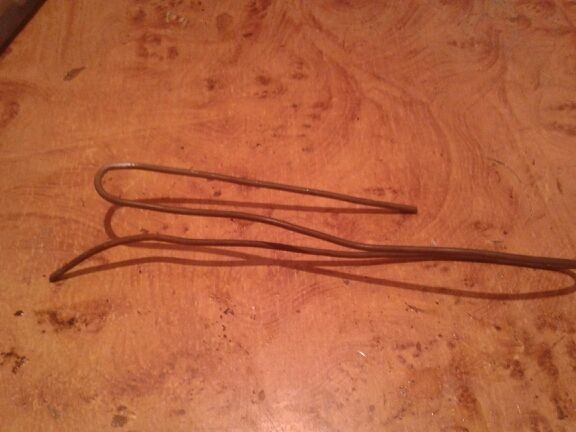
Step 16. From it we make these same mounts. Cut the pieces you want to length
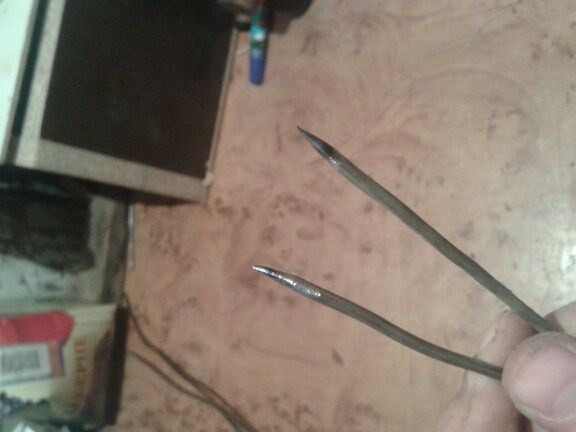
Step 17. Sharpen them, so that it is easier to pierce the canister (you don’t need to sharpen, as you prefer)
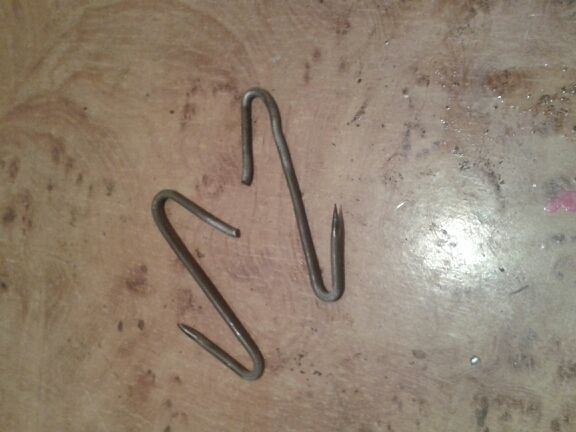
Step 18. And already from them we make such hook-hangers
Step 19. It remains to attach them to our feeder ...
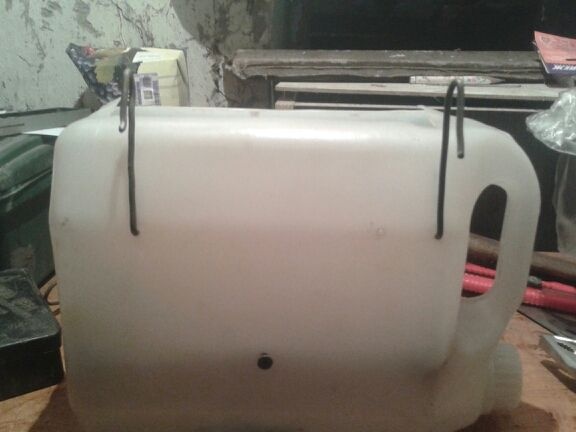
... and the right thing for the rabbit breeder is ready!
This is how the finished bunker feeder looks like. Easy in its ease of use, quickly made, and most importantly - TOTALLY FREE!