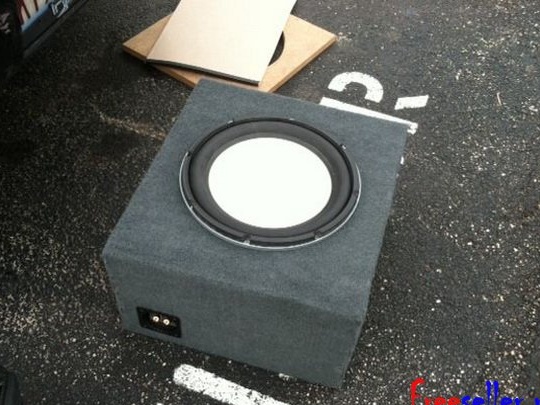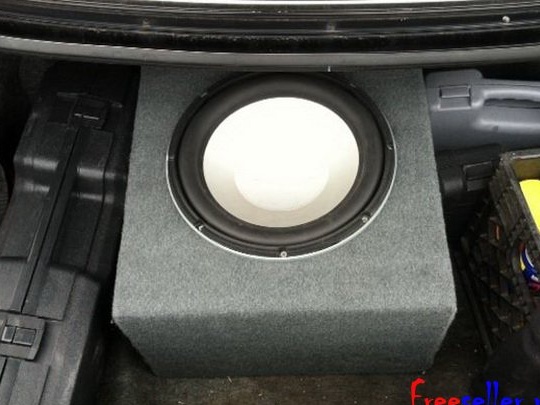
In the life of every motorist, you may want to have good audio equipment in the car. But what is sound without a subwoofer? To establish a subwoofer, you can, of course, contact a service center. But it’s quite possible to do everything do it yourself. To do this, you do not even need to be an expert in the field of electrical engineering, just be careful and do everything carefully. Such a choice will not only save a lot of money, but it will also be quite informative and fascinating.
In this article, we will consider a step-by-step description of the manufacture of a home-made car subwoofer in the presence of improvised tools and materials.
In order to make a subwoofer with our own hands, we need:
- pieces of sheets of chipboard, MDF or other suitable material. The main thing is the qualities that wood products possess: the material should not reflect, but absorb sound. Sound quality depends on it;
- Carpet, it is advisable to pre-measure the required area with a small margin;
- a jigsaw, hand saw or other suitable tool for cutting;
- screws in the required quantity;
- a screwdriver or drill with drills and a nozzle, depending on the type of screws;
- tape measure, ruler or other device for measuring length;
- superglue (preferably in the spray can);
The first thing to do is draw the lines of all sides of the body on the plates. Then, carefully and precisely in size, cut them.
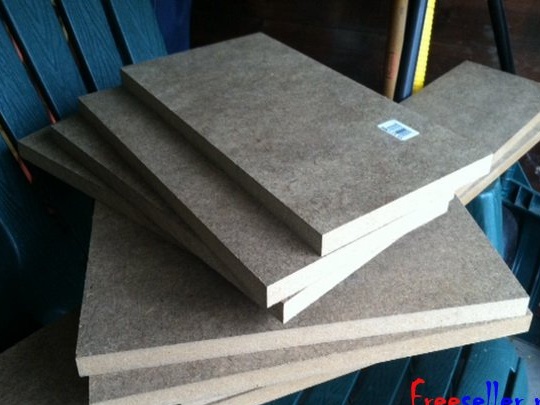
Then you need to make markup connections on each piece. Lines should highlight areas that will be hidden by adjacent sheets. We also draw points in those places where we will then fasten the plates with screws.
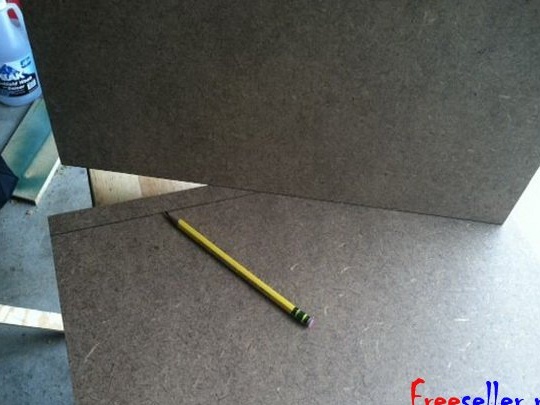
Now you can fasten the walls of our product. To do this, using a drill and drill, make holes at the designated points. The diameter of the drill that we use should be slightly smaller than the diameter of the available screws. After that, you can collect the box by twisting the screws.
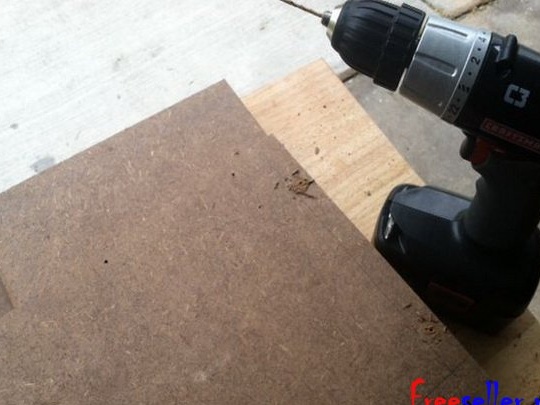
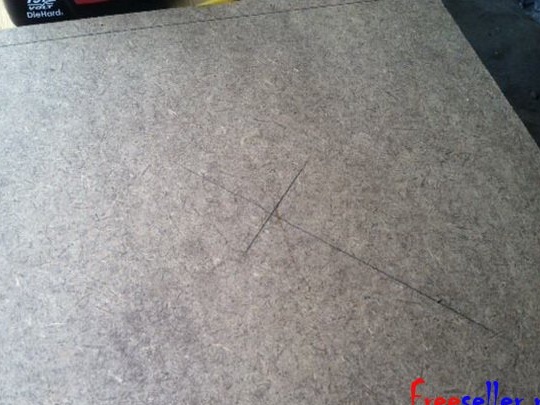
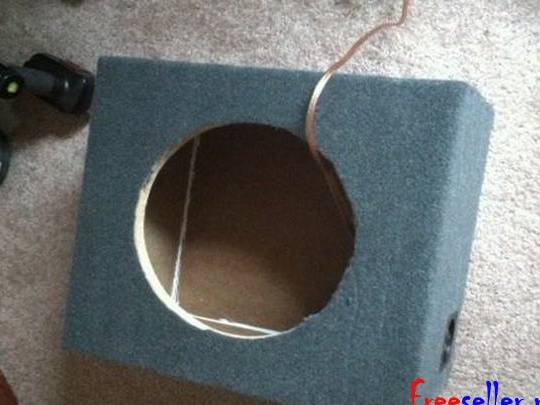
Next, you need to determine the center of the top plate. This is very easy if you draw two diagonal lines from opposite angles - the intersection point of the two lines is the center point. First, in the middle of the plate we drill a hole. The hole should be large enough to fit a jigsaw file. After that, we cut out an even circle, with the right diameter for installing the speaker.
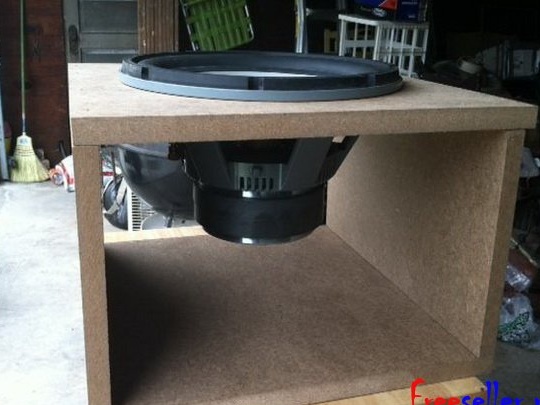
It is time to check if the circle was cut correctly. To do this, put the speaker in the hole and see if it is well worth it.If not, make the necessary corrections (do not worry, you are just learning!).
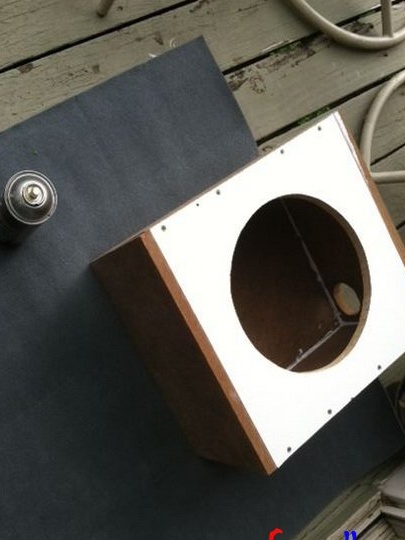
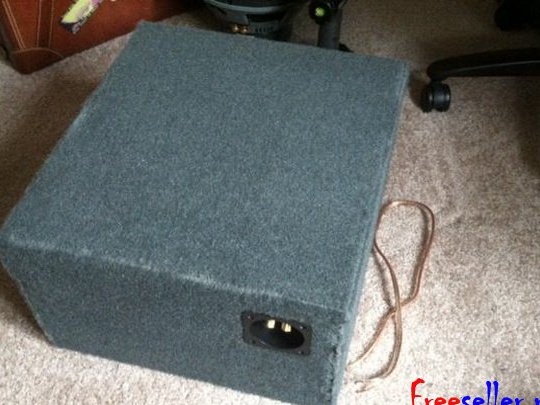
If all is well, proceed to the next step: we cover our body with a carpet. For this, it is most convenient to use spray glue. Other types are too difficult to apply evenly.
After the casing is sheathed, you can proceed to the residual installation of the speaker. To do this, insert the speaker into the hole and fasten to the box with small screws through special mounts.
The next step is to wire out. You can do this in several ways convenient for us. For example, you can purchase a special outlet and use it, or directly bring them out, as shown in the photo.
Be sure to check whether everything is fastened together and if nothing falls off. If all this is done and the work is done well, it remains only to install our homemade subwoofer in the car.
