This homemade on how to build a solar water heater. It is more correct to call it a parabolic solar concentrator. Its main advantage is that the mirror reflects 90% of solar energy, and its parabolic shape concentrates this energy at one point. This installation will work effectively in most regions of Russia, up to 65 degrees N
To assemble the collector, we need several basic things: the antenna itself, the sun tracking system and the collector heat exchanger.
Parabolic antenna.
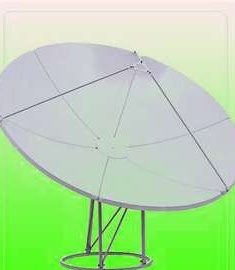
You can use any antenna - iron, plastic or fiberglass. The antenna should be a panel type, not a grid one. The antenna area and shape are important here. Remember, heating power = surface area of the antenna. And that the power collected by an antenna with a diameter of 1.5 m will be 4 times less than the power collected by an antenna with a mirror area of 3 m.
You will also need a rotary mechanism for the antenna assembly. It can be ordered on Ebay or on Aliexpress.
You will need a roll of aluminum foil or a lavsan mirror film used for greenhouses. The glue with which the film will stick to the parabola.
Copper tube with a diameter of 6 mm. Fittings, for connecting hot water to the tank, to the pool, well, or where you will apply this design. The author purchased a rotary tracking mechanism on EBAY for $ 30.
Step 1 Alteration of the antenna to focus solar radiation instead of radio waves.
You just need to attach the lavsan mirror film or aluminum foil to the antenna mirror.
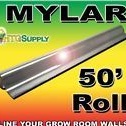
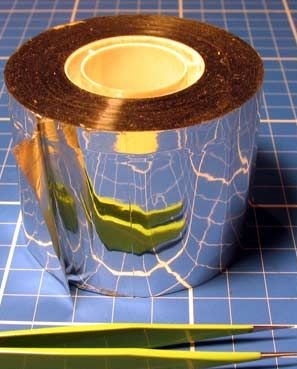
Such a film can be ordered on Aliexpress, if suddenly you do not find in stores
This is done almost as simple as it sounds. It is only necessary to take into account that if the antenna, for example, is 2.5 m in diameter and the film is 1 m wide, then it is not necessary to cover the antenna with a film in two passes, wrinkles and irregularities will form that worsen the focus of solar energy.Cut it into small strips and fix it to the antenna with glue. Before sticking the film, make sure the antenna is clean. If there are places where the paint has swollen, clean them with sandpaper. You need to smooth out all the bumps. Please note that the LNB converter has been removed from its place - otherwise it may melt. After sticking the film and putting the antenna in place, do not put your hands or face close to the place where the head is attached — you risk serious sunburn.
Step 2 tracking system.
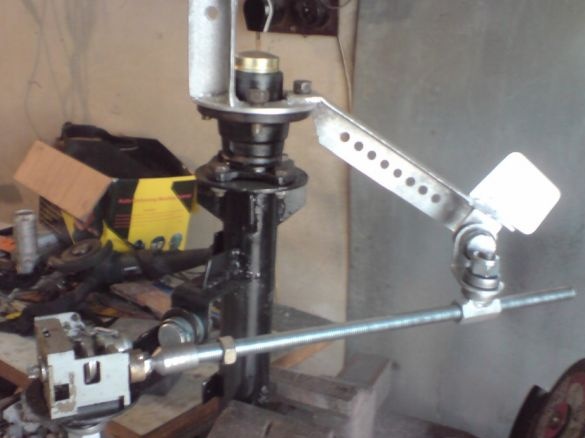
As it was written above - the author bought a tracking system on Ebay. You can also search for rotary tracking systems for the sun. But I found a simple scheme with a penny price that pretty accurately tracks the position of the sun.
Video of the work of the heliotracker according to the scheme from the archive
[media = http: //www.youtube.com/watch? feature = player_embedded & v = tekVzmQx6qo]
Itself can be made based on the front hub of a VAZ car.
Who is interested in the photo taken from here:
Step 3 Creating a Collector Heat Exchanger
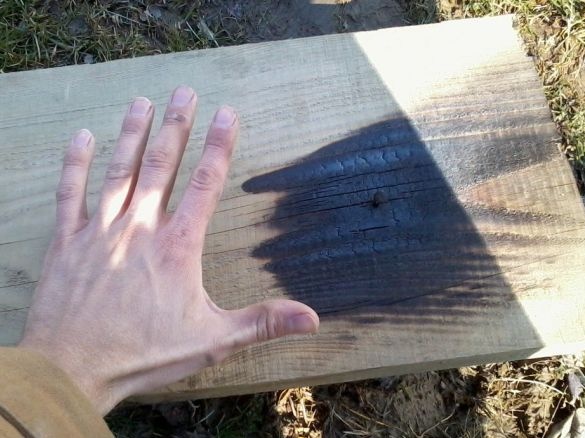
To make the heat exchanger you will need a copper tube rolled into a ring and placed in the focus of our concentrator. But first, we need to find out the size of the focal point of the plate. To do this, remove the LNB converter from the plate, leaving the converter mounting racks. Now you need to rotate the plate in the sun, after securing a piece of the board at the mounting location of the converter. Hold the board a bit in this position until smoke appears. It will take about 10-15 seconds. After that, unscrew the antenna from the sun, remove the board from the mount. All manipulations with the antenna, its turns, are carried out so that you do not accidentally put your hand in the focus of the mirror - this is dangerous, you can get very burned. Let it cool. Measure the size of the burnt part of the wood - this will be the size of your heat exchanger.
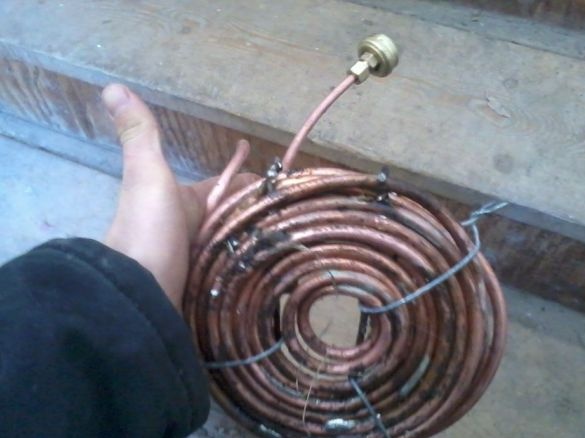
The size of the focus point will determine how much copper tube you need. The author needed 6 meters of pipe with a spot size of 13cm.
I think it’s possible that instead of a rolled tube, you can put a radiator from a car stove, there are quite small radiators. The radiator should be blackened for better heat absorption. If you decide to use the tube, you must try to bend it without excesses and kinks. Usually for this the tube is filled with sand, closed on both sides and bent on some mandrel of suitable diameter. The author poured water into a tube and put it in the freezer, with its open ends up, so that the water would not leak. Ice in the tube will create pressure from the inside, which will avoid kinks. This will allow you to bend the pipe with a smaller bend radius. It must be folded conically; each turn should not be much larger in diameter than the previous one. You can solder the turns of the collector together for a more rigid structure. And do not forget to drain the water after you finish with the collector, so that after installing it in place, you will not be burned with steam or hot water
Step 4. Putting it all together and trying.
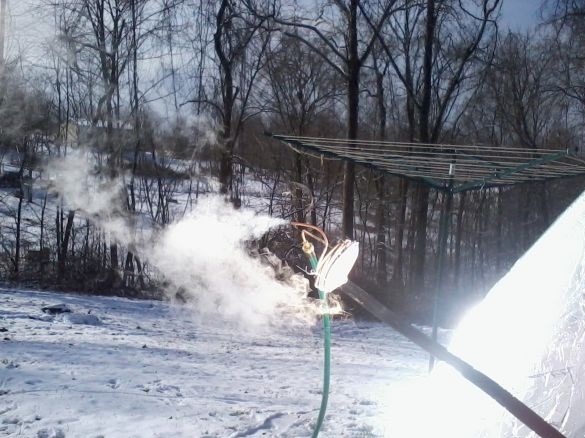
Now you have a mirrored parabola, a sun tracking module placed in a waterproof container, or a plastic container, a finished collector. All that remains to be done is to install the collector in place and test it in operation. You can go further and improve the design by making something like a pan with insulation and put it on the back of the collector. The tracking mechanism should track the movement from east to west, i.e. to turn during the day for the sun. And the seasonal positions of the star (up / down) can be adjusted manually once a week. You can, of course, add a tracking mechanism and vertically, then you will get almost automatic installation. If you plan to use water to heat the pool or as hot water in the water supply, you will need a pump that will pump water through the collector. If you will heat a container with water, you must take measures to avoid boiling water and tank explosion. You can do this using electronic a thermostat, which, if the set temperature is reached, will divert the mirror from the sun using a tracking mechanism.
On my own, I will add that using a collector in winter, measures must be taken so that the water does not freeze at night and in inclement weather. To do this, it is better to make a closed cycle, on the one hand a collector, and on the other a heat exchanger. Fill the system with oil - it can be heated to a higher temperature, degrees up to 300, and will not freeze in the cold.

