
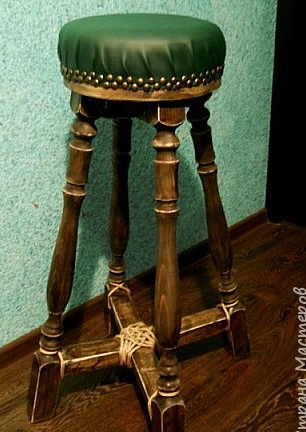
The author drew attention to the fact that furniture at the bar counter it looks somehow awkward atmosphere ... But now, looking around the living room, she was pleased to note how much the bar counter was transformed thanks to chairs made with love and soul with her own hands.
The following tools are needed: screwdriver, self-tapping screw, hacksaw, decorative nails, hammer, decorative cord, whetstones, metal corners, 3 cm thick foam rubber, Oak stain, Moment Crystal glue, grinding wheel, artificial leather, yacht varnish, sponge, acrylic varnish in a spray can, gold paint in a spray can and, of course, wooden blanks (4 balusters and 1 step for a staircase).
The foundation must be solid.
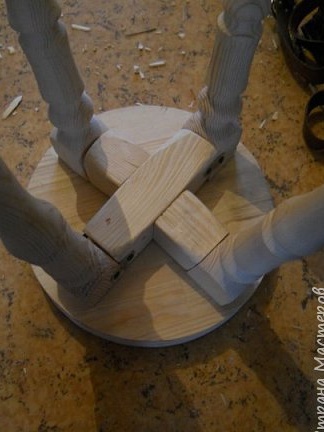
At the initial stage, my friends helped me, who carefully cut round seats from a wooden step at the power plant. (photo 1).
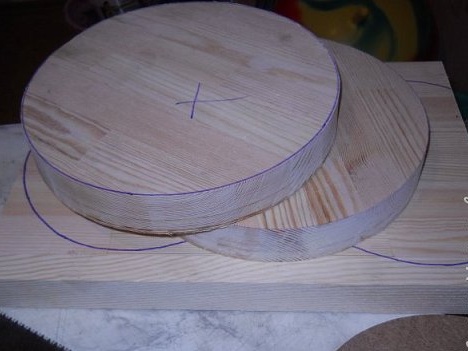
Without thinking twice, she took a plate, which became the template for this. And the top of the balusters was cut down at the required angle and glued to the seat with PVA glue.
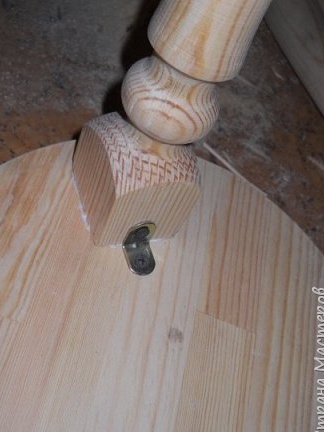
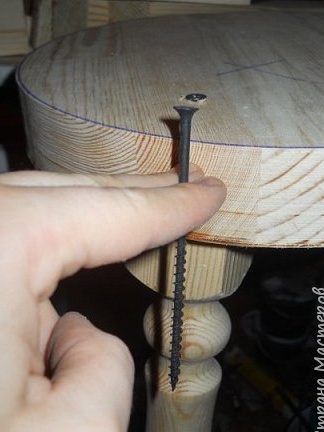
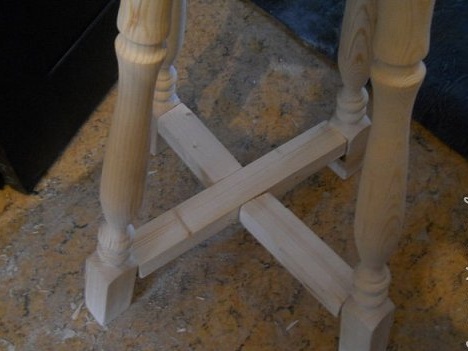
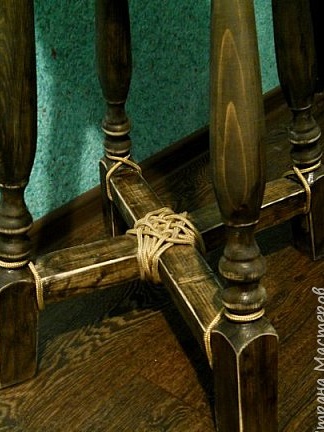
Then she fixed them with metal corners (photo 2), and from above, as shown (in photo 3), screwed self-tapping screws into each leg of the chair. To prevent the legs of the chair from becoming loose, I strengthened them under the seat with a cross-piece of bars (photo 4). The lower parts of the legs of the chair were also fixed with a cross-shaped spacer, connecting them with metal corners and mounts (photo 5).

Using a screwdriver and a grinding wheel, I have leveled all the islands-supporting ribs and bulges. Hand sanded a little sandpaper.
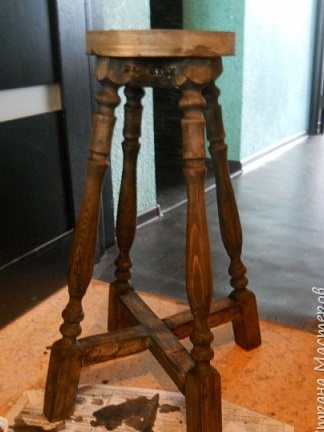
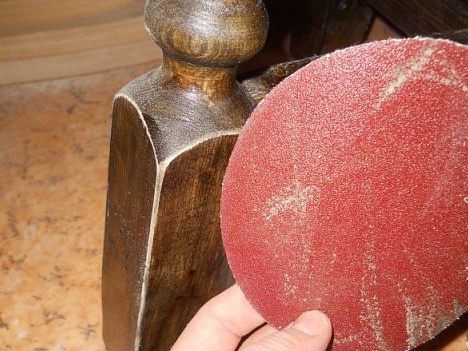
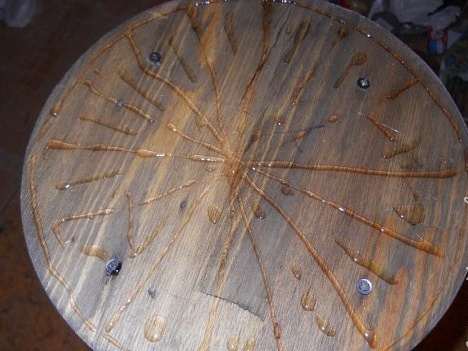
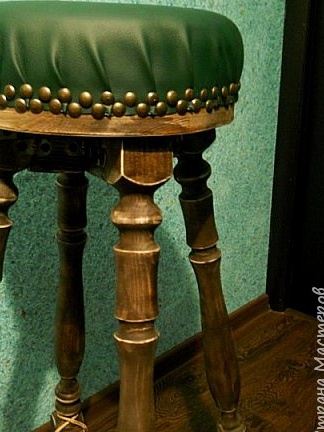
Then, taking a sponge, she painted the finished base of the chair with the Oak stain. After that, sprayed in 2 layers on top of it (photo 6). Once again, I walked a little sandpaper on a tree to give the chair a look of noble antiquity (photo 7).
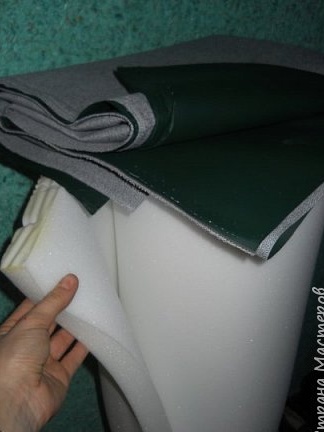
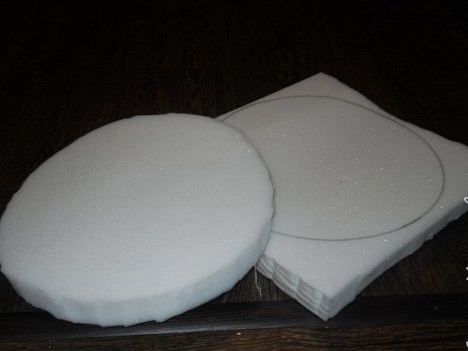
Make the seat soft.
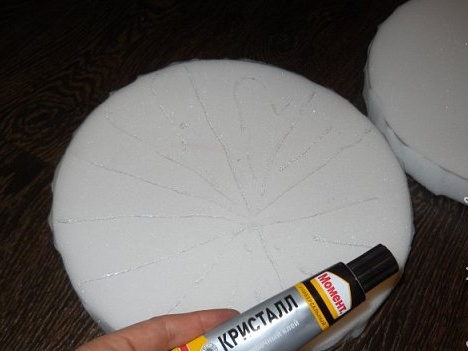
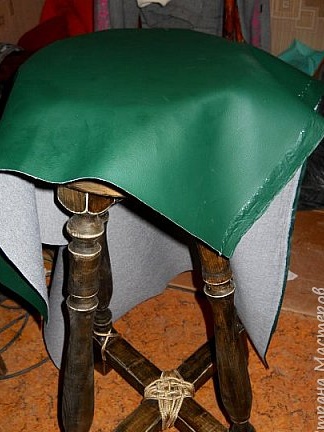
Here we need foam rubber, from which 2 round bases were cut out by the size of the seat. At first I glued them together, and after the glue “Moment Crystal” I attached them to the wooden top of the seat. Then she pulled a leatherette cover onto the seat.
Continuing to lightly pull the cover, she pinned it with decorative nails to the seat.I made it so that all the folds were almost the same in size (photo 8).
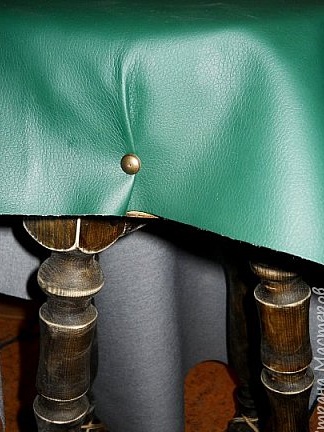
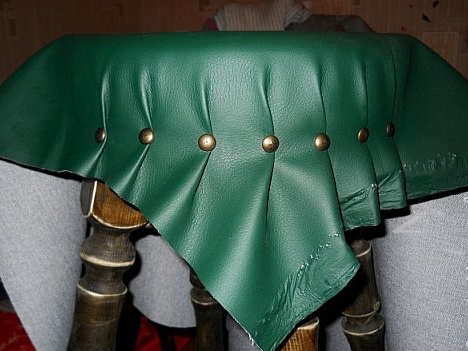
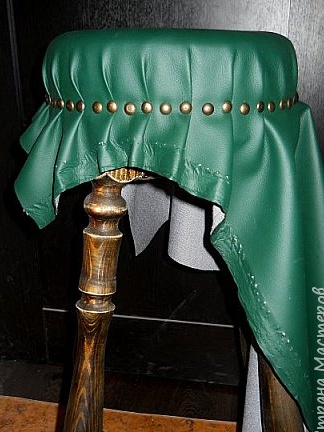
The surrogate leather substitute cut and nailed the nails a second time to fix the cut; at the same time it turned out to be beautifully designed (photo 9). Decorative cord painted with gold paint and dried. Sometimes it would unravel at the place of the cut, and before cutting the cord, it pulled together the necessary places with threads.
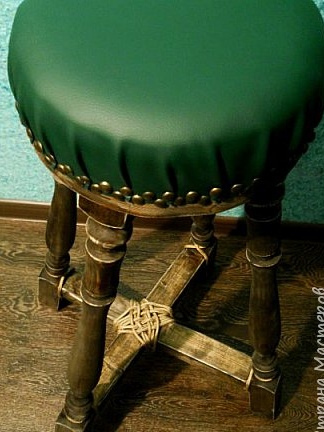
This cord intertwined the legs and the lower cross of the chair to give additional charm and style (photo 10). The ends of the weaves were coated with glue “Crystal Moment”. And the finishing touch was brought by the yacht varnish, which covered the entire wooden base of the chair.