

Hello dear the inhabitants of our site.
On occasion, at work, I managed to pick up a pair of cabinets and a table from the time of the Soviet Union. Without hesitation, I decided to make them rabbitry with queen cells. The material is even and you don’t have to torment too much to fit the parts to each other, ideal for any construction.
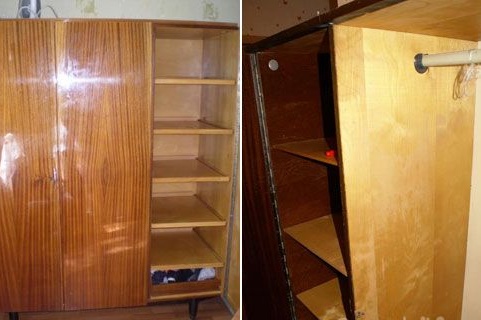
Since I exported it in a disassembled state, I could not photograph it. Therefore, I will show a photo from the Internet, but the closet is almost the same
There he is
So, let's begin…
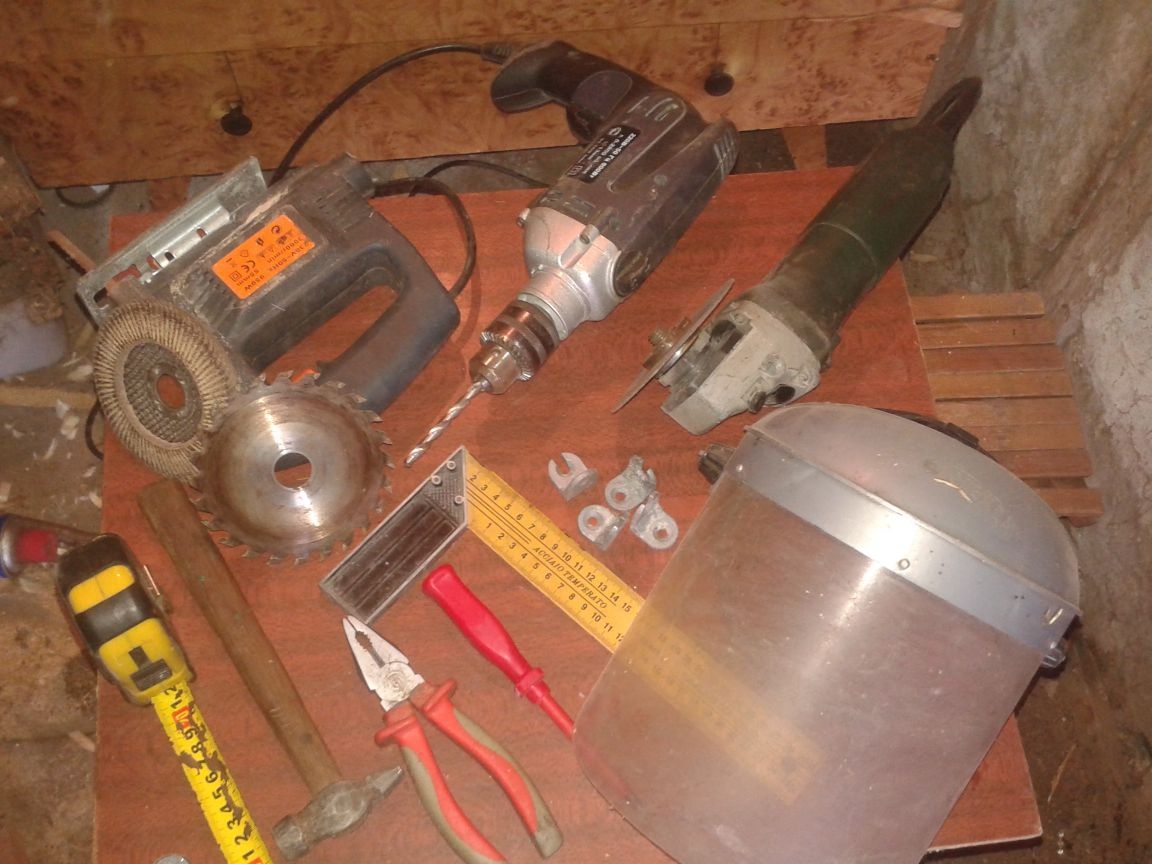
For work, we need tools such as:
A grinder with various discs (I have a cut-off disc for metal, a petal disc for grinding and a disc for wood to saw)
jigsaw
Drill
a corner
Curly screwdriver or screwdriver
Hammer
pliers
Wood screws
Nails
Fixing corners
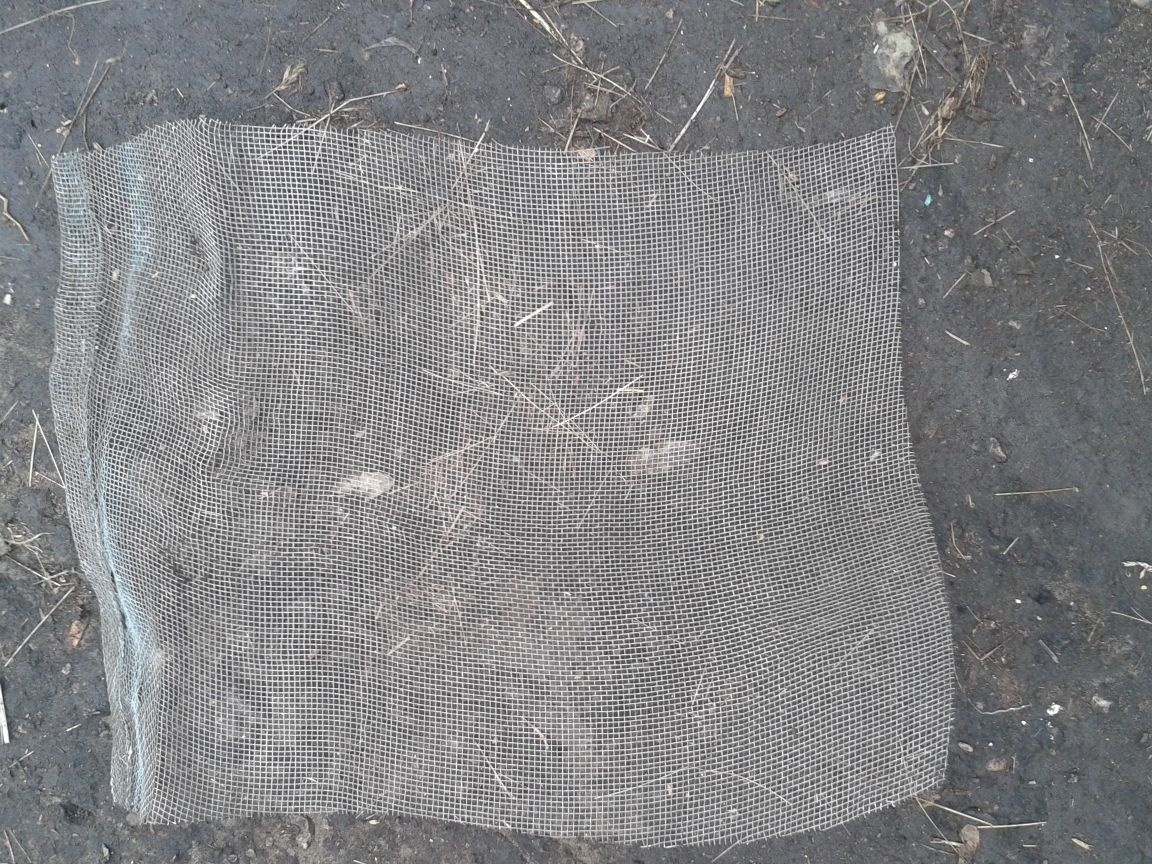
Of the components - the cabinet itself and several types of mesh (with a large and small cell)
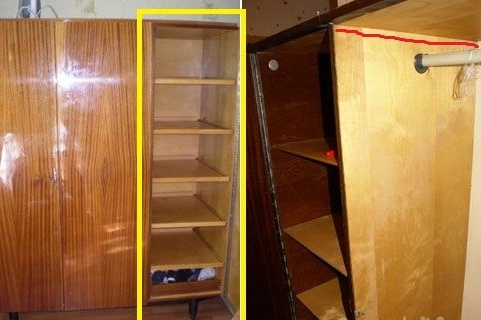
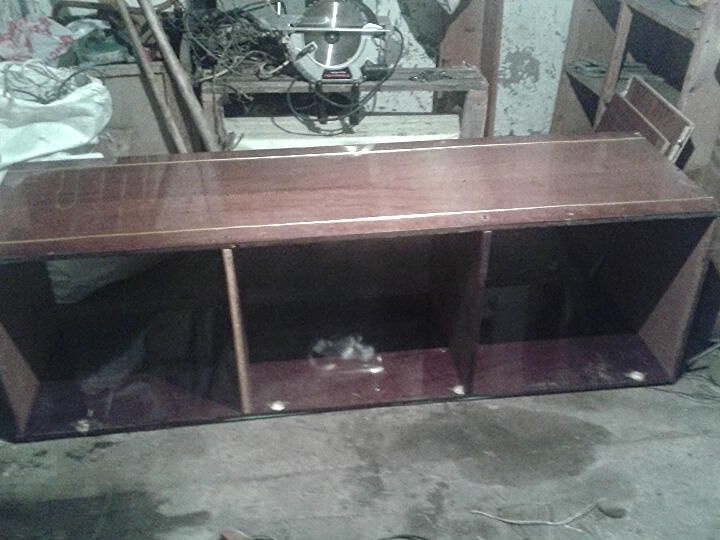
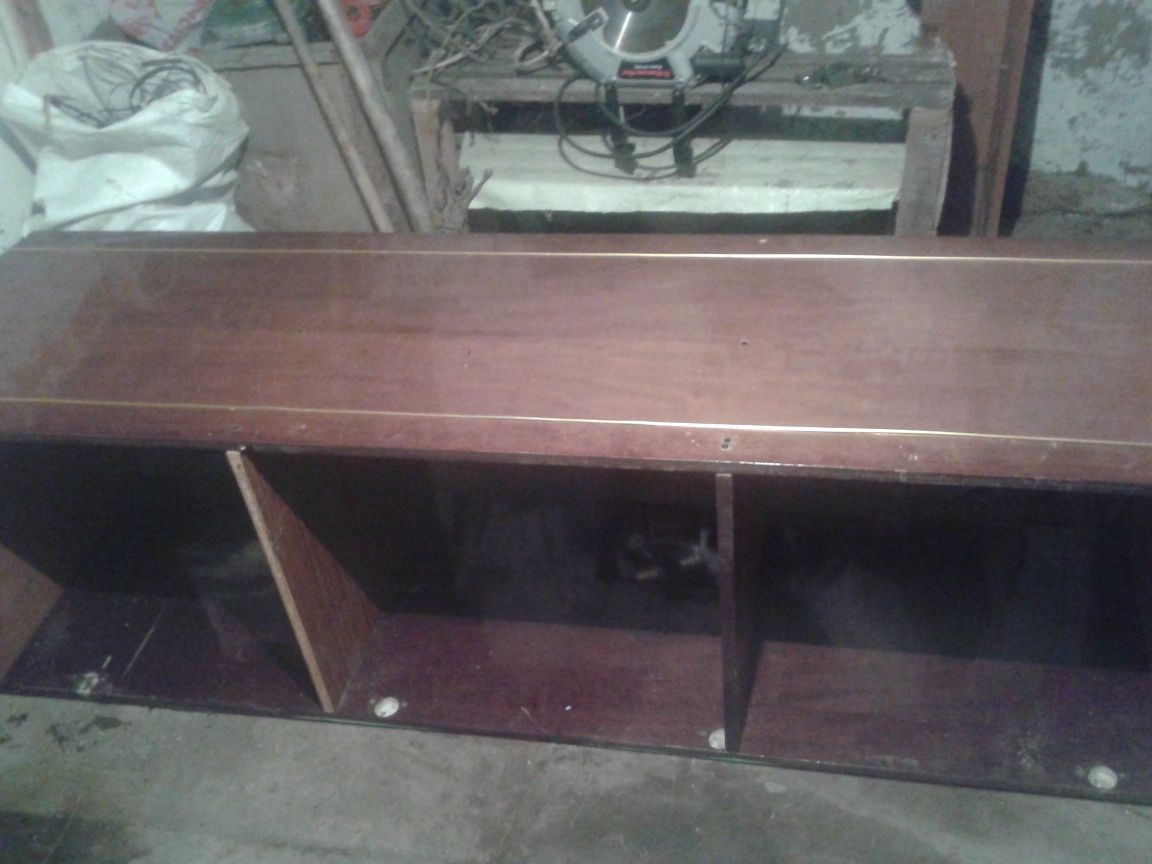
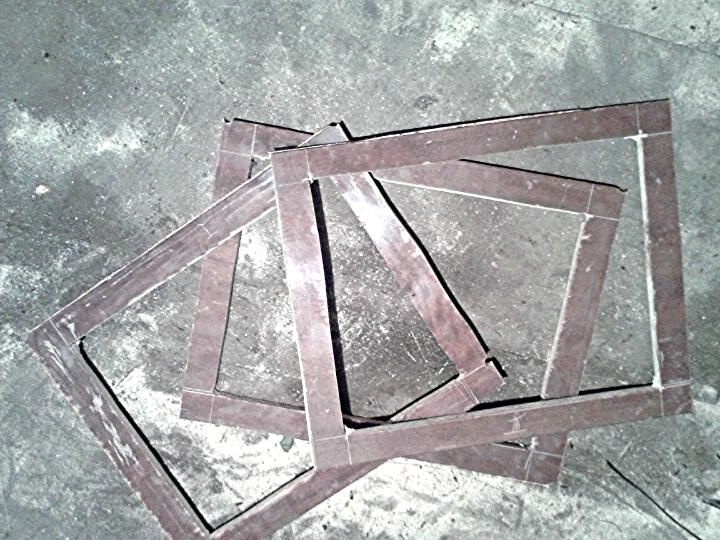
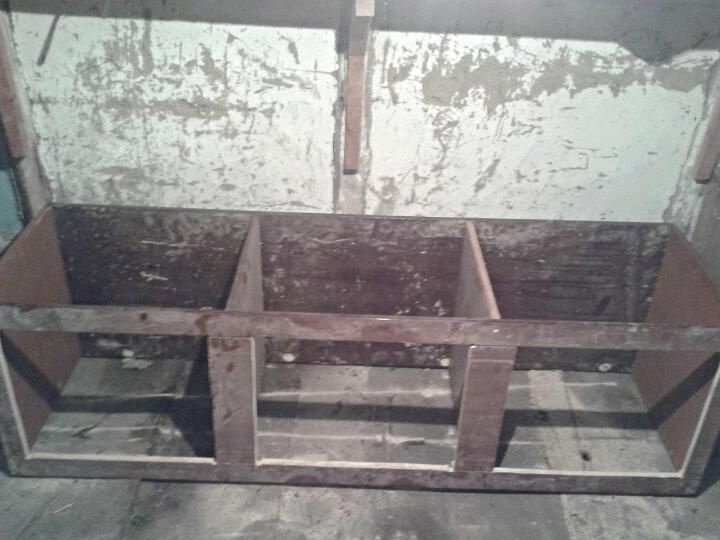
Step 1. First, collect a rectangular box with partitions inside. This will be the basis of our rabbitry. Of course, whoever has the cabinet at home and can be pulled out without taking it apart, this step can be skipped, since this rectangle with shelves is already ready. It remains only to modify it a little. Partially saw off the roof and bottom and rearrange the shelves in size, in your opinion, sufficient for a rabbit to live.
The photo shows where to finish what.
But what happened to me, after my actions
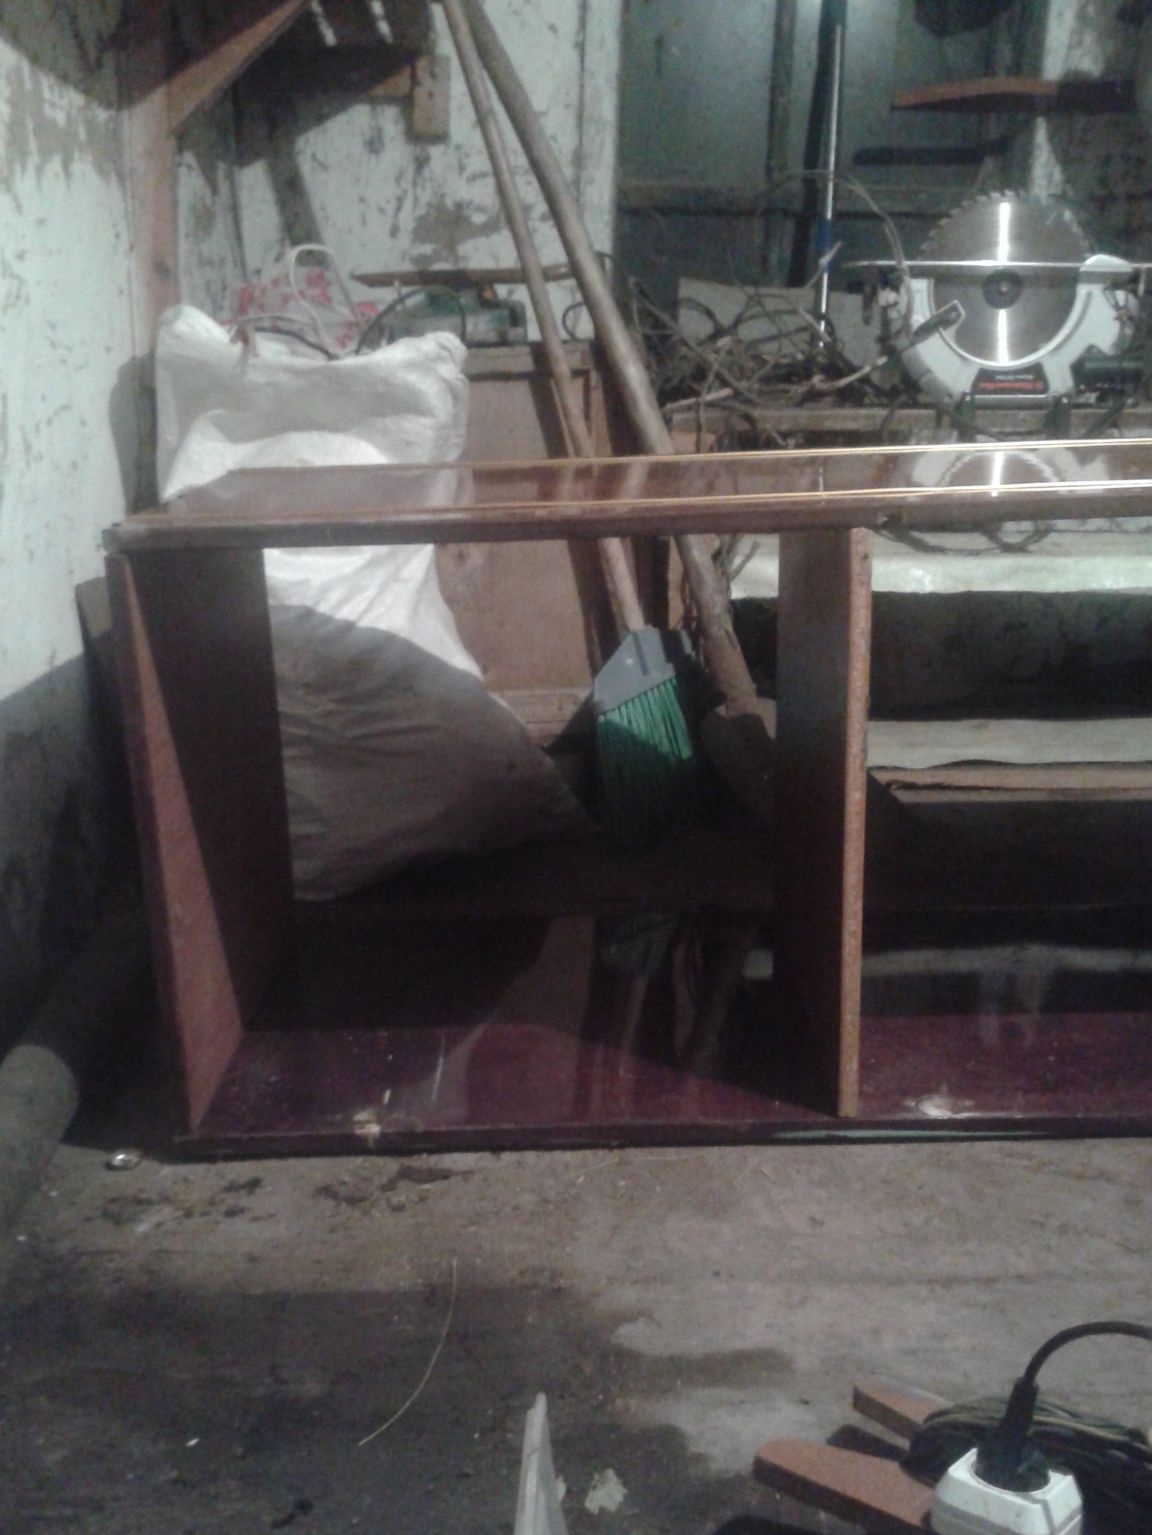
Everything was fastened with self-tapping screws, since nails can split the material. Since I do not have a screwdriver, and the screwdriver was used only for baiting, I twisted the screws with a drill, inserting a curly bit into the cartridge. In order to make it easier to screw in, I pre-drilled holes with a drill with a diameter smaller than the screws used.
Step 2. Now that we have assembled the main rectangle with separate rooms for rabbits, we need to take care of the doors. To do this, I pulled out aluminum inserts in one of the side walls.
These ones

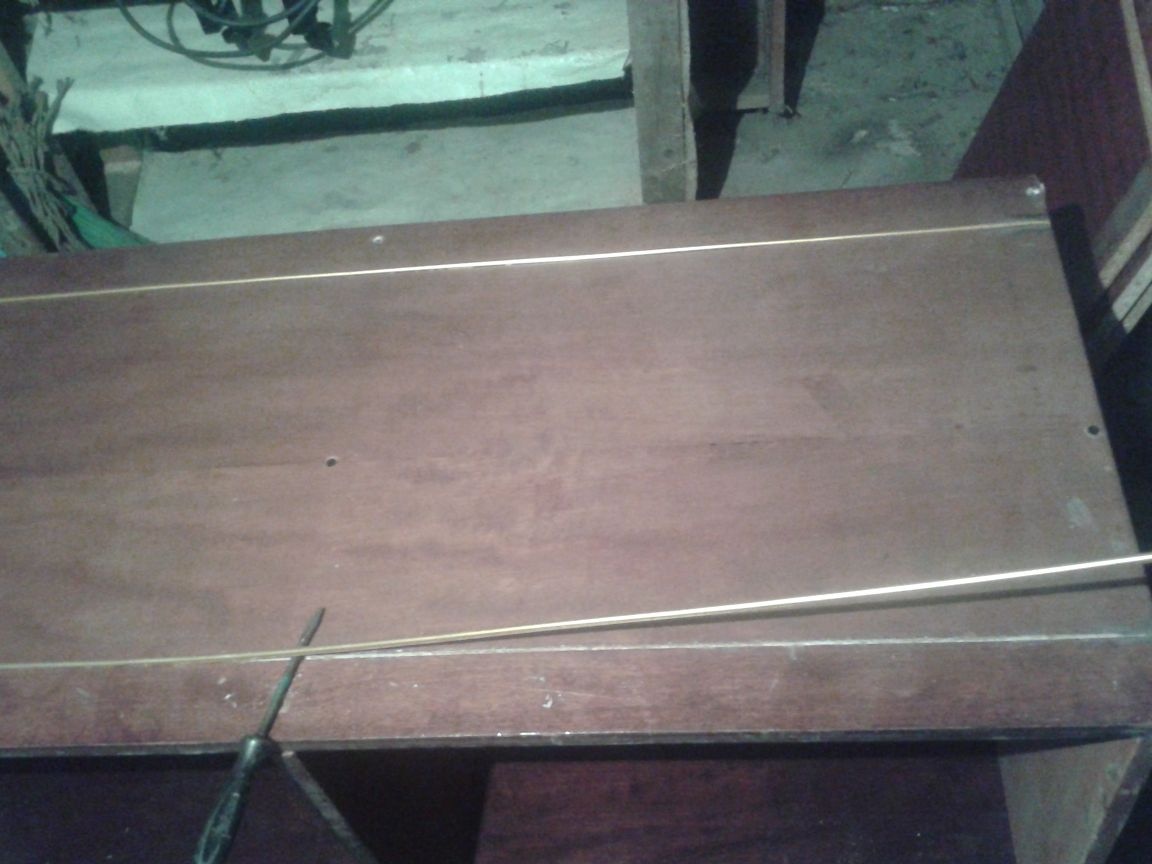
Now we need to mark the places for cutting doors. For accuracy, I worked as a corner and a long ruler
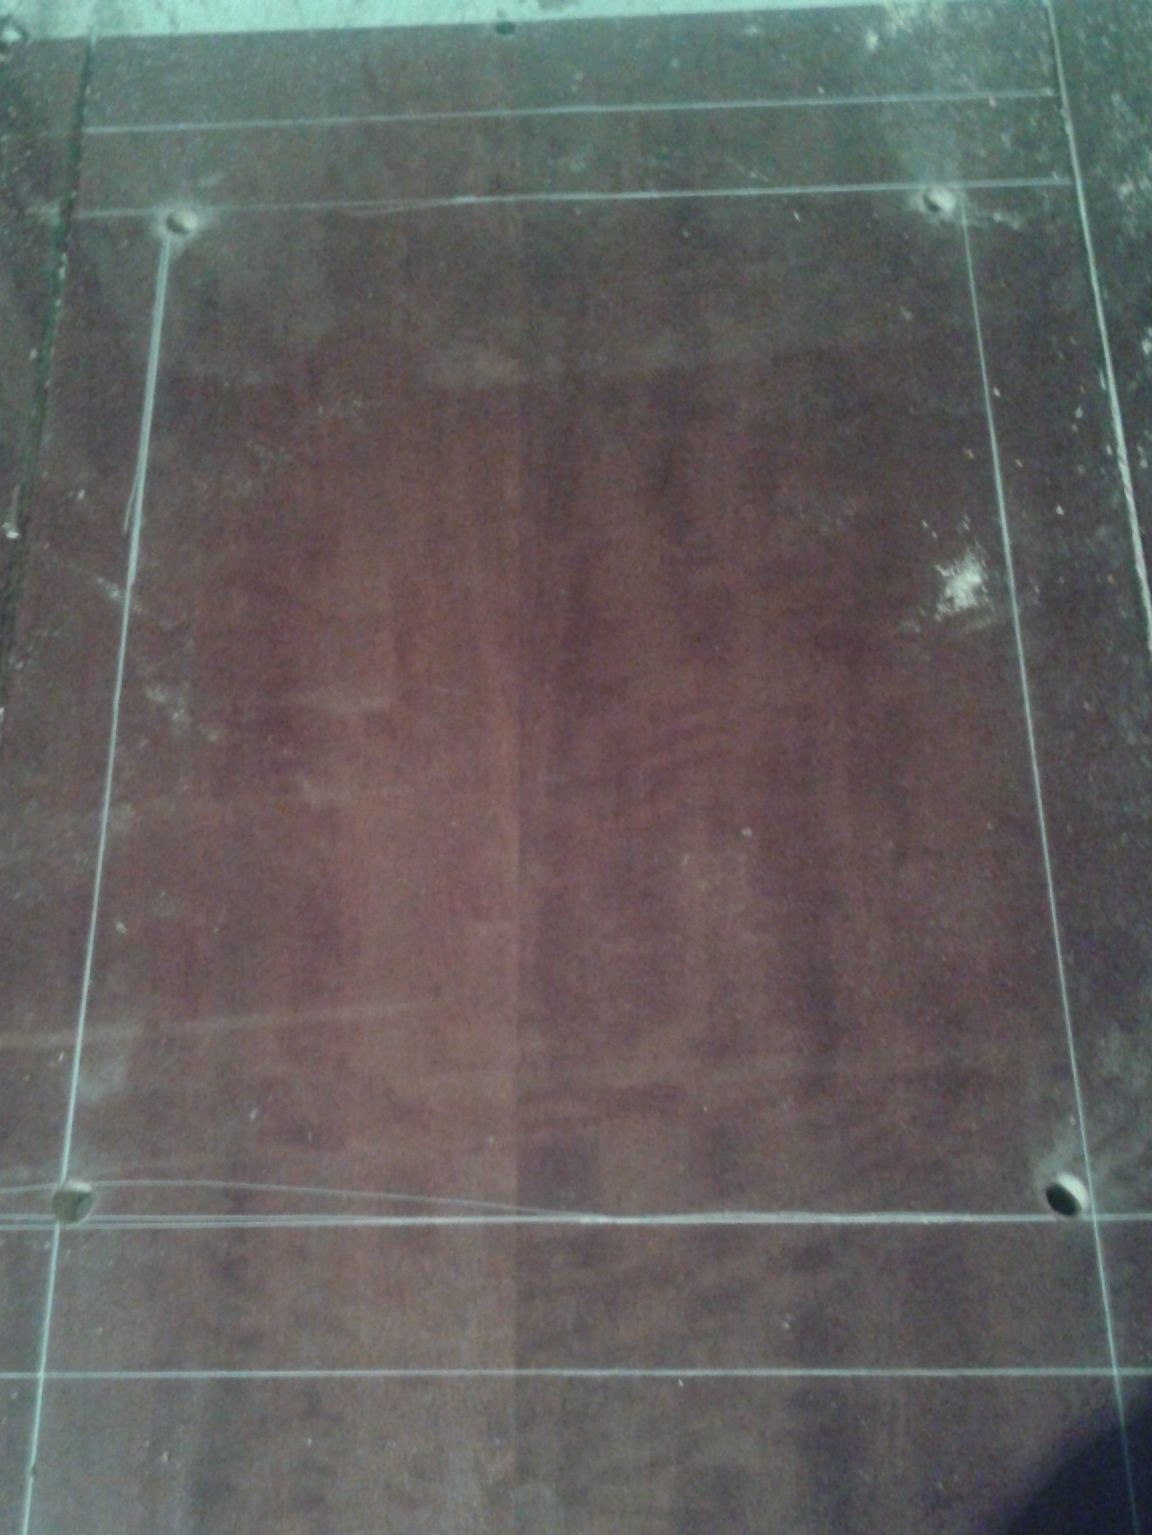
After marking, I drilled holes in the corners for easy sawing with a jigsaw. In the photo they are clearly visible.
Step 3. Proceed to sawing.
To begin with, I used a jigsaw, but it seemed to me uncomfortable and I began to cut a grinder with a disc on a tree. It turned out that
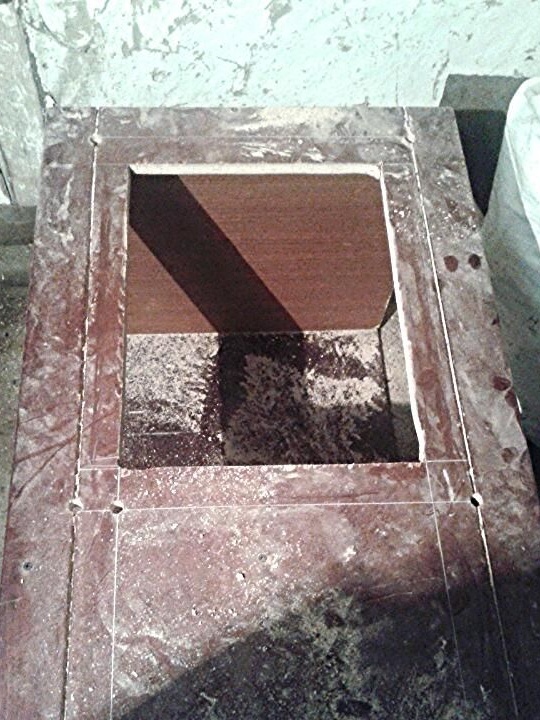
This is just an internal drunk door.
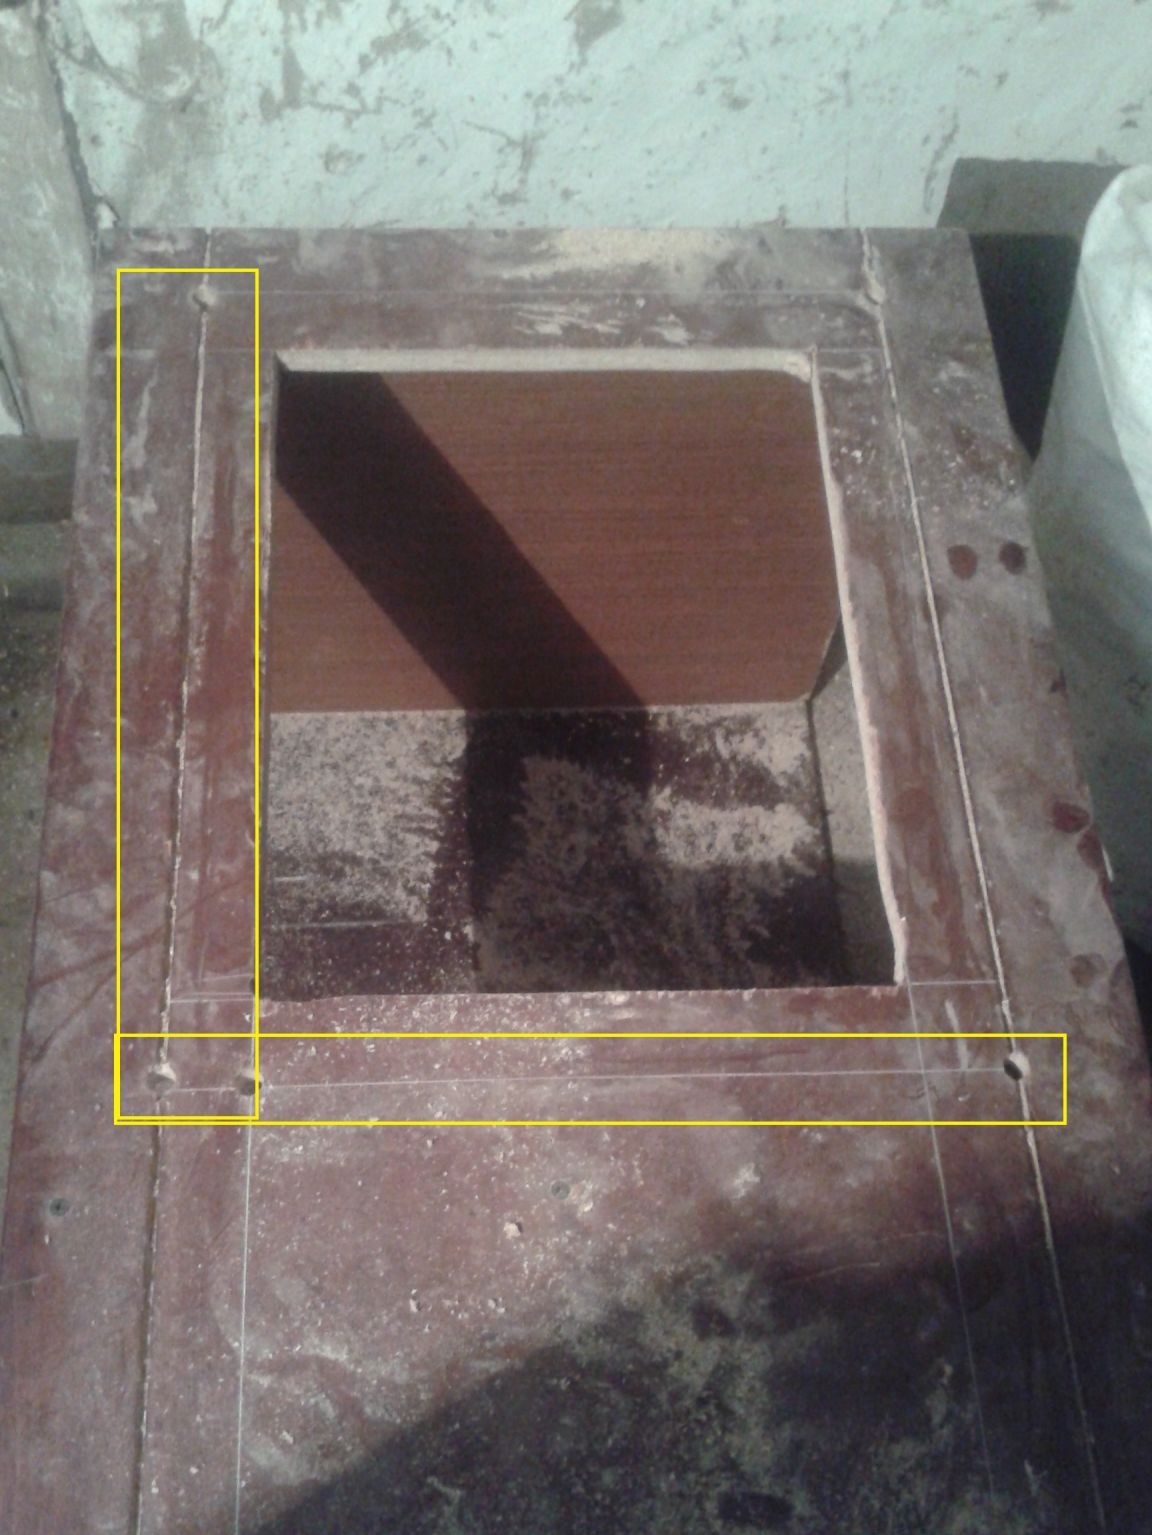
Step 4 The next step is cutting out the outer contour of future doors.
In the photo below, it is marked in yellow.
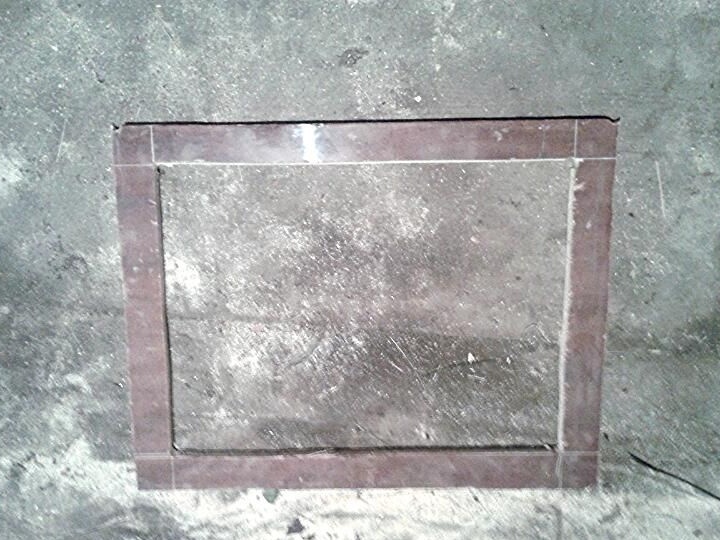
It turned out here is such a door.
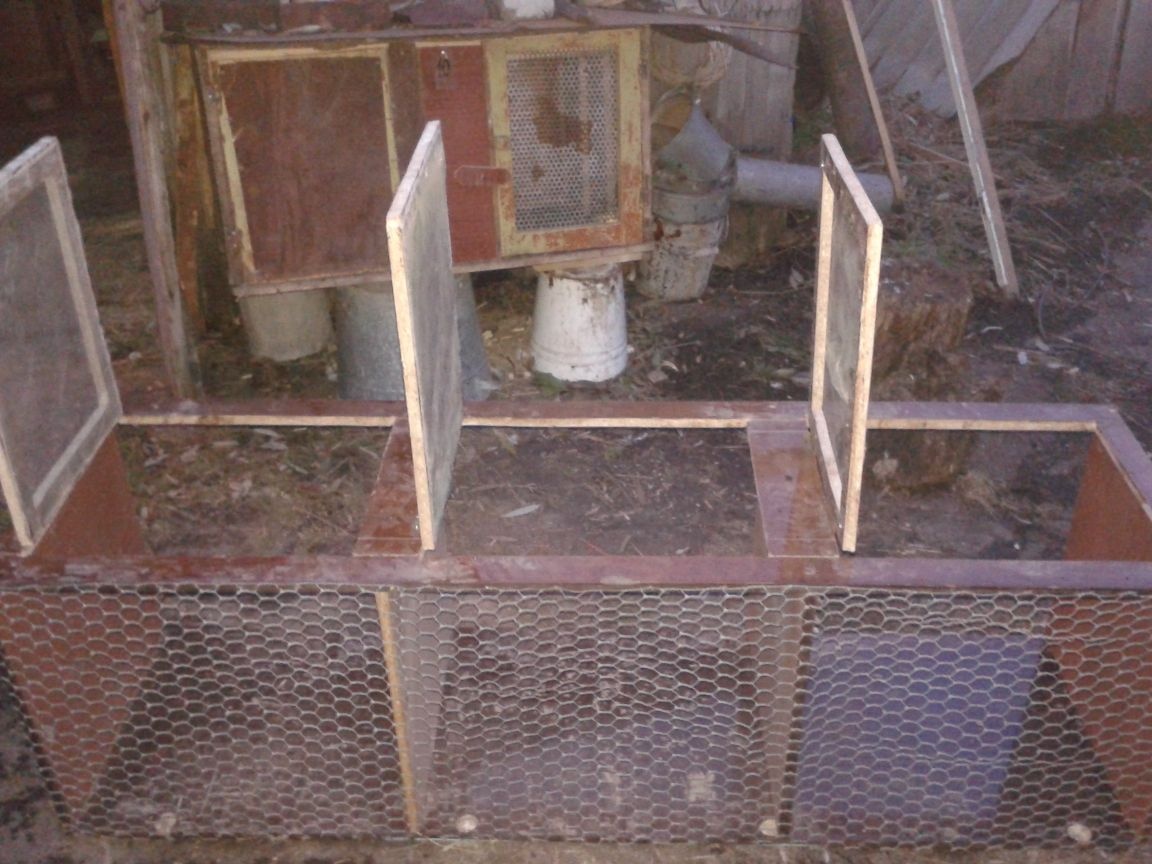
Step 5. Saw the rest. In my cage there will be three compartments, respectively there will be three doors.
It turns out here are such blanks.
Try on our blanks. If necessary, we grind it so that it is convenient to screw them at the end, as well as to easily close.
I also noted where the door comes from, so that afterwards, in the process, do not waste time and do everything quickly
I numbered each door and the place where it will be attached. The photo is marked in yellow.

The result is such a blank of our future rabbitry. The main part with future doors
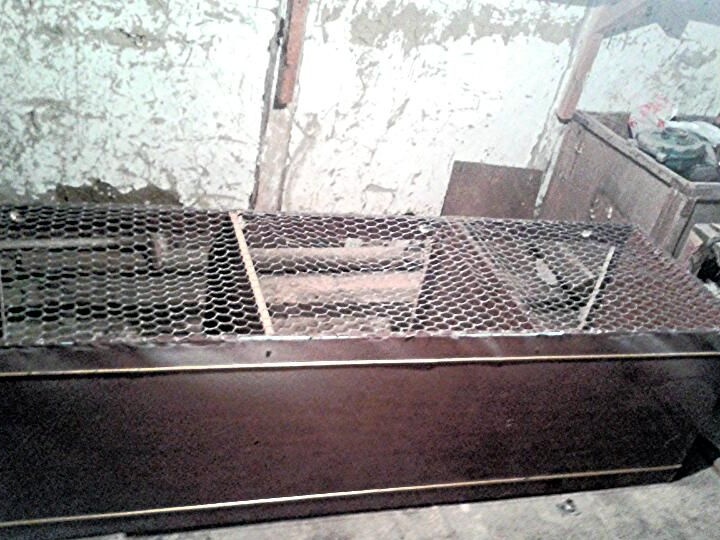
Step 6. My next step was attaching the mesh to the floor. To do this, I took a net that was large enough, but at the same time such that the rabbits and rabbits, when they started to crawl out of the nests, could walk normally on it. Although for rabbits, it will most likely be bolshevat, but this problem is solved quite easily. Just lay a piece of plywood for a couple of weeks until the little rabbits grow up.
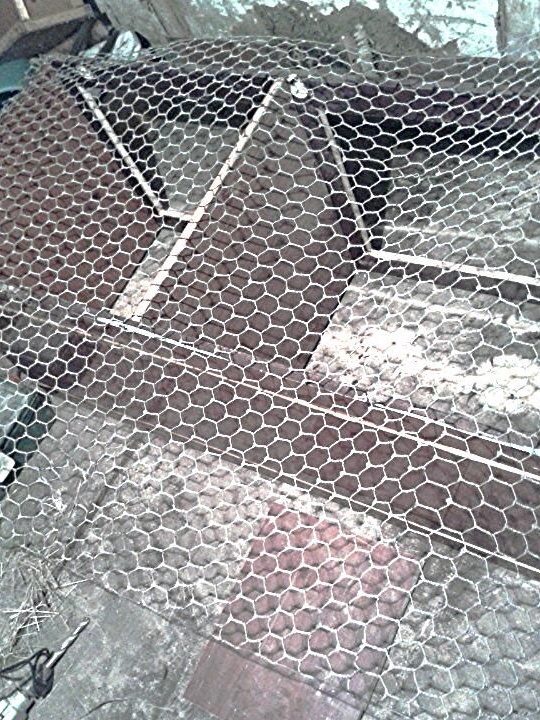

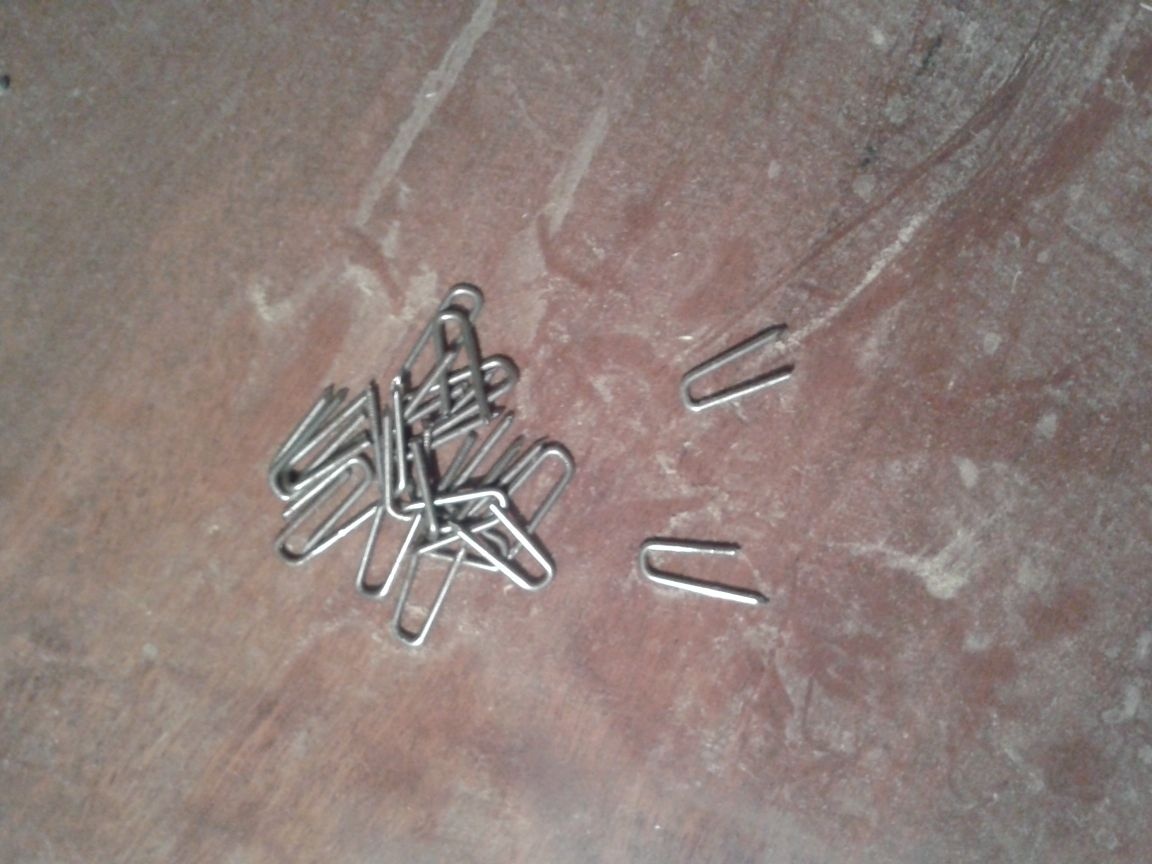
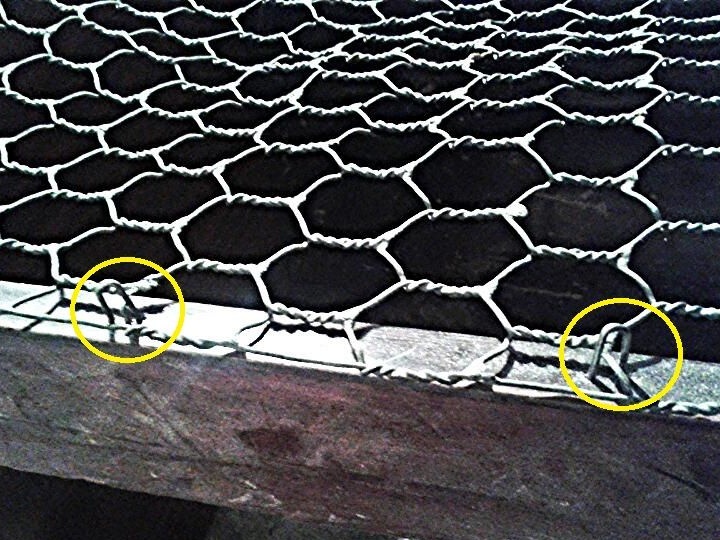
Step 7. Putting the net on the rabbitry and figuring how it will be placed, we begin to attach it. For this, I used nails with a length of seventy millimeters. Bent them into a small arc or bracket, as shown in the figure.
With these brackets I fastened the mesh to the bottom of my cage
It turned out quite firmly.
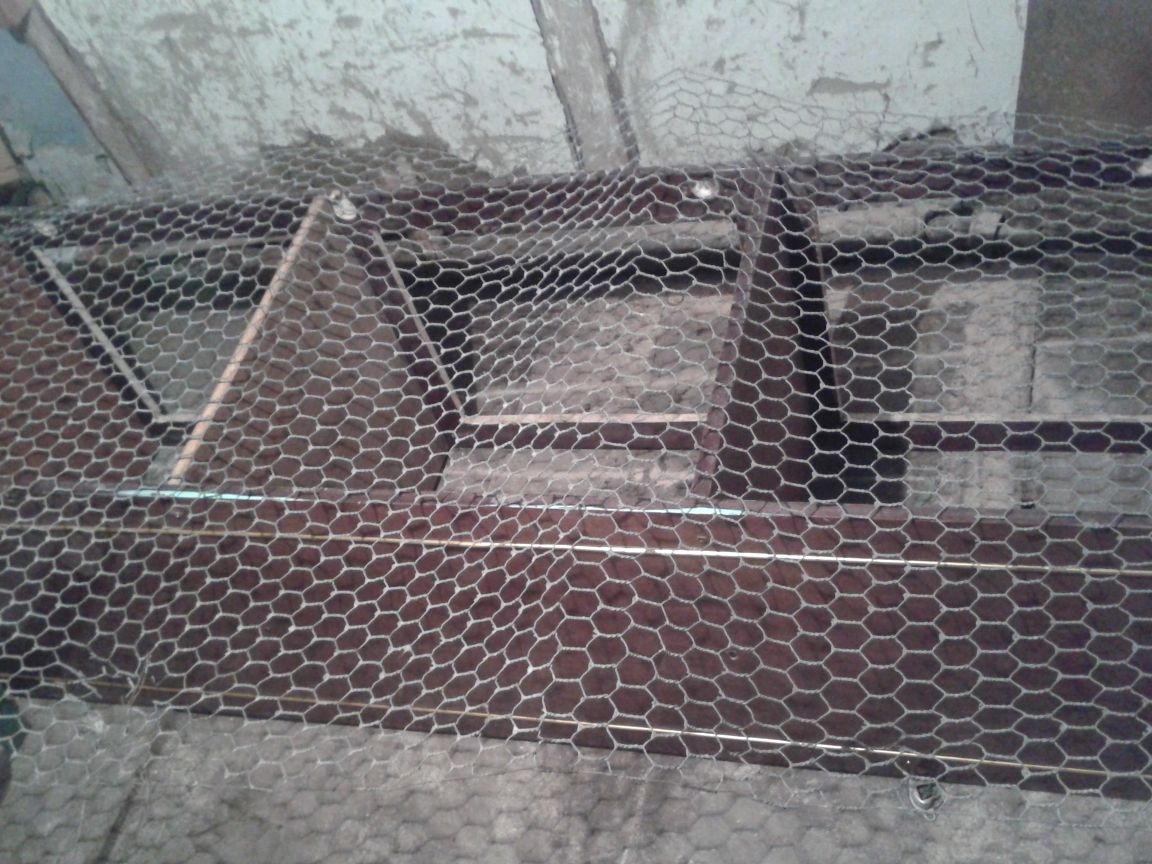
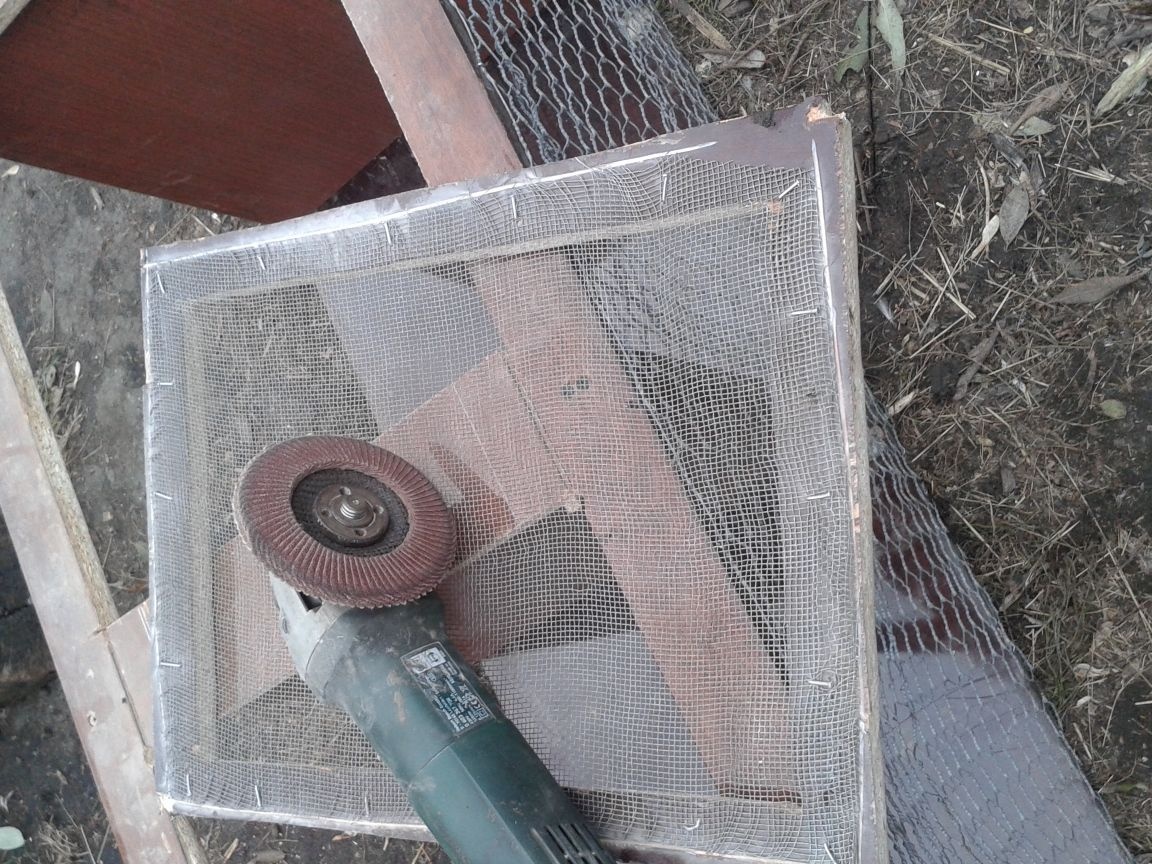
Step 8. After the grid has been fixed, you need to remove all unnecessary. To do this, I needed a grinder with a trimmed disc. When cutting off the edges of the mesh, it is better to wear some kind of eye-protecting tool, as various garbage cuts of metal and wooden sawdust can fly out. Better to be safe
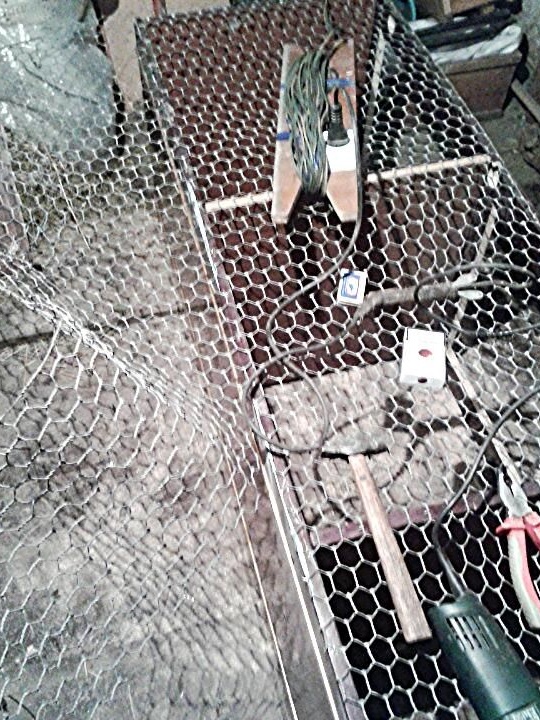
After we removed the excess mesh, we got this kind of structure.
The remaining pieces of the mesh will come in handy somewhere else, so put them aside
As you can see in the photo, small sharp pieces of a sawn-off mesh remained on the edges of the structure. I didn’t saw them straight flush with the wall, it’s better to knock them out with a hammer or bend them with pliers
Step 9
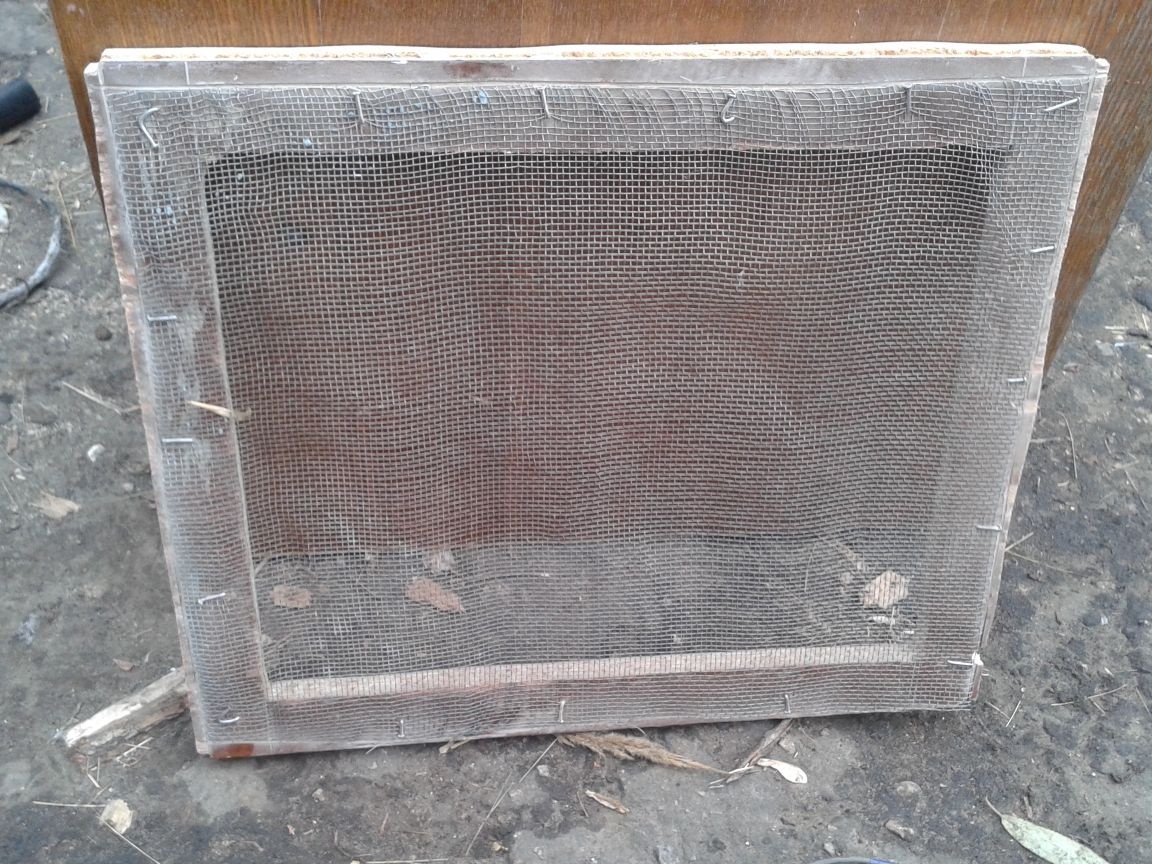
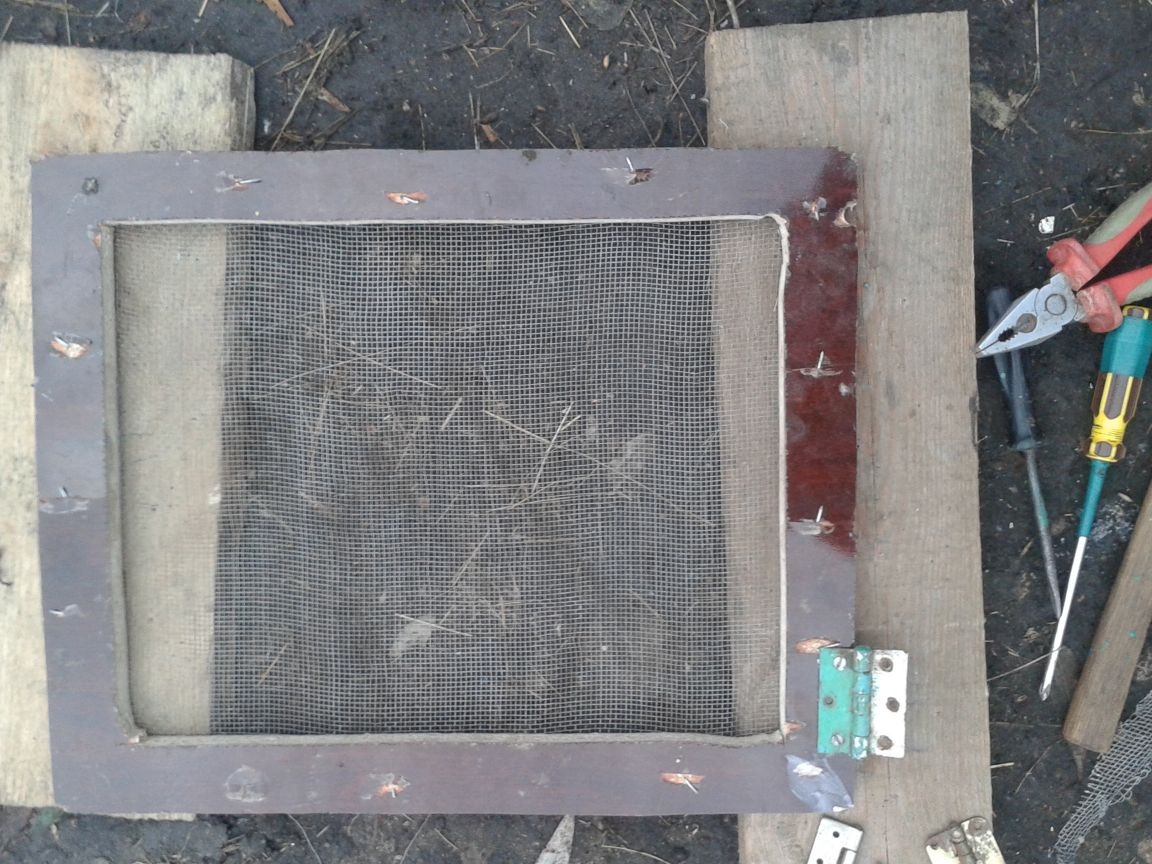
Now that the main box is ready, proceed to the manufacture of doors. We take our blank that we sawed for the door and a piece of mesh with a small mesh .. We fix the mesh on the inside of the door so that the rabbit does not gnaw a tree (although, as it turned out later, they do not gnaw this material).
We begin to attach it to the base. Since the top layer of the door was very hard and the staples from the stapler did not take it, I had to hammer with nails.

The view, of course, turned out to be far from aesthetic, but, most importantly, the grid is attached quite reliably.
Step 10. Now you need to trim the excess mesh. Again we take a grinder with a cut-off disk and cut off the unnecessary
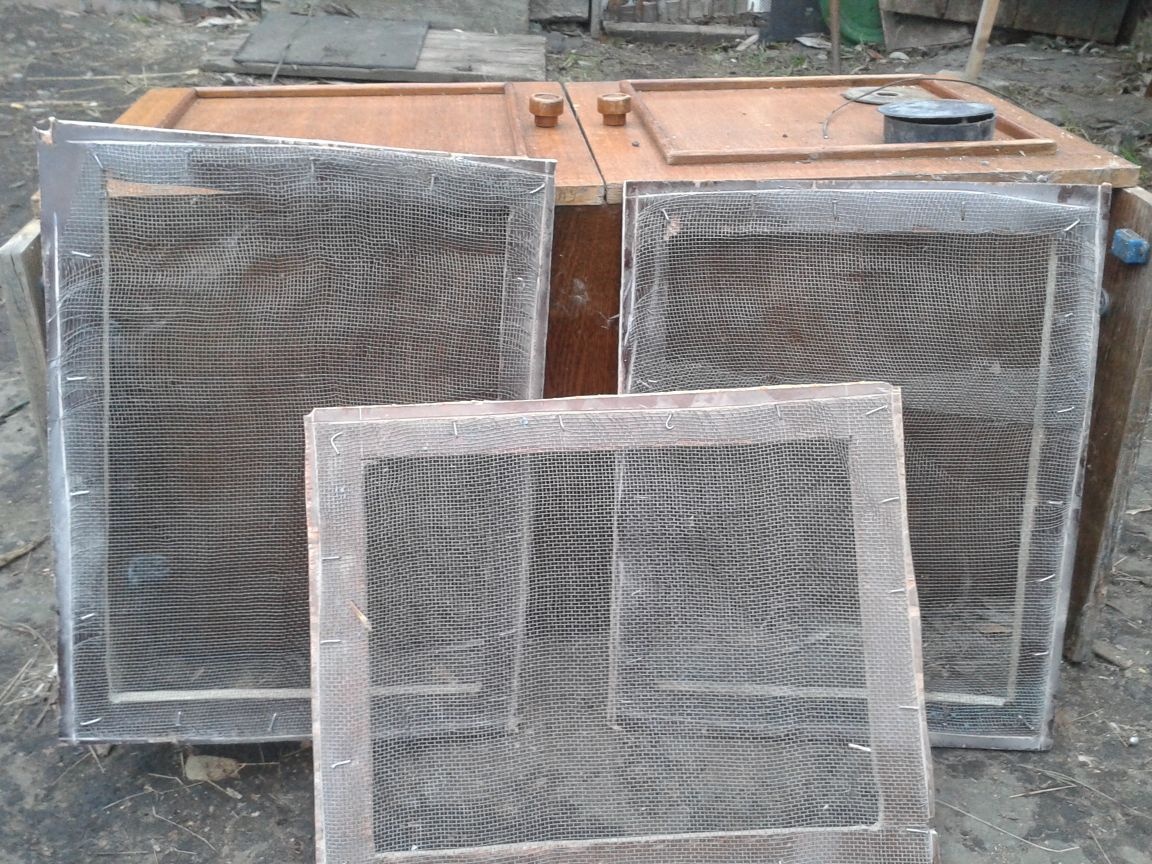
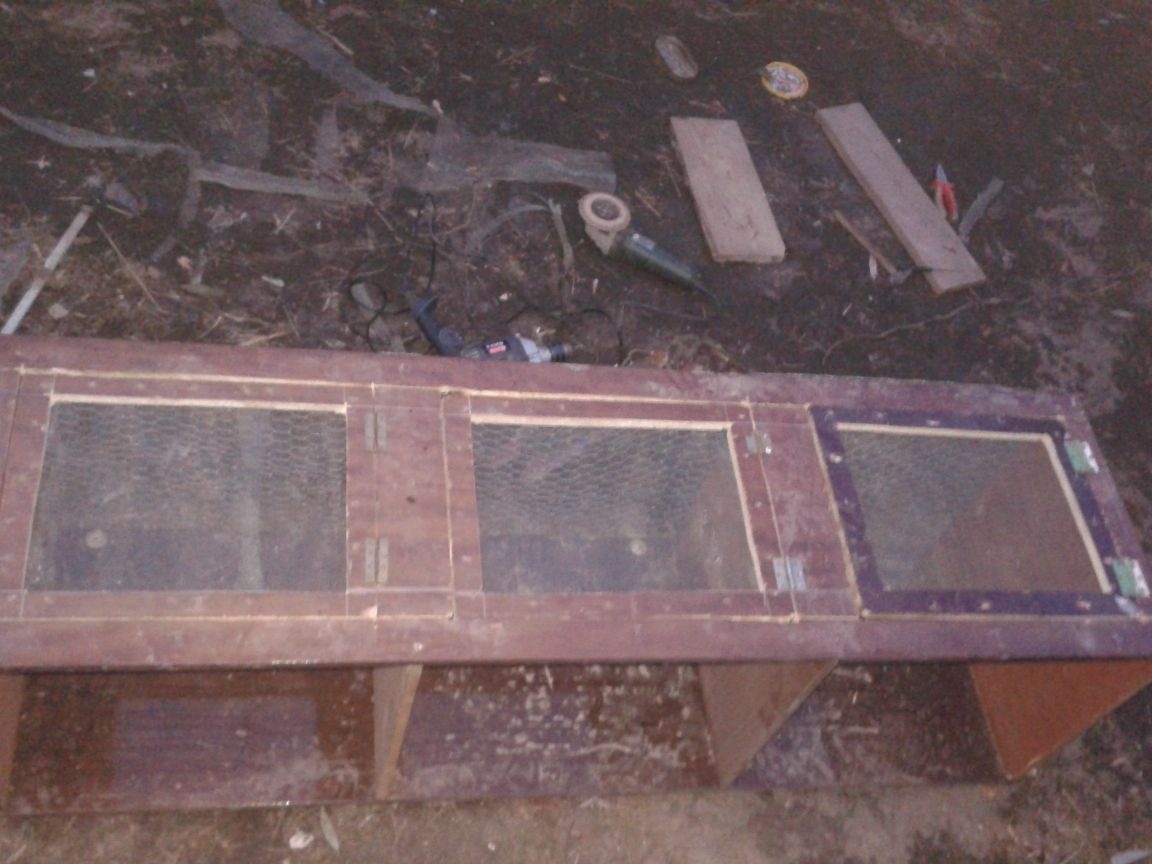
In a similar way, we make the remaining two doors. We also fix the grid from the inside.
Step 11. Now we need to fit our doors to the main part of the rabbitry - our box.
we change the edged disc on the grinder to the blade for grinding and we adjust the doors to the rabbitry, for more convenient opening and closing. We also grind holes in the rabbitry.
Step 12. Attach the hinges to the doors.
We take loops and small screws. We begin to fasten to the door. To make it convenient, I advise you to drill thin holes, so that it is more convenient to screw a screw. Do the same with the rest of the doors.
Step 13. After we attached the hinges to the door, we fasten the door to the rabbitry.
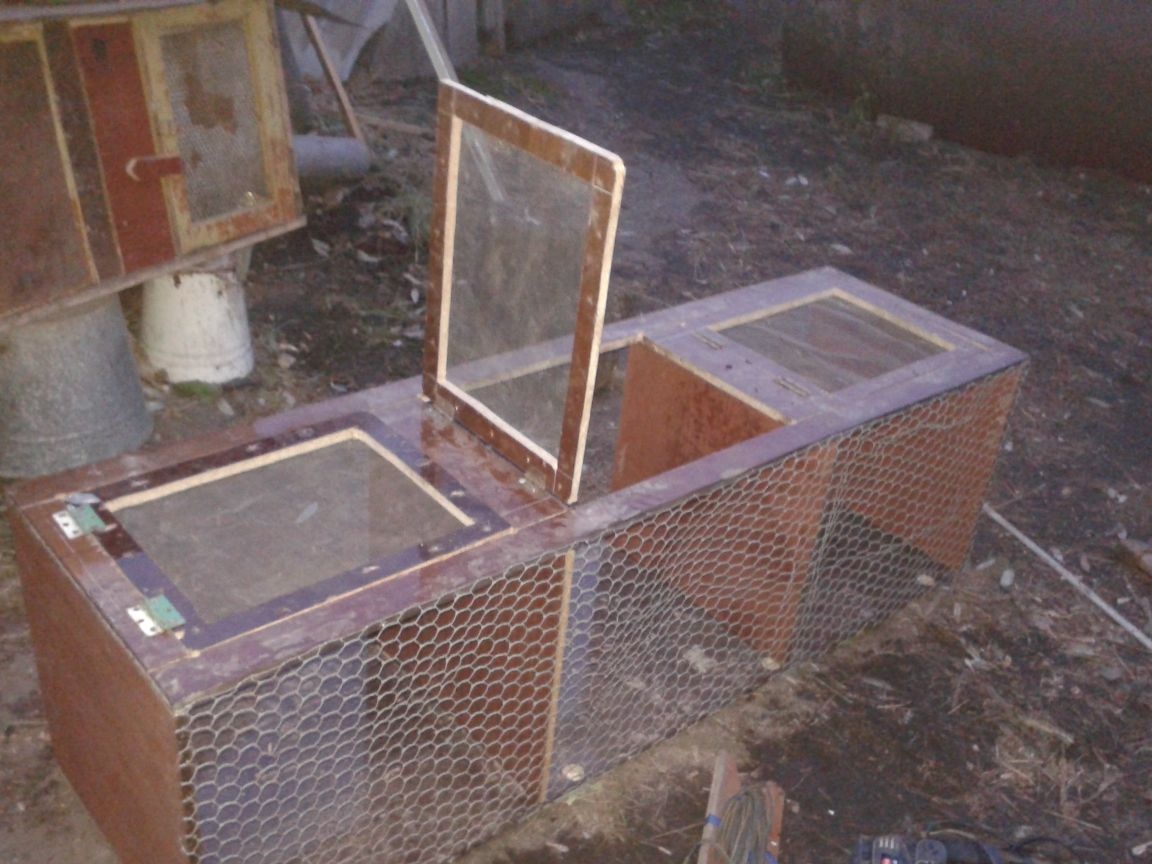
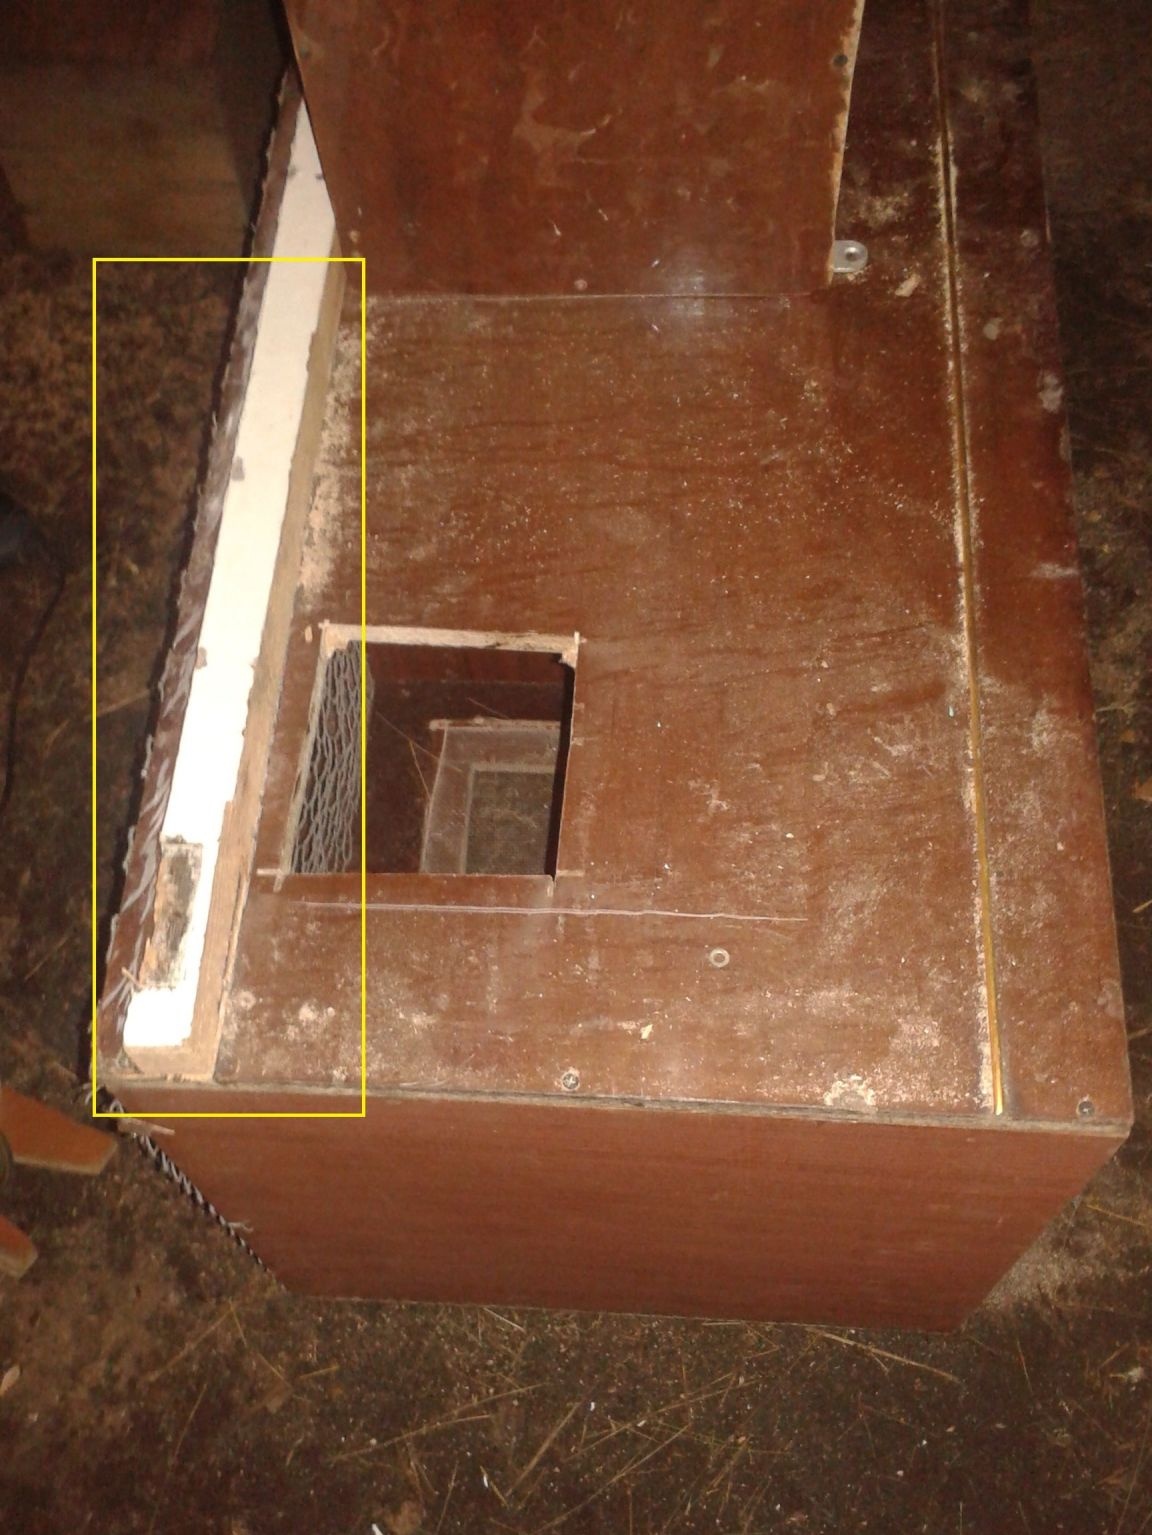
Step 14. Now you need to attach the queen cells to the back wall of the rabbitry. To better emphasize the drawers, which were destined to become houses for babies, I attached a block (marked in yellow) along the entire length of the back wall and this is what happens.
Step 15. The next step was cutting out the access hole in the nesting box.Noting the input at the right level, I sawed it out. It turned out such a small door (the photo is marked with a green oval)
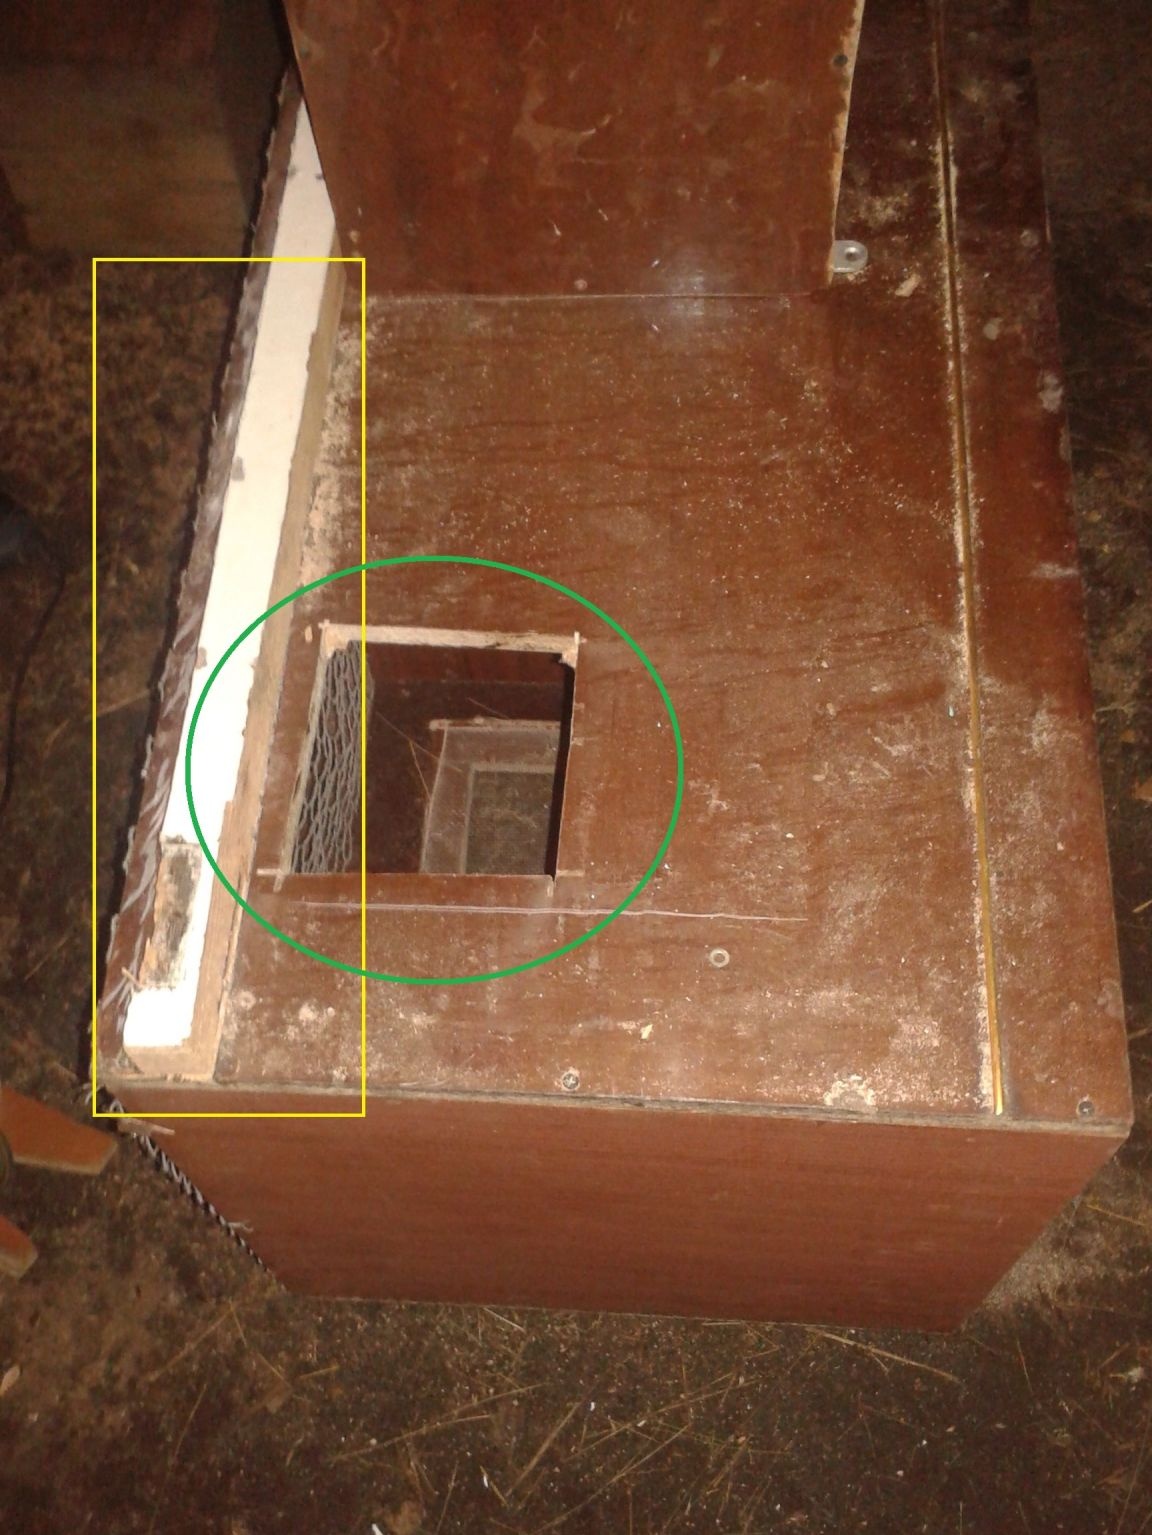
my entrance to the uterine compartment turned out almost flush with the floor of the mother liquor itself. that is, there is no side, so that the grown up rabbits, when they start to crawl, do not fall out. therefore, when you do, make sure that there is a small side in front of the entrance to the house. it will be calmer for their little pets.
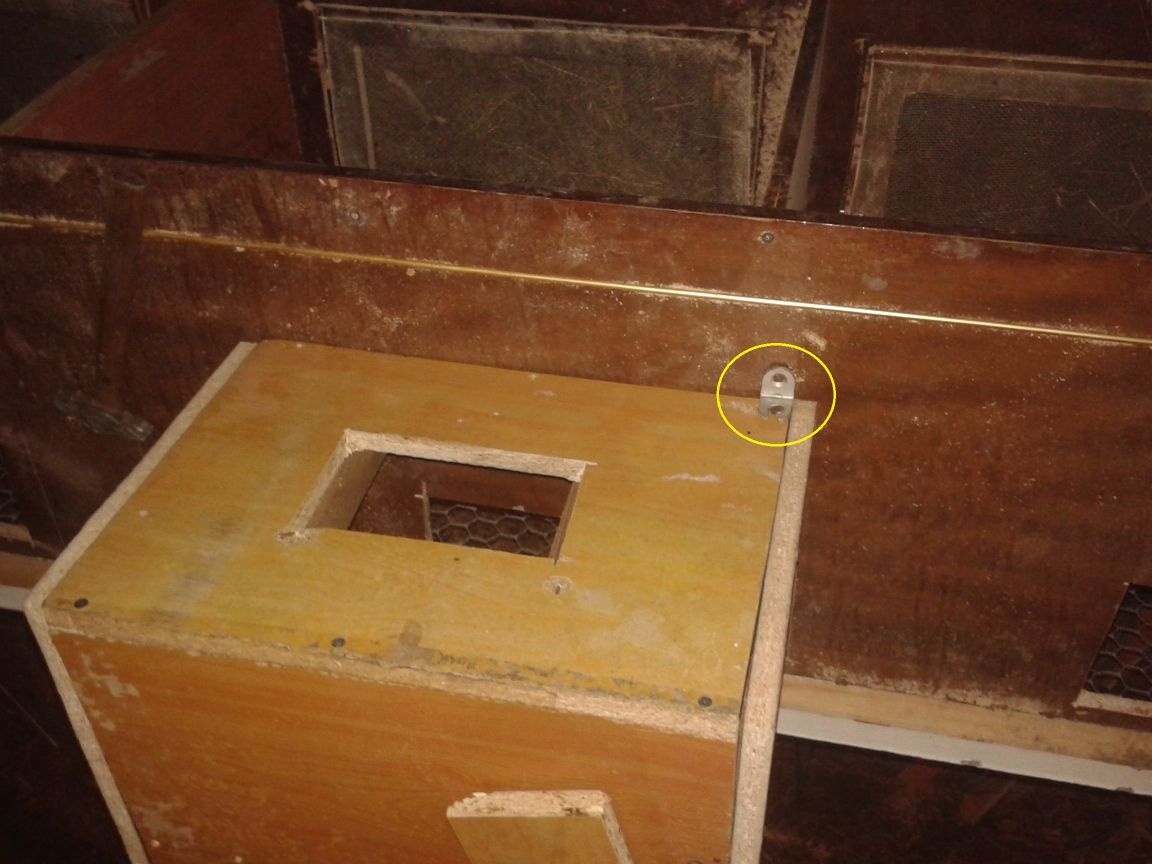
Step 16. Now we take our house and with the help of fixing corners we fasten it to the rabbitry.
We put a house on the bar and fasten the corners from above and below.
Here's what happens after installing all the motherboard boxes.

I had a couple of boxes, so I used them for queen cells. Only one gathered from the remnants of the cabinet, which is in the middle.
Since after okrol you need to have access to the nesting compartment and check for dead rabbits, I made small hatches on top of the houses for access inside.
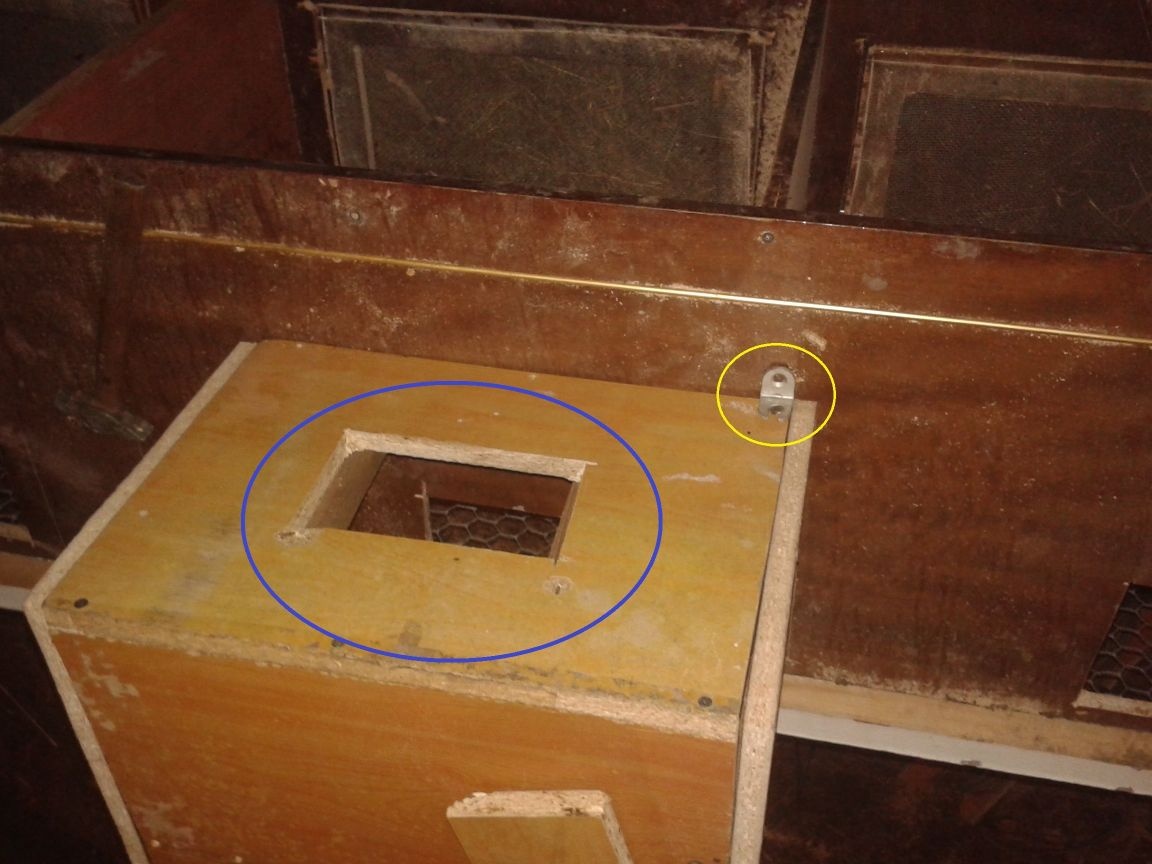
In the photo, the hatch is marked with a blue oval
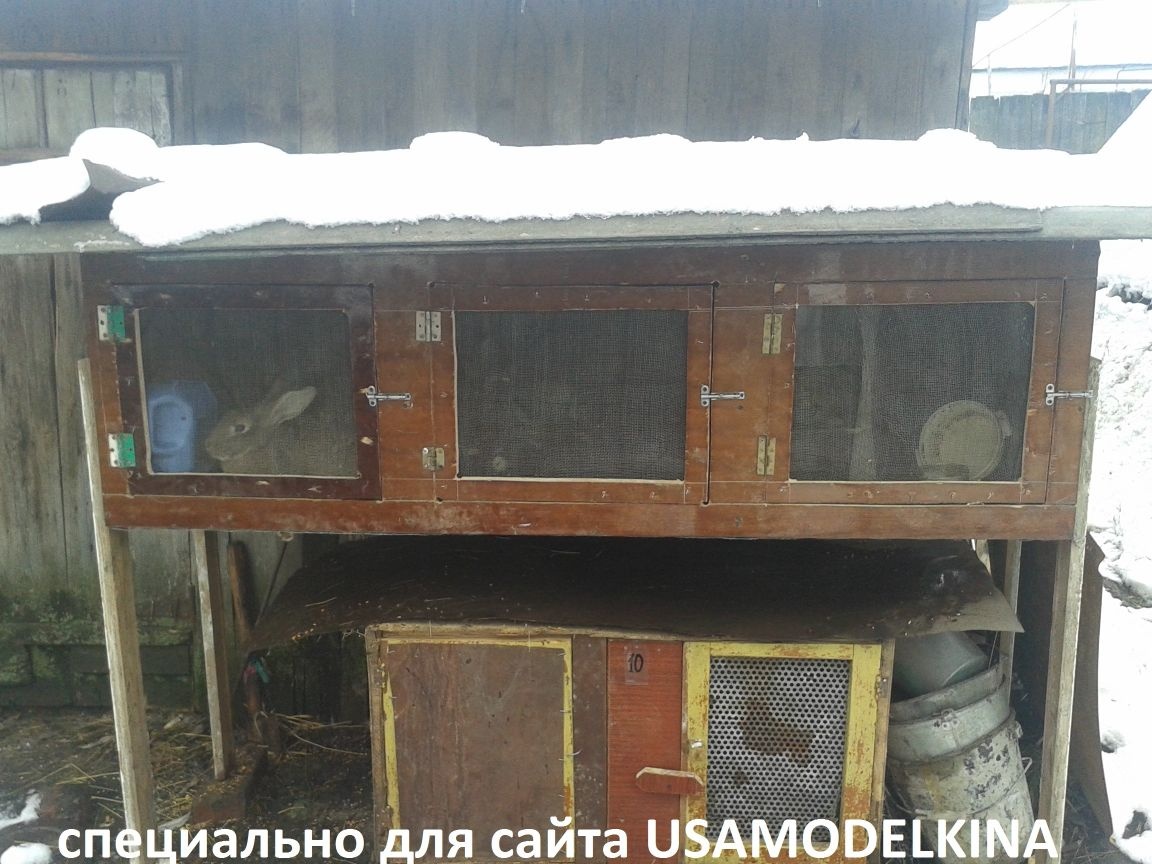
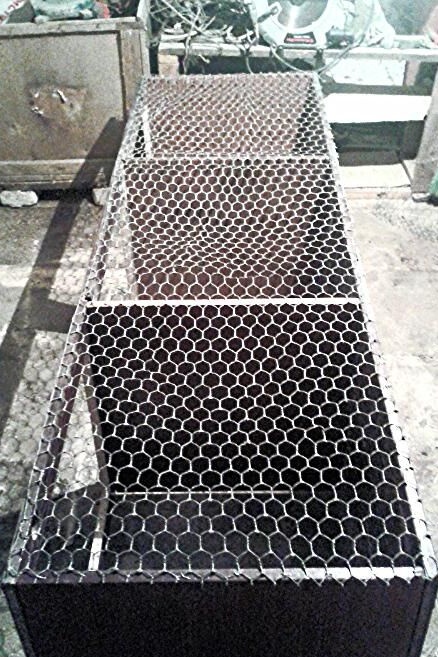
I laid metal roof tiles on the roof, covered everything with slate on top. The result was such a rabbitry with three rabbits and rabbits.
as you can see, the legs of rabbitry are quite high, so you can also attach a metal sloping ramp there to collect vital elements and other other animal waste.
The cell has been standing on the street for more than a month and contrary to the words of skeptics that it will begin to exfoliate due to moisture and dampness, so far I have not observed anything.
this is where I finish my master class. I wish all rabbit breeders good luck and increase the number of livestock)))