
The modern market for goods is able to satisfy any consumer needs. Therefore, if there is a need for an aquarium, it seems that it is easier to buy it than to craft it yourself. However, there are a number of situations where it is much more profitable to assemble a home pond manually. Firstly, factory models have standard sizes and are not always able to fit into the interior. Secondly, finished aquariums are very expensive, and made do it yourself the analogue will cost 2 times cheaper.
Before starting work, you need to make measurements for the future water house. Suppose we are talking about a container 25 cm high, having 40 cm in length and 21 cm in width. Then the volume of the mini-reservoir will be 25 * 40 * 21 = 21000 cm3 or 21 liters. Remember - this is only a general indicator, in fact, the volume will be much less. After all, soil, vegetation, decorative elements, living creatures themselves also occupy a place, and it is not customary to pour water to the top. In addition, a certain percentage of the volume will “eat” the walls of the aquarium.
Having decided on the size, it is easy to choose the thickness of the glass, based on the finished summary table.
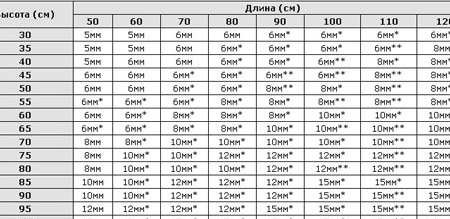

Experienced craftsmen argue that the values in the table include a decent margin of safety. Therefore, it is completely safe to glue the aquarium in 20 liters of glass 3 mm thick, and in 25 liters - 3.5 mm. For a 30-liter model, a material of 4 mm is suitable, a 50-liter model is 5 mm. A tank of 80 liters can withstand glass from 5.5 to 6 mm, 100 liters from 6.5 to 7 mm, and large specimens of 250-300 liters can be mounted from a 10-meter glass sheet.
Thus, with a volume of 21 liters, an ordinary 3 mm window glass will do.

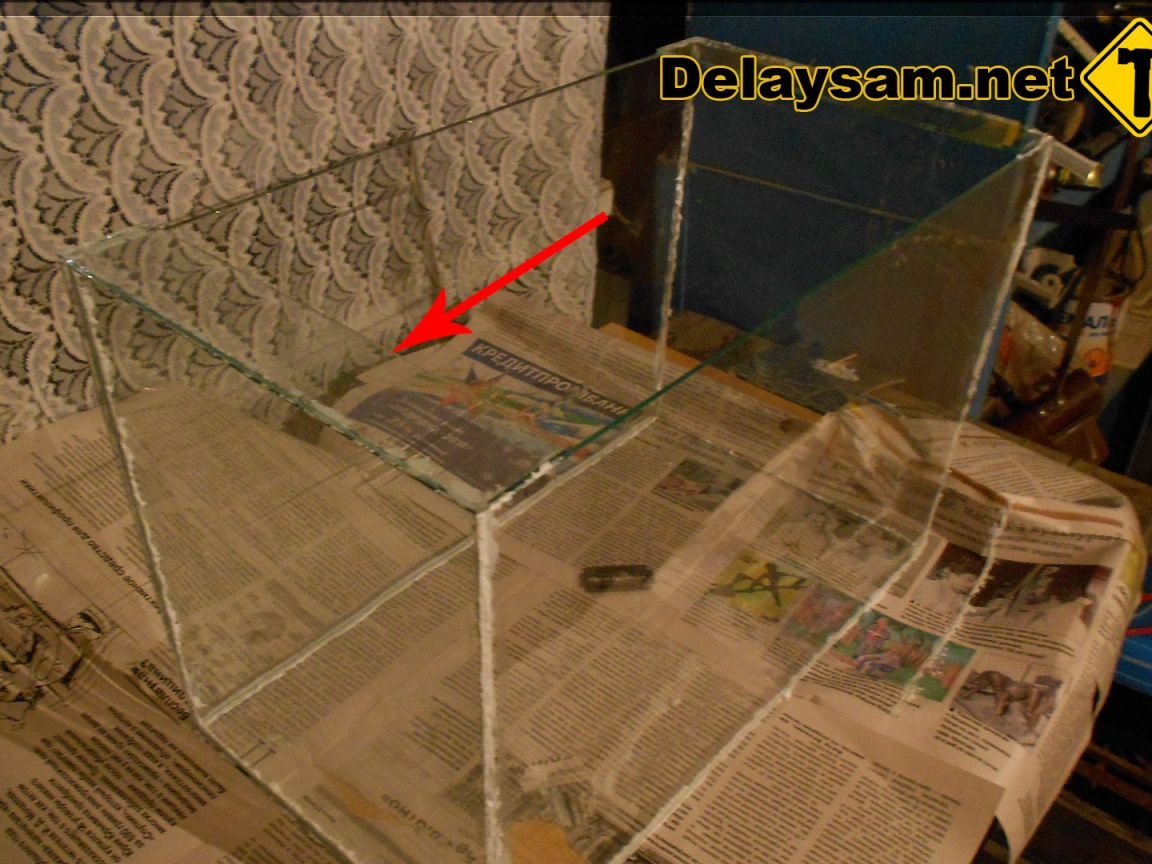
Having cleaned the material from dust and dirt, you can start cutting it. At this stage, it is important to correctly calculate the size. In total there will be 5 blanks: a bottom, two end plates, two front windows. In the proposed embodiment, all vertical parts will be attached to the bottom, respectively, its size should be 40X21 cm. The frontal canvases are cut with parameters of 40x24.7 cm. There are no errors here - since the height of 25 cm is selected and the glass has a thickness of 3 mm, the walls you need to cut into a size of 25-0.3 = 24.7 cm. However, it is not necessary to strictly adhere to these calculations when preparing the main walls. The maximum than this may threaten - the capacity will be slightly higher and slightly larger in volume.
The fitting of the side walls should be taken more seriously. Their height may vary depending on the size of the front windows, but the width should be fixed. In this case, it is 20.4 cm.The algorithm for deriving this value is simple: the planned width is 21 cm, the glass thickness is 3 mm, and the combination of the thicknesses of the back and front sheets is 6 mm. Therefore, the width of the walls between them should take into account the difference in these values. For clarity, look at the diagram.

When cutting glass parts, be careful and as accurate as possible. Distortion of even 1 mm can lead to further problems.
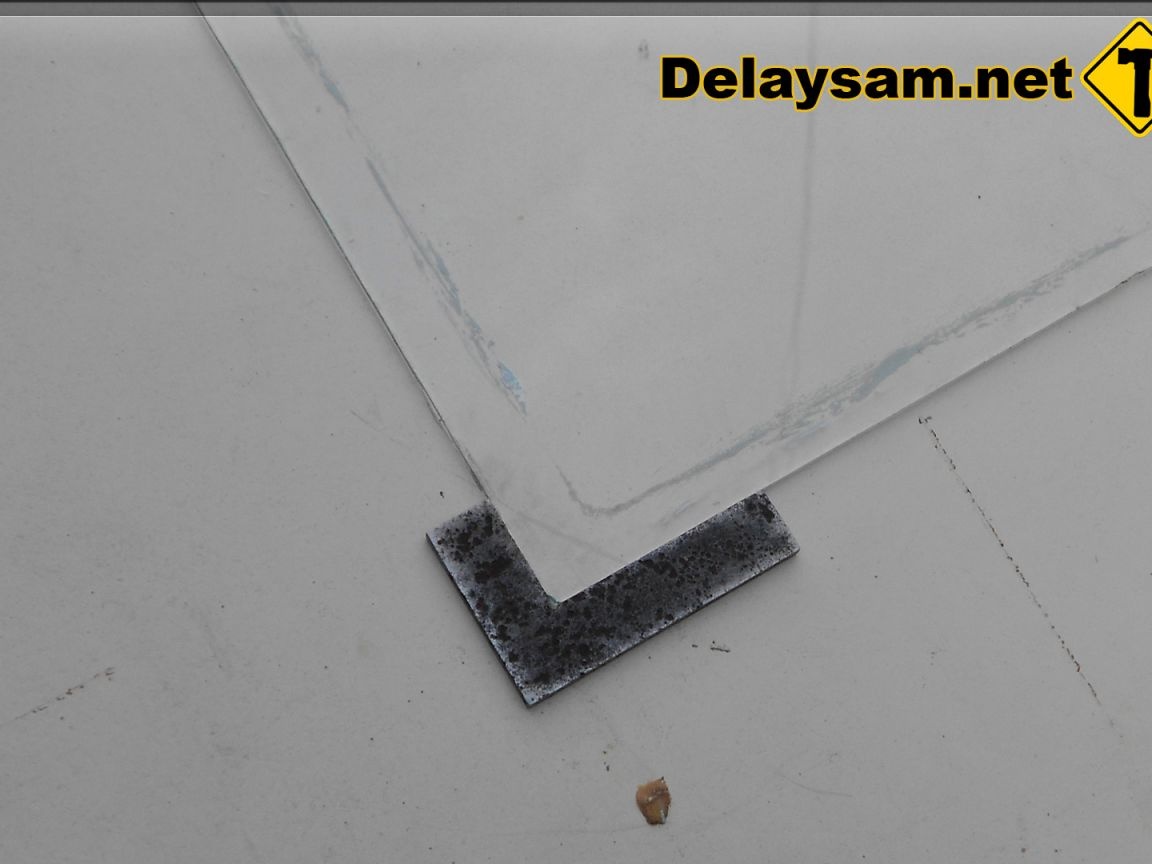
After the manufacture of glass blanks, a check is carried out of the parts for compliance with the dimensions and quality of the joint of the joints.

If old windows were chosen as raw materials, then it is time to clean them more carefully, using special tools or a blade to scrape off traces of paint.

Ahead the main stage is the installation of the aquarium. The walls are connected with glue, but there is a very significant nuance - the glue should only be a specialized, non-toxic silicone. It is he who is completely safe for living organisms.

If you still decide to take a chance and resort to ordinary building silicone, then after the product has completely dried, fill it with water and leave it for several weeks. It is advisable to change the water once a day. Only after such prevention can you try to put fish there. However, this method does not give any guarantee!
It is better to refrain from color glue for the first time. Beautifully tinted seams are undoubtedly more pleasing to the eye, but this requires skill. To begin with, a transparent sealant is suitable, since excesses are inevitable, but at least flaws will not be visible.
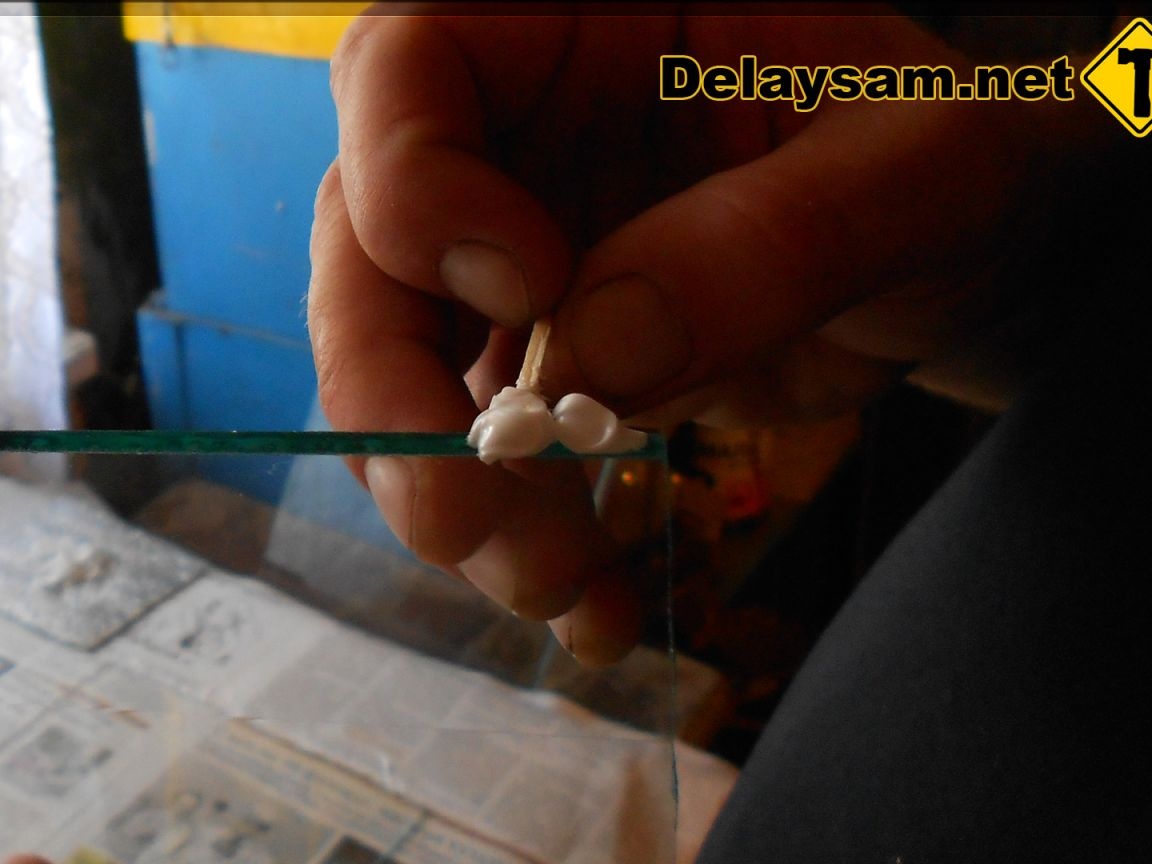
You need to assemble the aquarium on a completely flat surface. First of all, a sidewall and one of the facades are attached to the bottom. Silicone glue, at the same time, is applied with quick movements, otherwise it instantly forms a specific film, after which it is problematic to achieve perfect tightness. Cures glue for about a day. It is advisable to apply the composition with a gun, but if this tool is not available, you can wield a simple match.
We mount the remaining two sides.

If there is any doubt about the stability of the structure, it is recommended to add stiffeners. Later they can become a stand for the lid.
A day later, when the glue hardens, the seams are processed with a blade or a clerical knife (excess silicone is cut off).

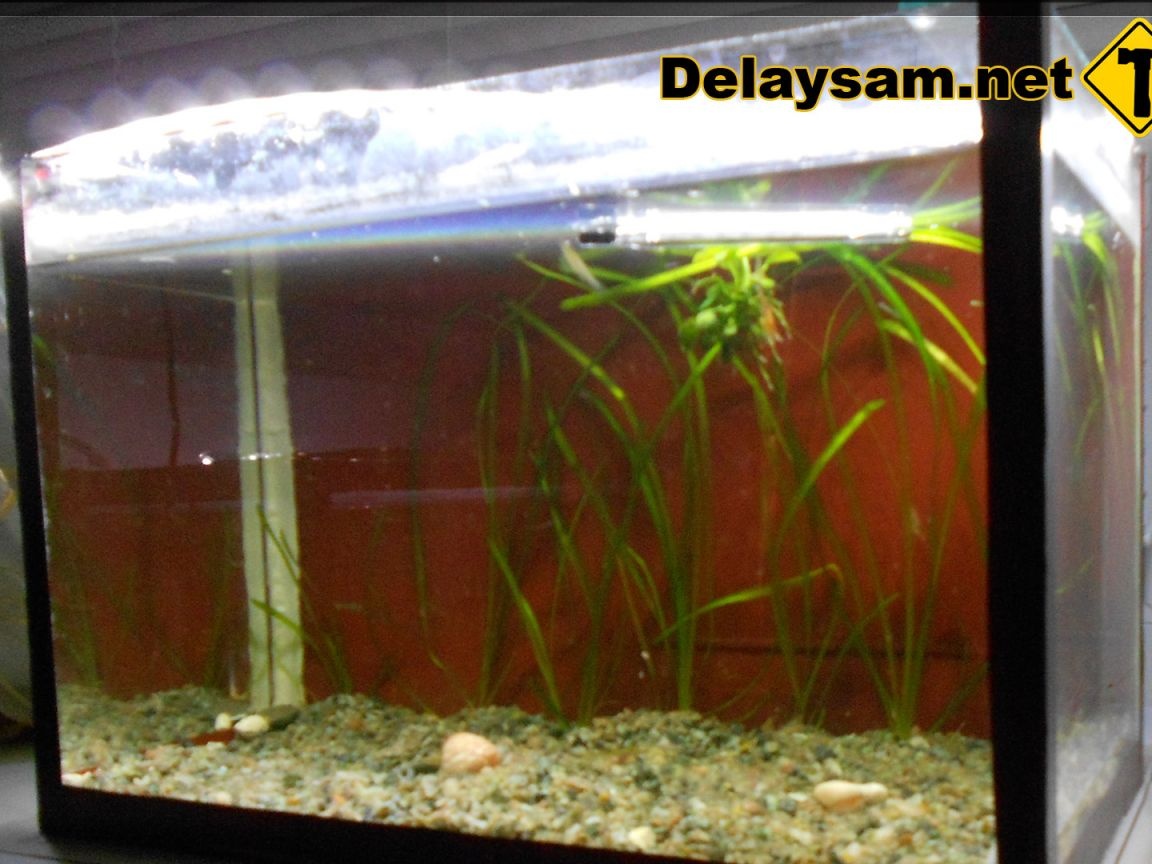
If the result is not very successful (crooked ribs, rough seams), the aquarium is decorated with a self-adhesive film and now, a new, cozy, home-made fish house is ready and waiting for its guests.