People who spend a lot of time at the computer complain that their mice are not comfortable. Especially gamers who spend much more time at the computer than the average user. They complain of pain in the wrist, their hands are not comfortable on the mice: winked:
That is why the author of this homemade decided to make a mouse described below. It is always comfortable with her, since the mouse is only your hand. There are, of course, more complex options, but it requires programming knowledge, additional components, a controller that will monitor the position of your head. And this whole thing will control the mouse cursor. But this is the cheapest and lowest budget option.
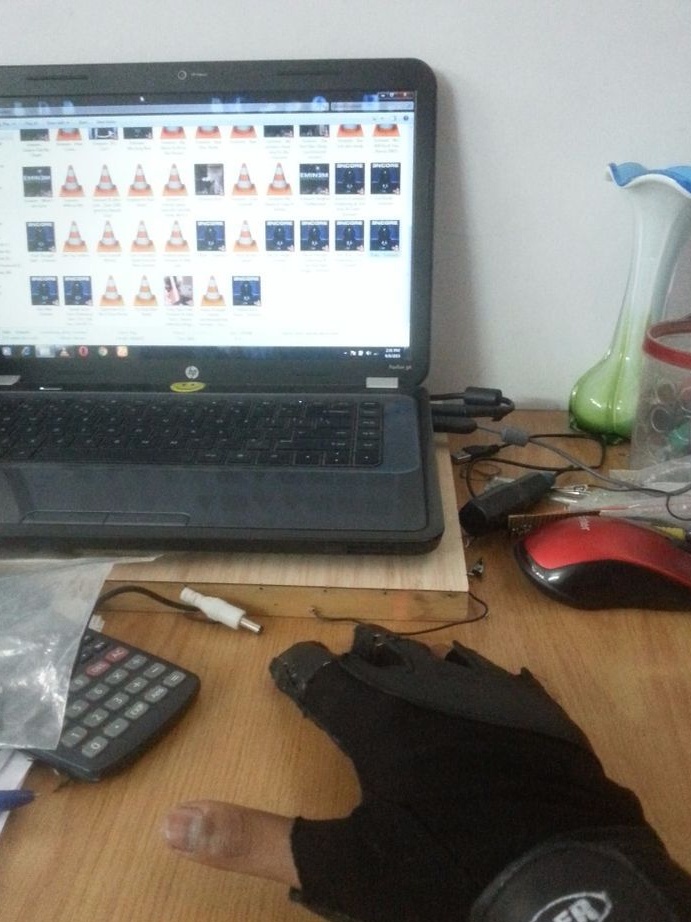
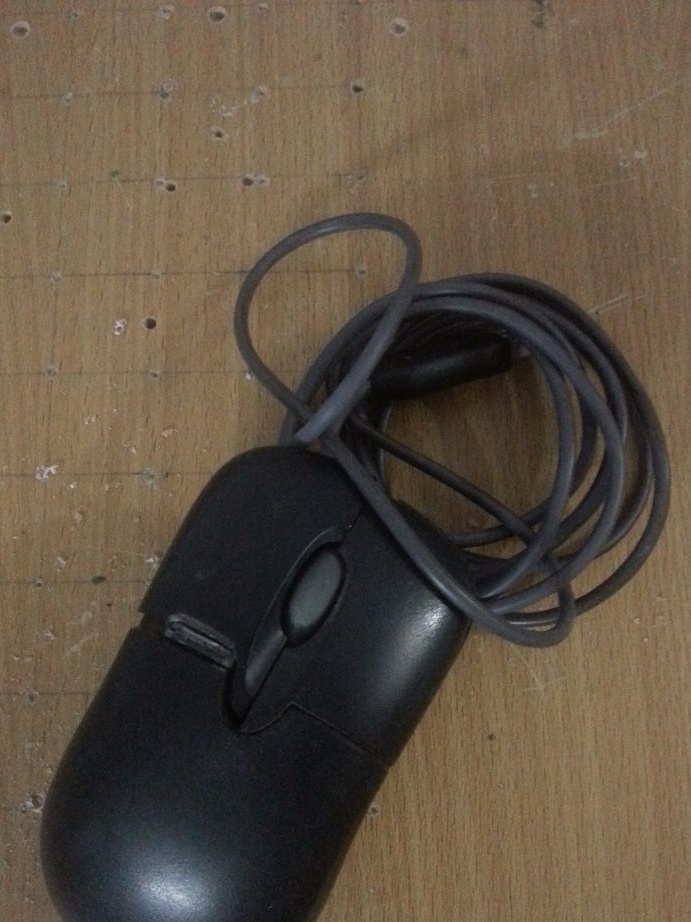
We'll start with a dead computer mouse ... Well ... not quite dead, but just an old computer mouse that you don't use anymore. If you don’t have a mouse (which is unlikely) ... Then you can always buy it. Or take it for a while from a friend, but warn in advance that you are not going to return it back: wink:.

What do you need
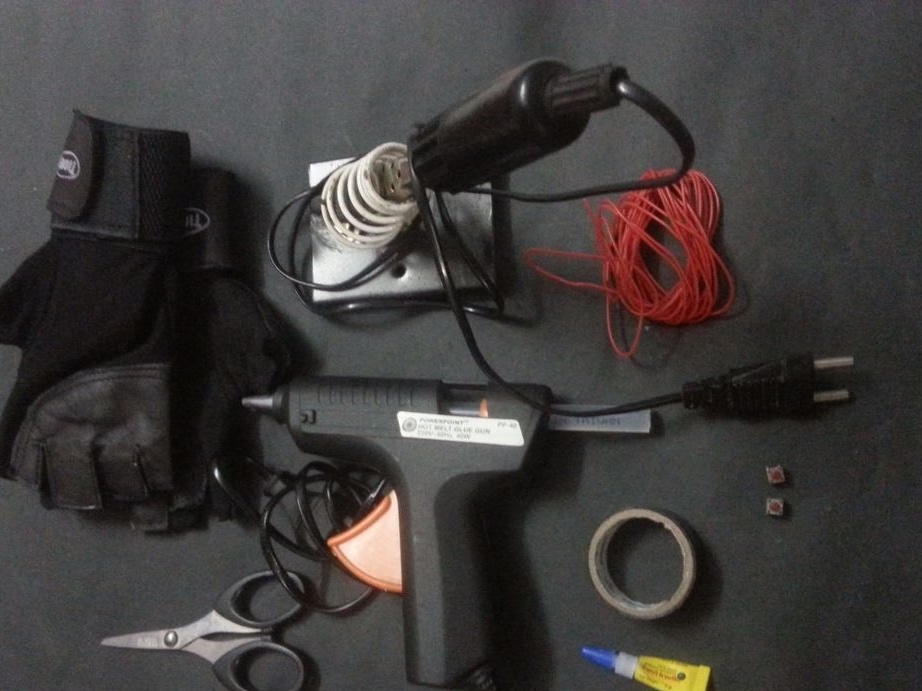
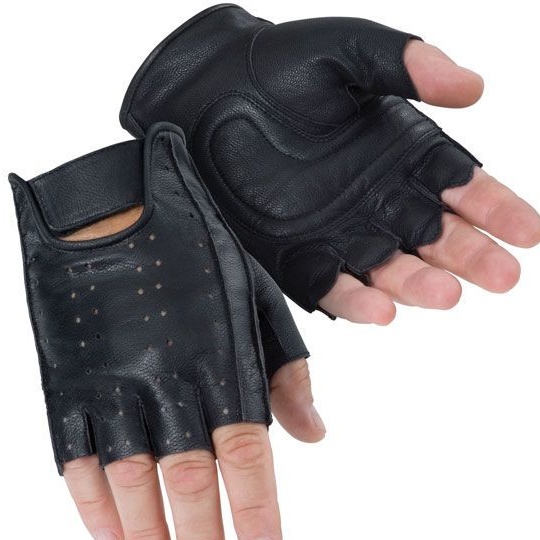
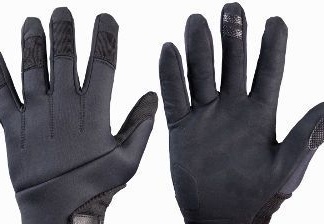
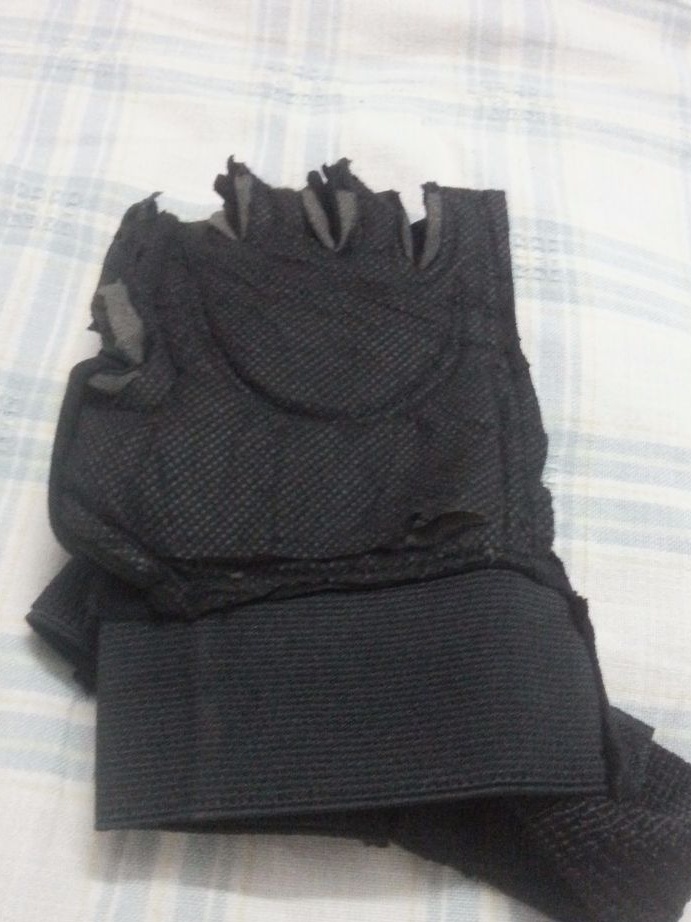
Choose gloves
The gloves you will use should be loose enough to fit the mouse circuit board. It is better, of course, if it is gloves with “fingers”, and not short cropped gloves, like the author’s. Then you do not have to stitch separately the “fingers” for your gloves.
So. Are you ready to sacrifice one pair of gloves?
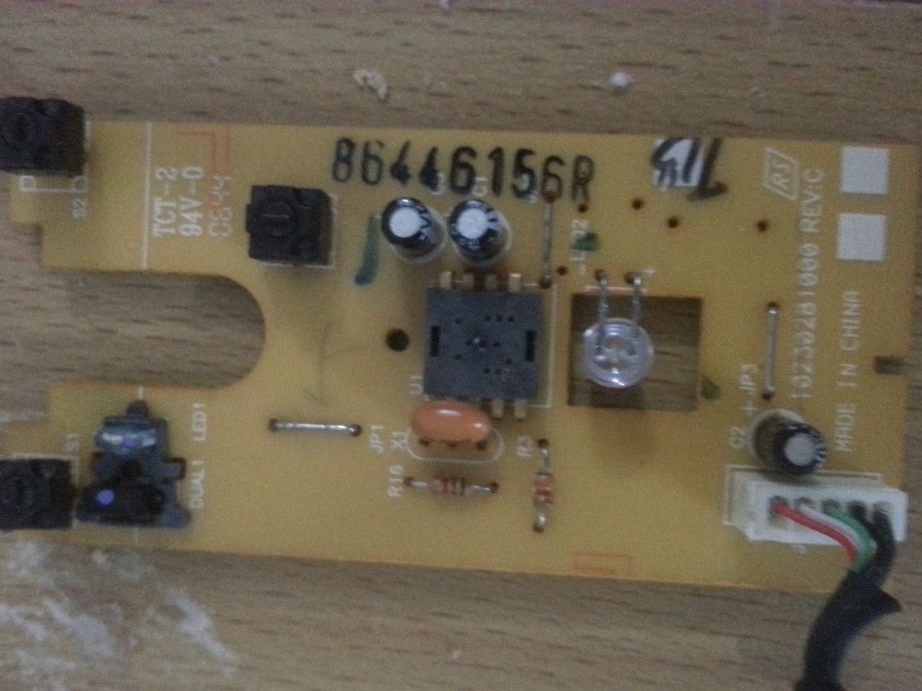
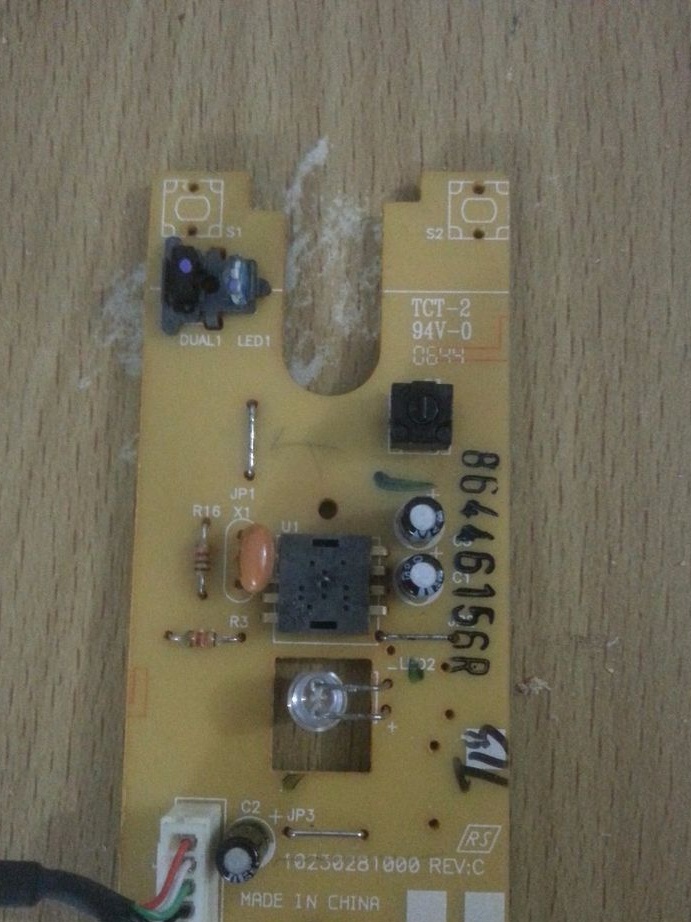
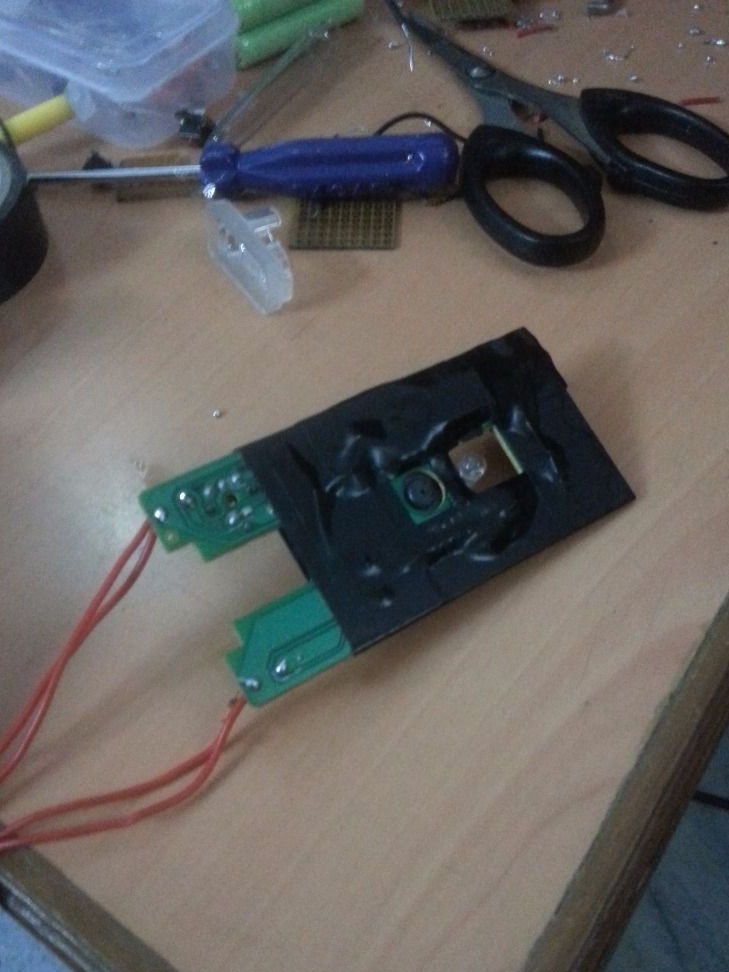
Modification of the PCB mouse.
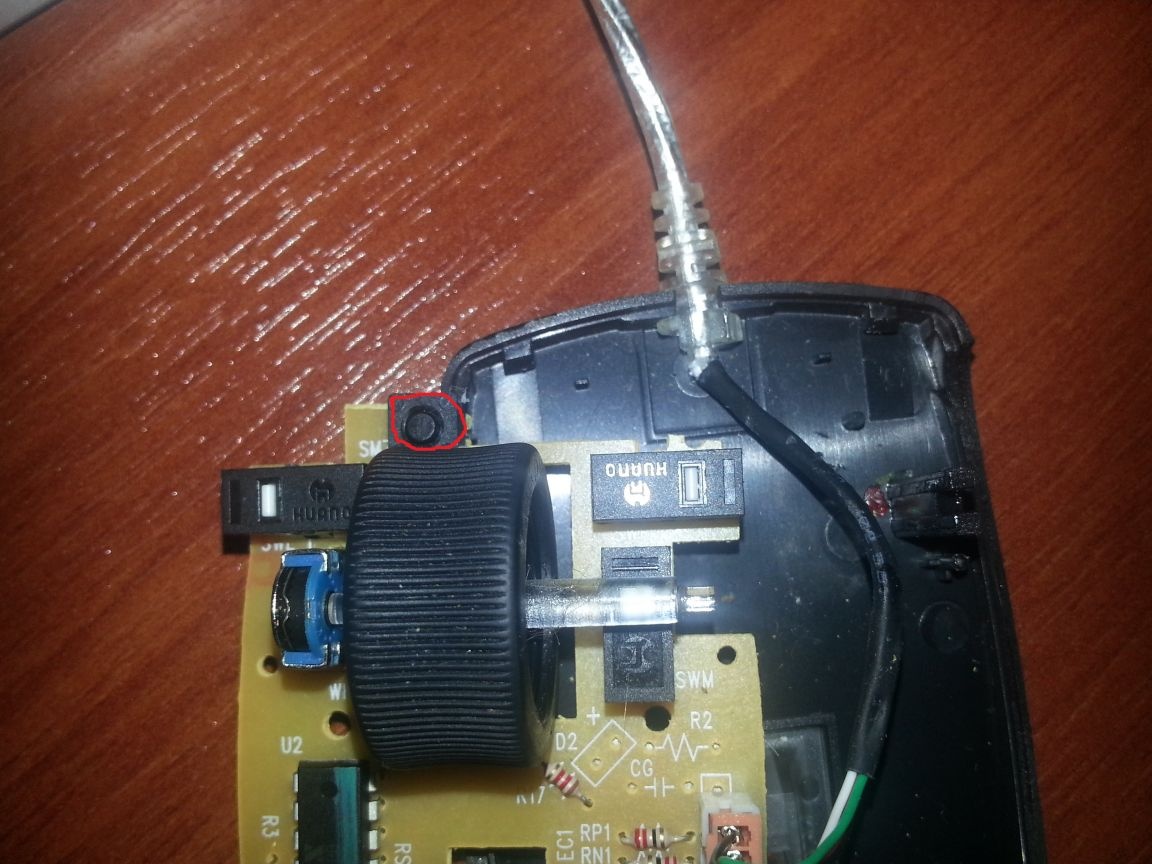
Remove the left and right buttons from the board. Yes, and scrolling, perhaps, is also not needed. Solder it too. Insulate the board on the side of the conductive tracks with electrical tape.

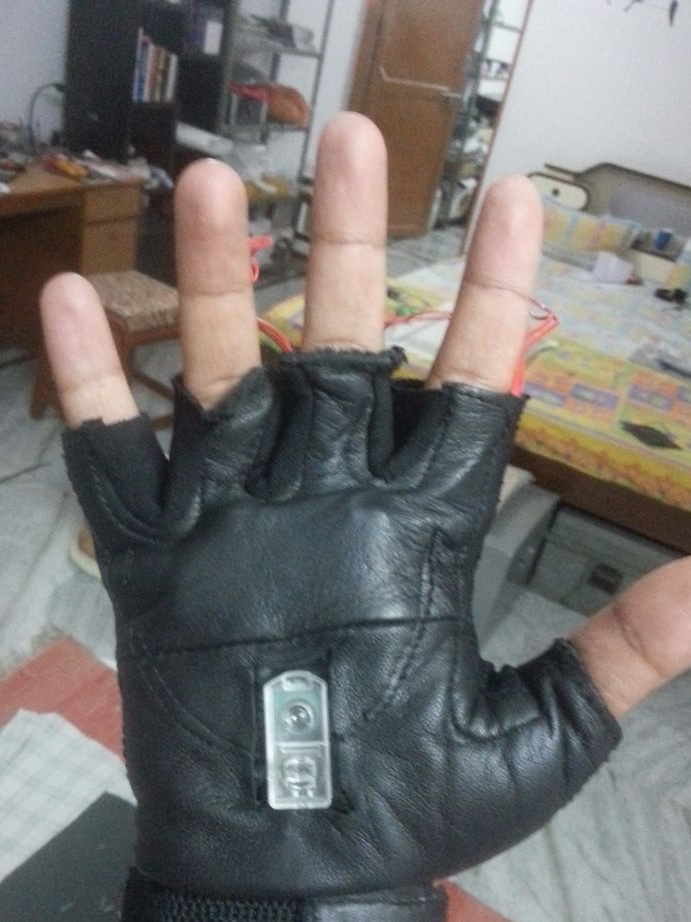
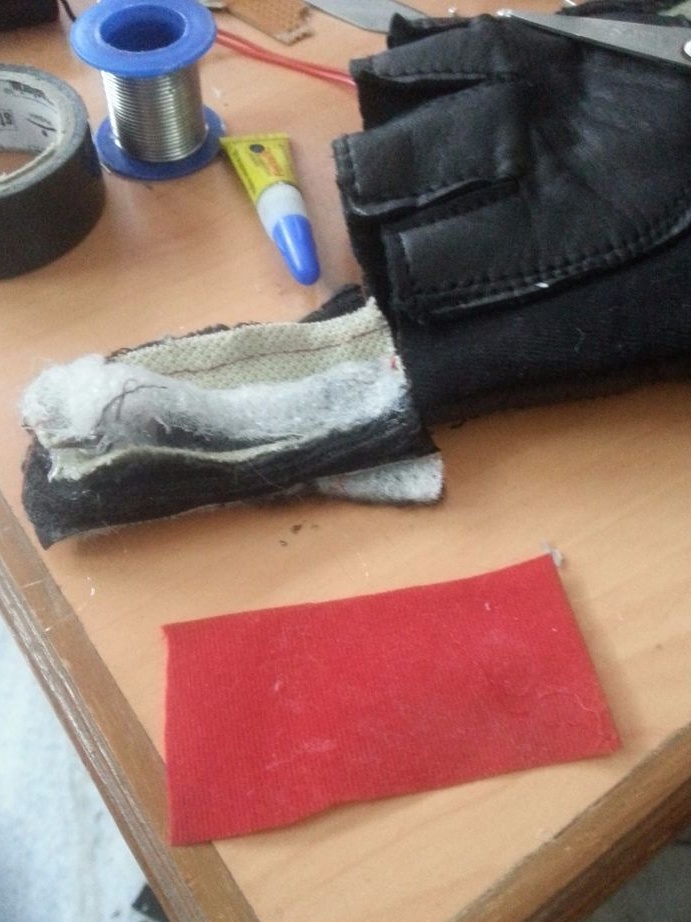
Glove preparation.
First you need to cut the gloves in order to insert a printed circuit board inside.

If it is impossible to cut gloves, you can, on the contrary, sew a piece of fabric, and even better skin.
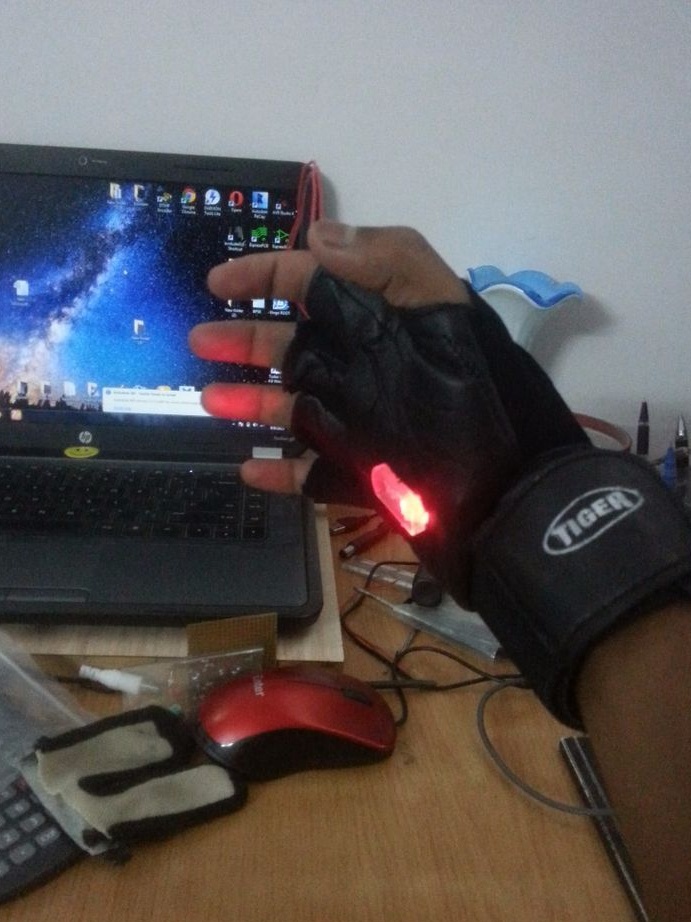
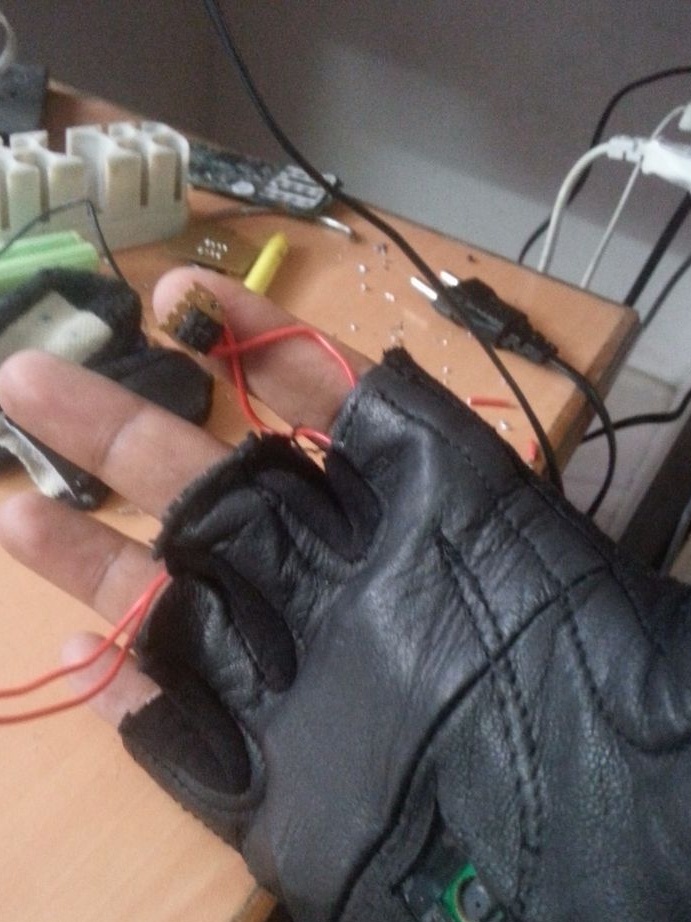
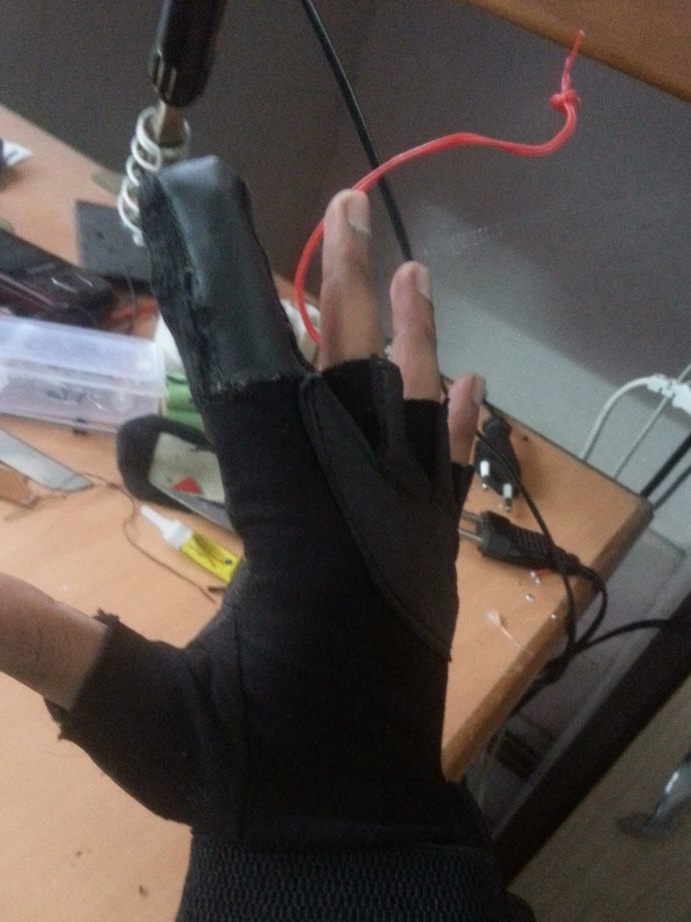
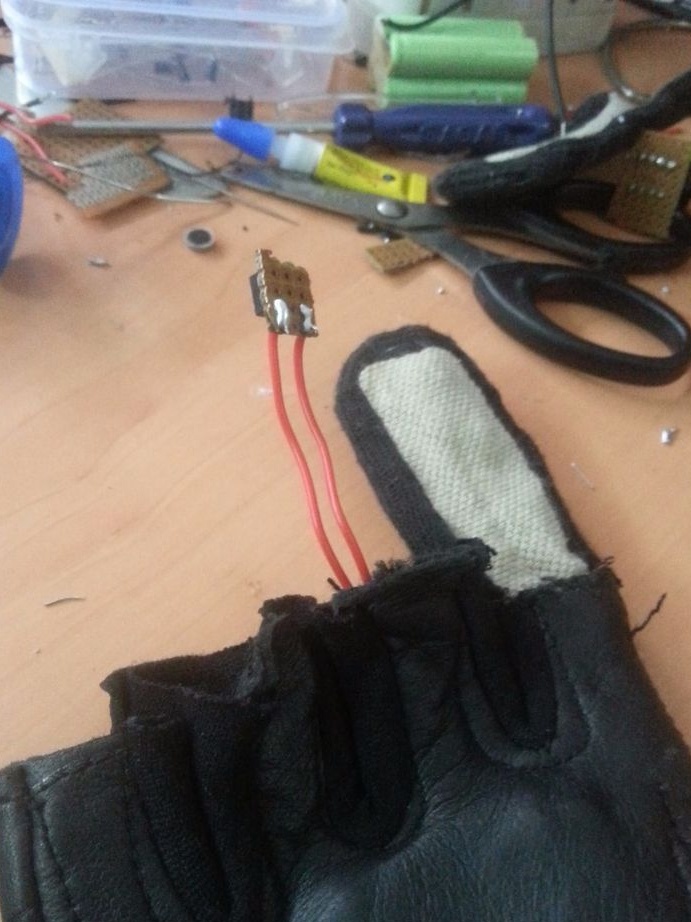
Take 4 wires of equal length.They are needed to connect the buttons. The softer the wire, the better. You can use the wire from the telephone headset. It is very flexible and two wires are suitable for each earphone, in isolation. Insert these wires into the glove as shown in the photo. Index finger for the left click, middle for the right. So we only need two fingers.

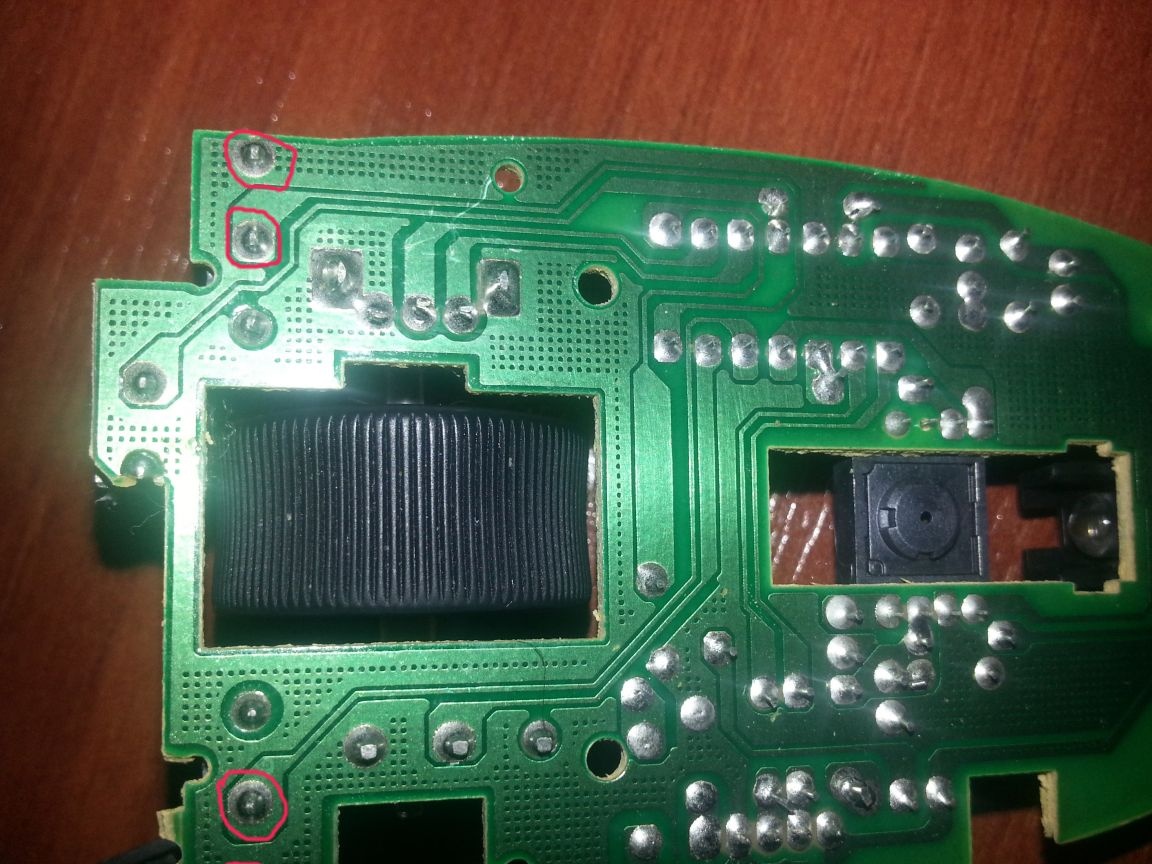
Solder one end of the wires to the board, to where the buttons are from.
Note that the buttons have three outputs. Therefore, on the board, solder the wires to those two pads from which the tracks go further to the board (see photo, Circled in red). The truth in this photo is another mouse. My.
The second ends of the wires will subsequently be soldered to the buttons.
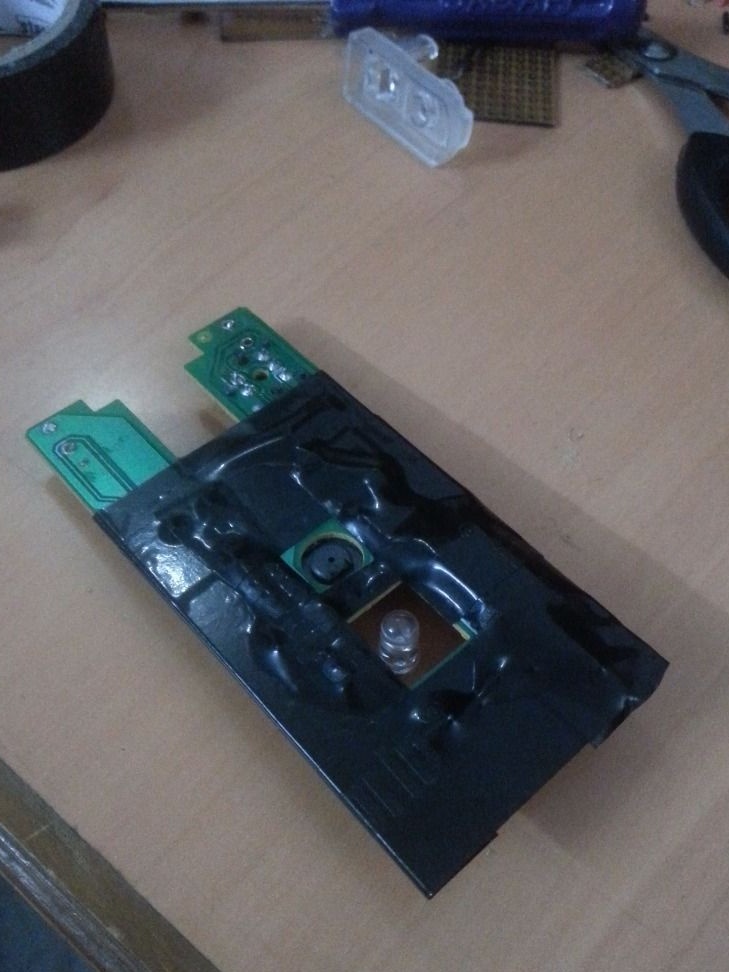
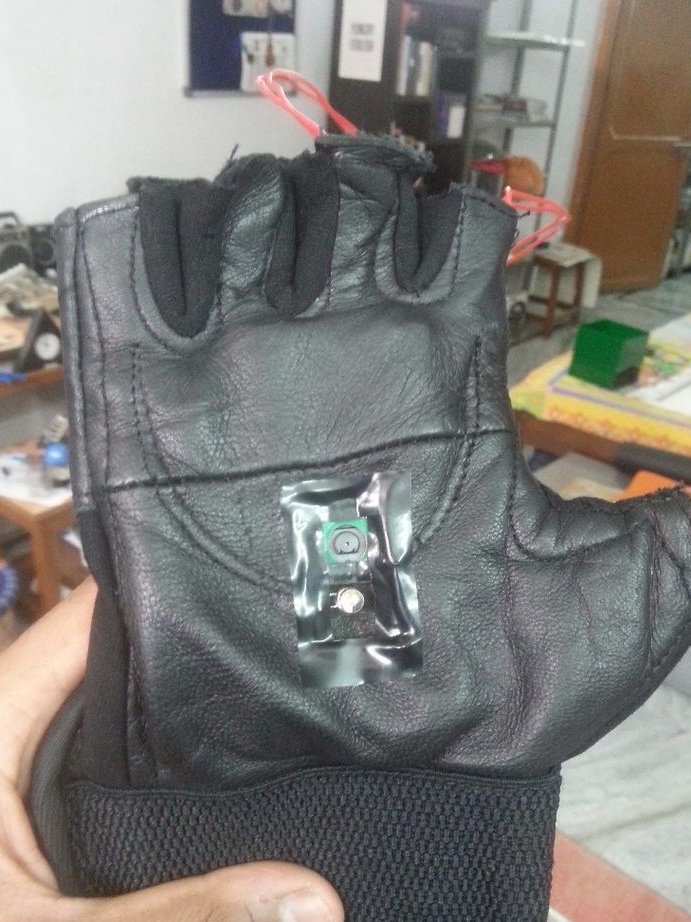
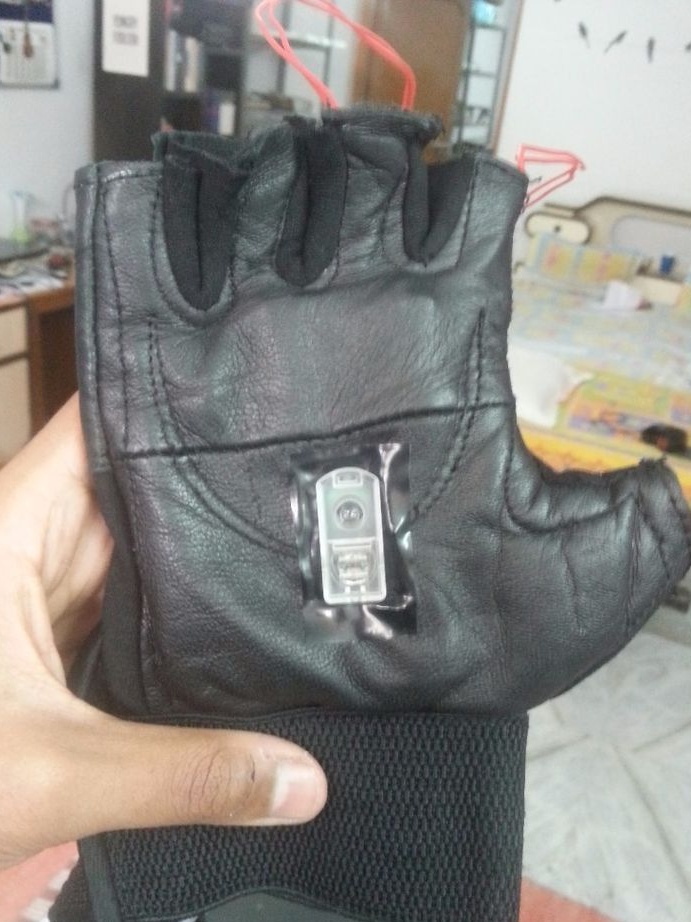
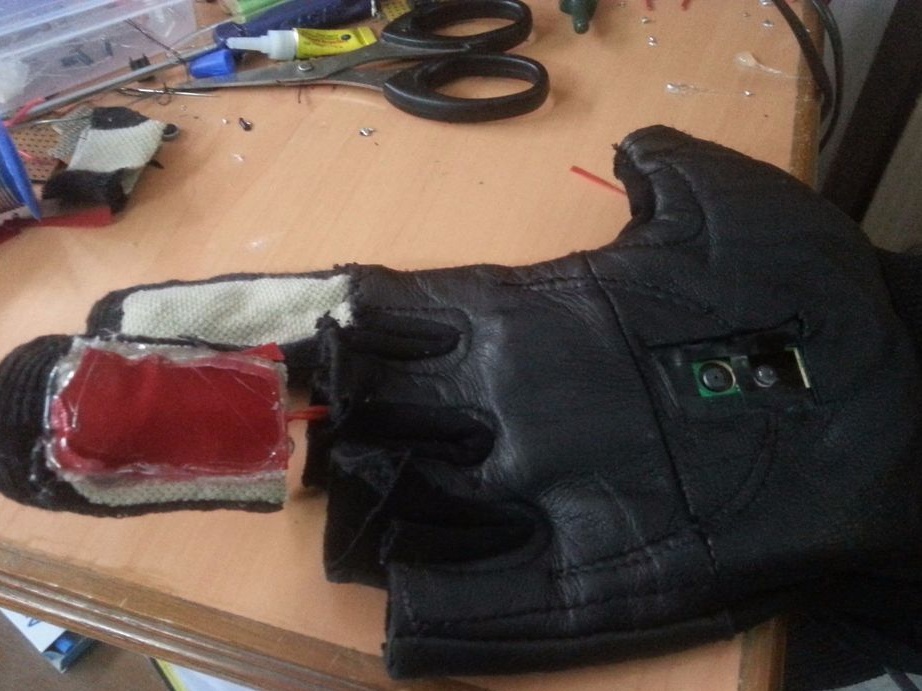
Installing the board.
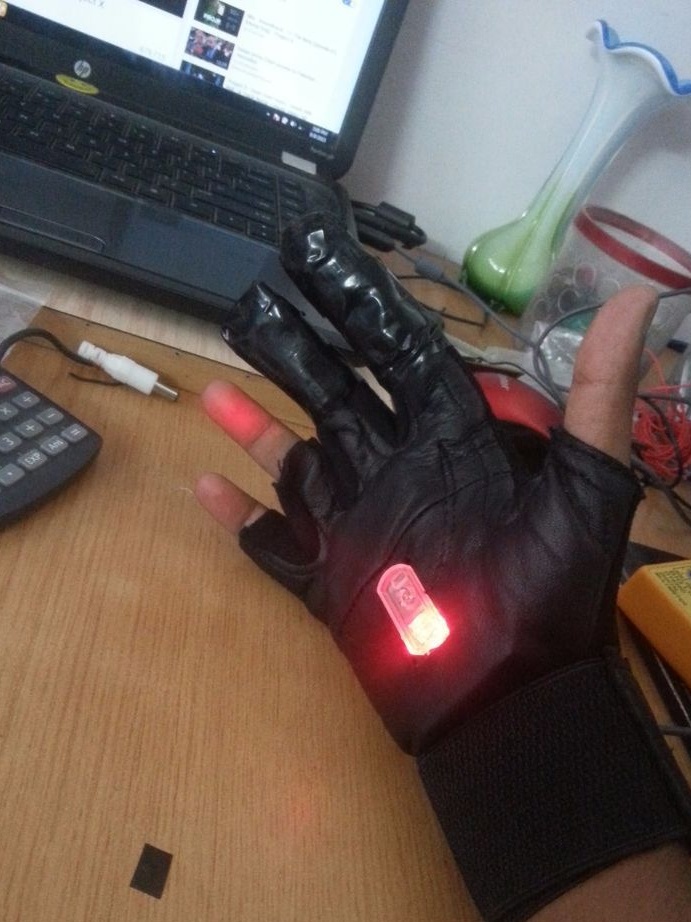
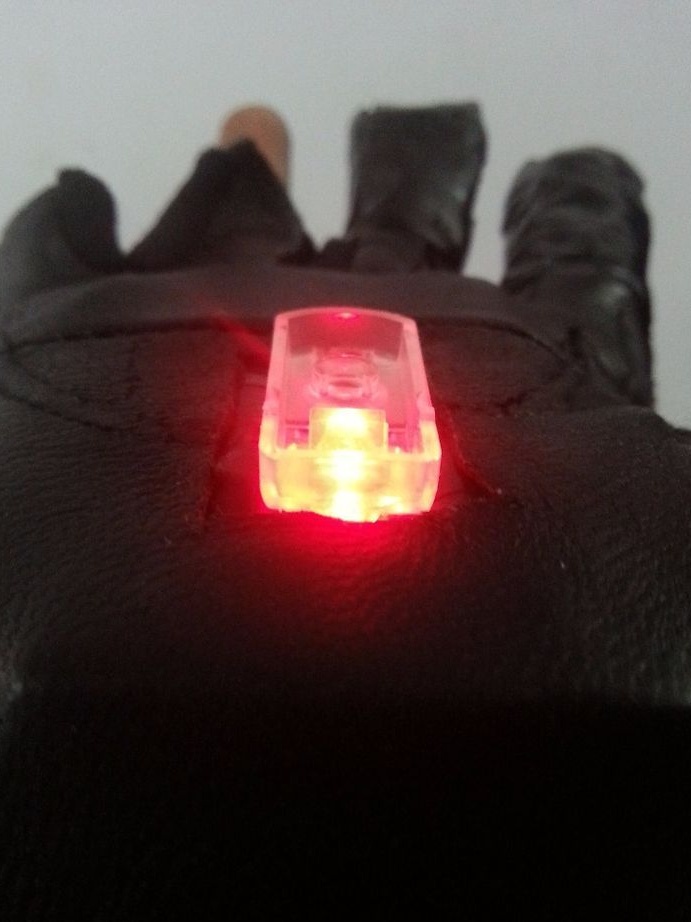
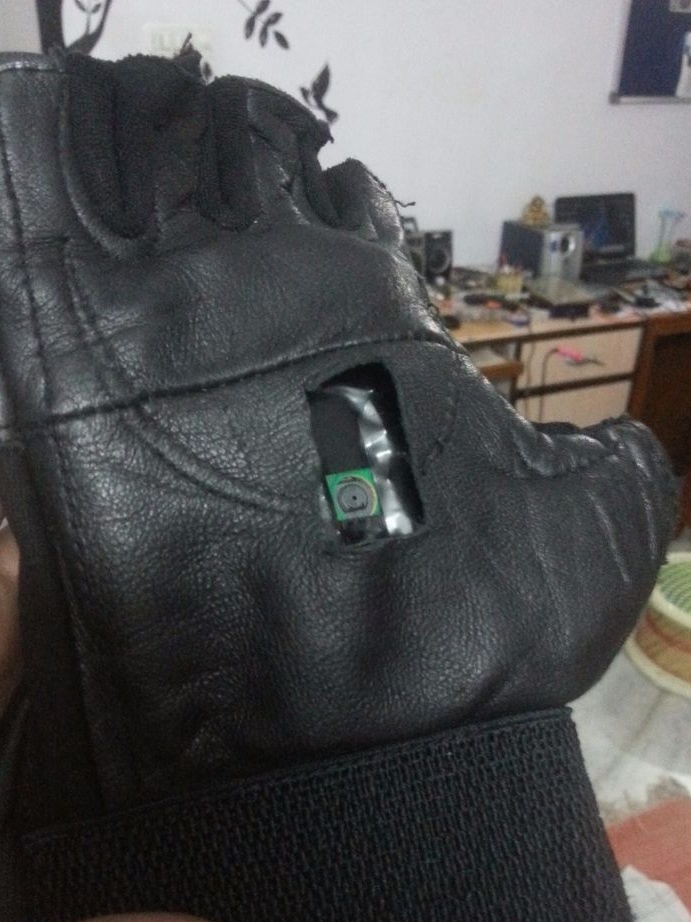
Insert the circuit board inside the glove. Carefully mark the place under the plastic prism on the underside of the glove.
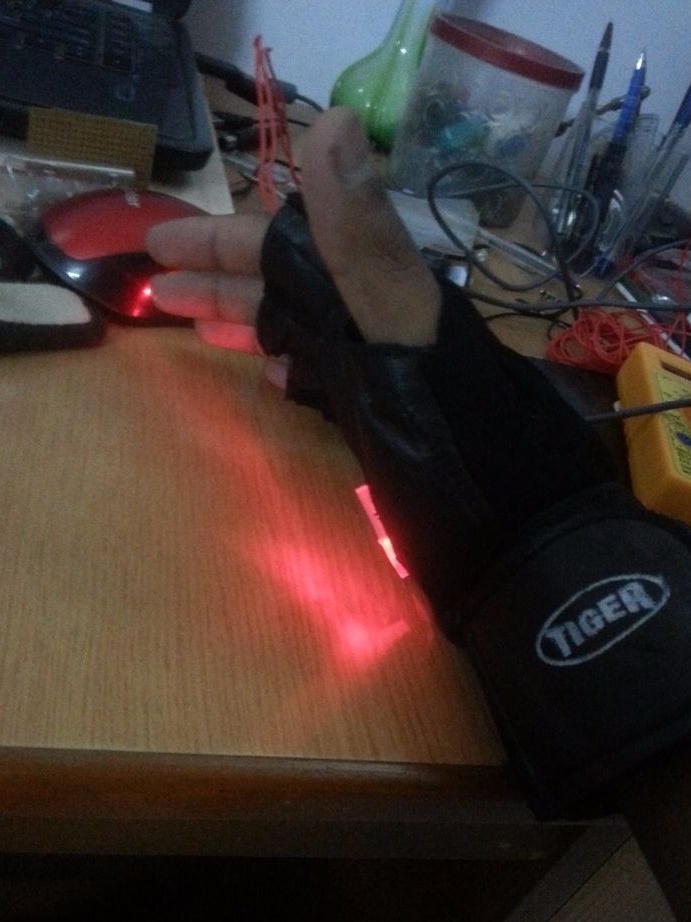
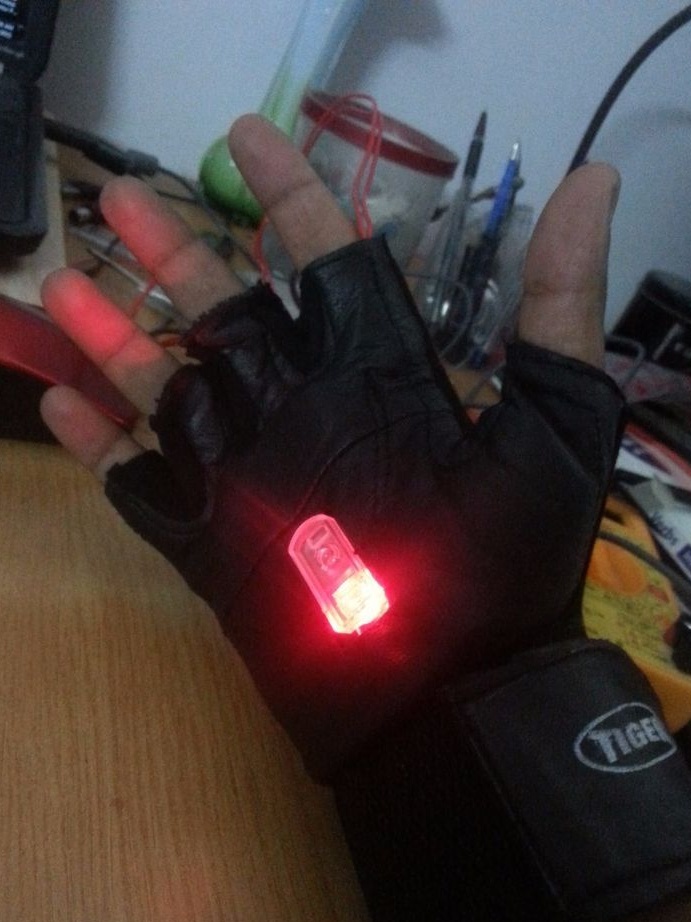
Carefully cut the window according to the marking. Fasten the prism. Check the mouse for a proper response to movement.
Connection buttons.
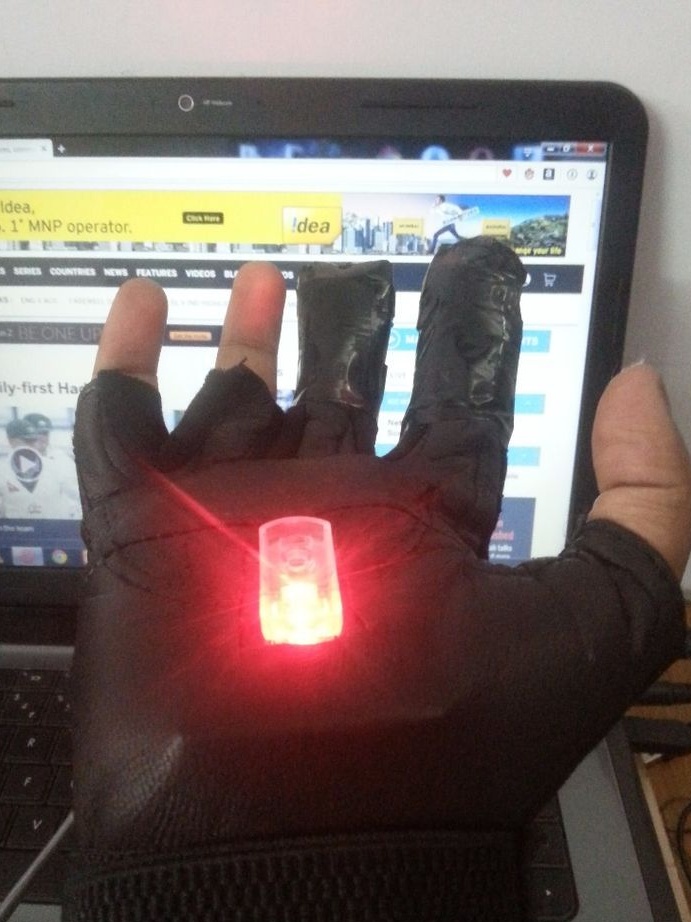
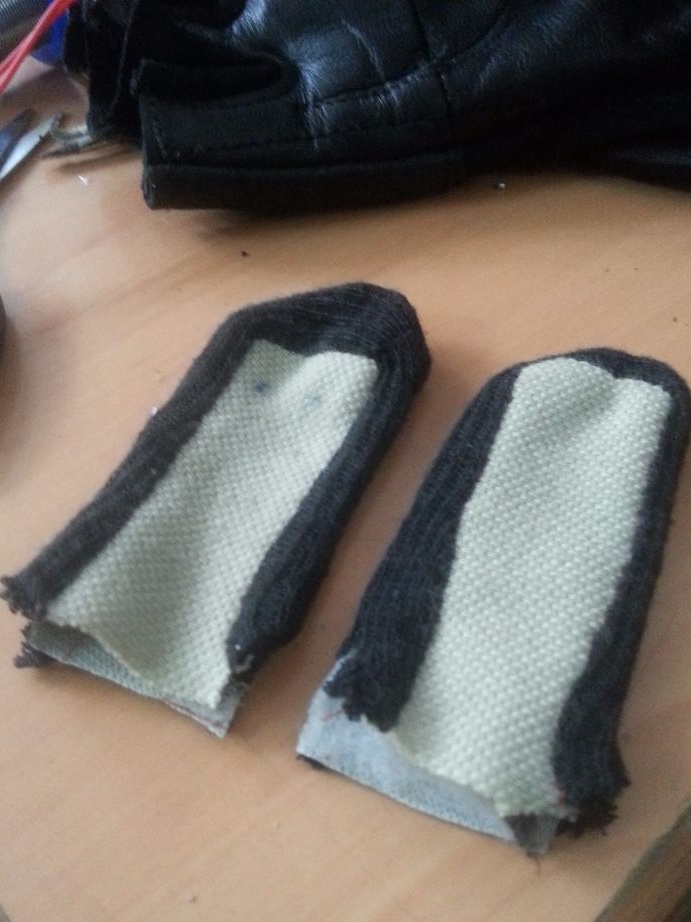
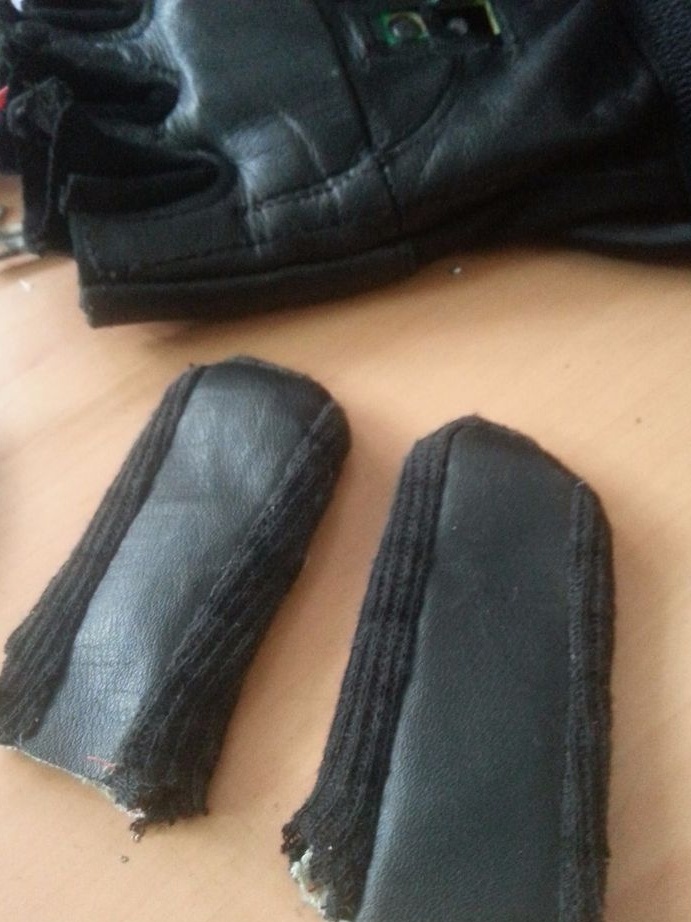
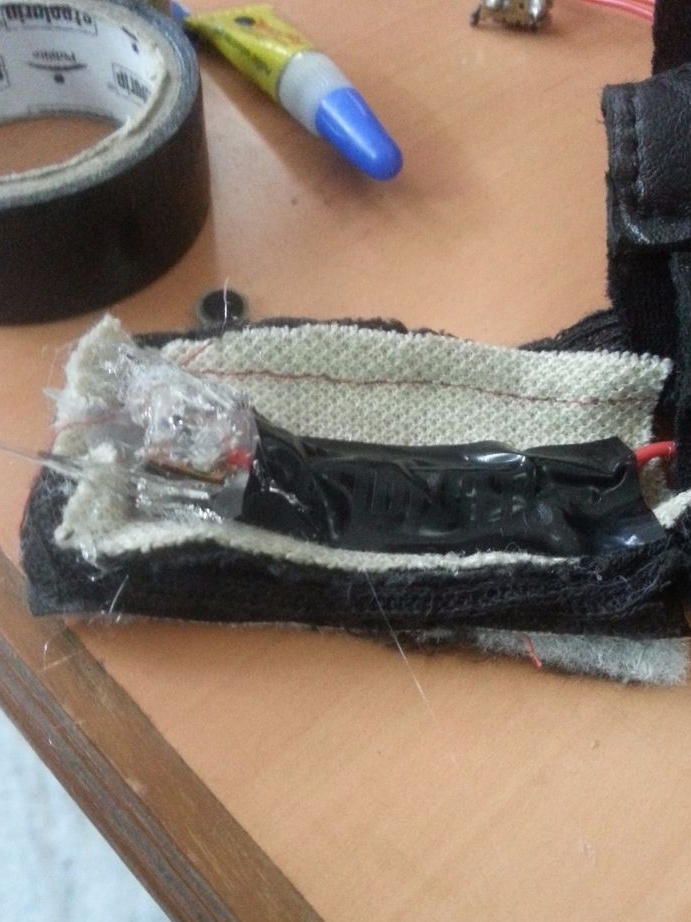
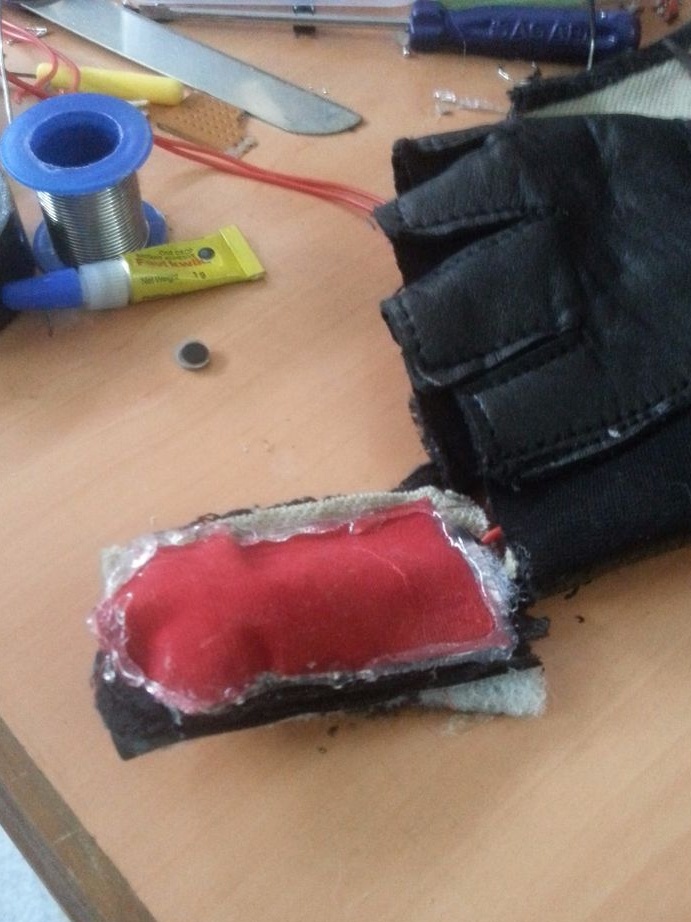
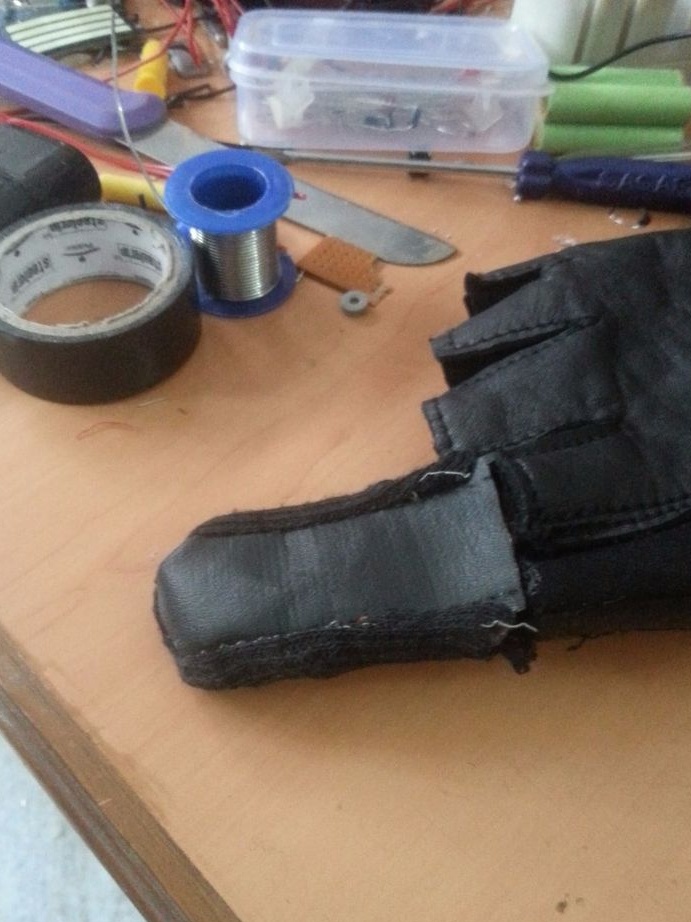
Since the author did not have uncircumcised gloves, he had to sew two “fingers” separately.
The author of the article as an experimental has a completely old mouse. He used buttons soldered from this mouse. If you have buttons, as in the photo,
it will be inconvenient to use them. Find the buttons as highlighted in red, the button in the photo, they are much more convenient.
Solder the buttons into small pieces of the breadboard. Solder the wires soldered earlier on the mouse board to these buttons. Fix the buttons on the "fingers". You can use hot melt glue for this, or you can try to sew a piece of fabric on the "fingers" and so fix the buttons on the glove. Choose the location of the buttons so that you are comfortable pressing them, and the hand does not strain.

You need to think about how to attach the scroll wheel. Perhaps you can do without a video. Scrolling the page can be done by pressing and holding the middle button. You can attach the middle button to the thumb, which was left virtually without “doing”. Then you will need two more wires and a button. There are many options. We must try to whom it will be convenient.