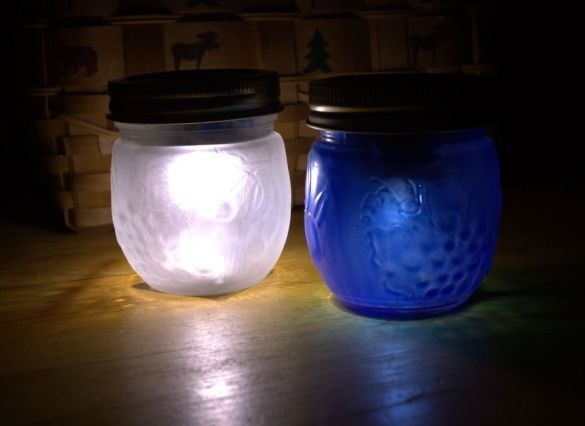
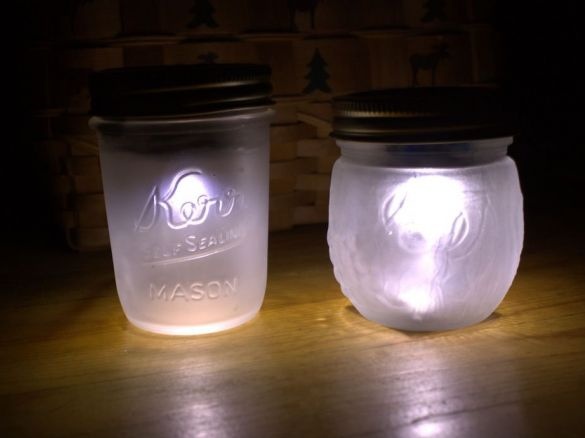
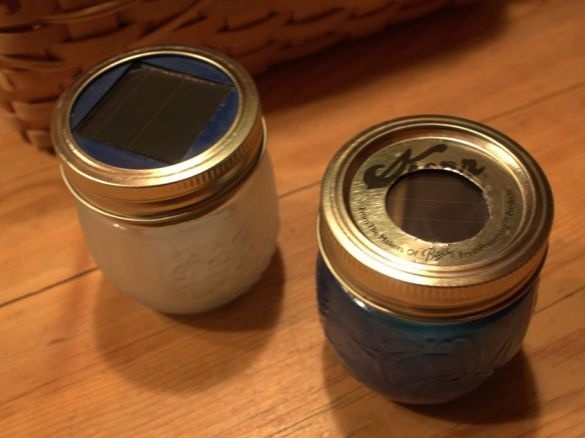
Tim Massaro decided to realize a fresh idea, the essence of the idea was to charge the lamp with solar energy on a daily basis. During the day, the lamp accumulates charge, and illuminates (discharges) at night.
Required Items:
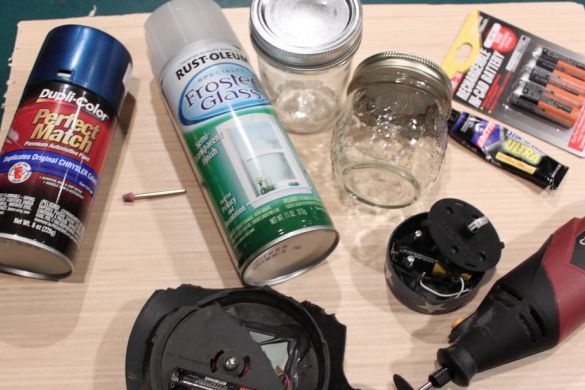
1. A glass jar, or other suitable glass jar.
2. Solar lamps used to illuminate the garden.
3. Spray paint with a frosty tint.
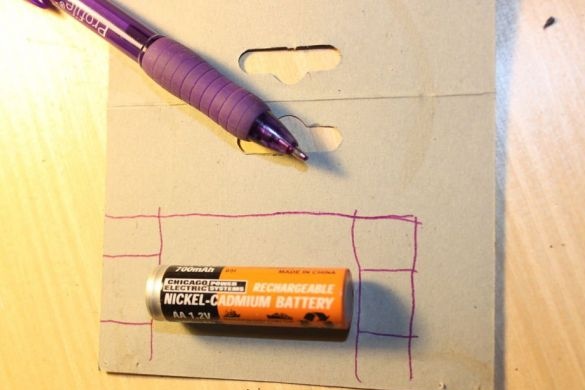
4. Several nickel cadmium batteries.
5. Dozed off.
6. Hot glue gun and hot glue.
7. Knife X-Acto.
8. A screwdriver.
9. Vise (optional).
10. Color paint (optional).
11. Soldering iron (optional).
Step 1: Variations
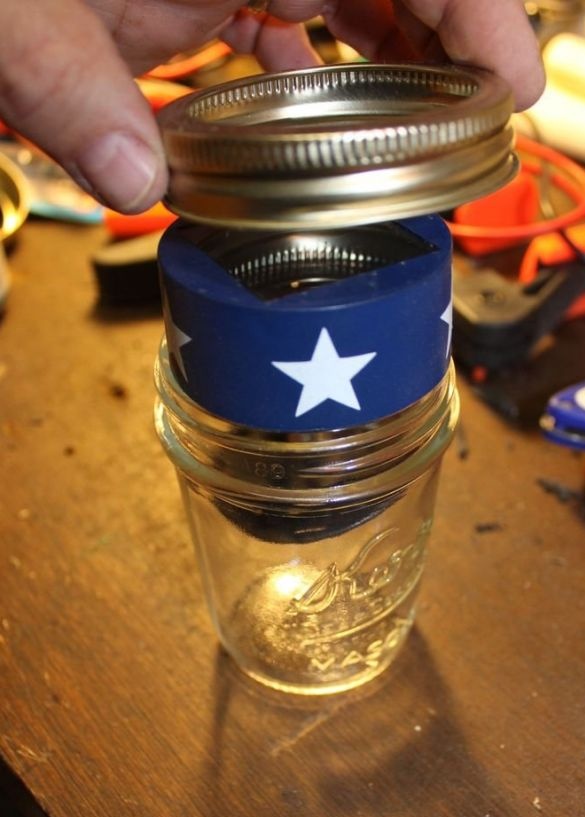
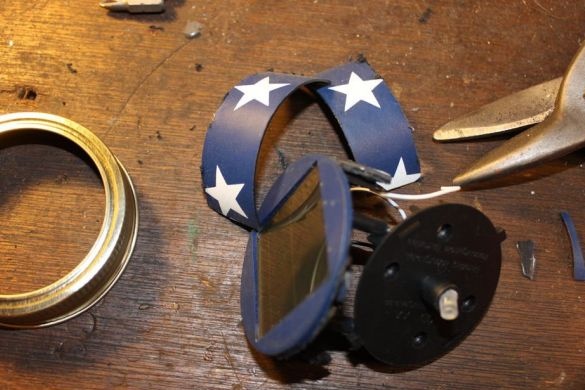
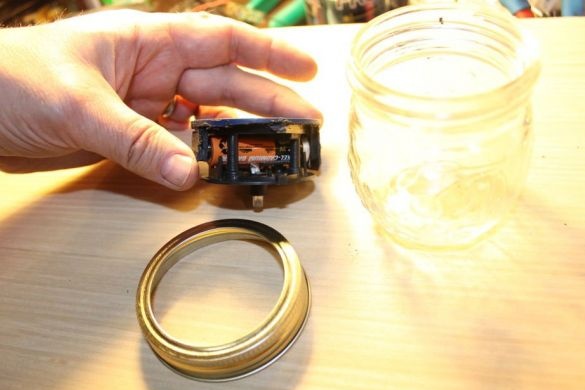
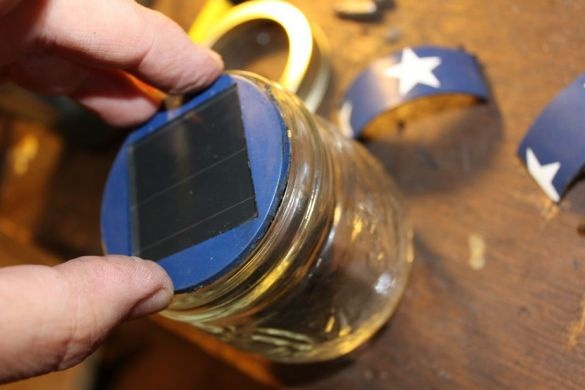
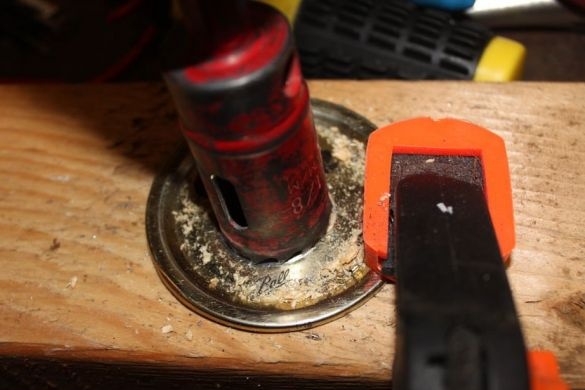
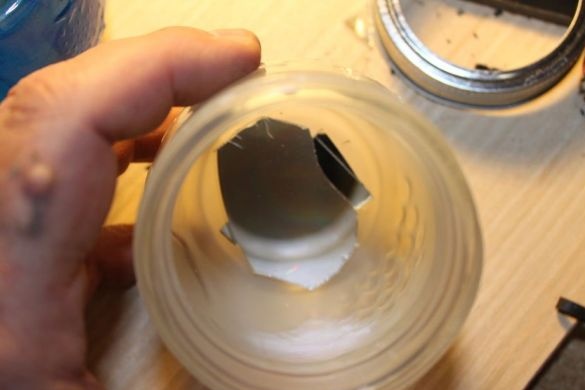
It is allowed to use solar lamps with sizes both larger and smaller than the diameter of the can lid. If the lamp is smaller, the hole is cut out in the can lid itself, then the bulb is glued. When using a larger diameter solar lamp, you need to align the sides of the lamp; for this, scissors for metal and Dremel are used.
Step 2: Light Bulb
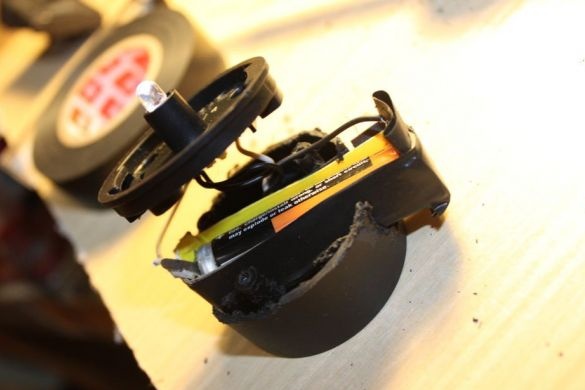
• Unnecessary plastic is cut off.
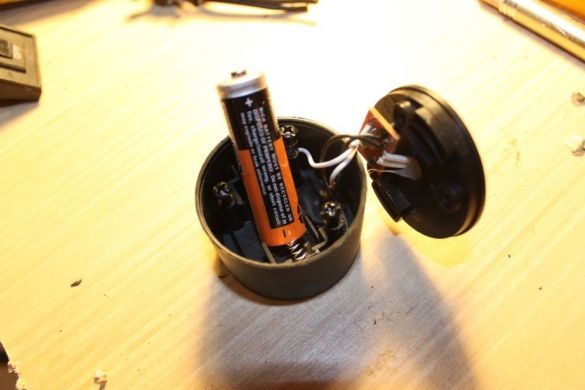
• A worn out battery is replaced with a new one.
• The contacts in the battery table are cleaned from rust.
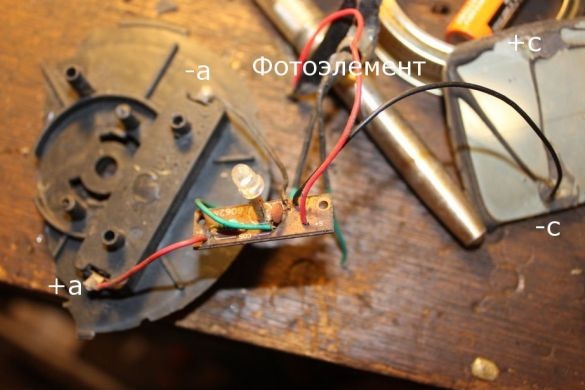
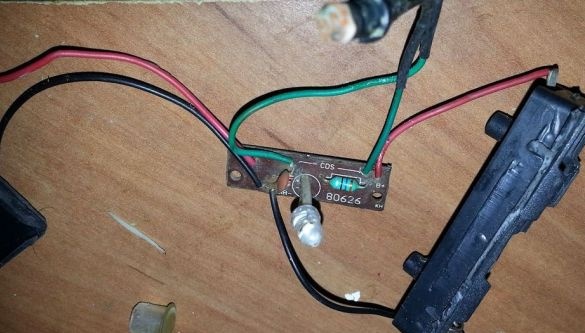
• Based on photo 1, the disconnecting wires are soldered, and + is the positive wire coming from the battery, -a is the negative wire coming from the battery, + c is the positive wire coming from the solar battery, -c is the negative wire coming from the solar battery .
Step 3: Coverage
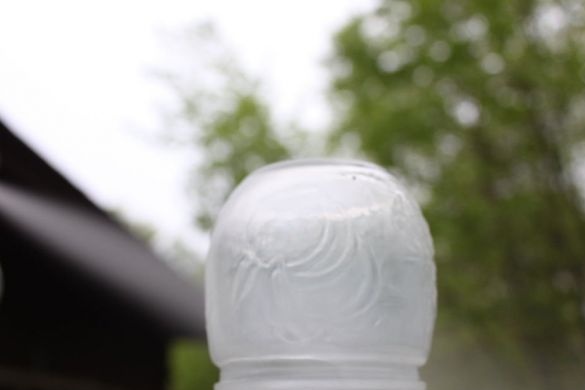
The outer and inner layers of paint are applied, the glass top is not coated with paint. Use your ideas for the excellence of your solar powered luminaires.

