

Hello dear the inhabitants of our site.
As I said in the previous master class, I ended up with cabinets of the USSR model. The material is very good and easy to process. Today I want to show how I made a shelf for my workshop from the components of this, long-served my, of furniture.
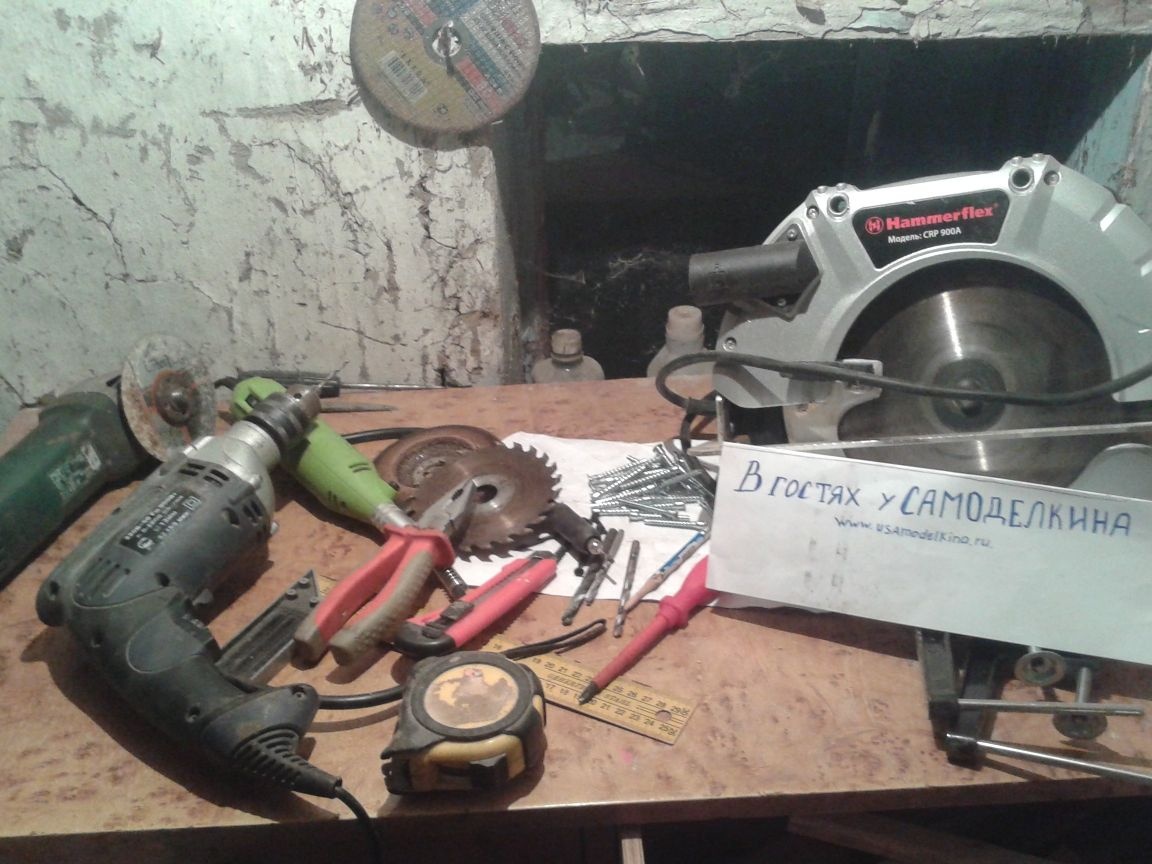
To begin, I will provide you with a list of tools necessary in the process.
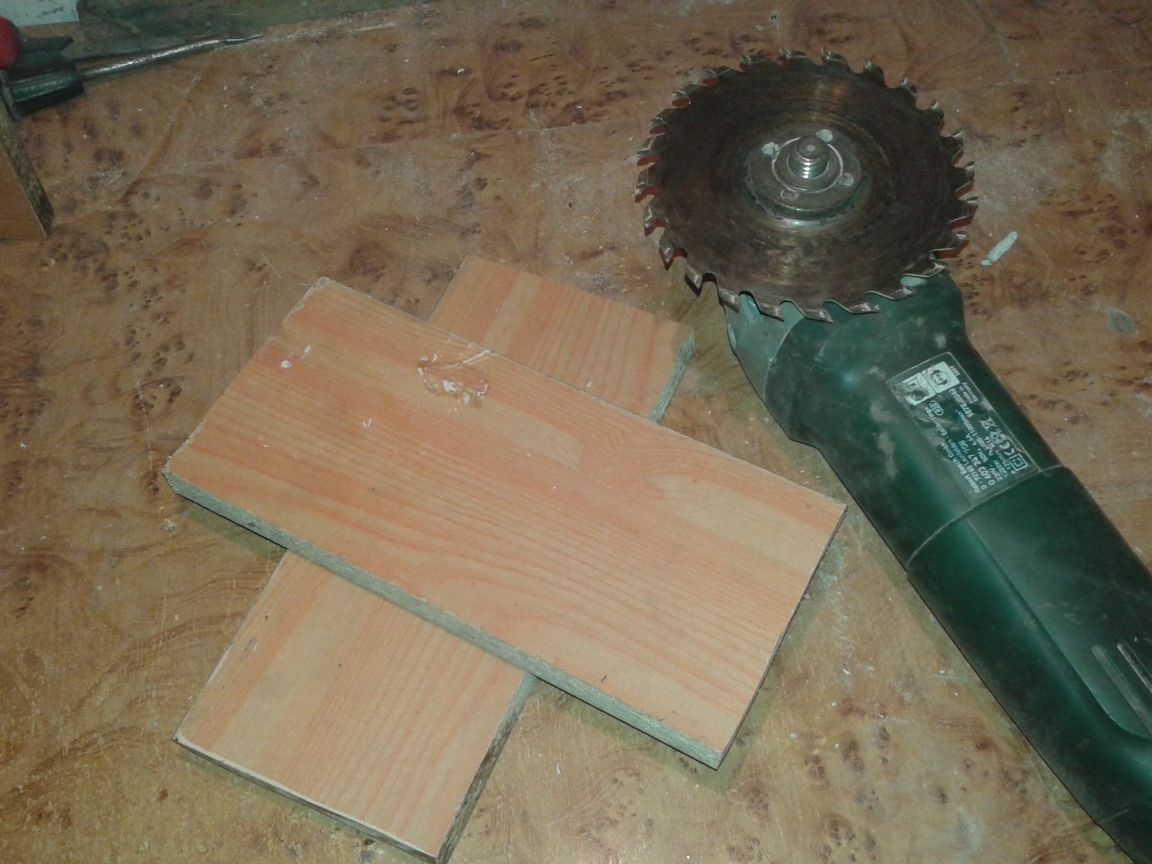
A circular saw
Bulgarian with various discs
Drill
Pliers
Curly screwdriver
Roulette
A corner
Drills of various diameters for wood and metal
Furniture screws
A few wood screws and a simple pencil
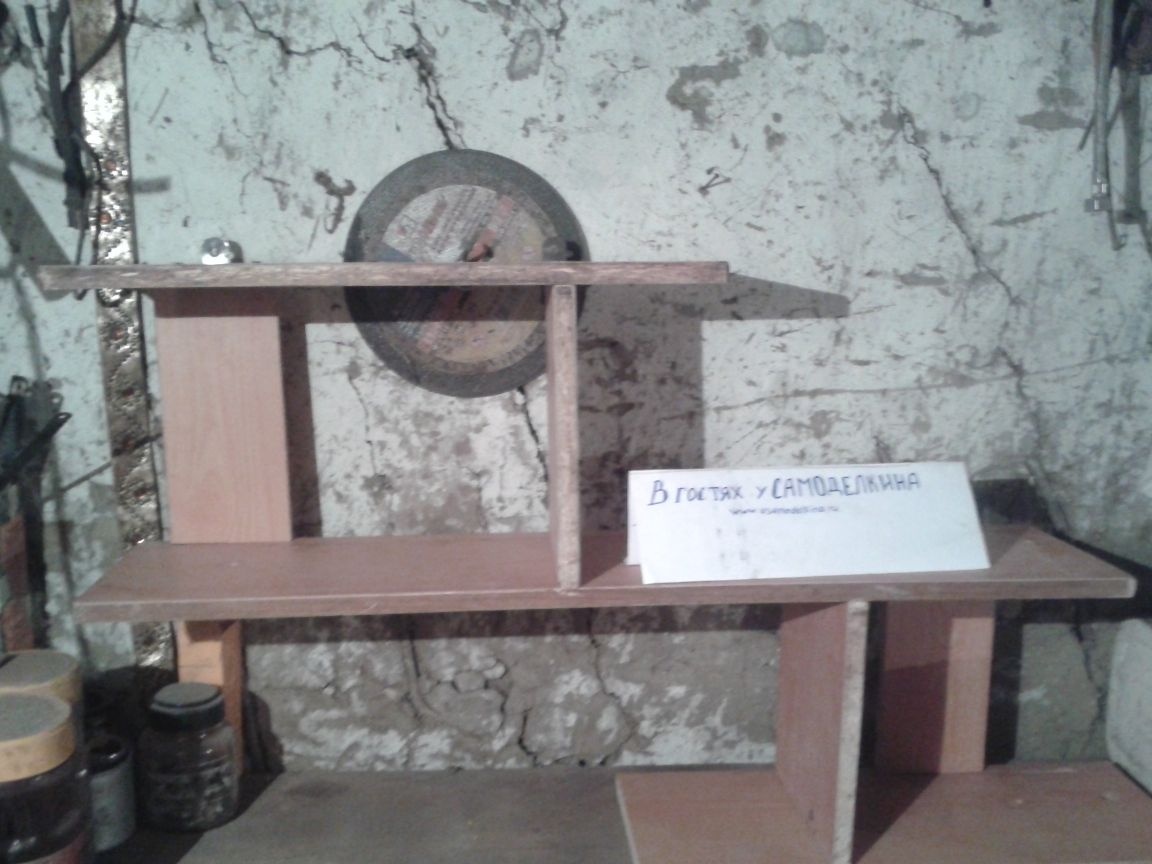
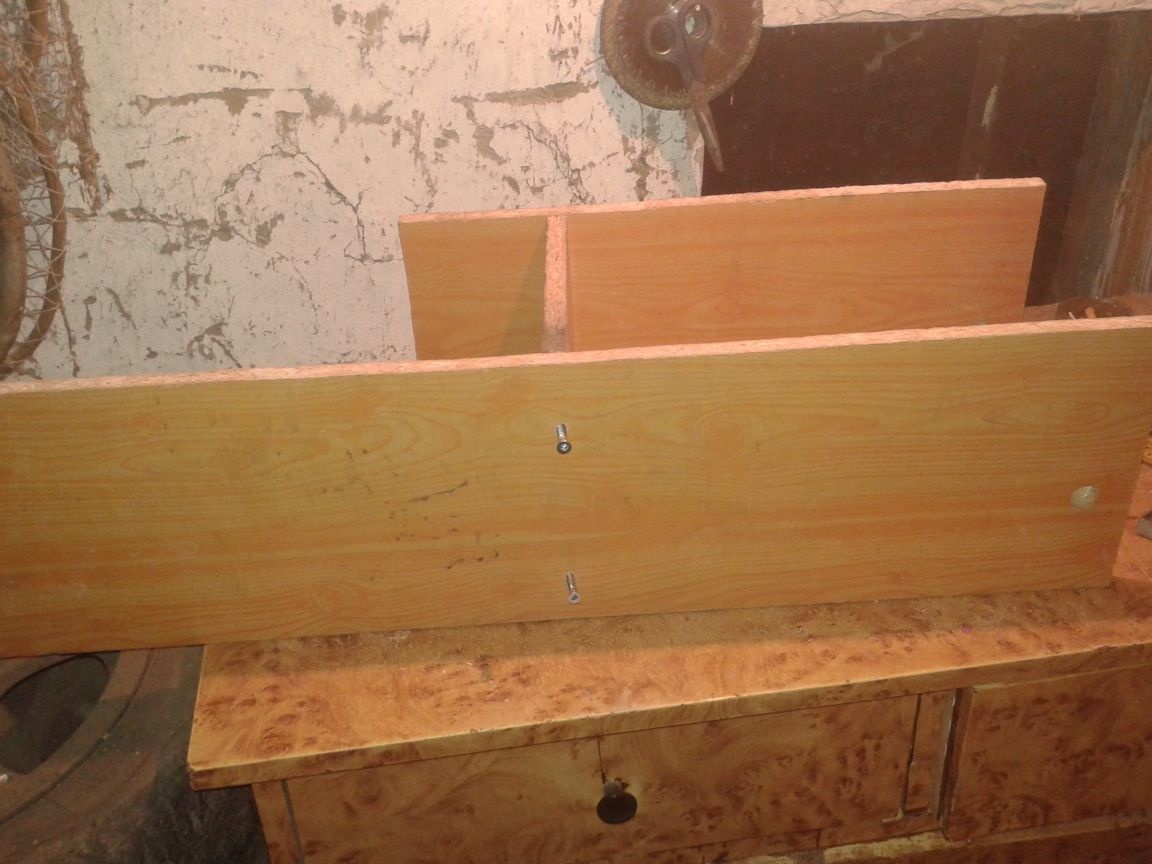
Step 1. So, we have a wall and several shelves from the cabinet. It is desirable that the material be the same color, but it doesn’t matter if this thing hangs in the workshop or elsewhere

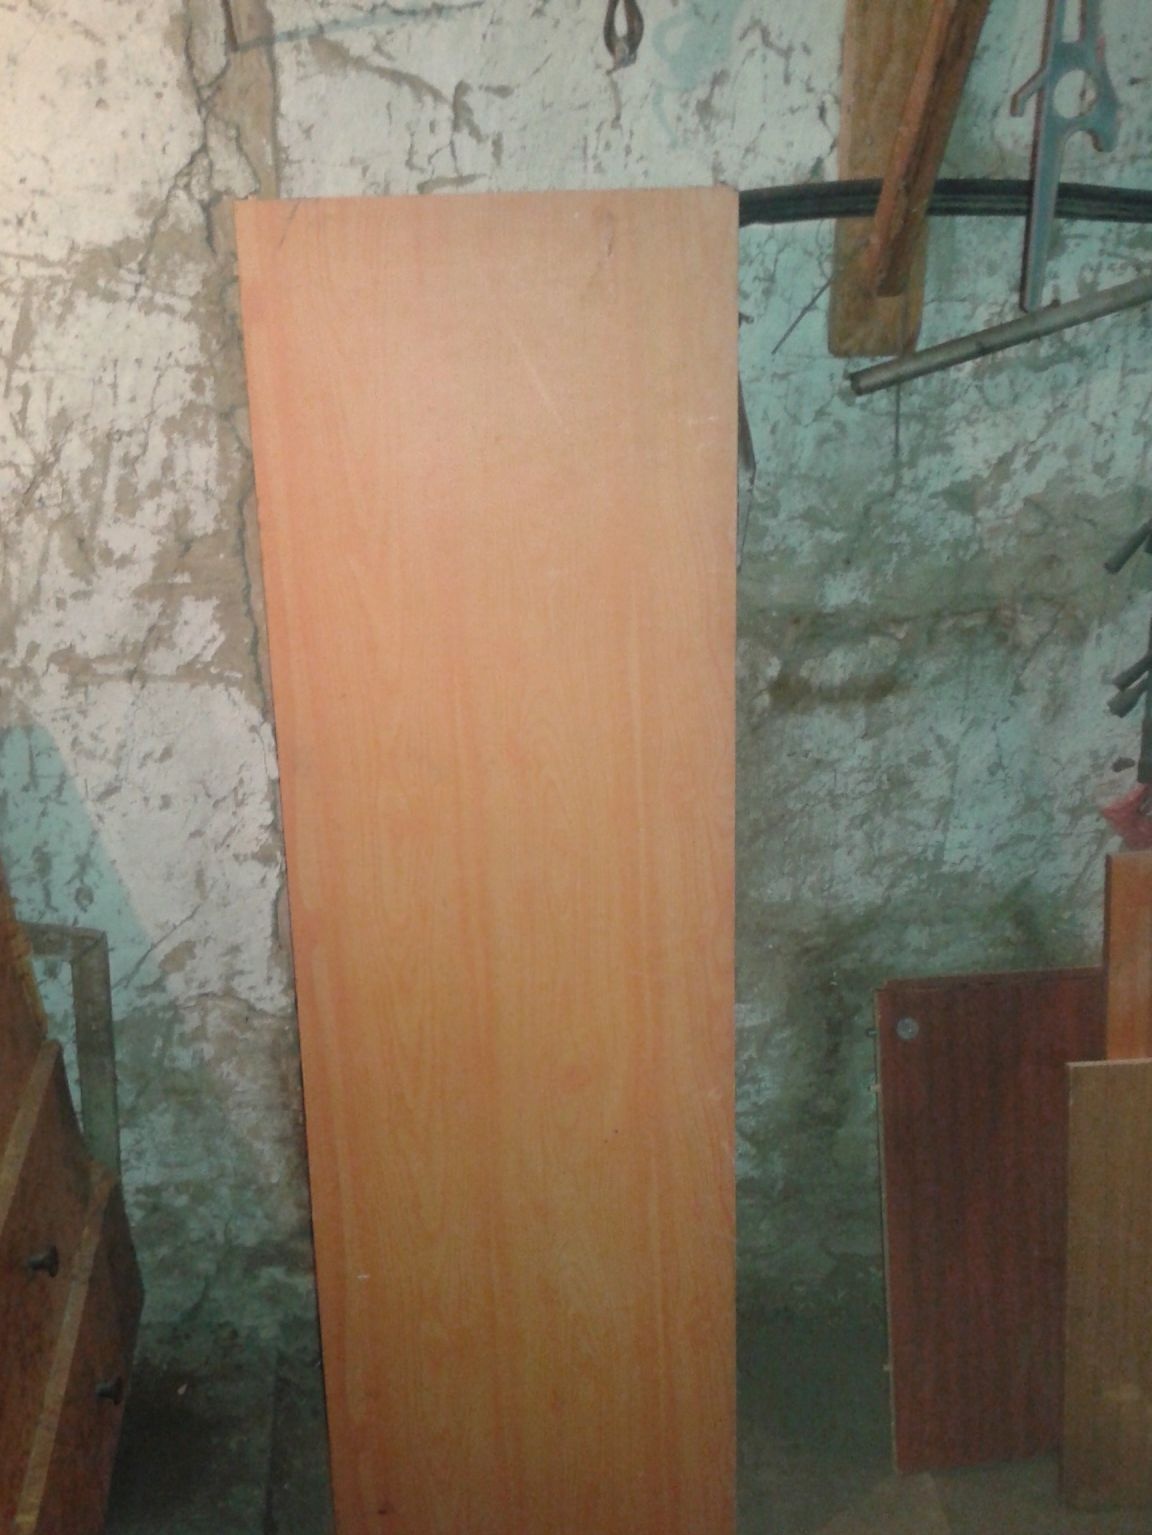
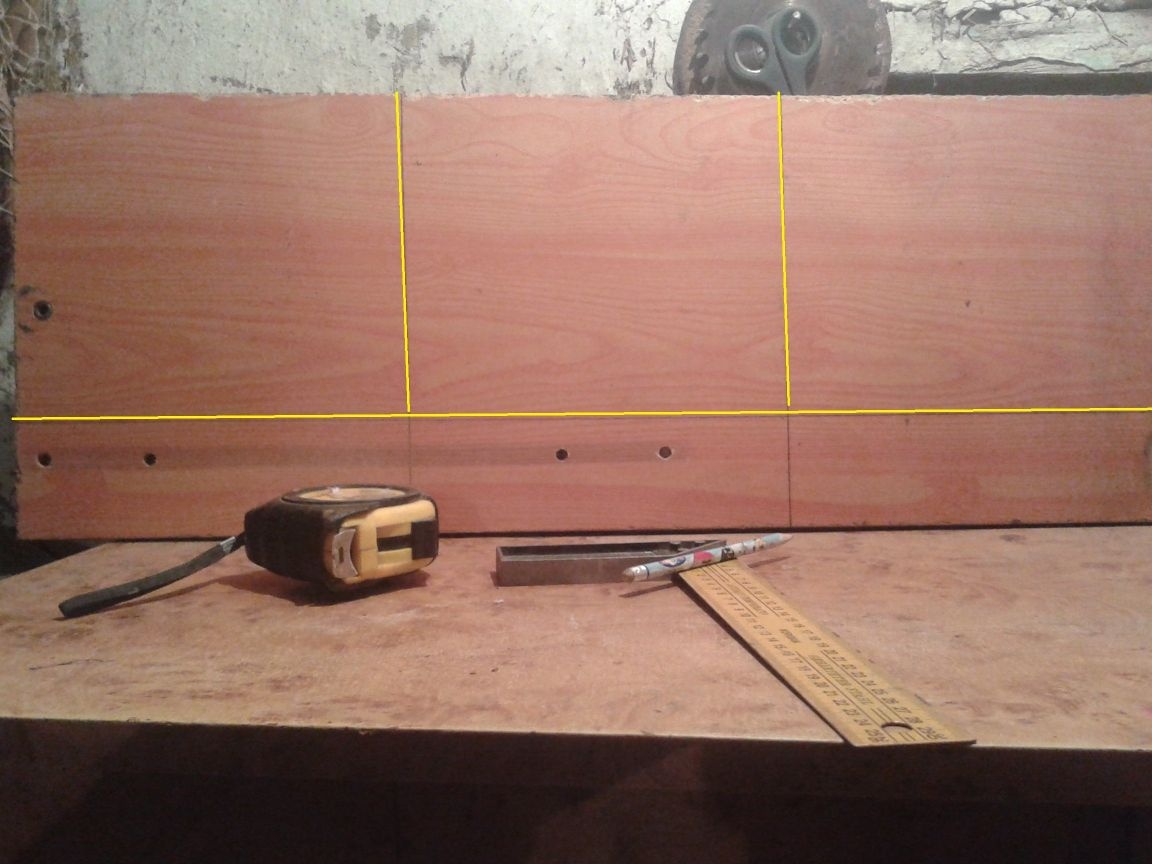
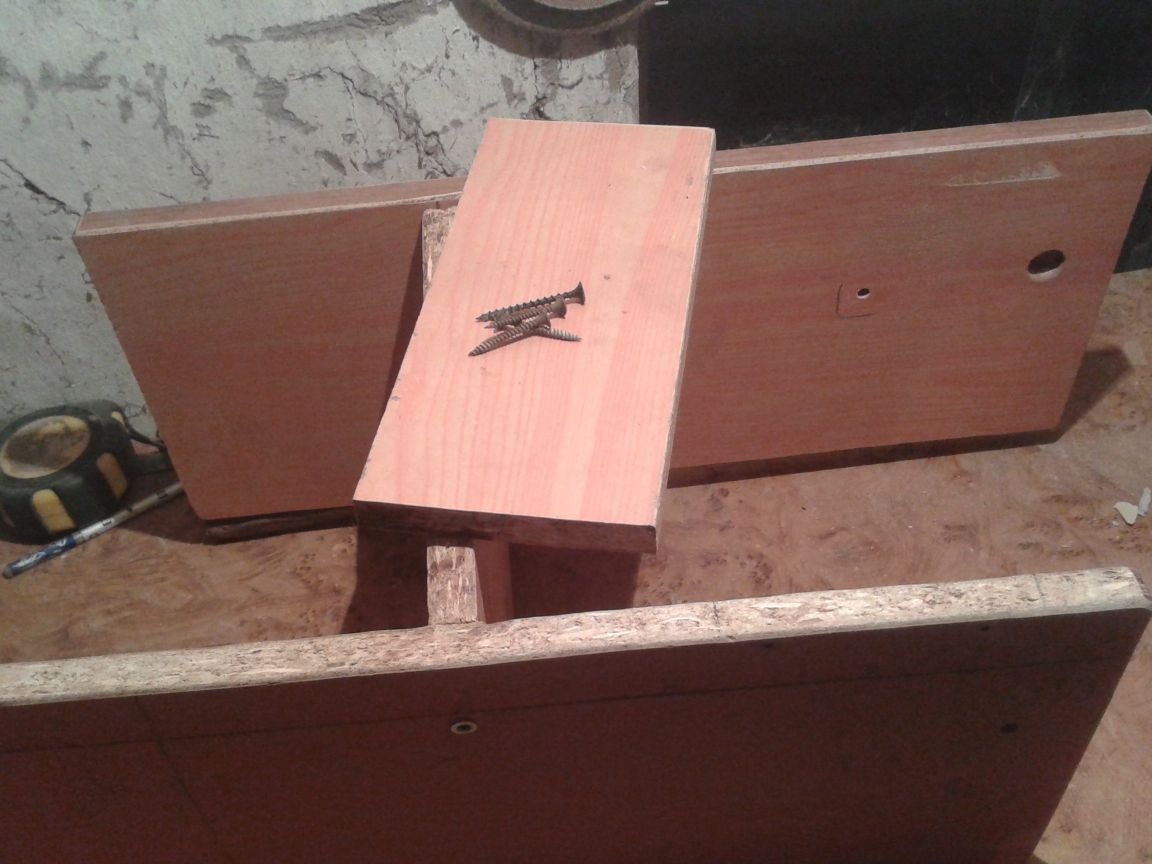
We take the largest board and mark it. This will be the basis of the future regiment.
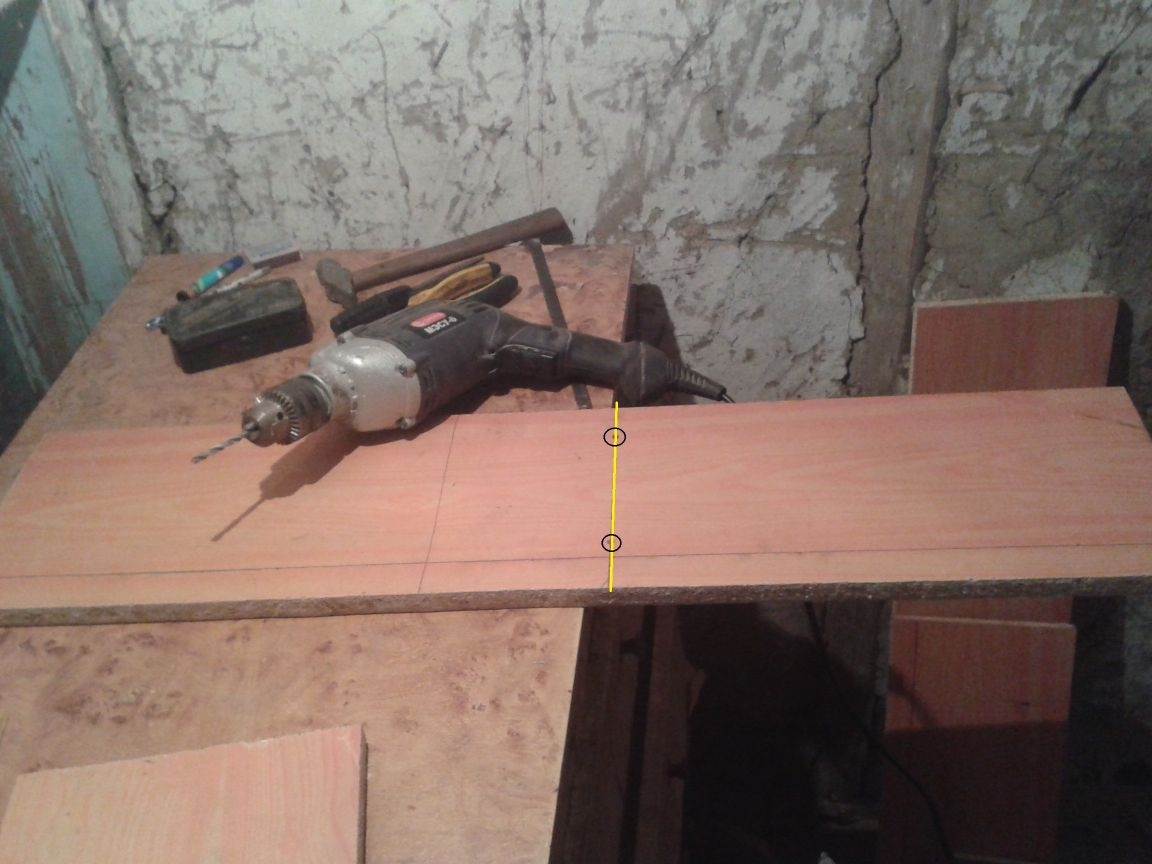
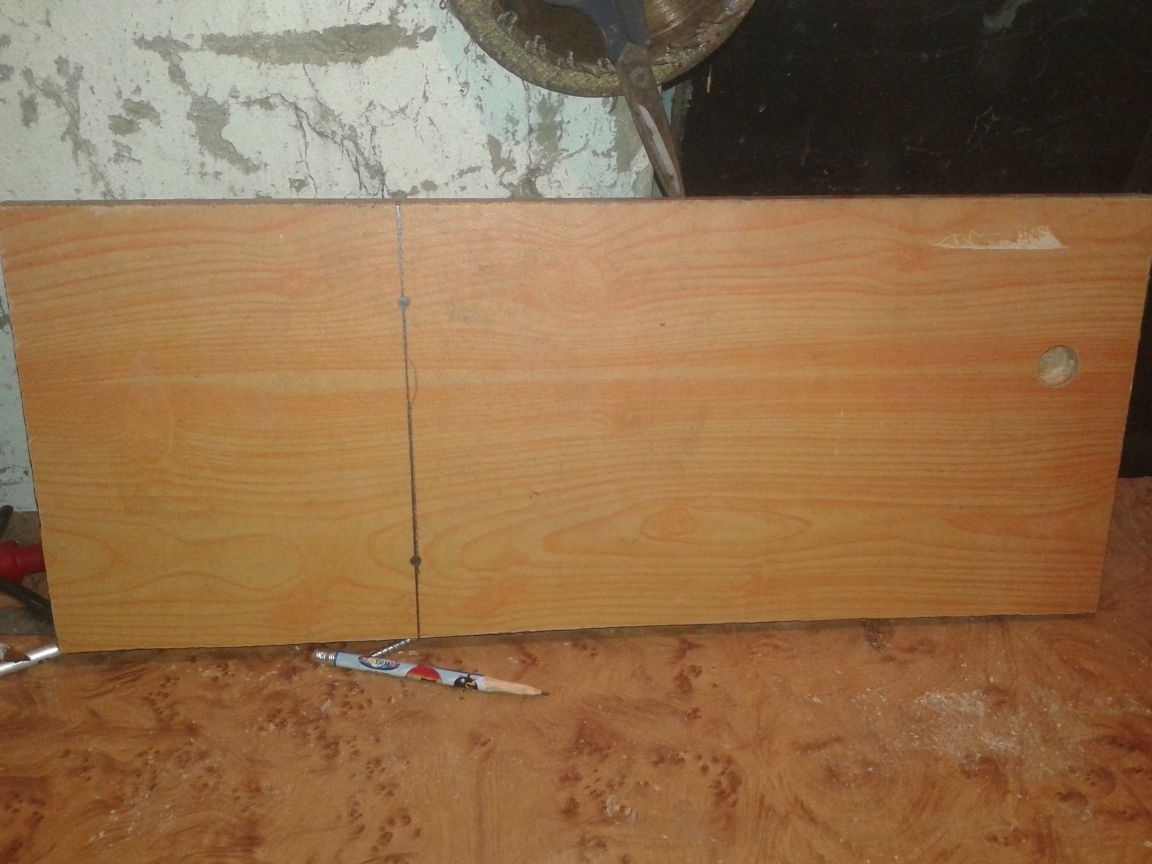
We make markings along the entire length. Divide the workpiece in half. It is fifty-two centimeters wide, so I decided that my shelf would be twenty-six centimeters wide. We measure across the workpiece a distance equal to eighty-five centimeters. This will be the length of the shelf. (the photo is marked in yellow).
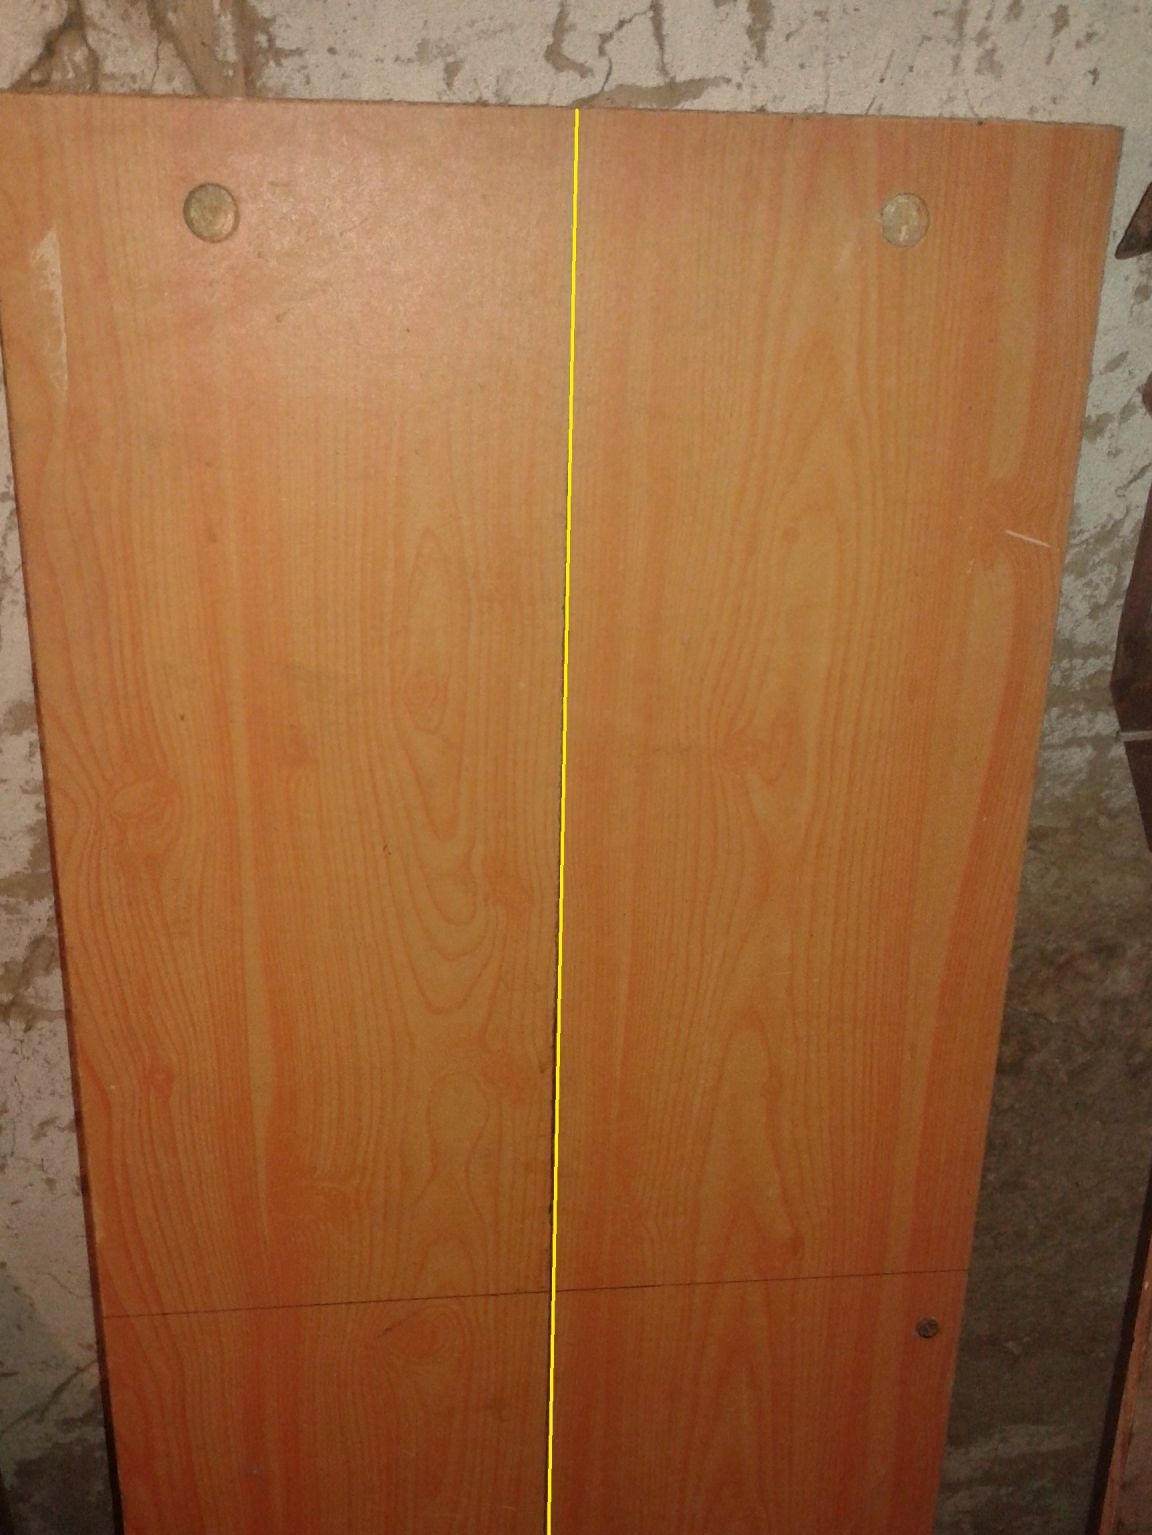
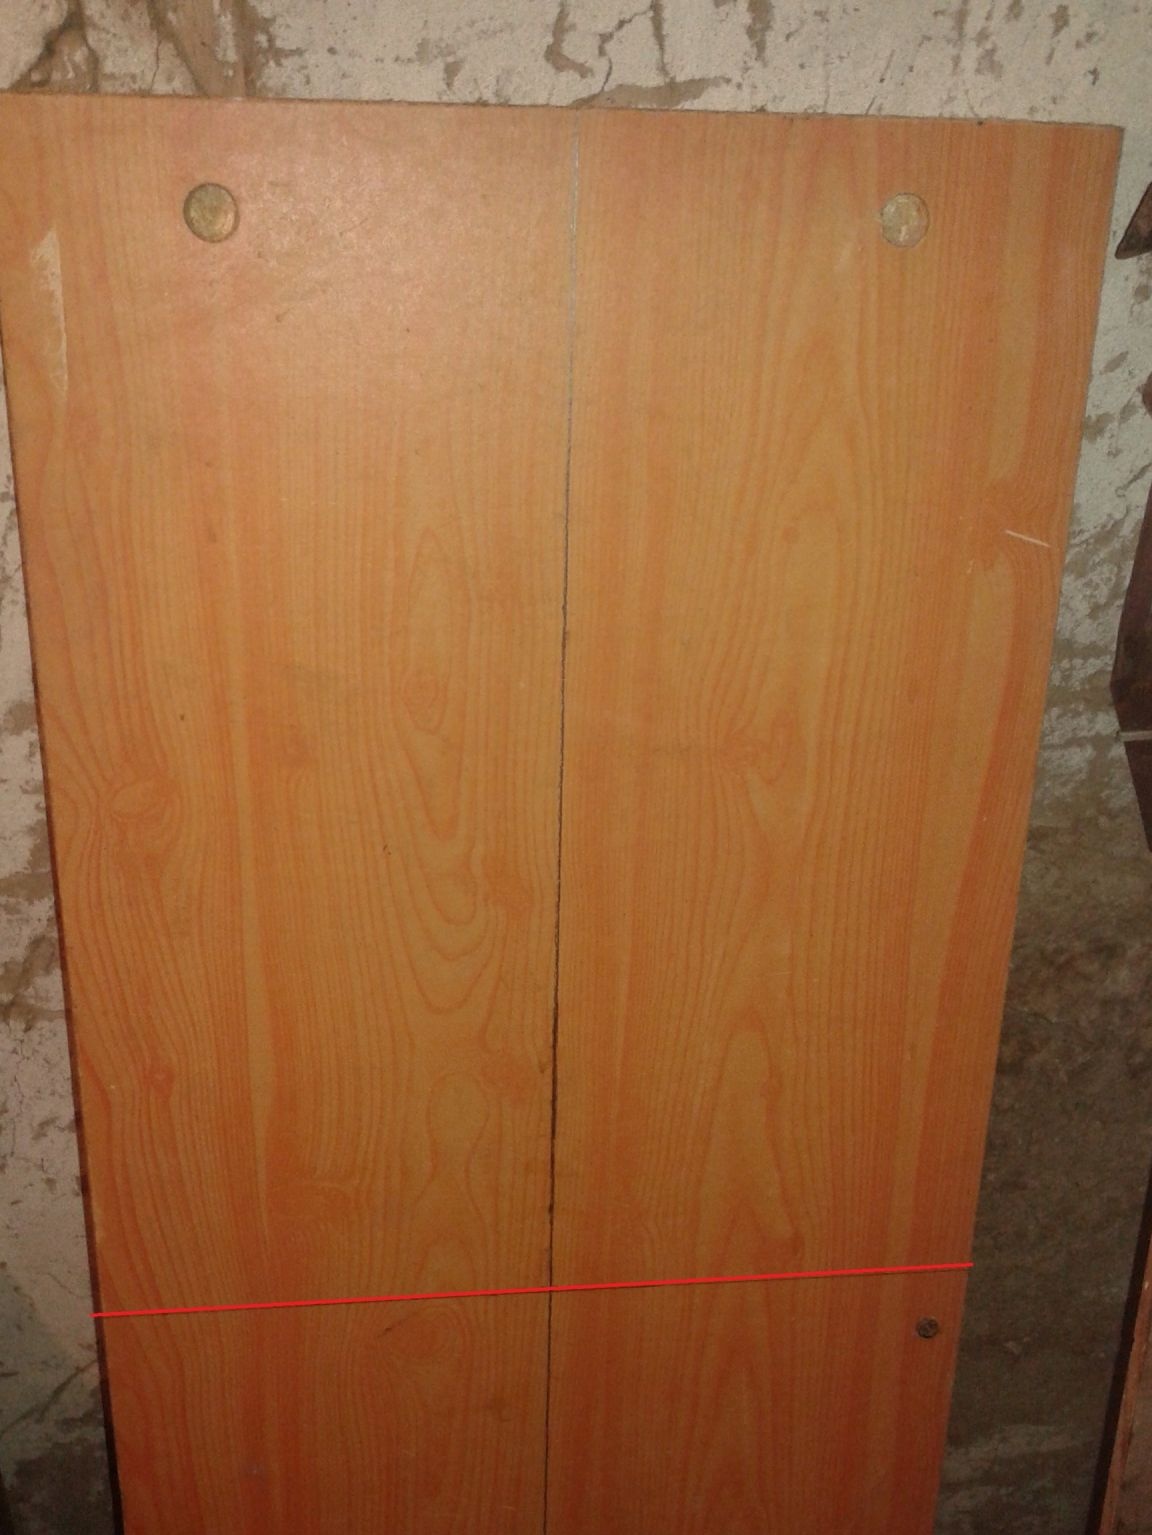
The next step is to determine the length of the main part of the shelf. I decided to stay at eighty-five centimeters. Not big, but not small. (marked in red in the photo).
From the second part of the longest part, which was dismissed into two, we make blanks forty-two centimeters long. These will be the top and bottom of the shelf.
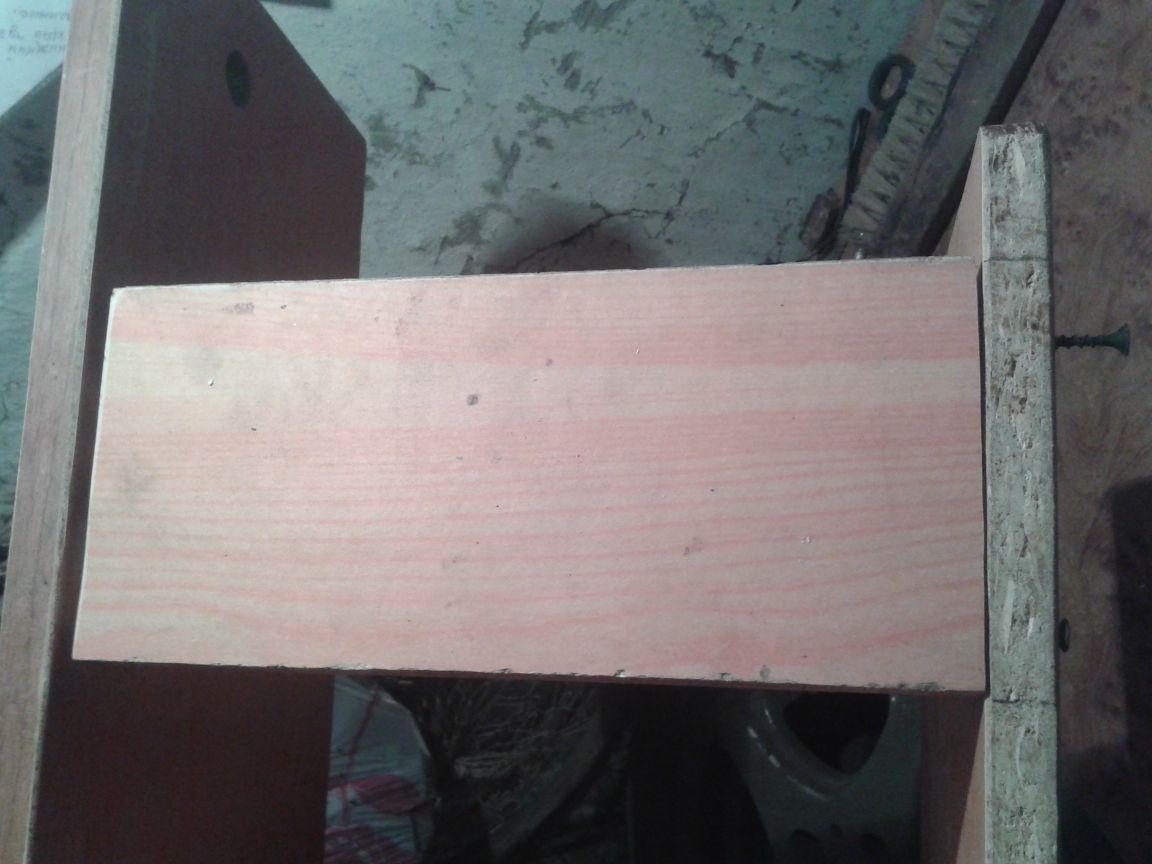
Step 2. Now we need to note the transverse blanks that will be the walls of our shelf. To do this, I took the following blank, smaller than the first. We mark on it the desired side height.
The width of the side wall is twenty-six centimeters. We will need two such blanks. Saw our details.
So, all the materials we need are ready
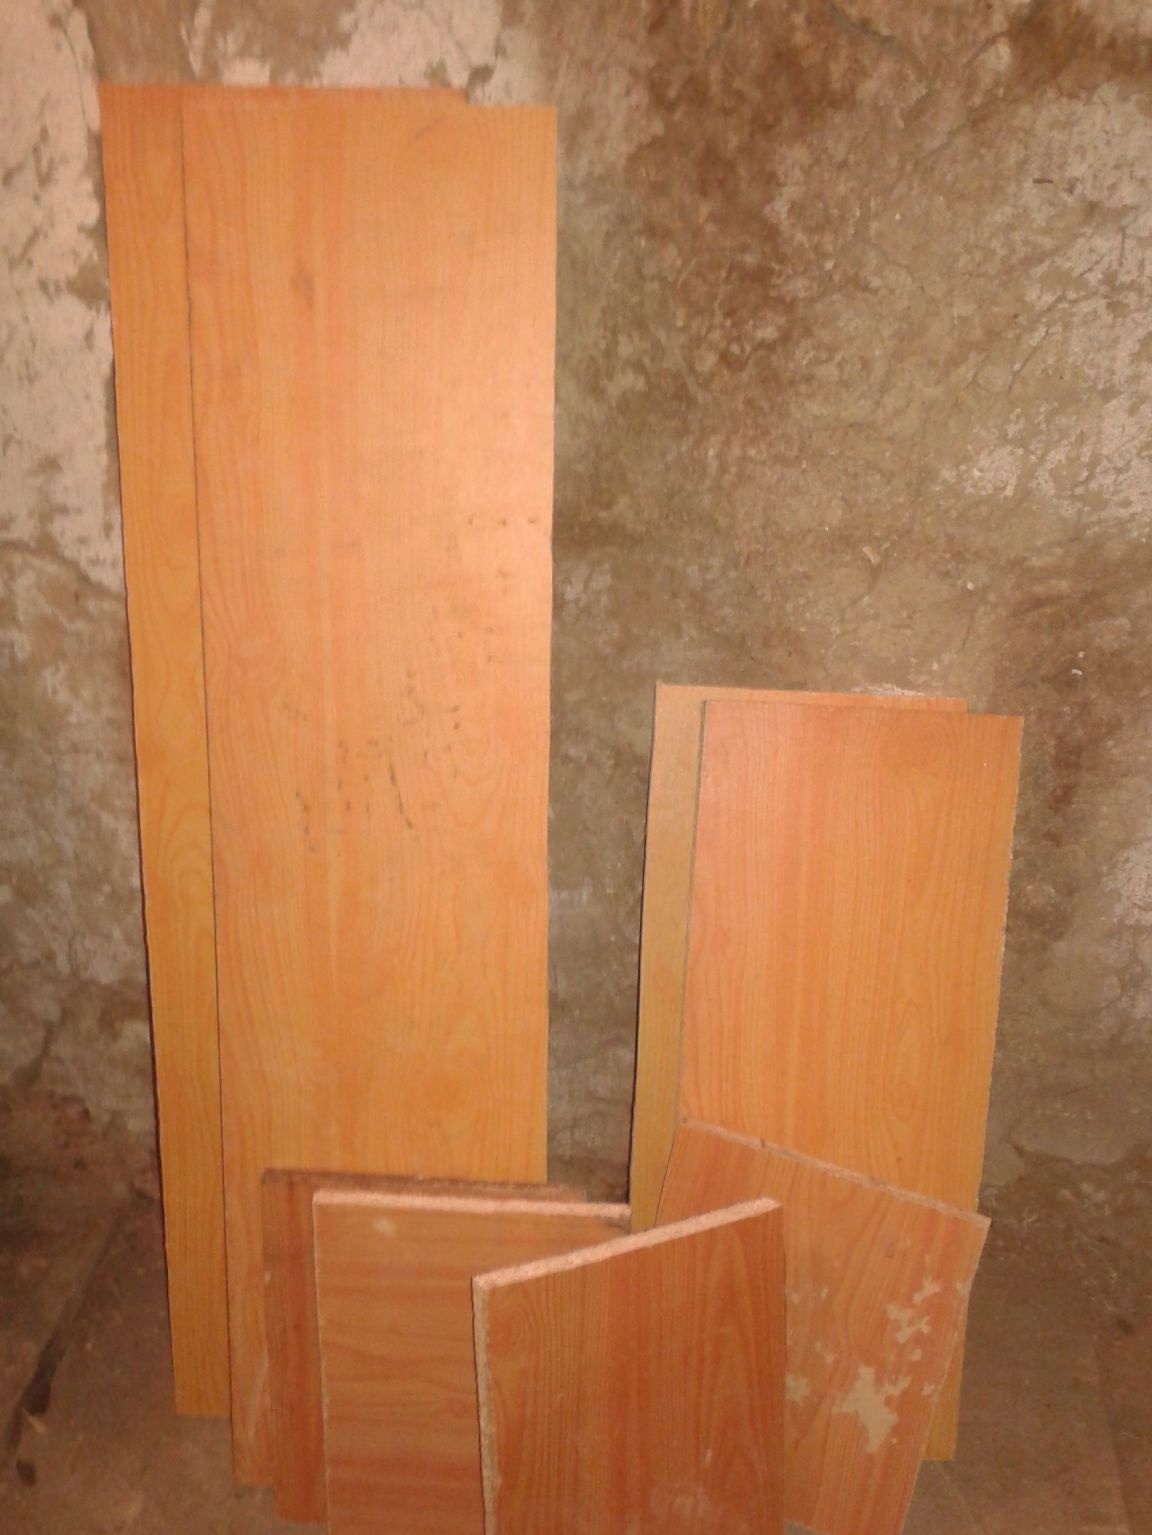
You can proceed directly to the assembly.
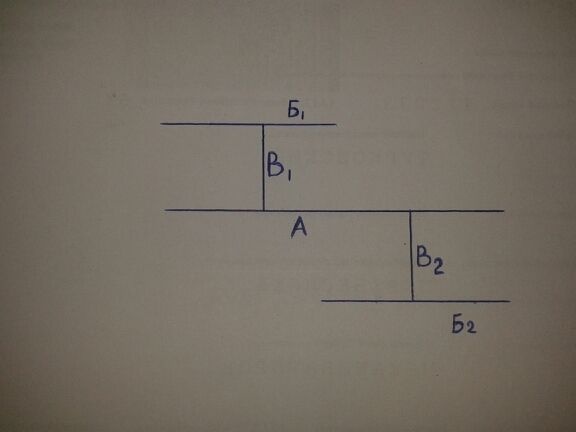
For ease of orientation, I drew a mock shelf with designations of parts
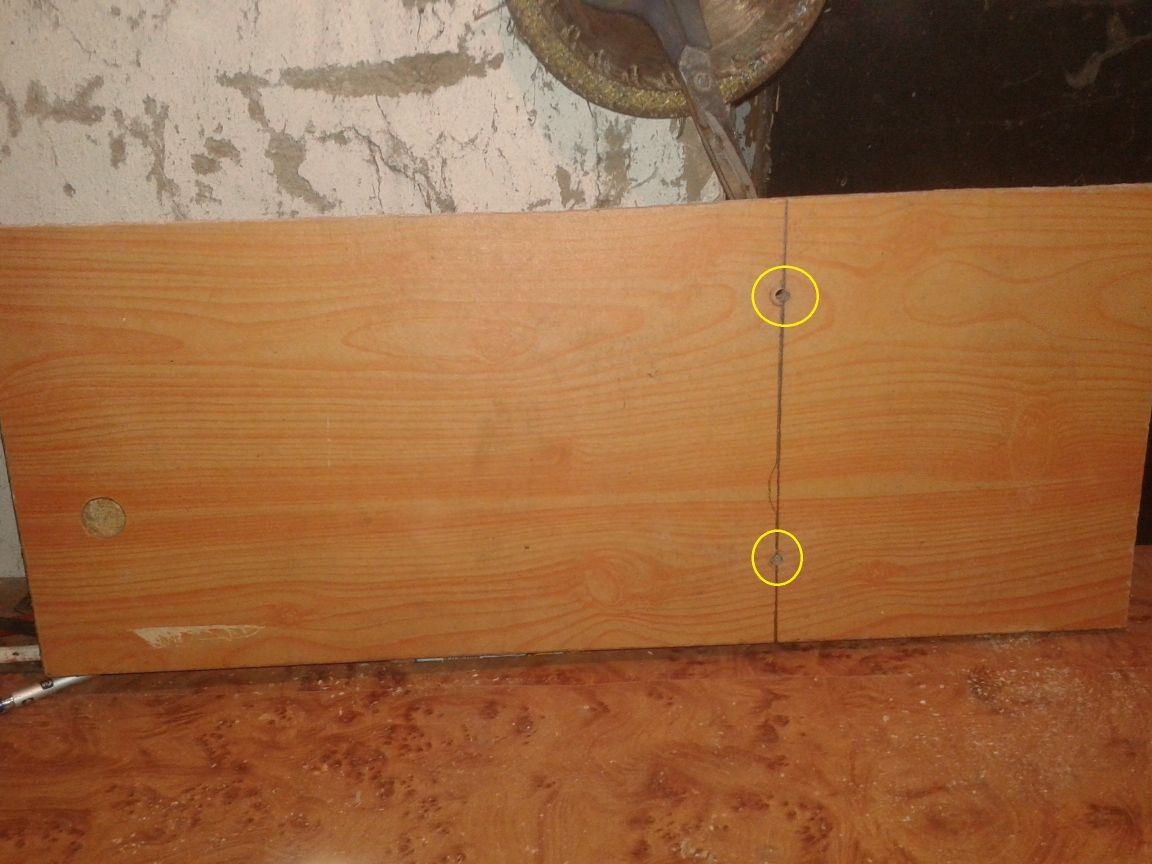
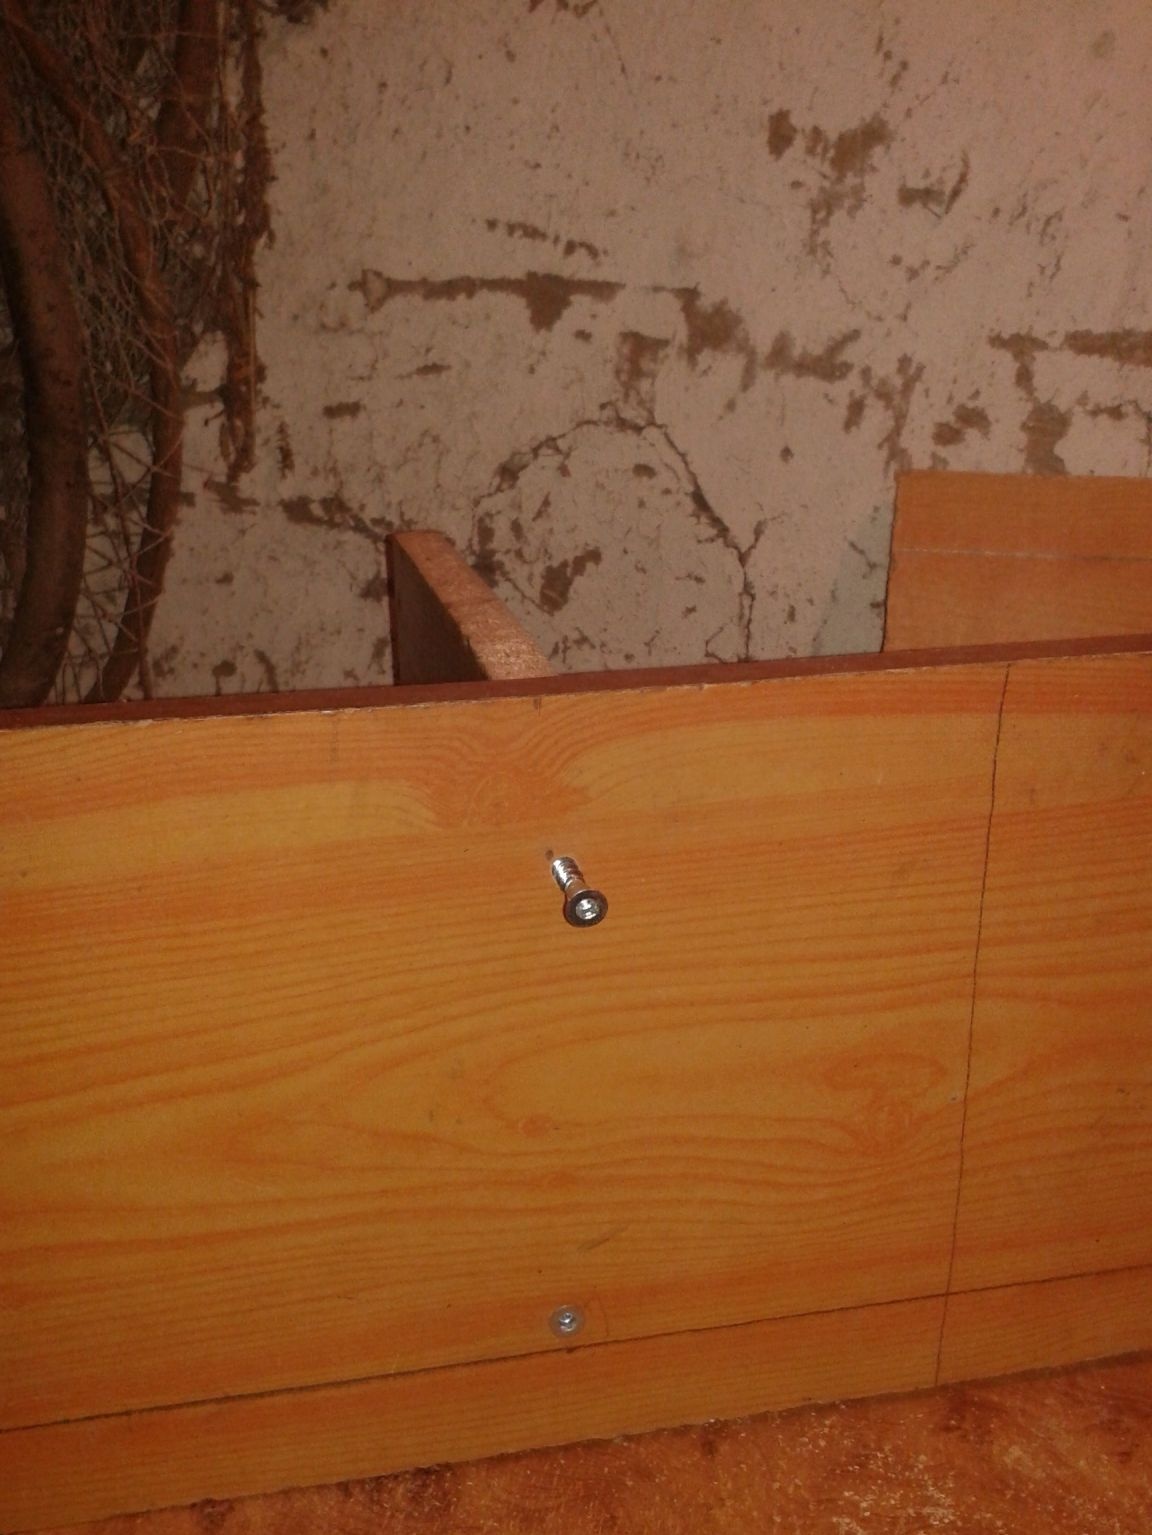
Step 3. First, we need a basic blank equal to eighty-five centimeters. At a distance of thirty-five centimeters from the edge, we draw a transverse line
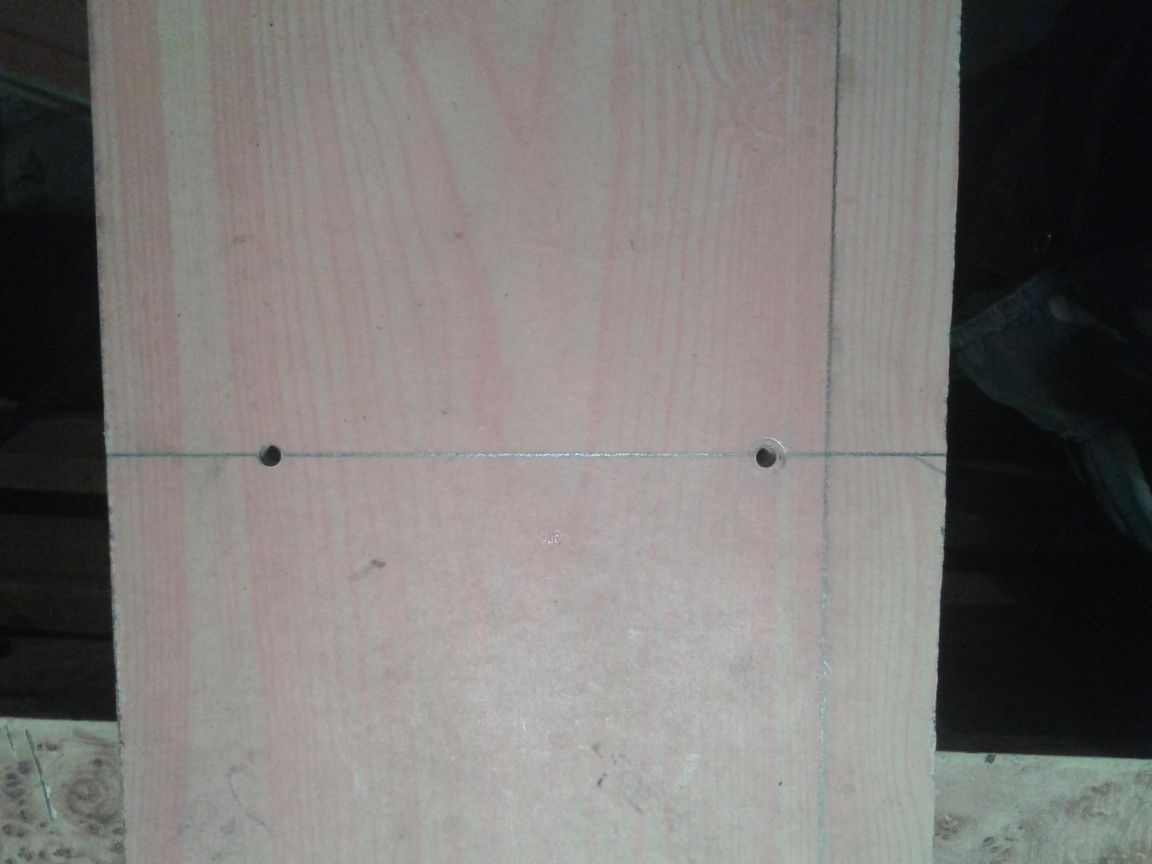
On it, after 2 centimeters from the edge, we drill holes for furniture screws (marked in black).
Step 4. Now we need a workpiece that will be attached to the main part. Let's call it B1. I made it forty-two centimeters long.At a distance of fifteen centimeters from the edge, we mark for convenience a transverse line and mark the places where we will drill. We drill.
Step 5. Now we take the blank for the sidewall of the shelf. I call her B1. It is twenty-six centimeters wide and twenty-four high. Combine its end part with the holes on the workpiece B1. Mark the holes and drill.
Step 6. After we have made boring holes for us, we begin the process of assembling parts B1 and B1.
We look at the corner, exactly or not
So far, exactly. Looking ahead, I’ll say that in the process of fixing the remaining parts of the shelf, there will be no even angles. At the end of the work, you will need to put screeds.
Step 7. Now we combine the holes on the main workpiece A with the second end part of the workpiece B1. We drill holes in the end of B1.
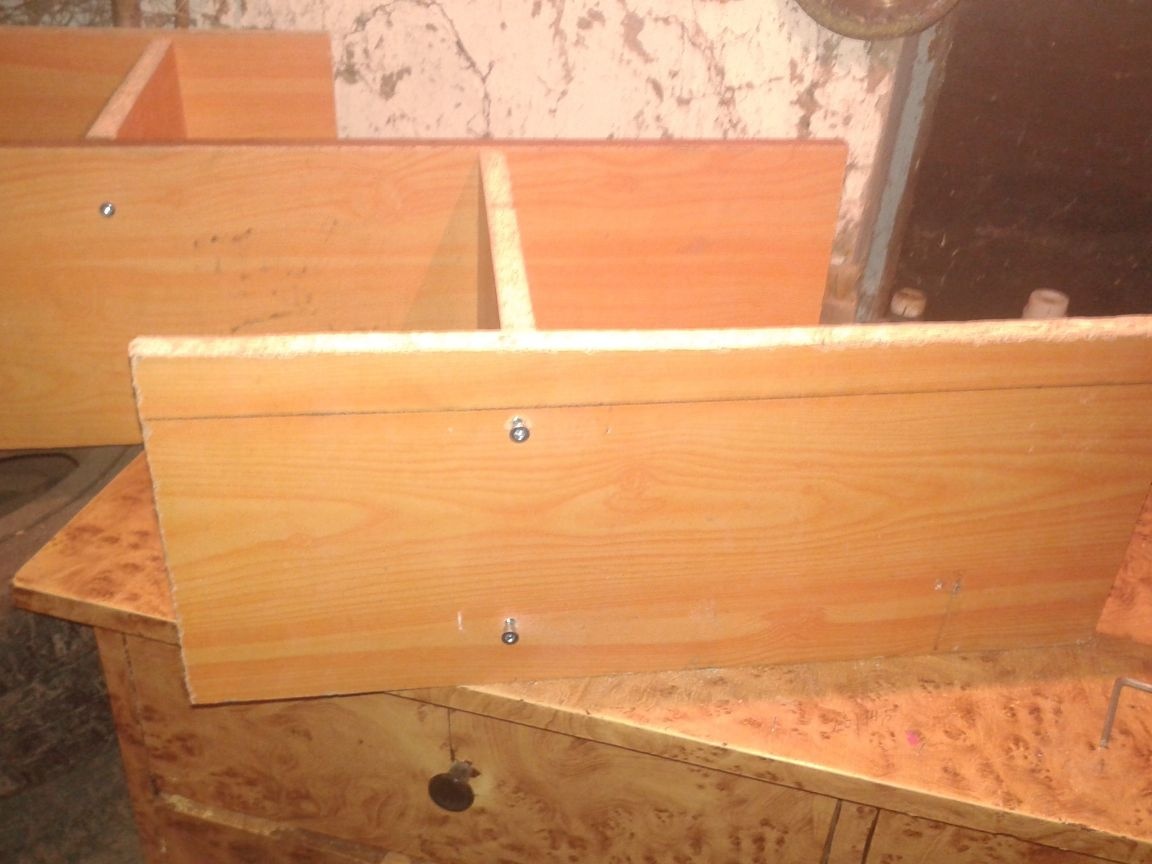
Step 8. We connect the assembled part with the main workpiece A. Almost all the parts were connected with furniture screws. It turns out part of the future shelf.

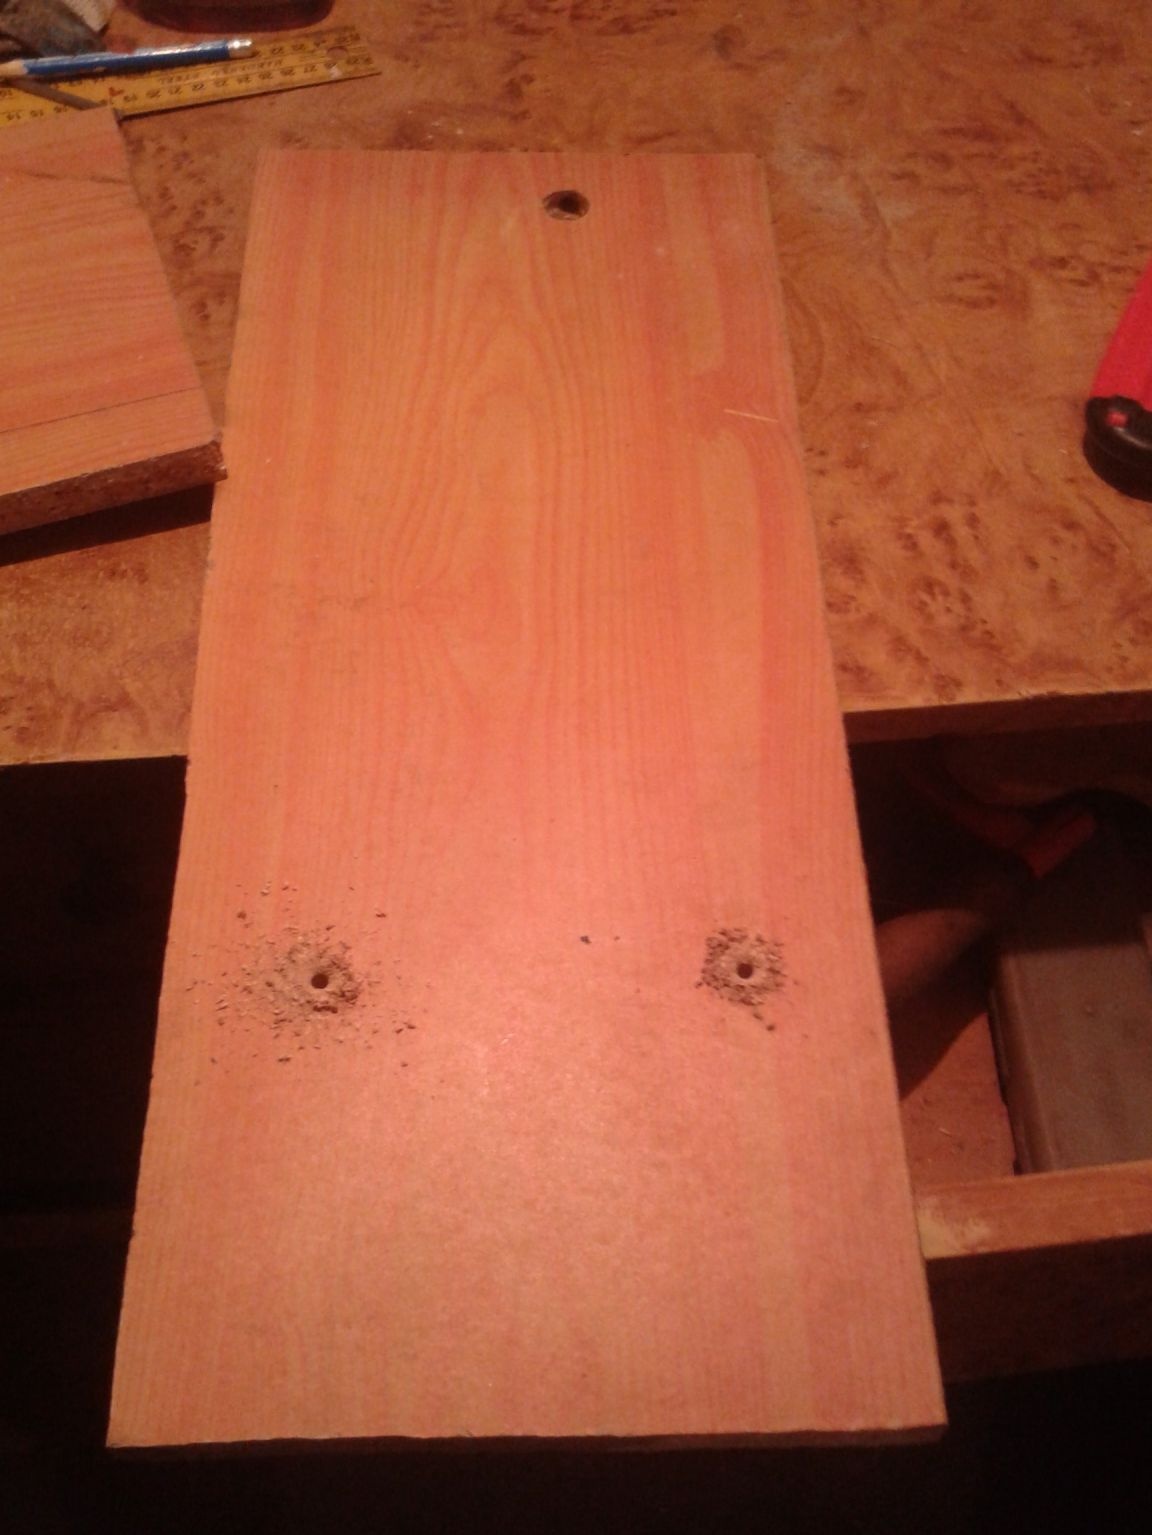
Step 9. Now we collect the lower part of the shelf, which will be attached to the main part A. For this, we take the second part, which is forty-two centimeters. I will call her B2. At a distance of fifteen centimeters from the edge, we mark the line on which there will be holes for screws.
We drill. Marked in color.
Step 10. We take part B2 with drilled holes and put it on the main part of shelf A. At the distance you want, mark the marks for holes on part A.
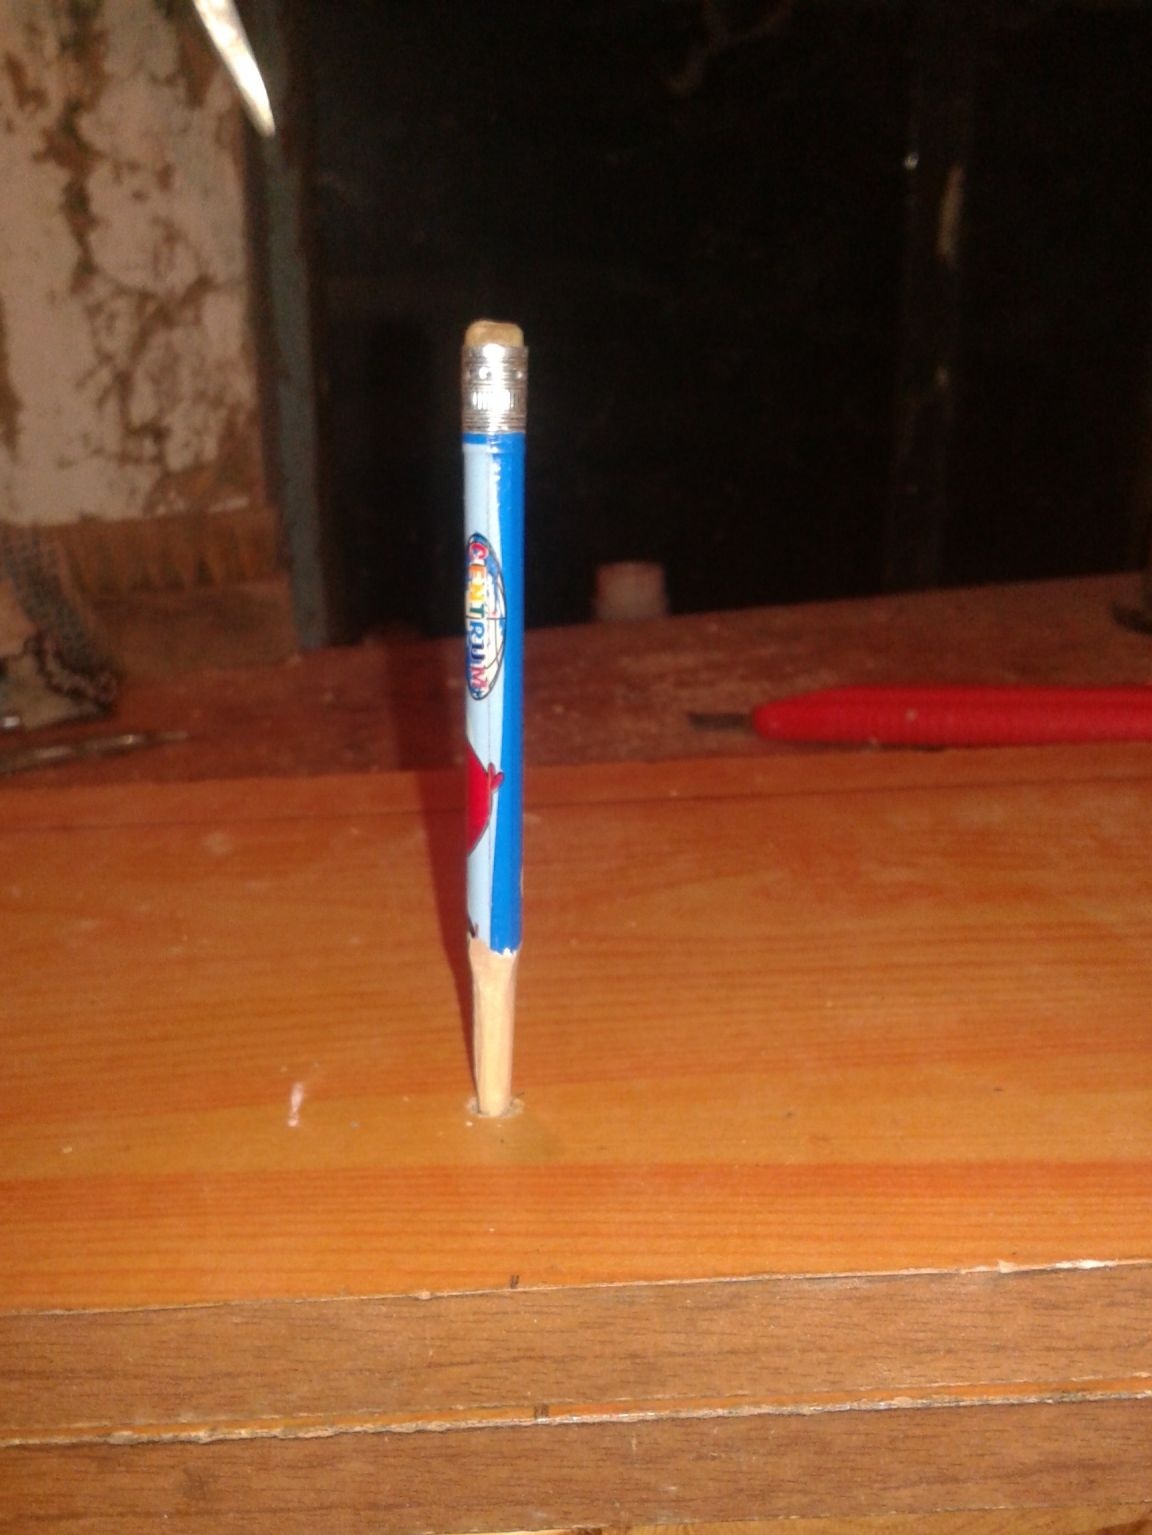
For the convenience of marking, I sharpened a simple pencil so that it could enter the holes of the blanks. It is possible, of course, with something sharp, a nail there, or with an awl, but then the place of marks is not visible. A simple pencil is more convenient and visible.
We drill the marked blank B2.
Step 11. We take the second sidewall of our shelf and at its ends we mark and drill holes for screws. This item will be abbreviated B2. This we are already collecting the bottom of the shelf.
Step 12. Now we connect parts B2 and B2 using self-tapping screws.

Step 13. The next action we collect between each part B2 and B2. This will be the bottom detail of our shelf.
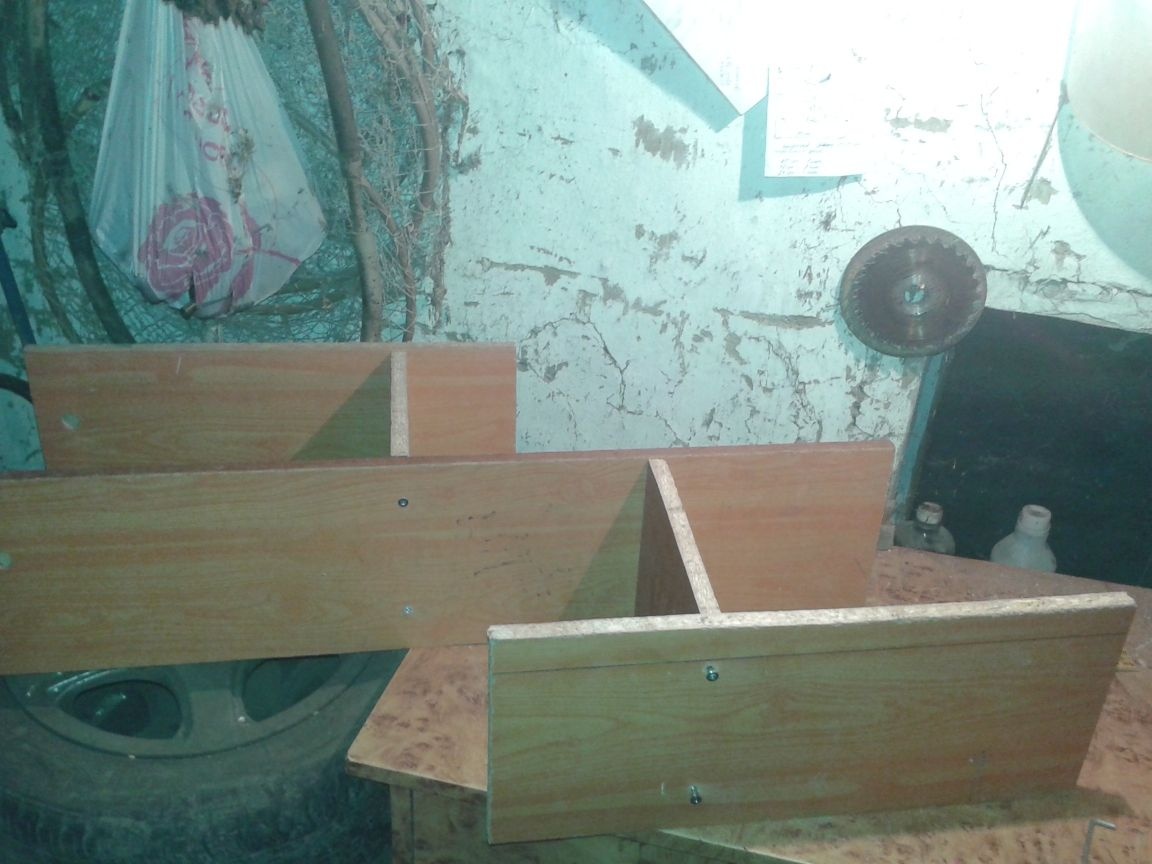
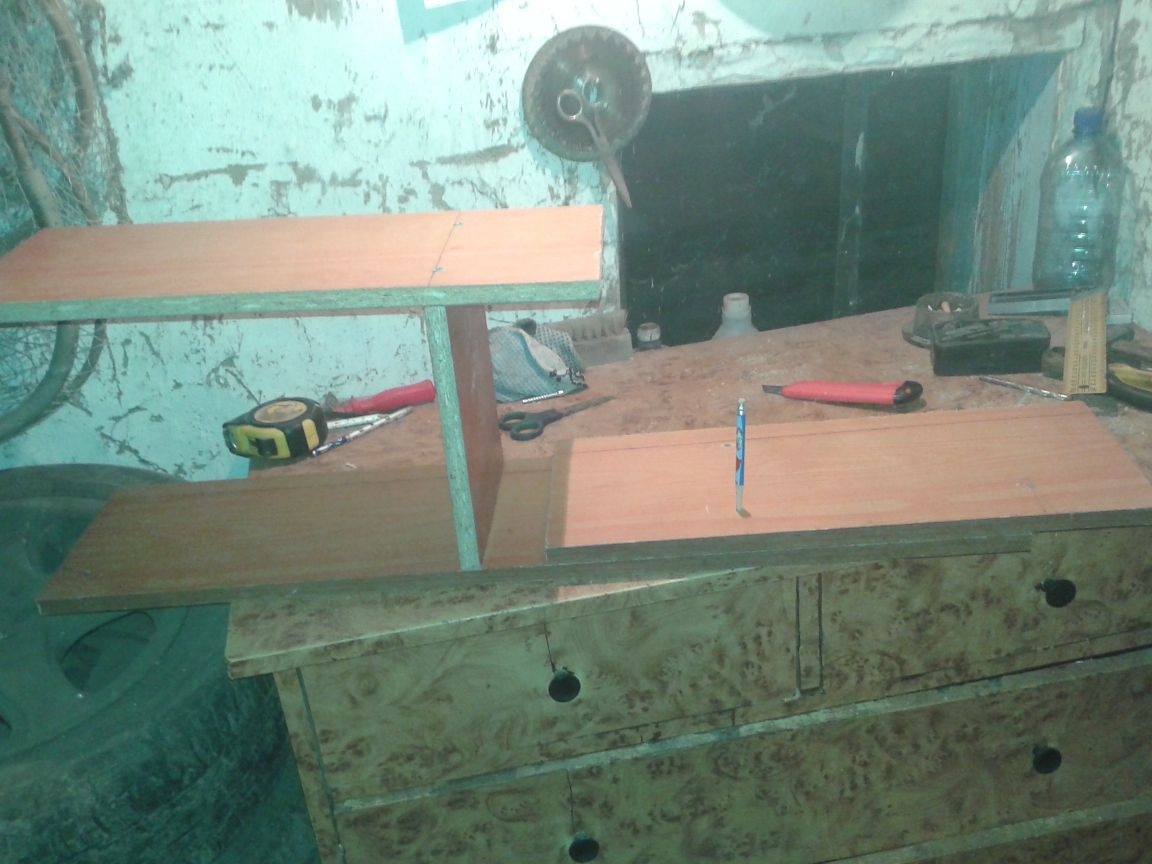
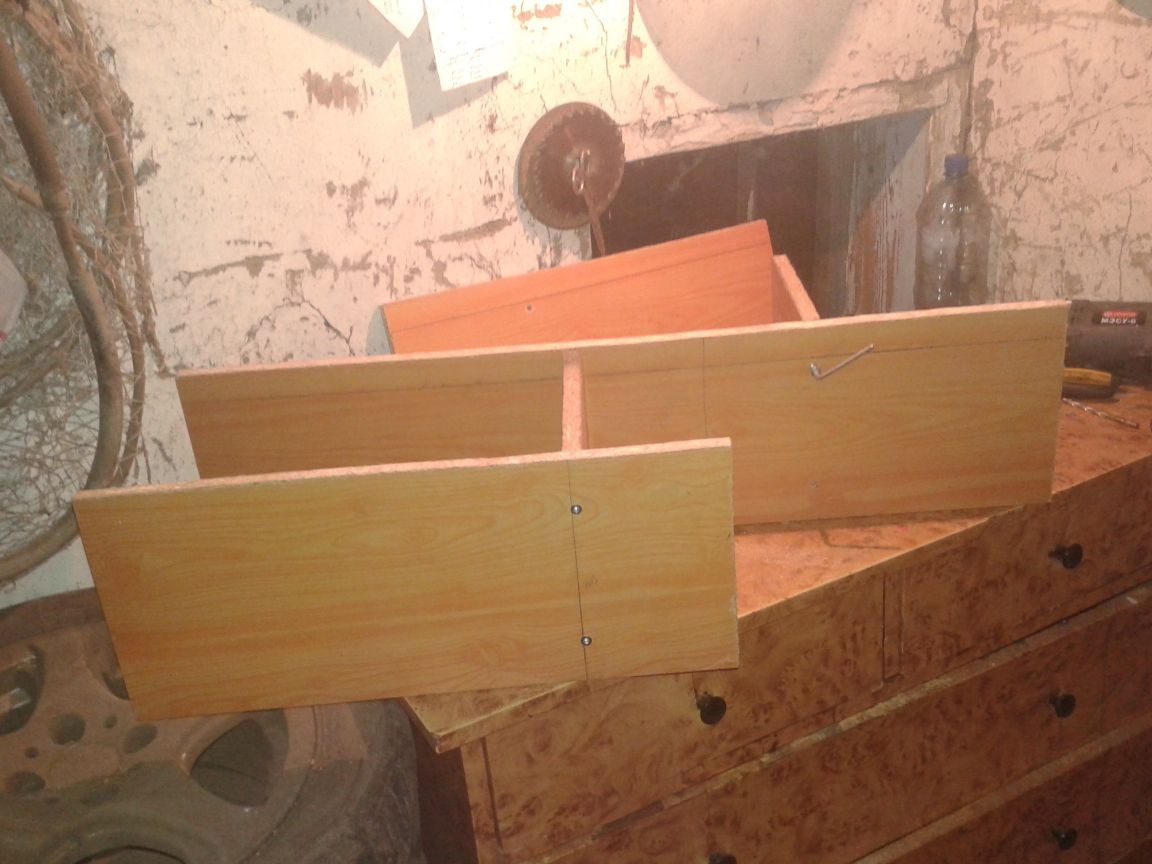
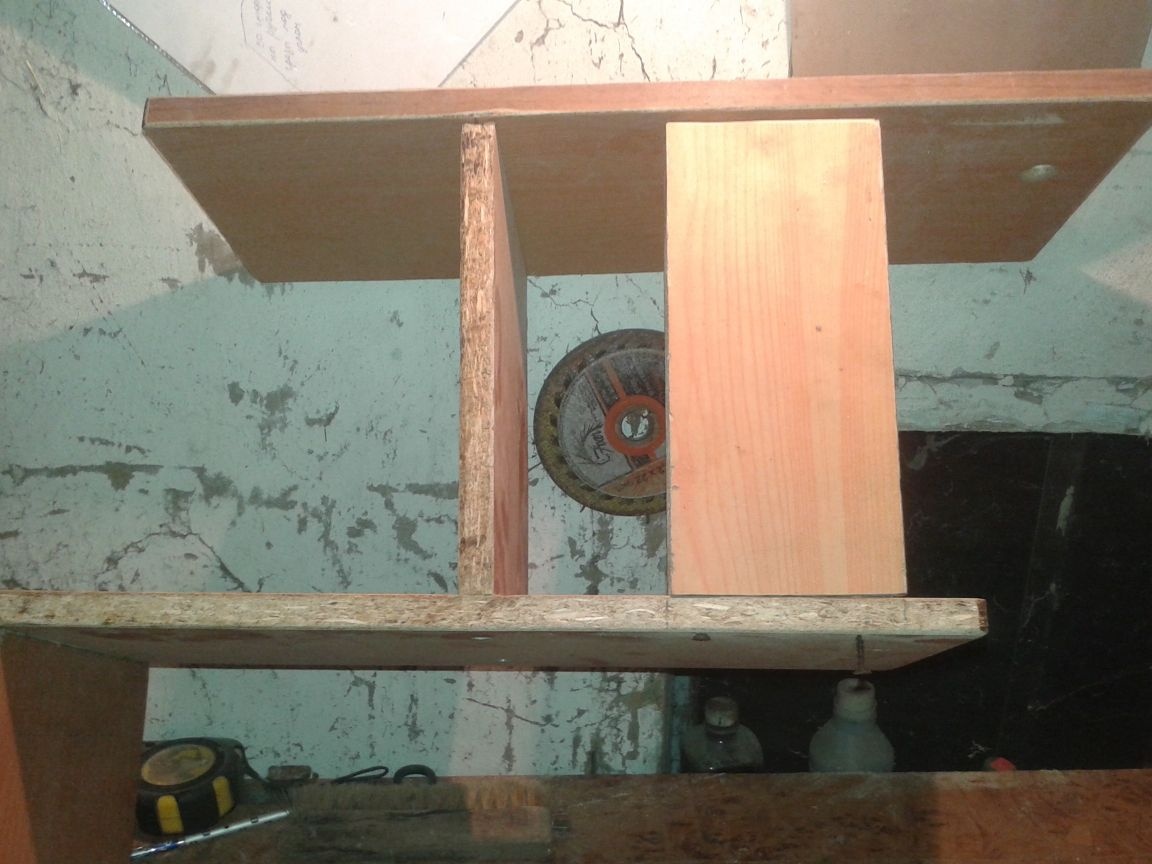
After attaching all the parts of the shelf, such a design is obtained.
As I wrote above, no matter how I try to display all the details of the shelf at an angle of ninety degrees, the design for some reason has a slanty appearance. I don’t know what it is connected with. May be with incorrect drilling of holes in the end parts. They probably have an angular inclination inside. I have no more assumptions.
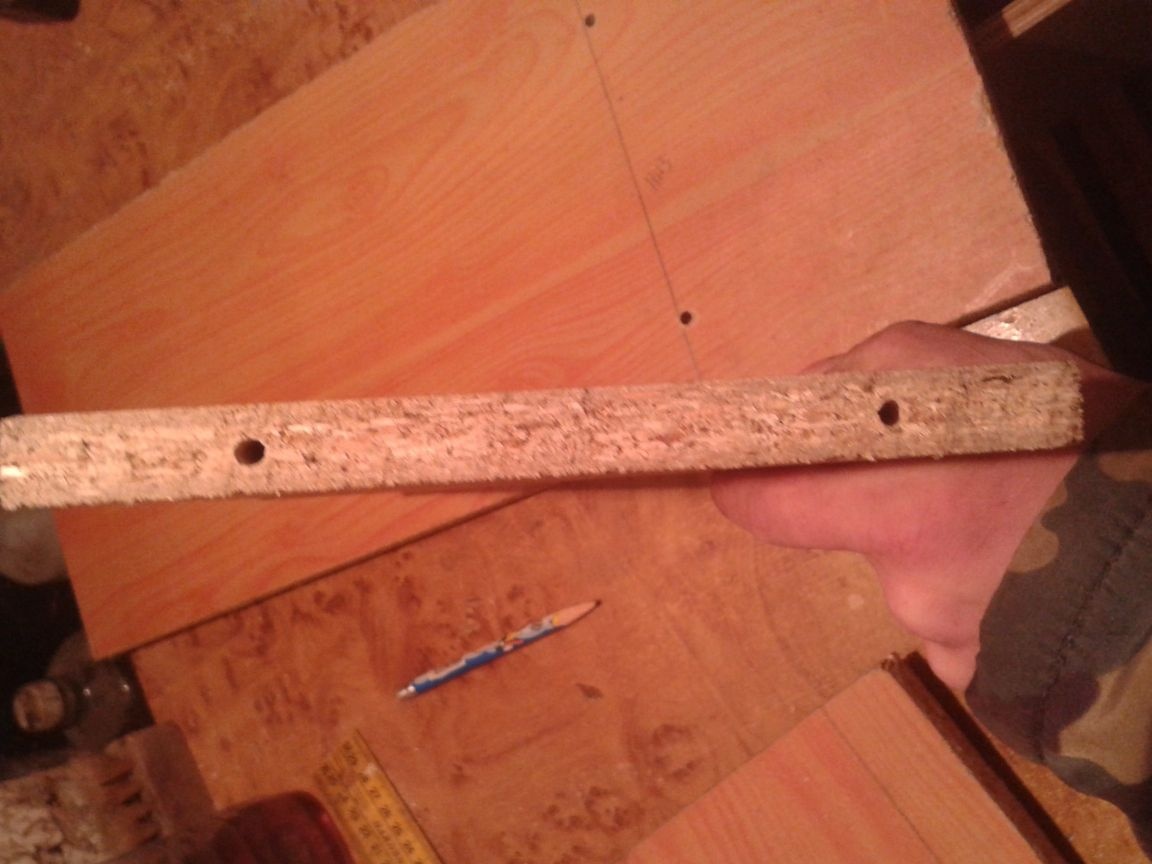
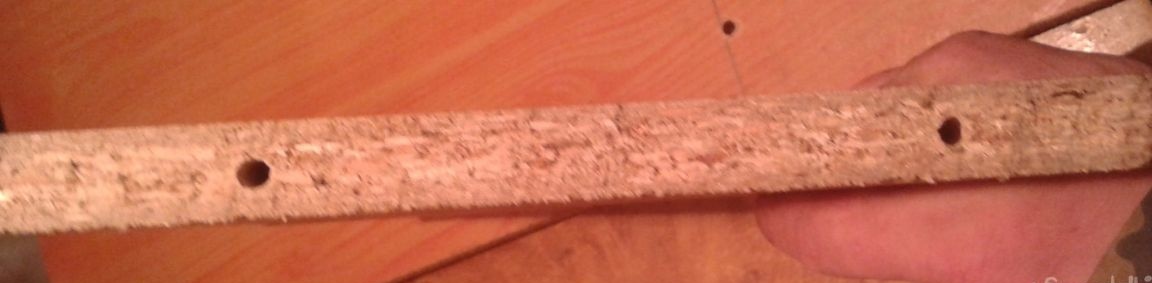
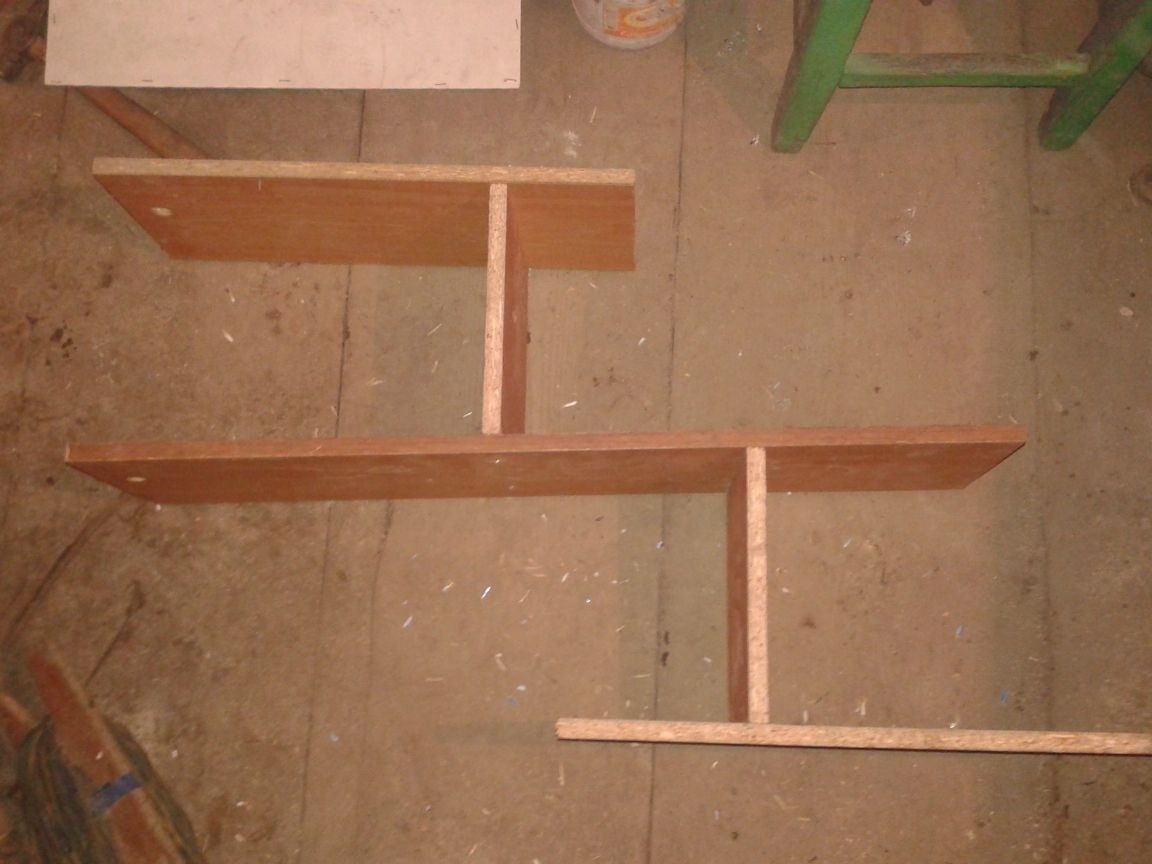
Step 14. To increase the strength of the shelf and reduce all the details at an angle of ninety degrees, so that the design has a finished and presentable appearance, we cut the amplifiers. for this we need trim from the materials of the shelf. The height of these couplers is equal to the lateral parts of the shelves B1 and B2, that is, twenty-four centimeters. It turns out such details.
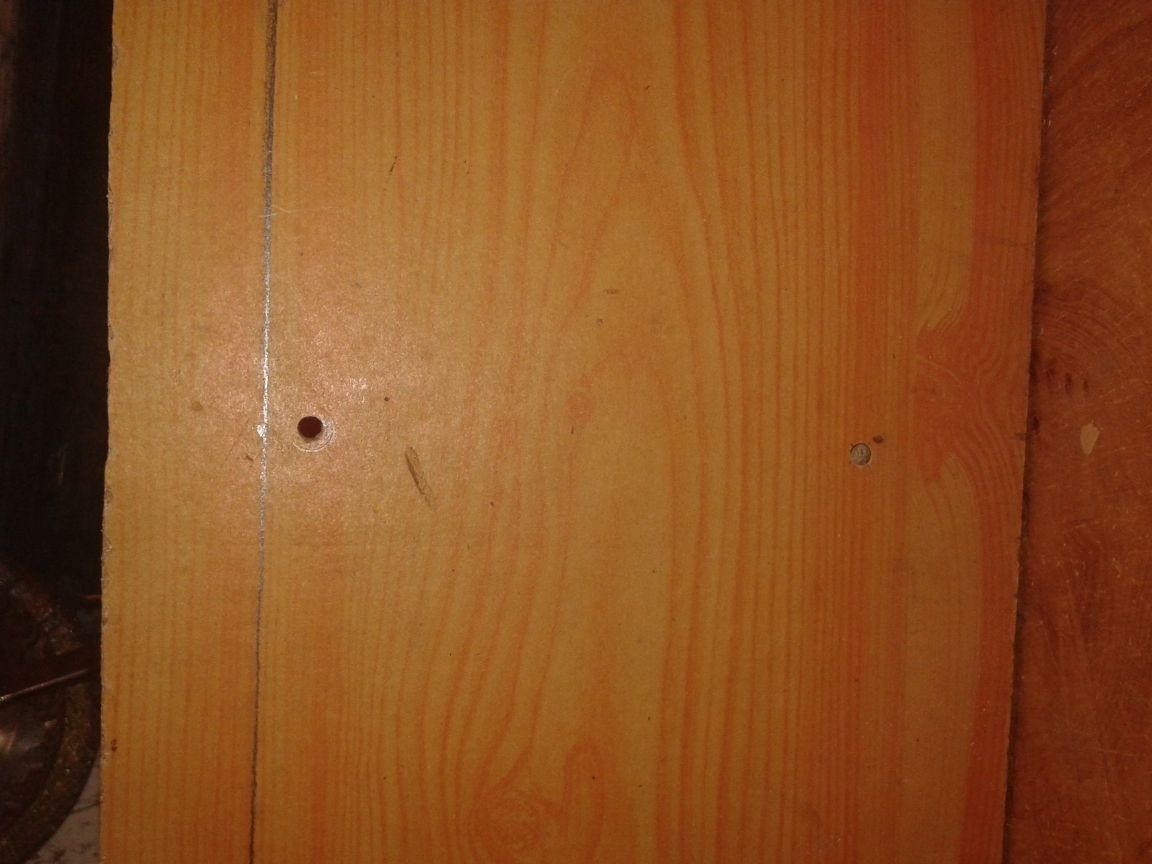
Initially, I made a wooden column for the screed in the middle of parts B1-A and A-B2. The shelf was leveled, but I did not like the look. I had to disassemble and do it in a new way. True, there was a hole, but it is all easy to close up.
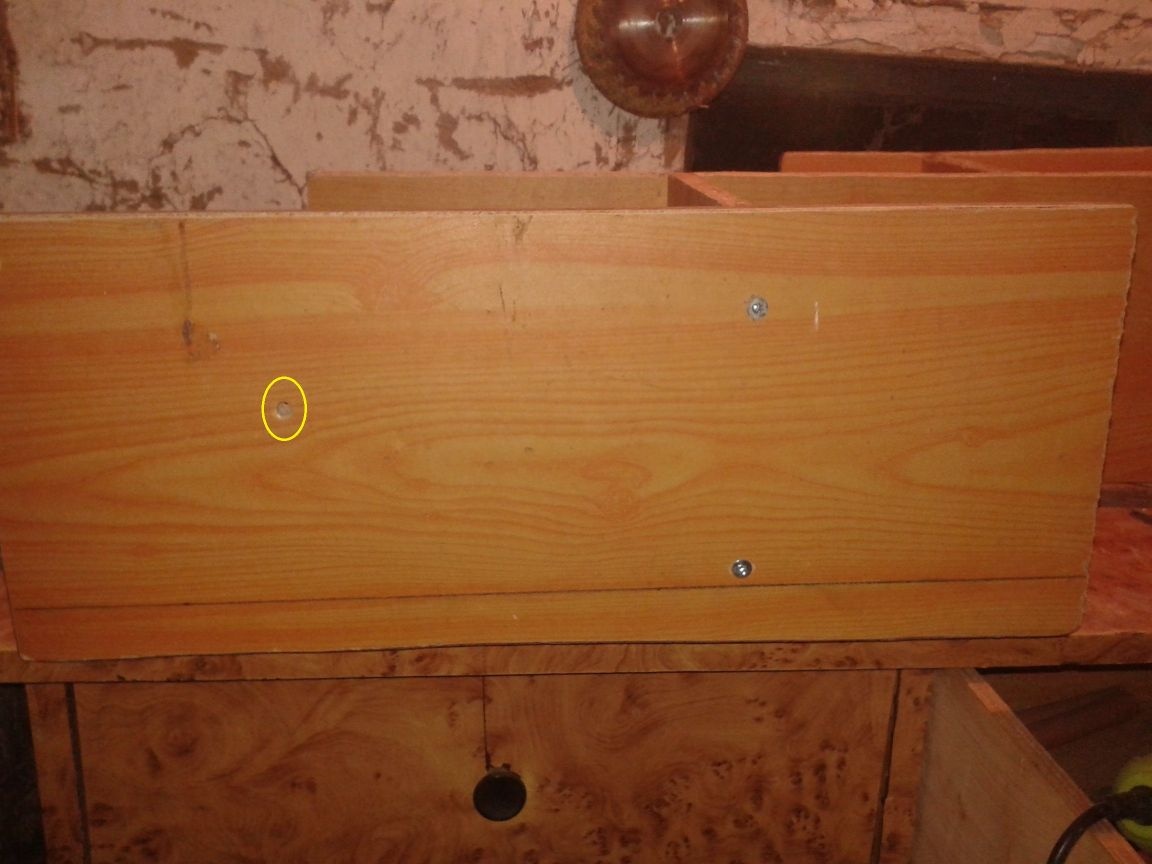
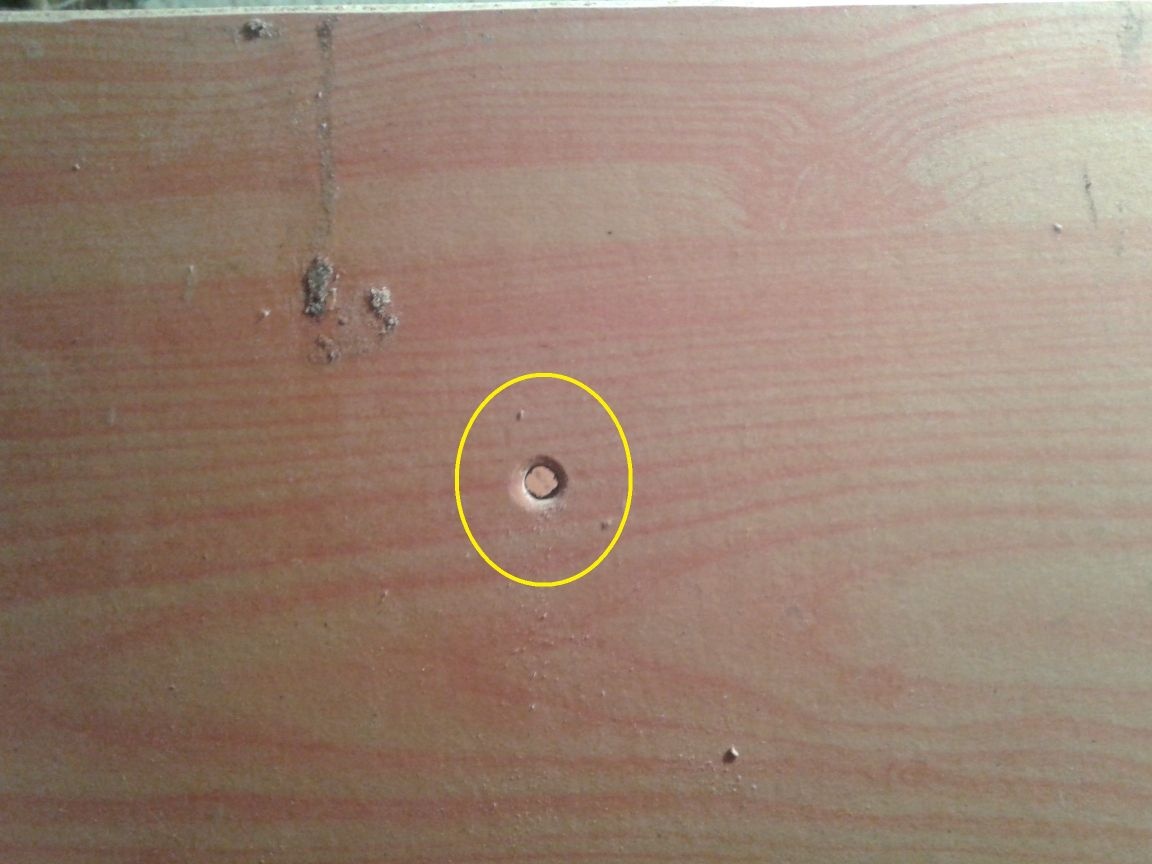
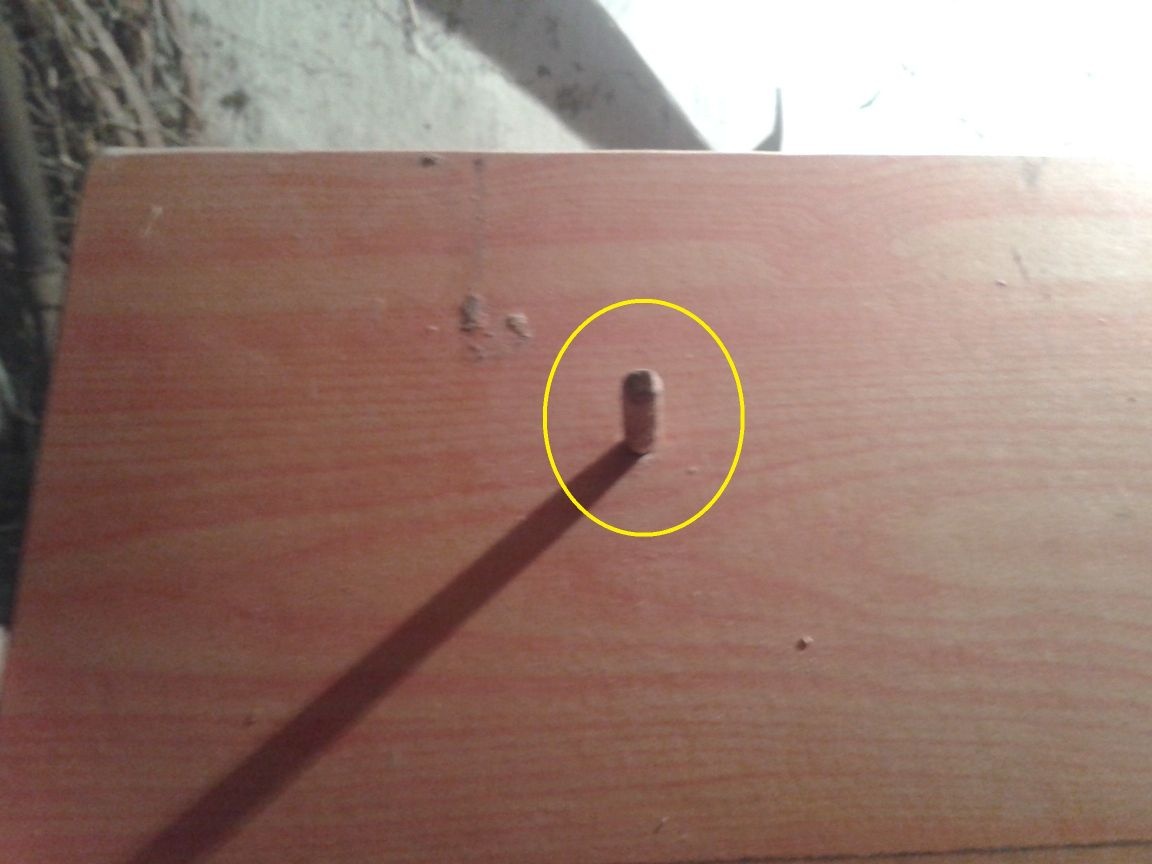
To do this, take a wooden veneer, drive it into the hole and polish it. But since my regiment hangs in the workshop, I'm not too worried about this.
Step 15. Now we take our sawn couplers and fix them to the parts B1-A and B2-A from the back side. I fastened them with wood screws, as I thought that furniture screws would be superfluous on such a small detail
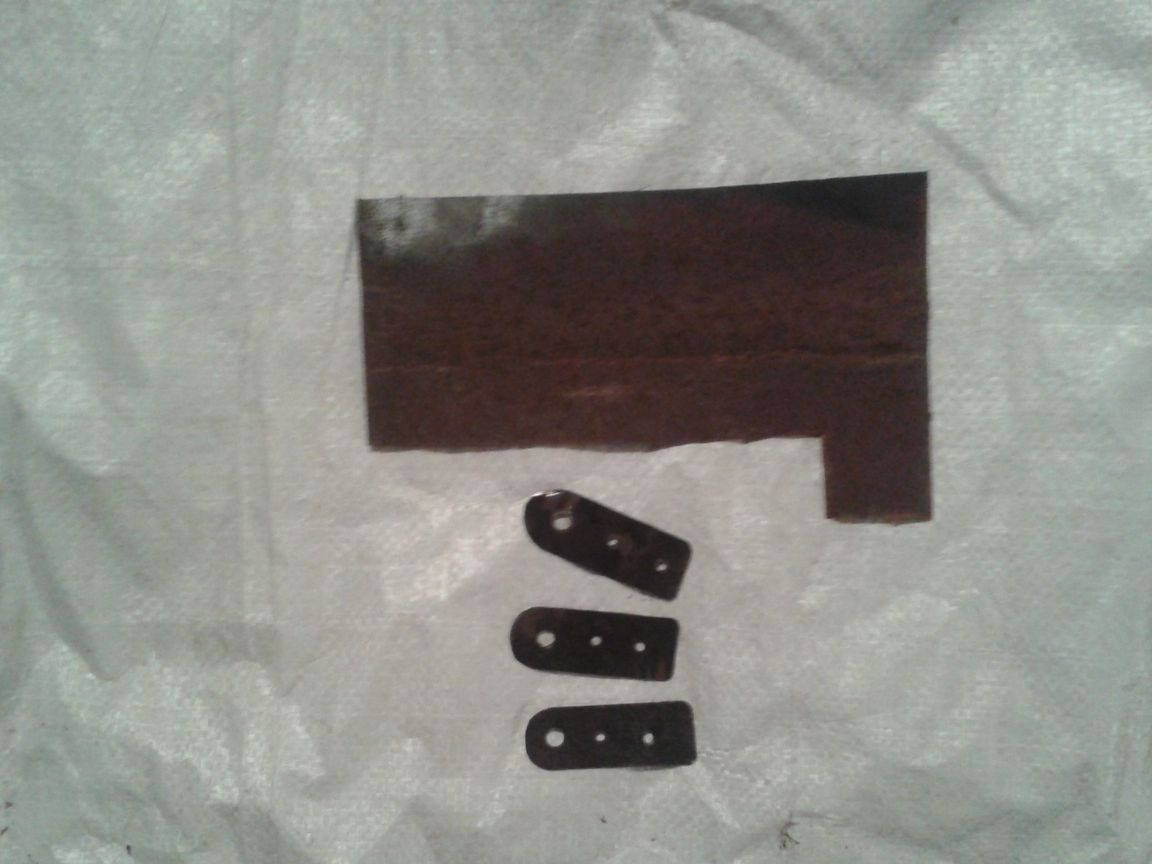
Step 16. After the screeds were fixed and the shelf took on a finished look, we proceed to the final stage of work, namely, we make loops in order to hang the shelf. For this, I took a piece of tin. Not very thick, but not thin.
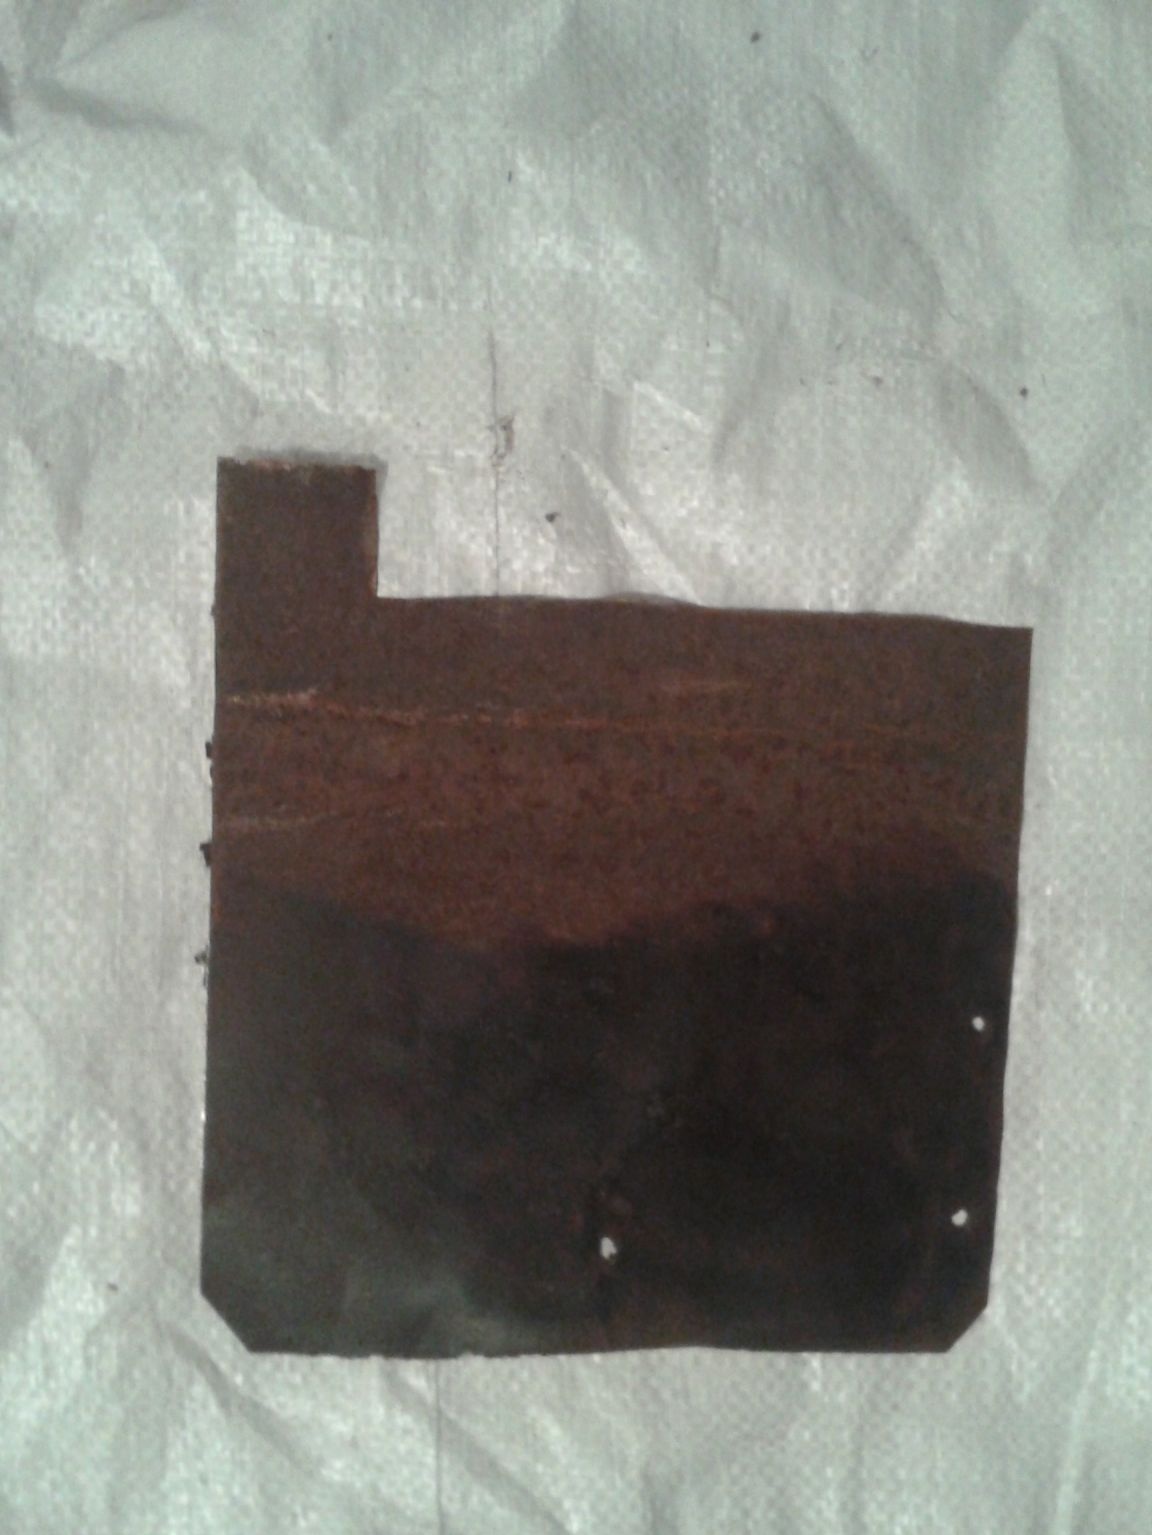
I polish part of the workpiece and start cutting ears. I make three holes in each - for mounting on a shelf and mounting on a wall.
Step 17. After our ears are ready, we proceed to fix them on the shelf. We take small screws on wood and fasten them from the back. It turns out like this
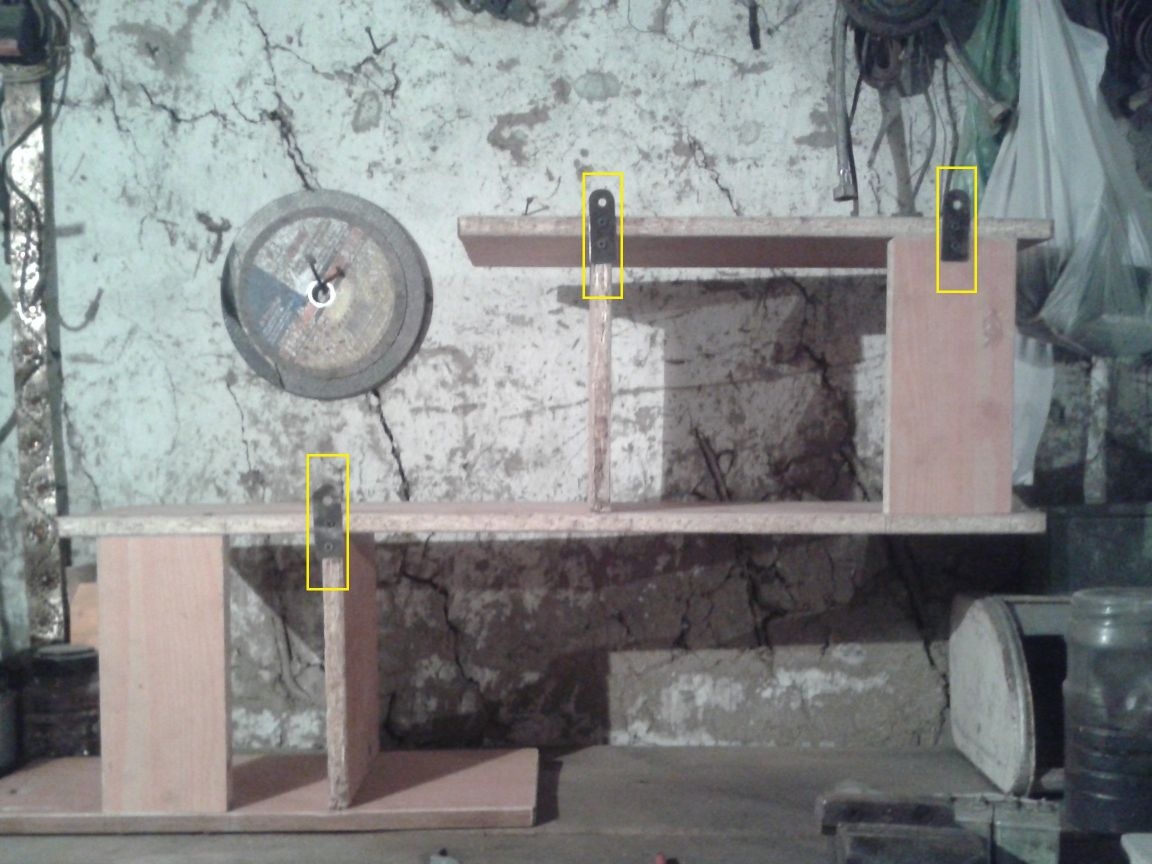
I decided to make three mounts, since the shelf still has several tiers and does not have a single center of gravity.
And in the end, we get such a thing necessary in the household
With respect to all the inhabitants of our sites - Nikolay.