

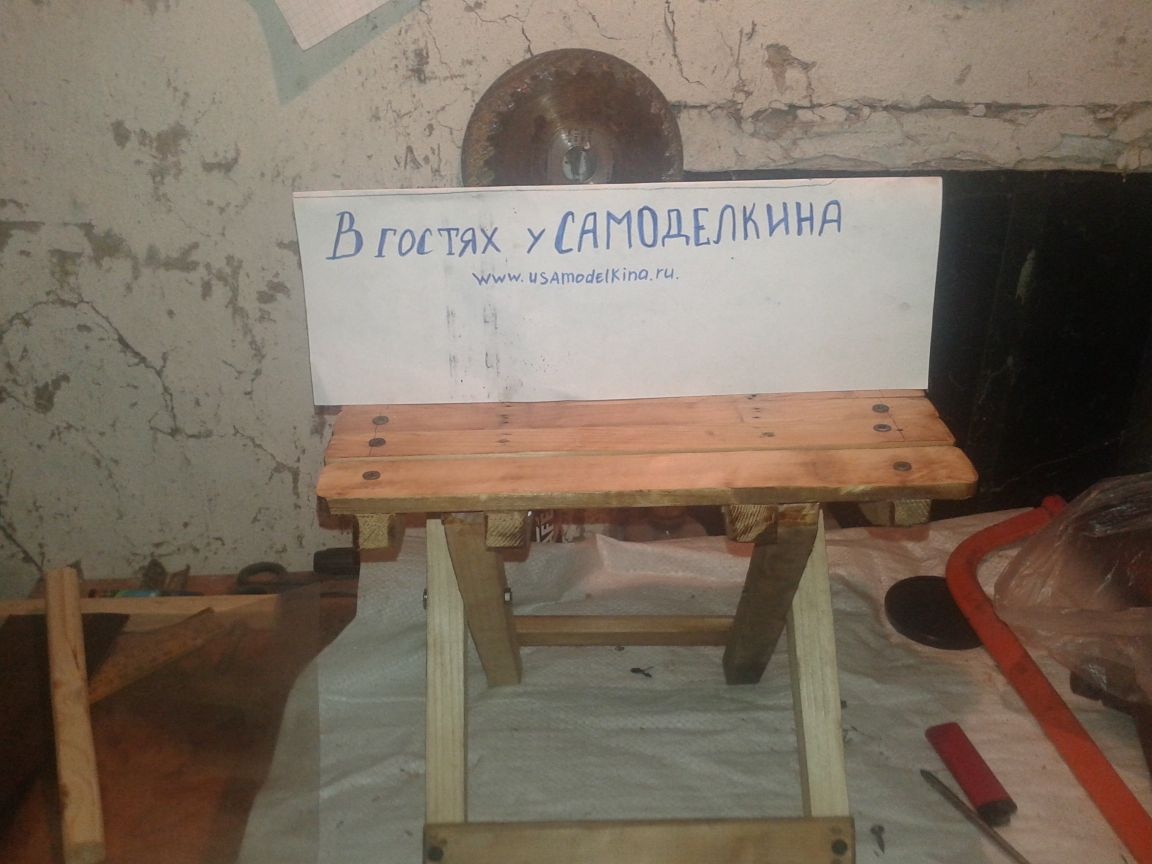
Hello dear the inhabitants of our site and site visitors. Today I want to introduce you to my folding highchair for fishing, which will cost you only a hundred rubles. This is taking into account the fact that you, like me, will not have bolts with nuts and washers. Everything else is the materials that were in my barn. These are slats and planks from some structure. If everything is available, then do it yourself You will make a comfortable, lightweight and free chair.
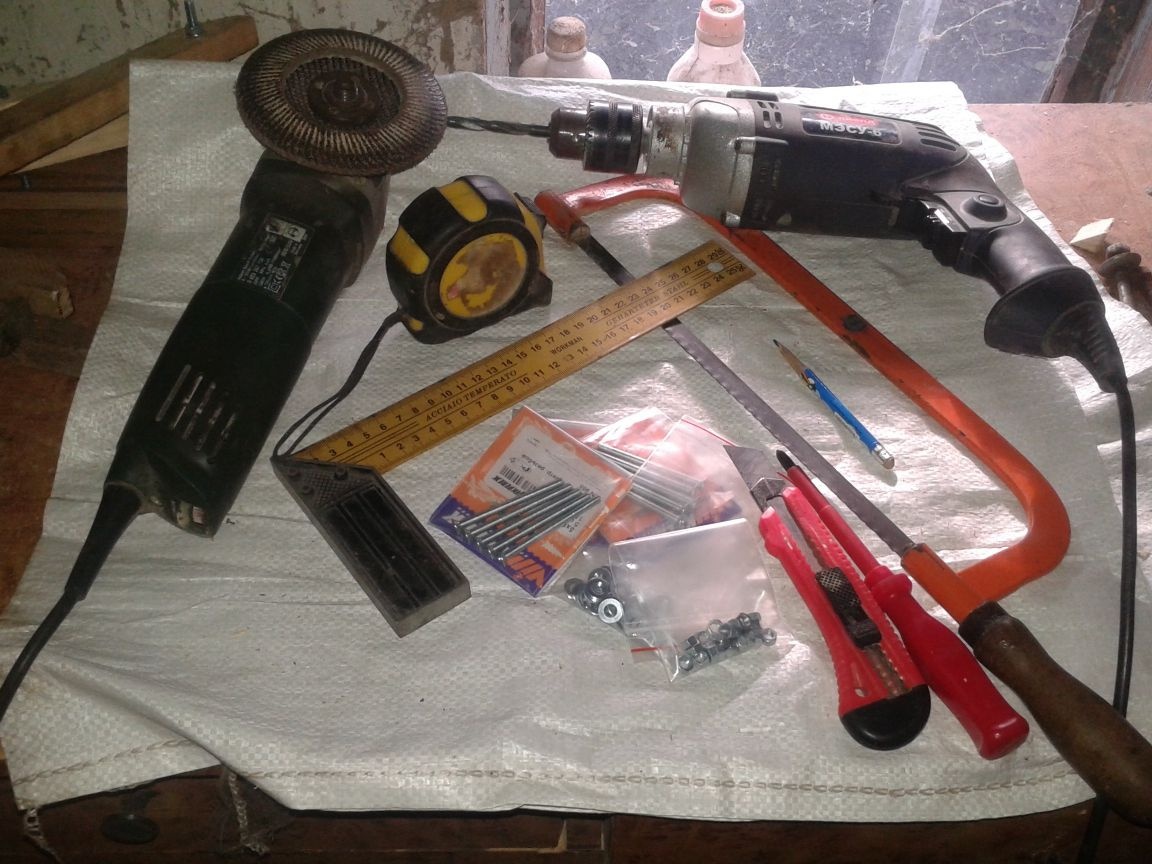
Let's start, as usual, with the tools, which we will need when creating our homemade product. This is a drill with drills for wood of different diameters
Grinder or grinder with flap disc for grinding
Corner for deriving angles.
Roulette
Saw for metal with a canvas for wood
Bolts with nuts and washers
Curly screwdriver and pencil
So, I’m starting my master class.
Step 1.
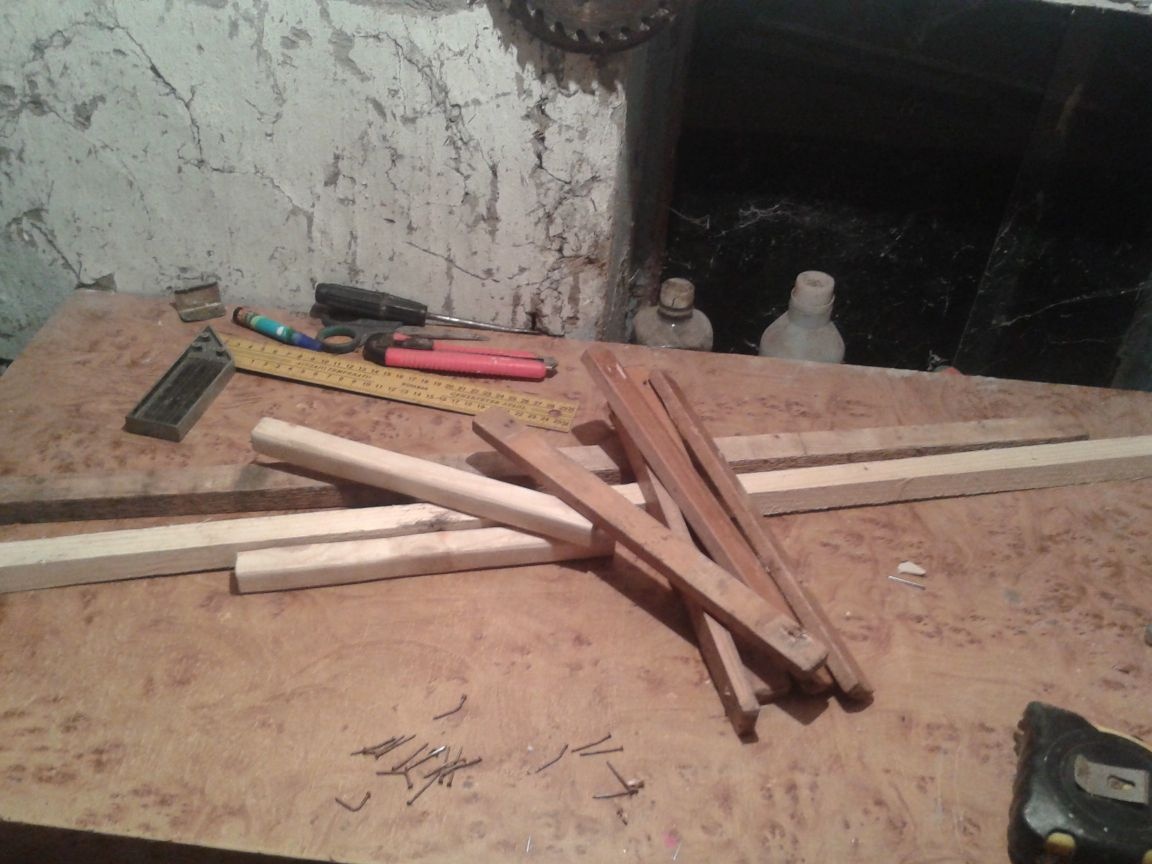
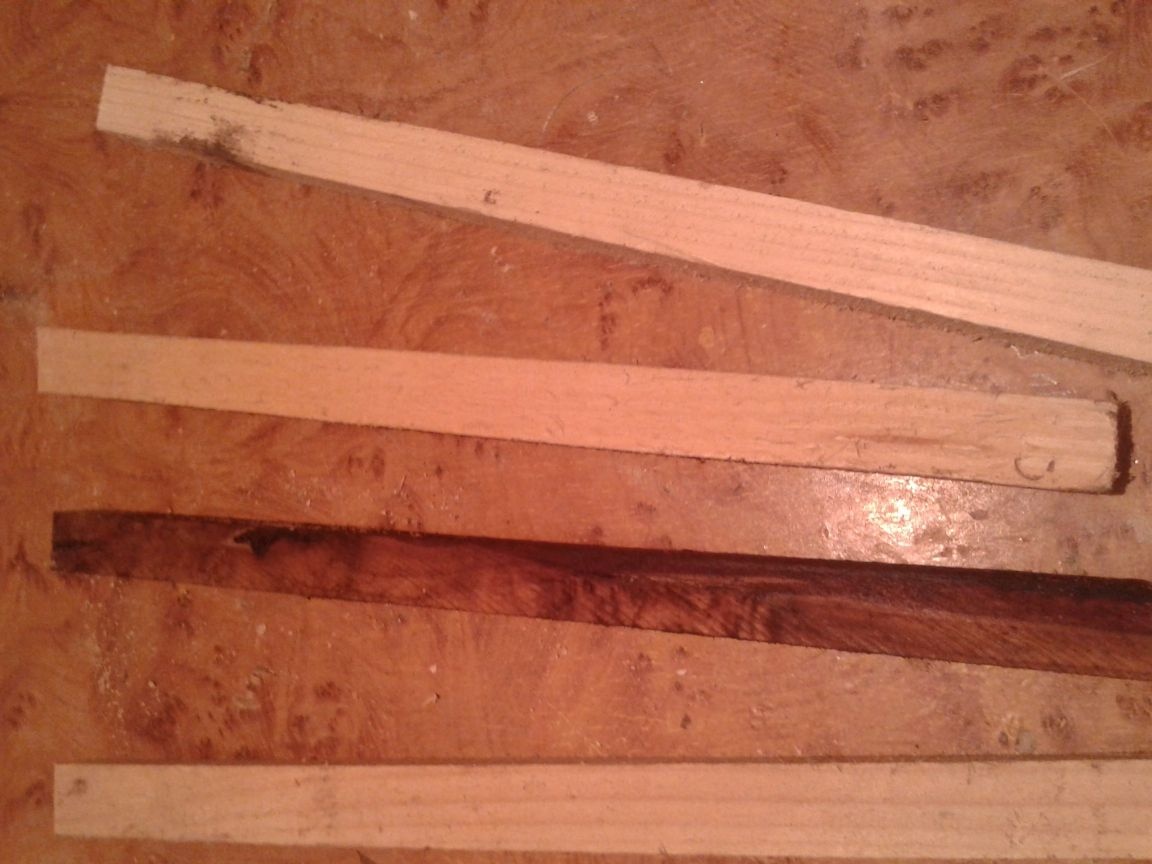
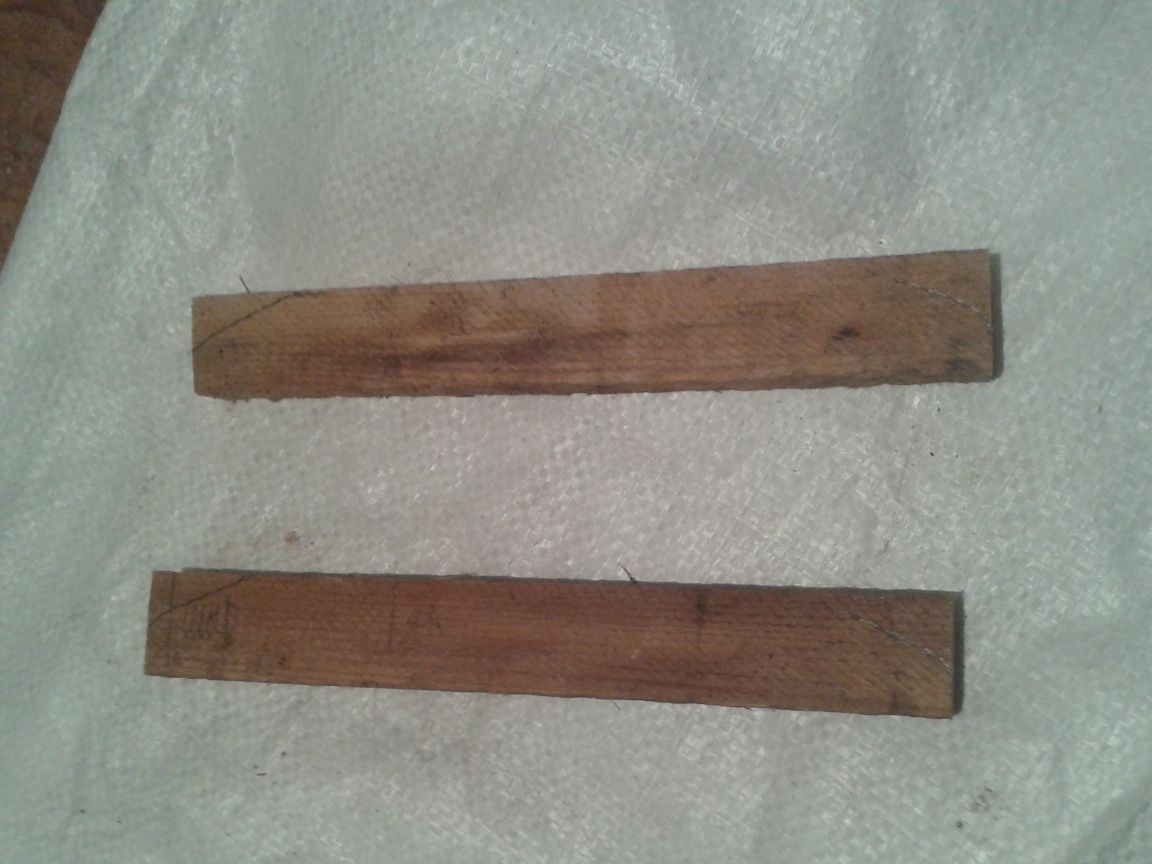
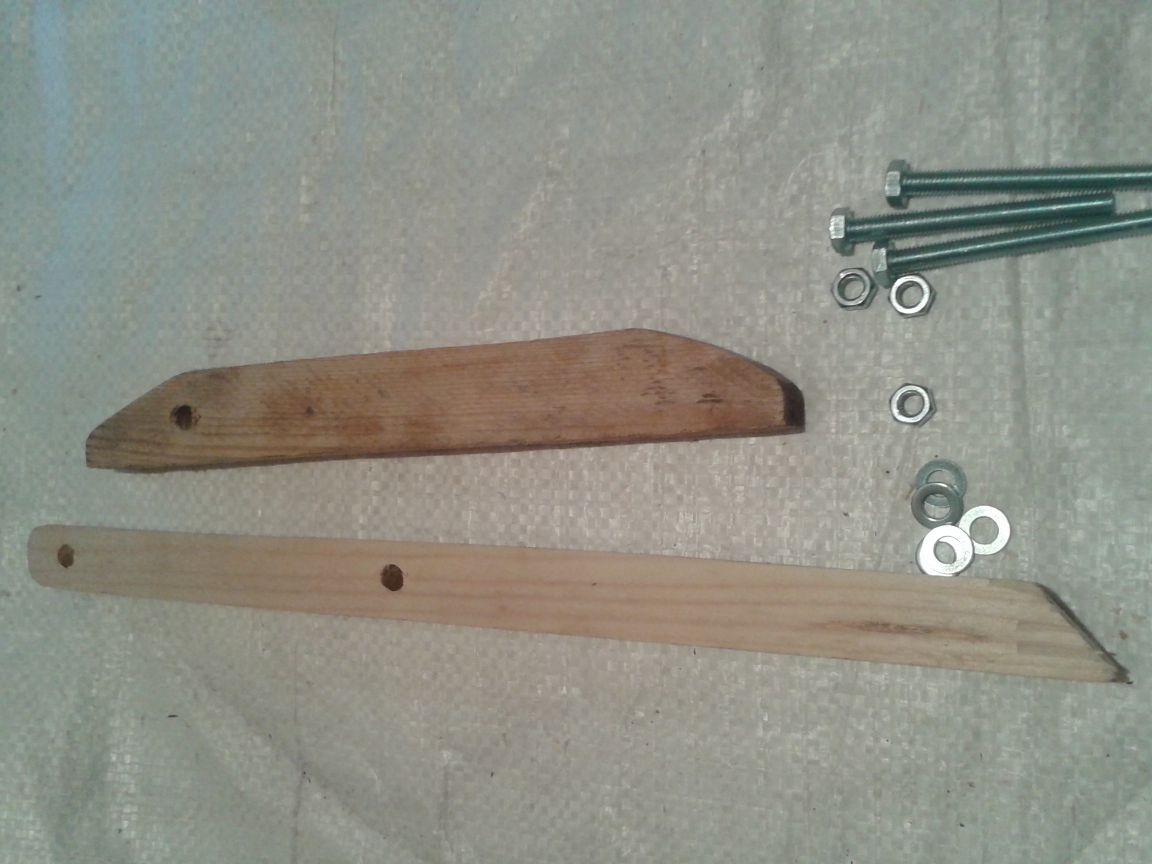
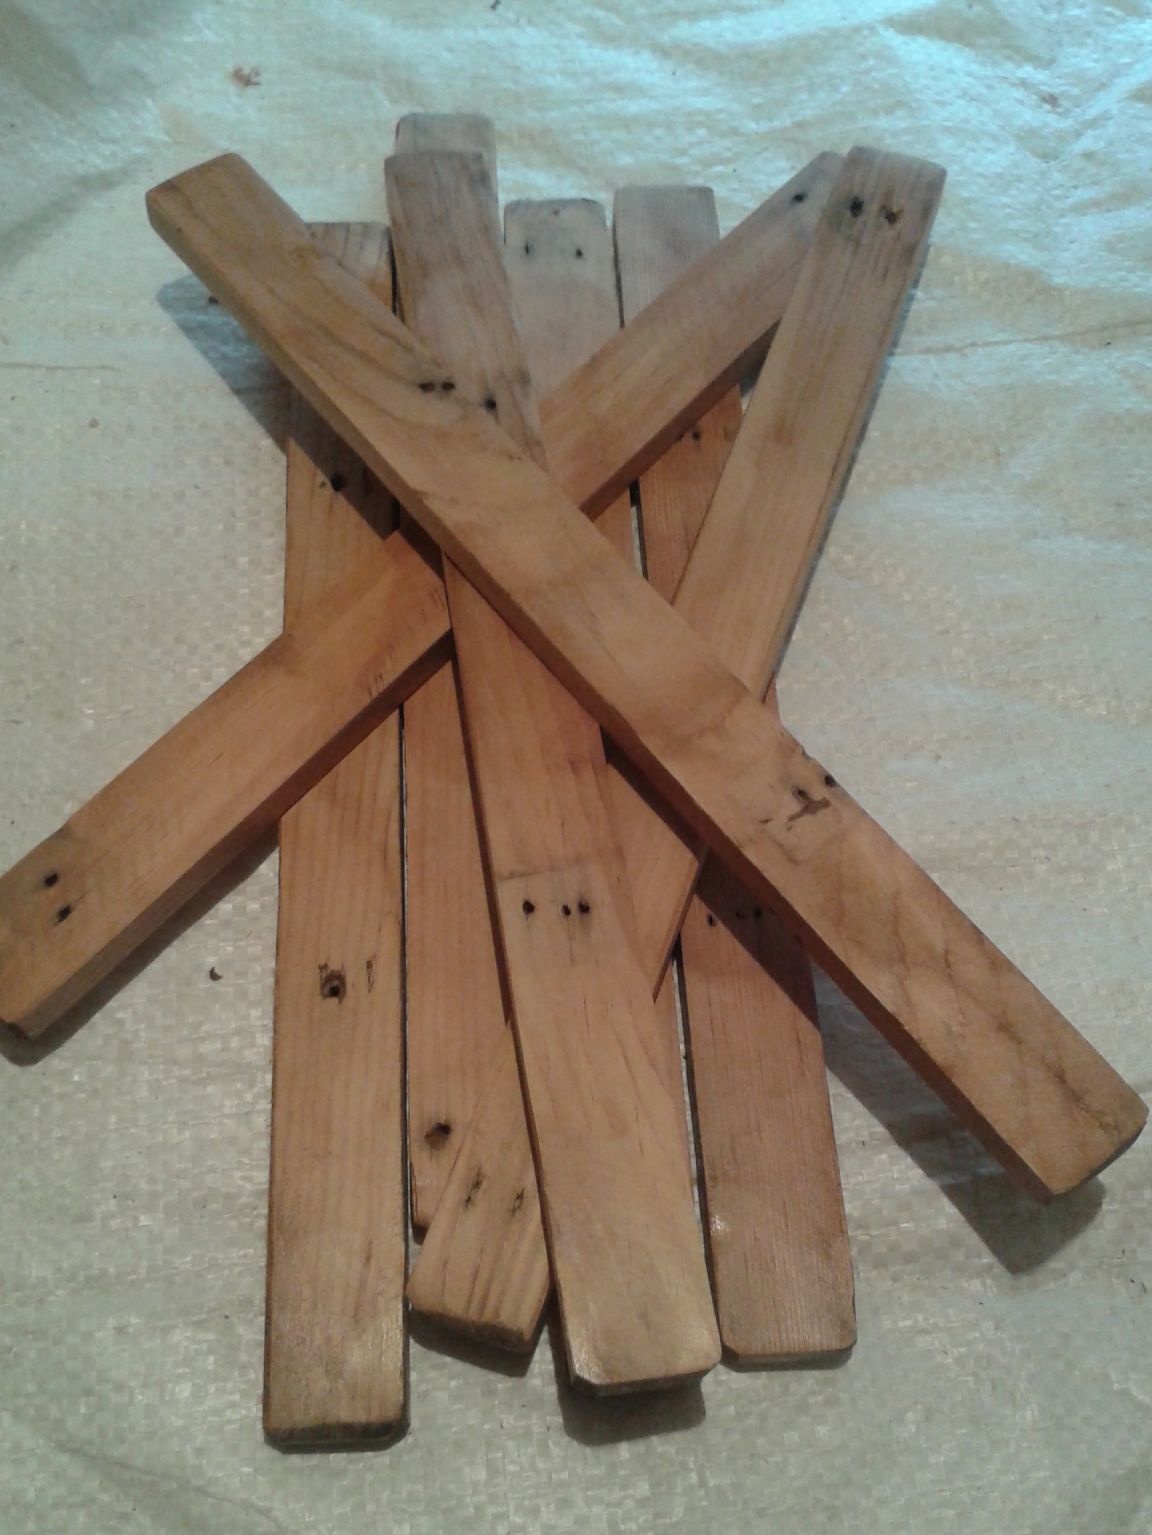
We will need a variety of bars and slats. I sawed out the whetstones, but I was lucky with the rails, which I would use for the seat, I found them in the barn.
Step 2. Sawing my pieces of wood into blanks for the legs of the chair. for this we need four blanks thirty-two centimeters long.
Step 3. Next, we need to prepare bars for the second part of the chair, namely for the one on which the trims for the seat will be attached. As I later learned from the Internet, they are called collets. We cut four such blanks of twenty centimeters.
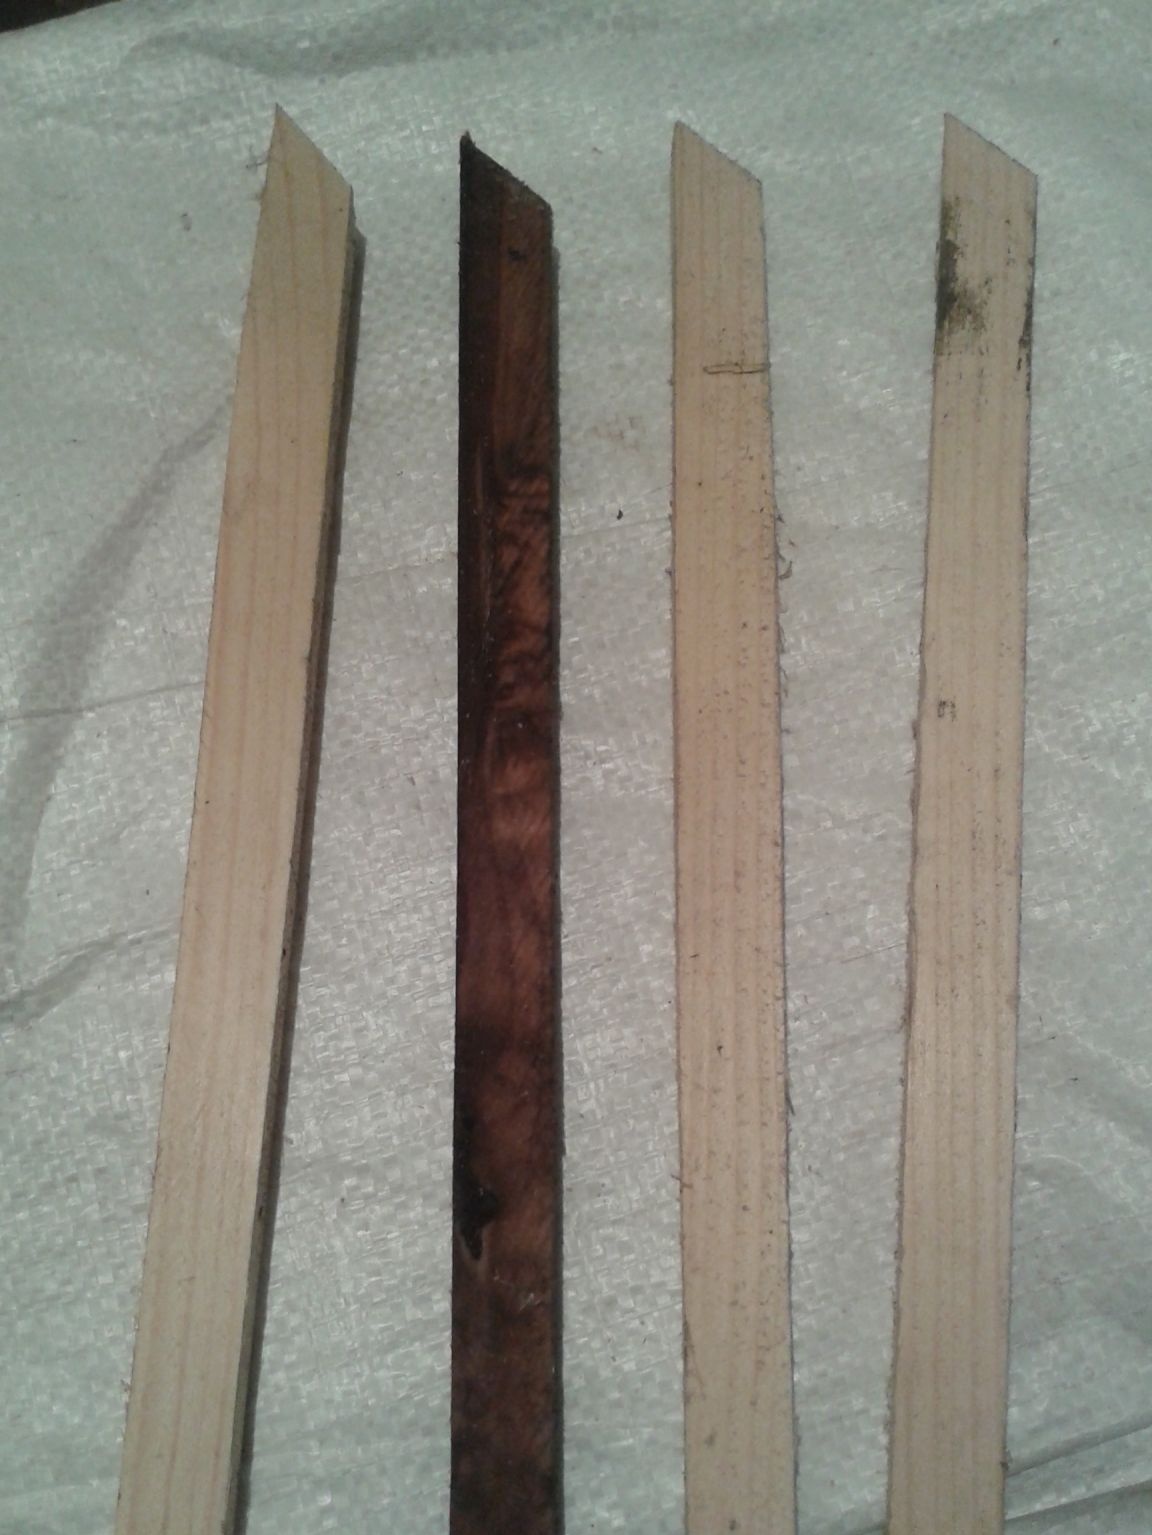
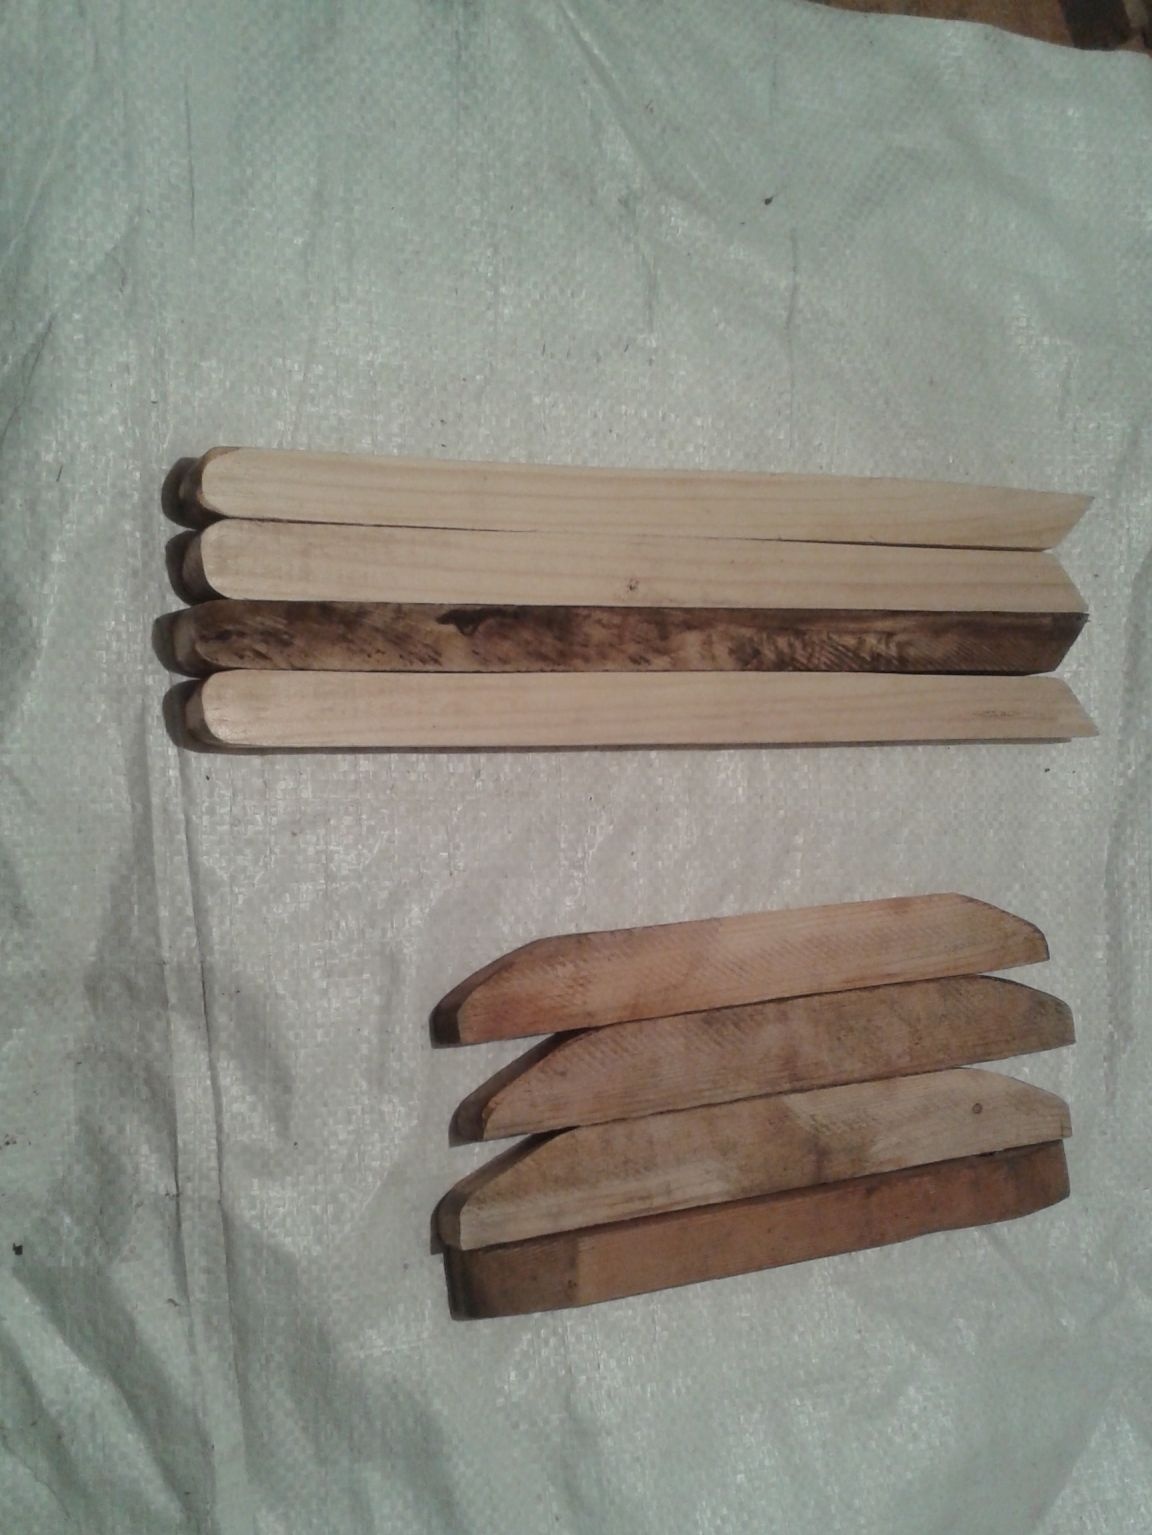
Step 4. Now we cut the corners of the blanks for the legs of the chair at a slight slope.
Step 5
We cut both sides of the collets, as shown in the figure.
Of course, the corners of the legs and the collets themselves can be rounded, but in my opinion this is too confused.
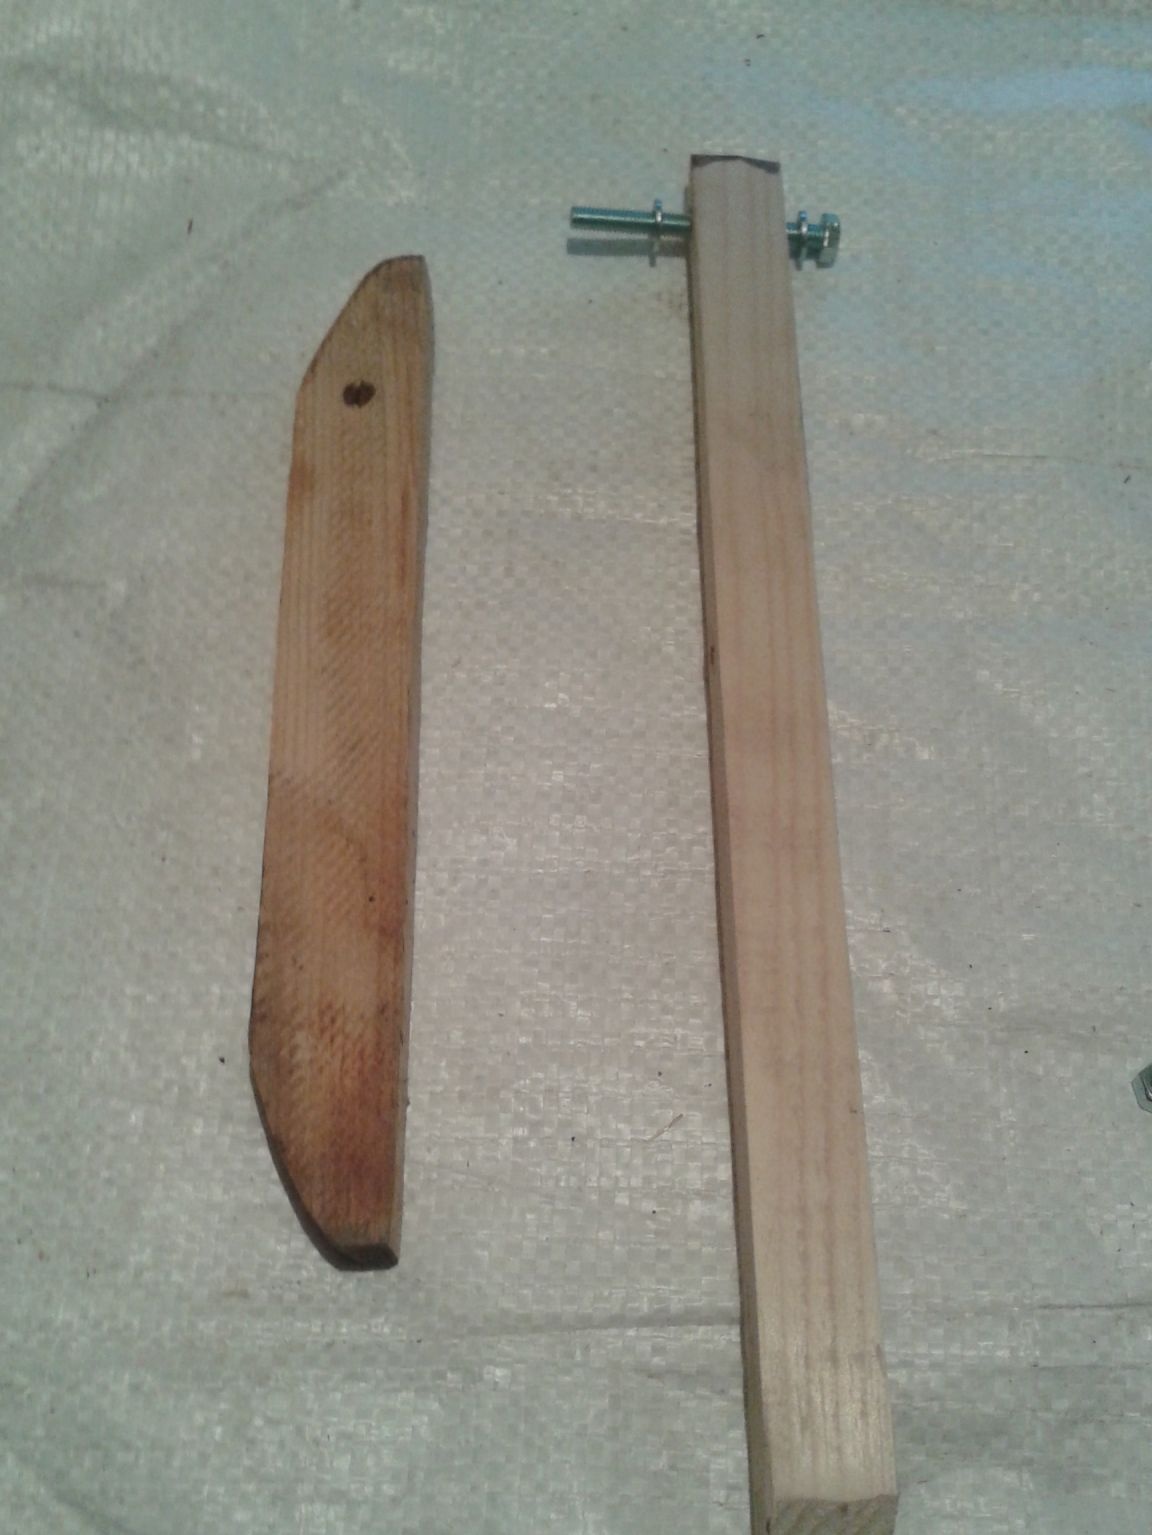
Step 6. We round the upper part of the future legs.

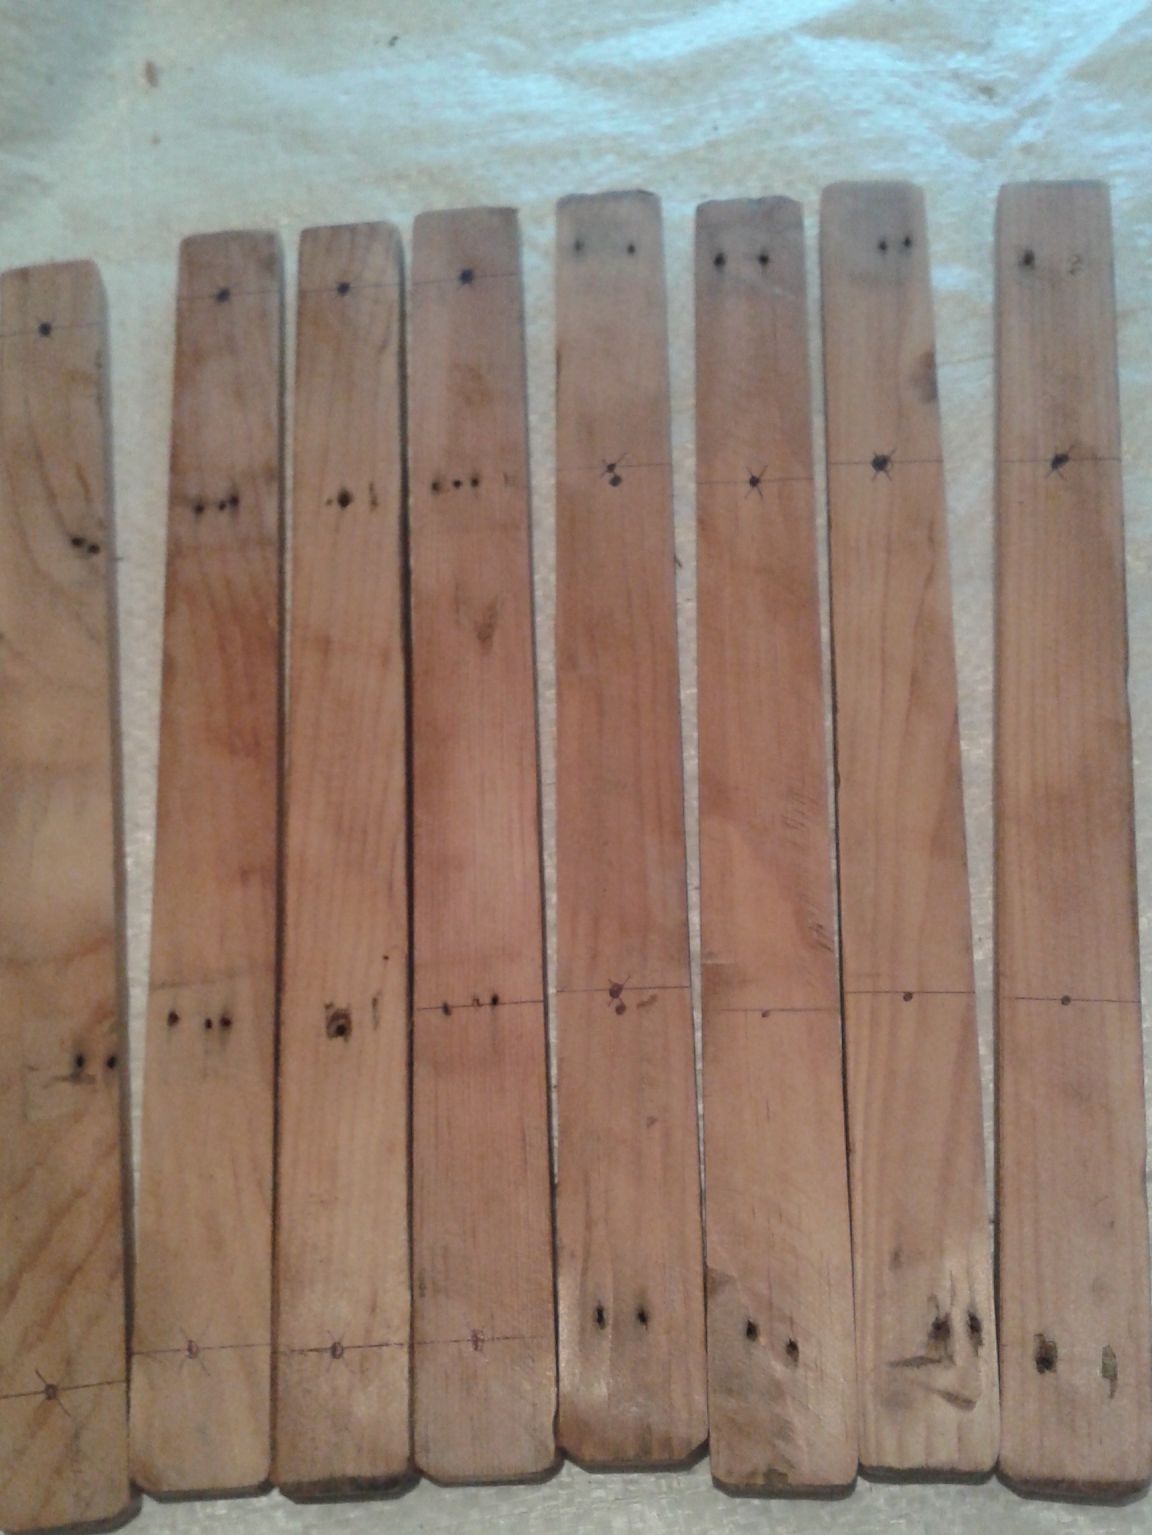
As a result, we get such blanks for the chair
Step 7. Now we outline the holes for the connection bolts on the legs and collets.
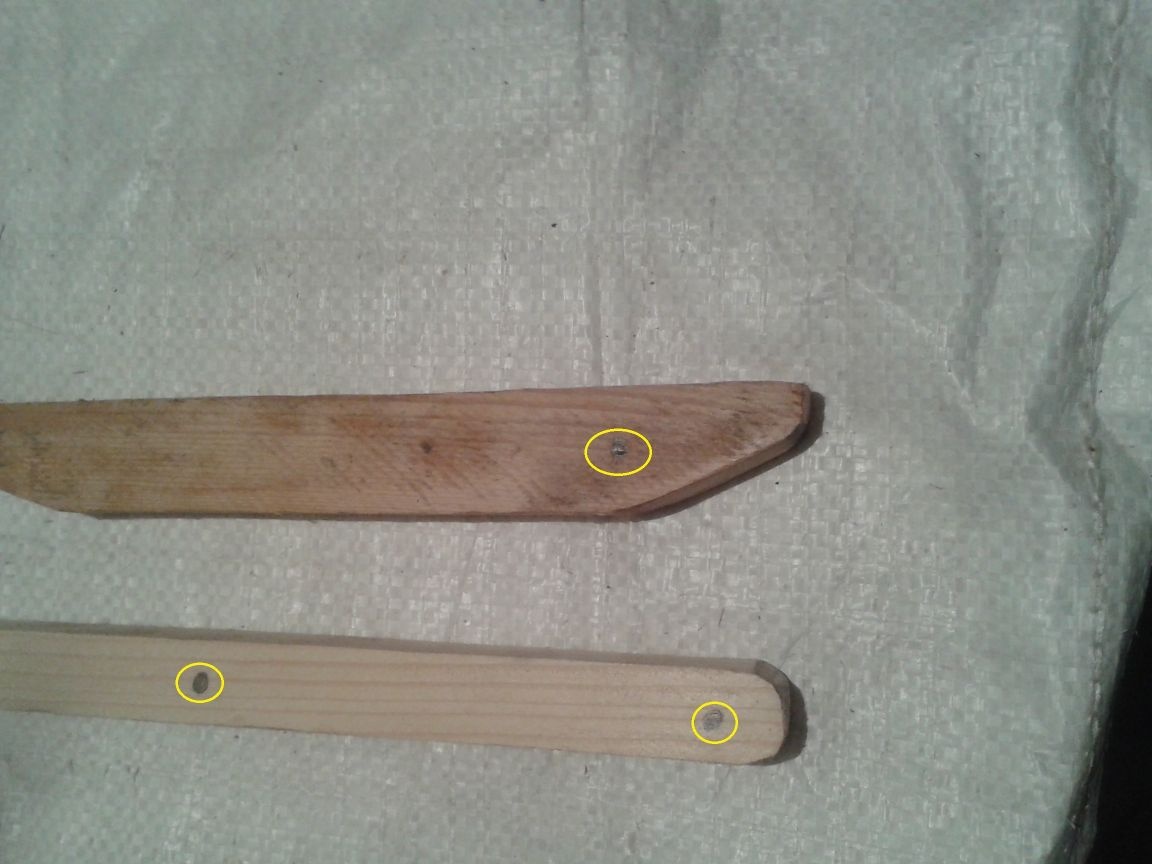
On the leg from the upper edge, the distance to the first hole is one and a half centimeters, and to the second, the junction of the legs with each other - twenty centimeters.
The distance at the collet from the sawn corner to the hole is three centimeters.
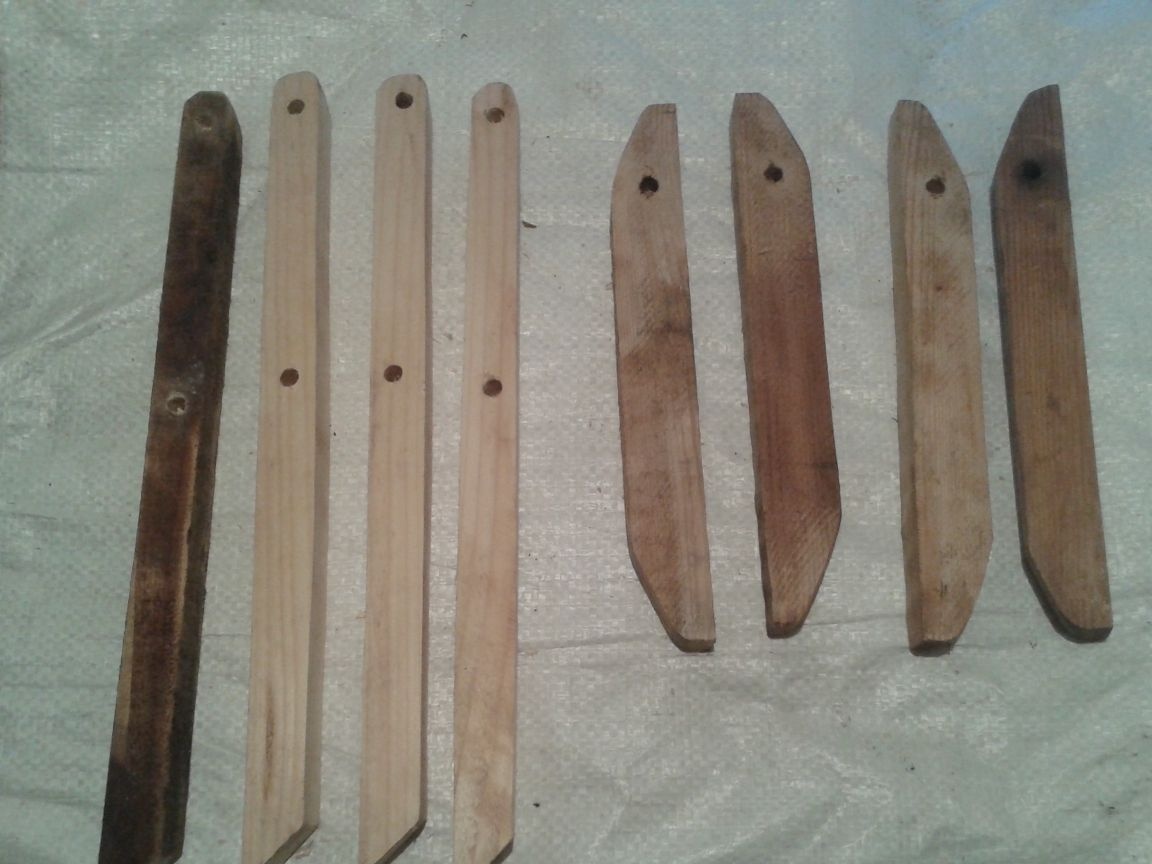
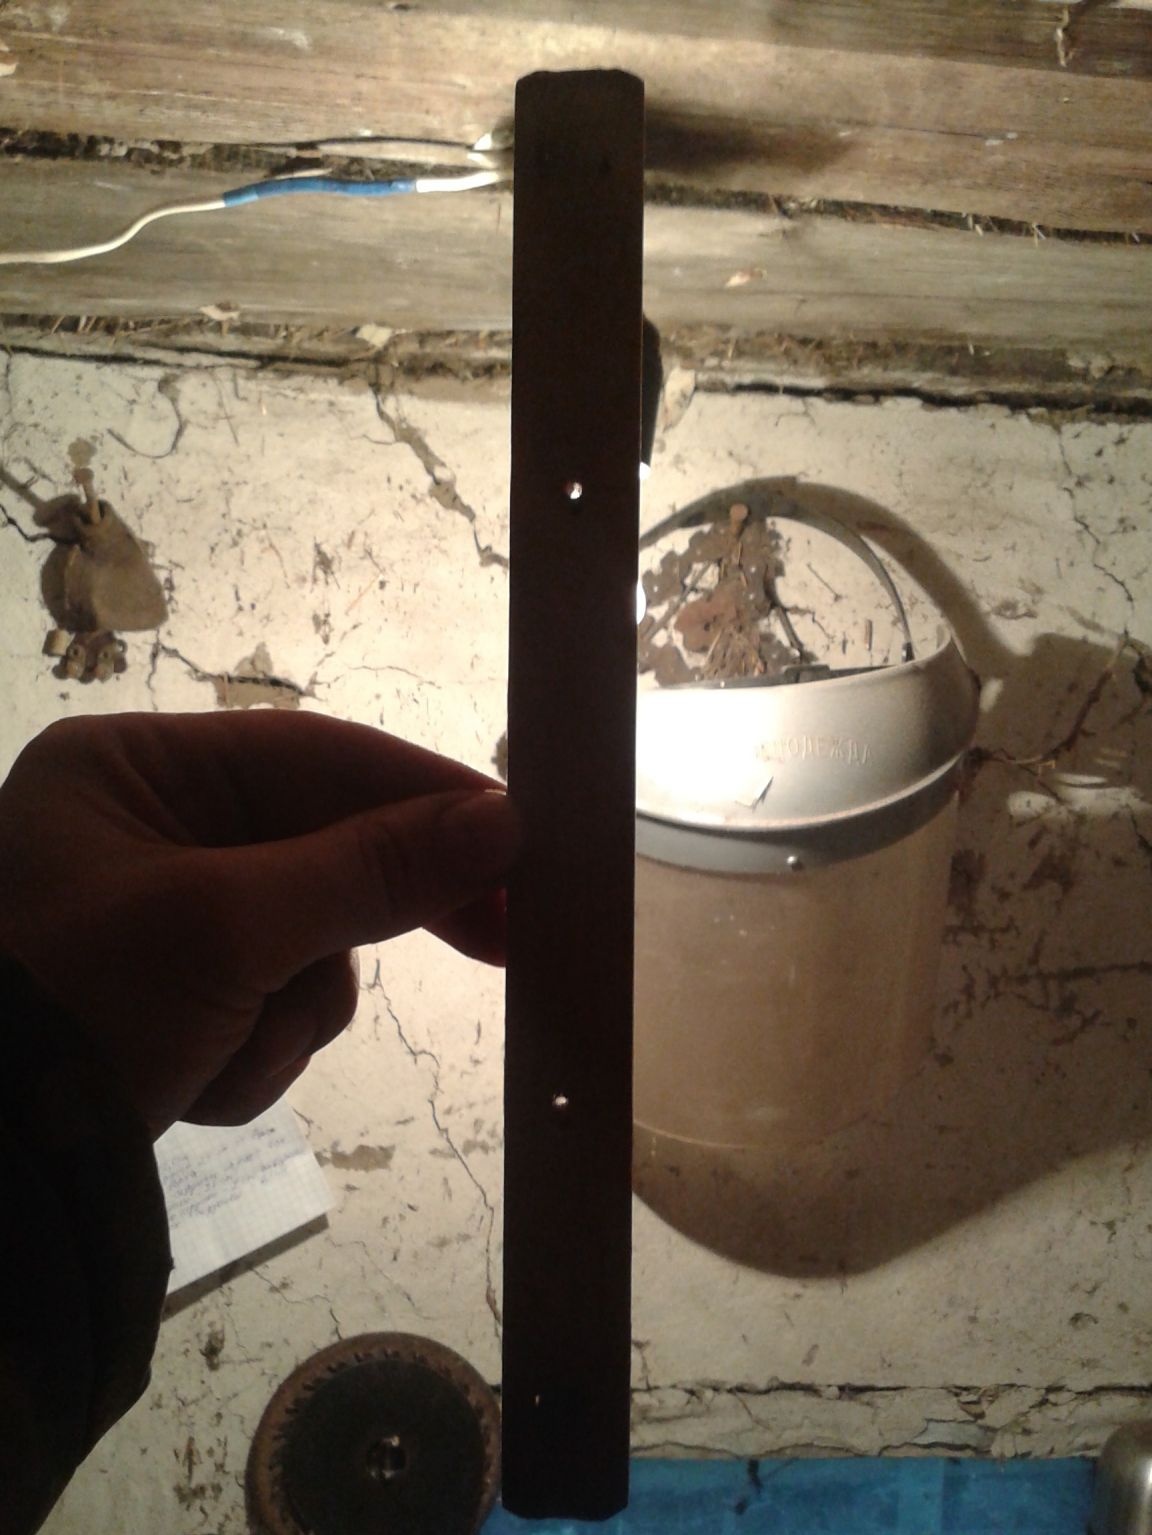
Step 8We drill all the marked holes on the workpieces
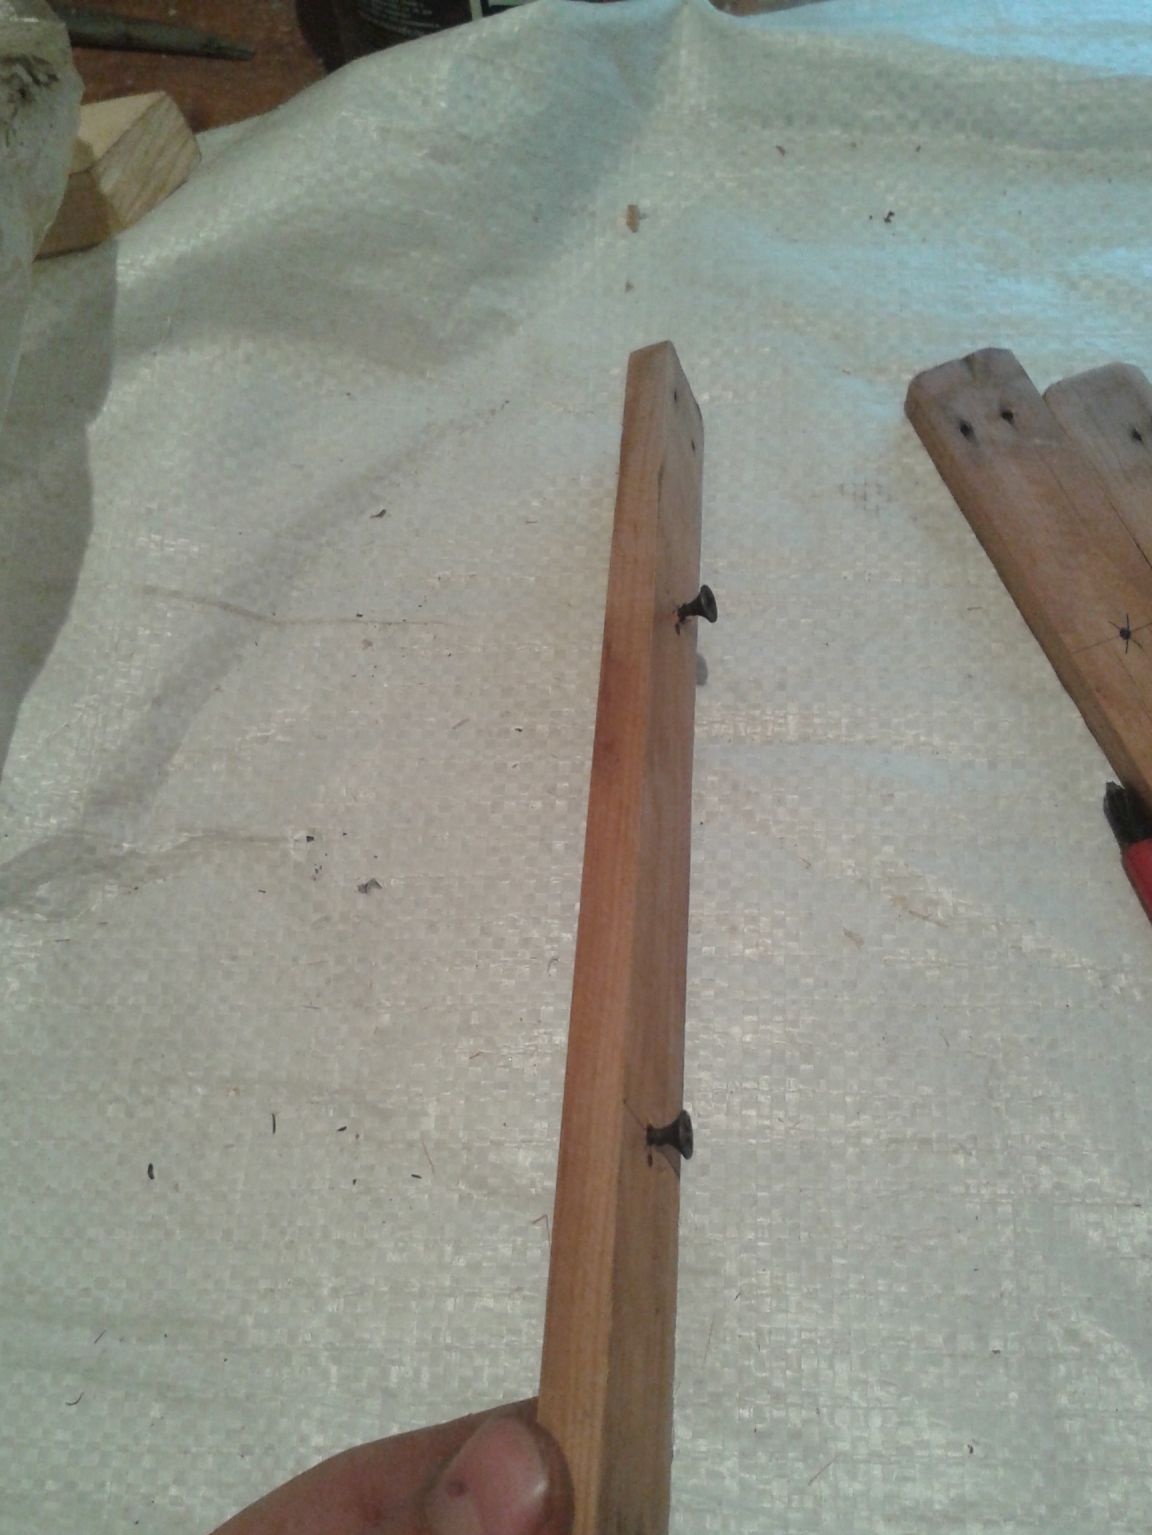
Step 9. Now we take the bolts with the hiding heads and begin to connect the parts.
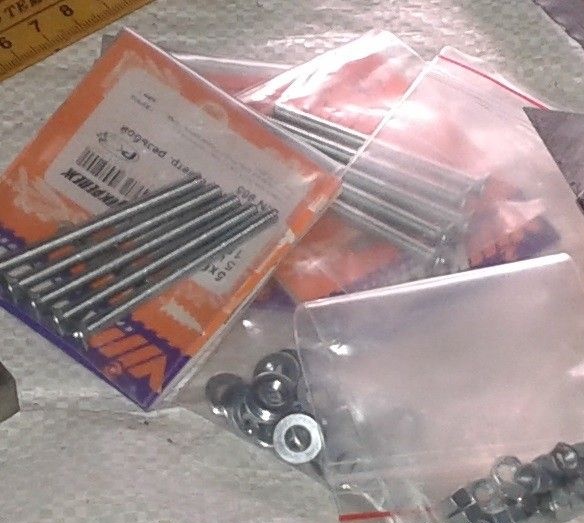
In the photographs I have the usual bolts, because I did not immediately realize that the heads would interfere with the folding of the chair. But this does not change the principle of assembly of the structure.
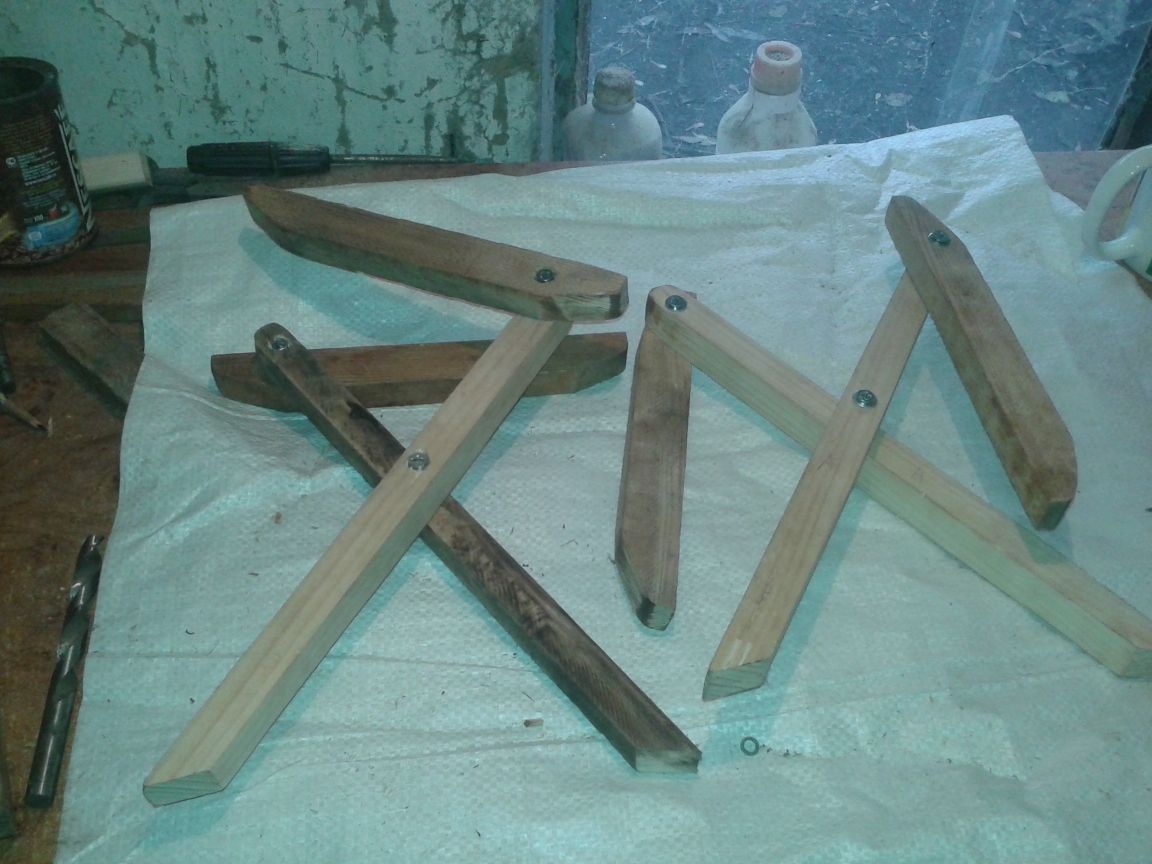
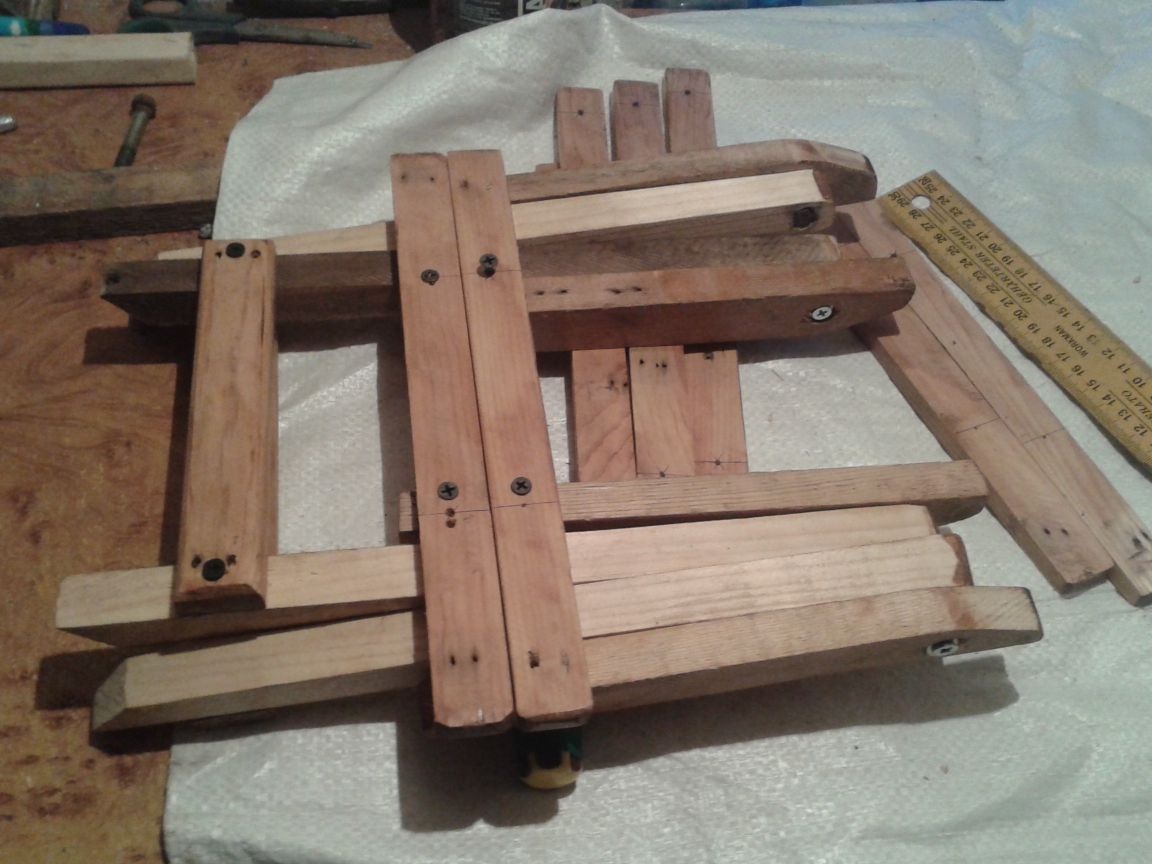
As a result, we get such prefabricated parts
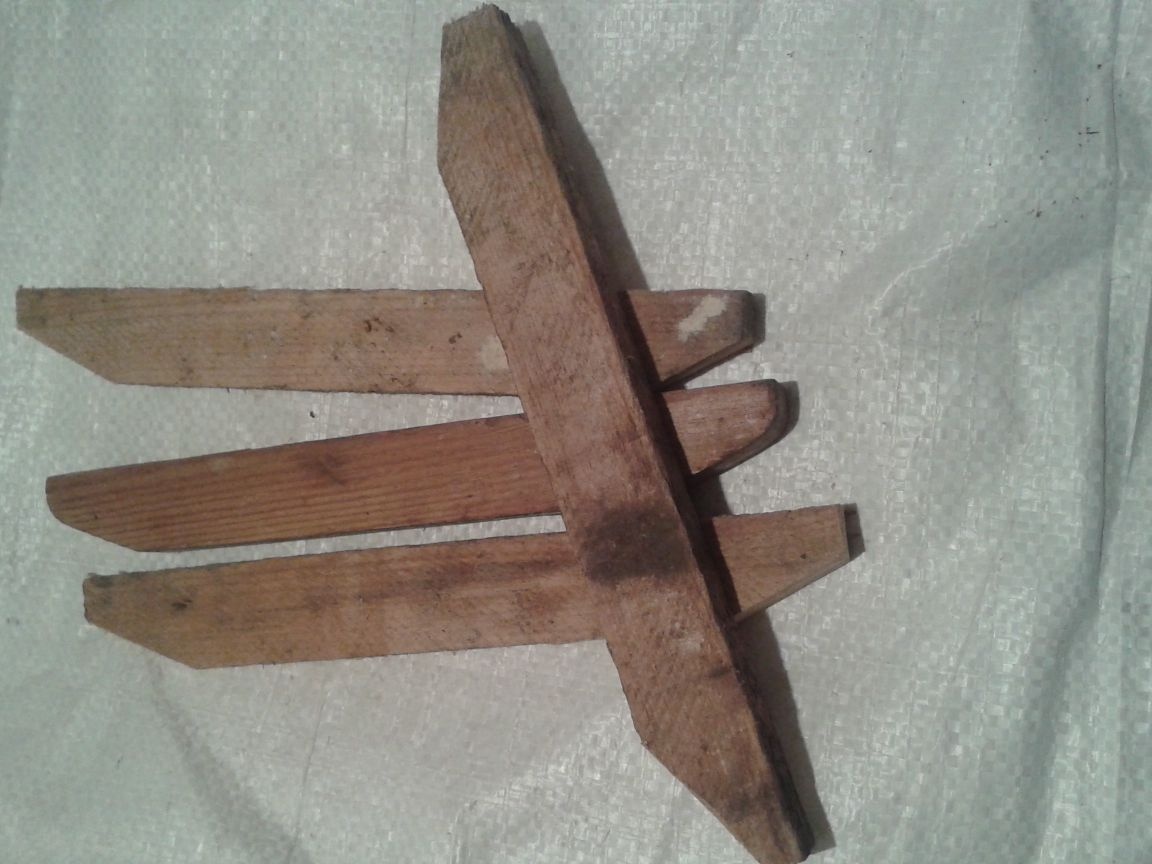
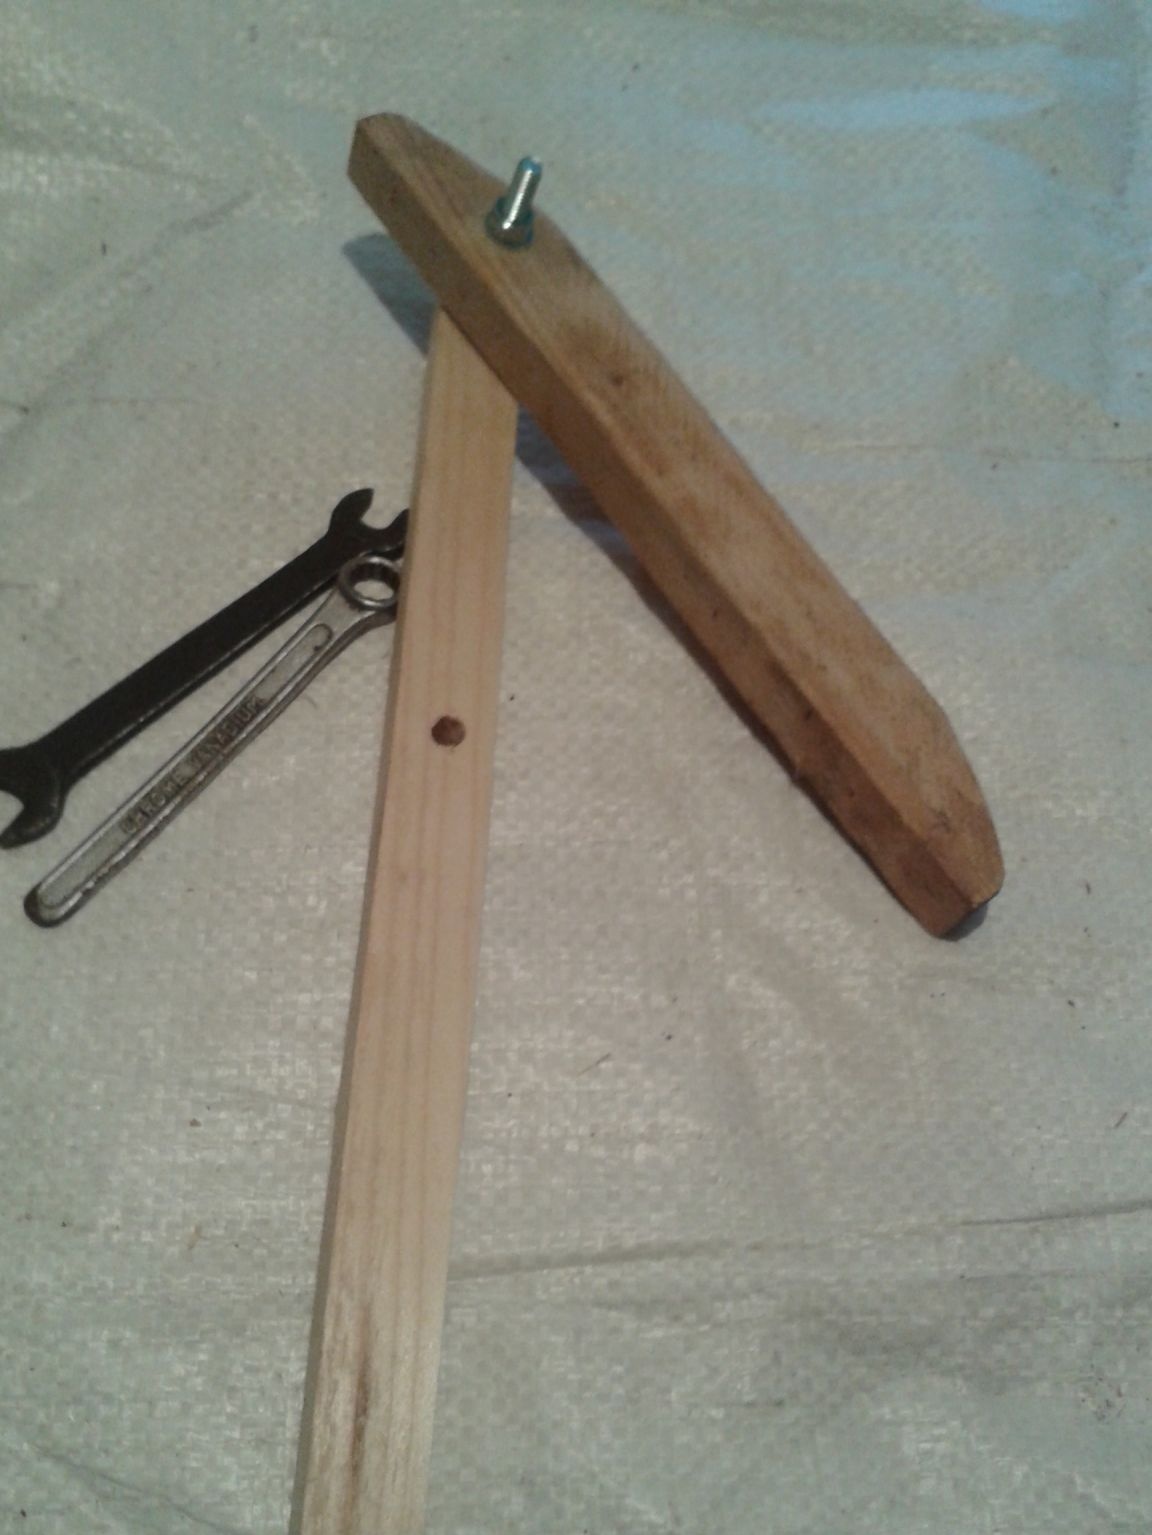
Step 10. Now we take our newly assembled parts and connect them together crosswise, as shown in the photo.
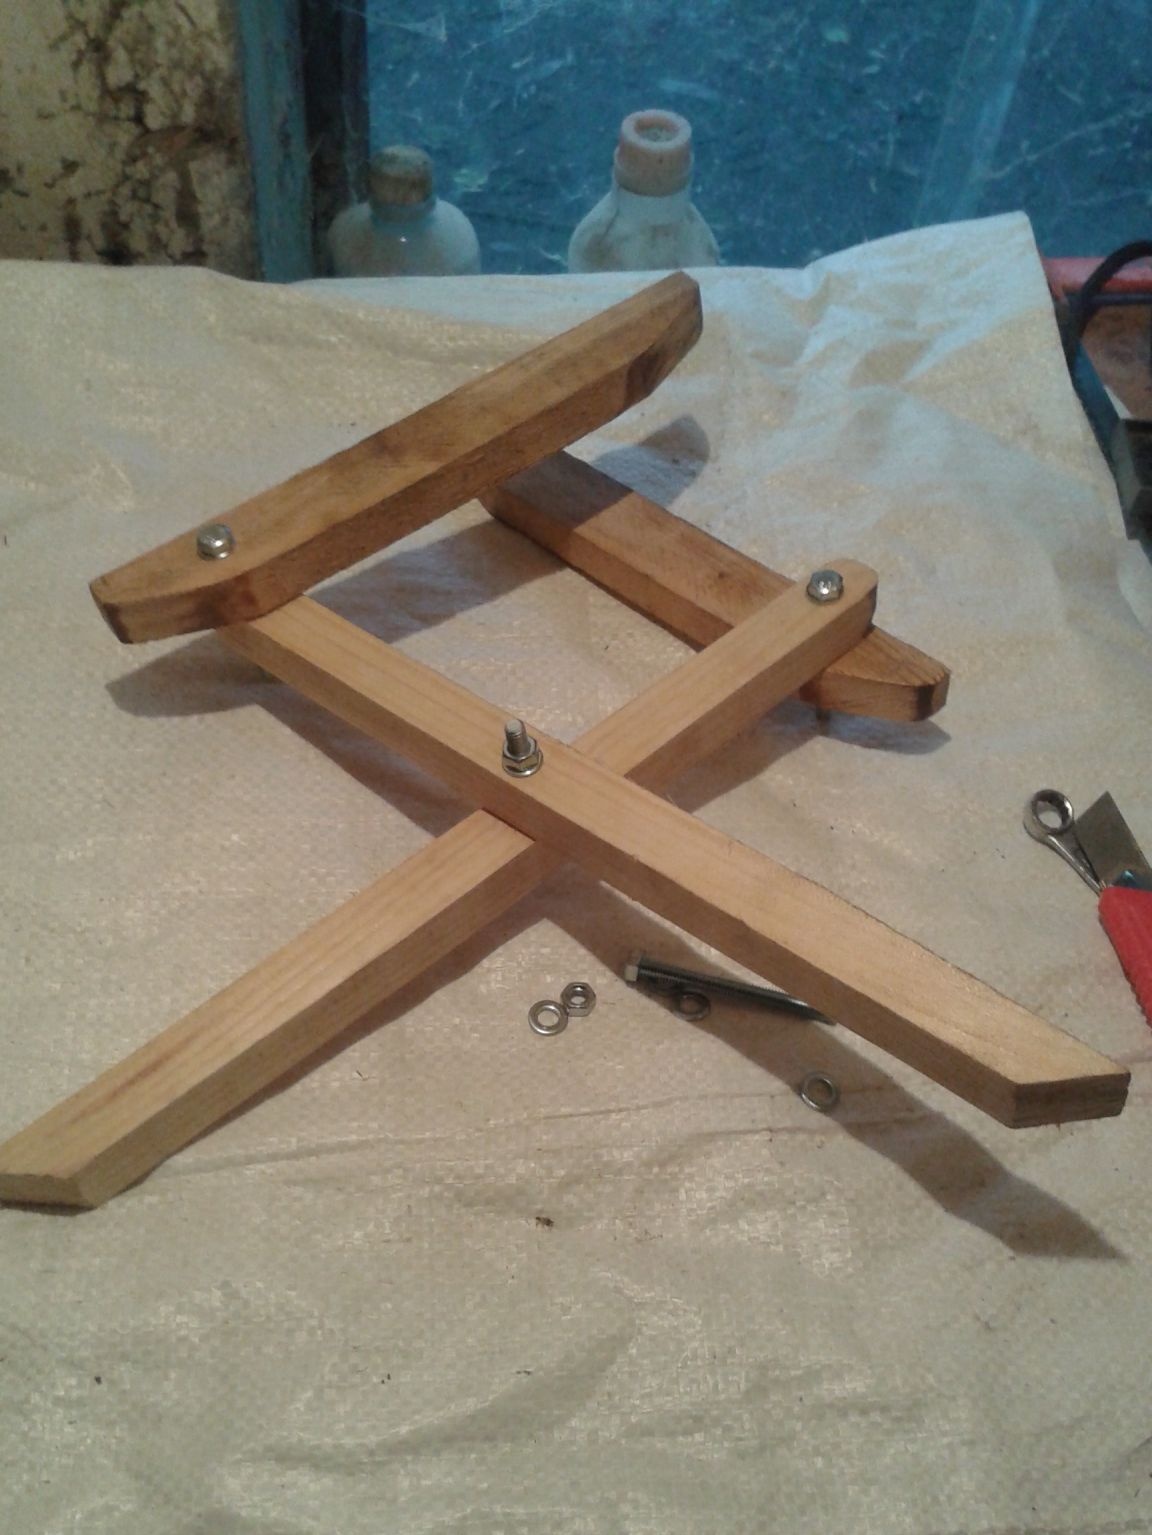
We got two main blanks for the chair. The upper ends of the legs should be flush with the collet when it is in an unbent state.
Please note that you should get two legs with collets in the inside of the chair, and two on the outside. They should open, respectively, in different directions.
Step 11. Now that we have connected everything to the bolts, we have left their long parts on the inside, which we must cut and grind the entire assembly part.
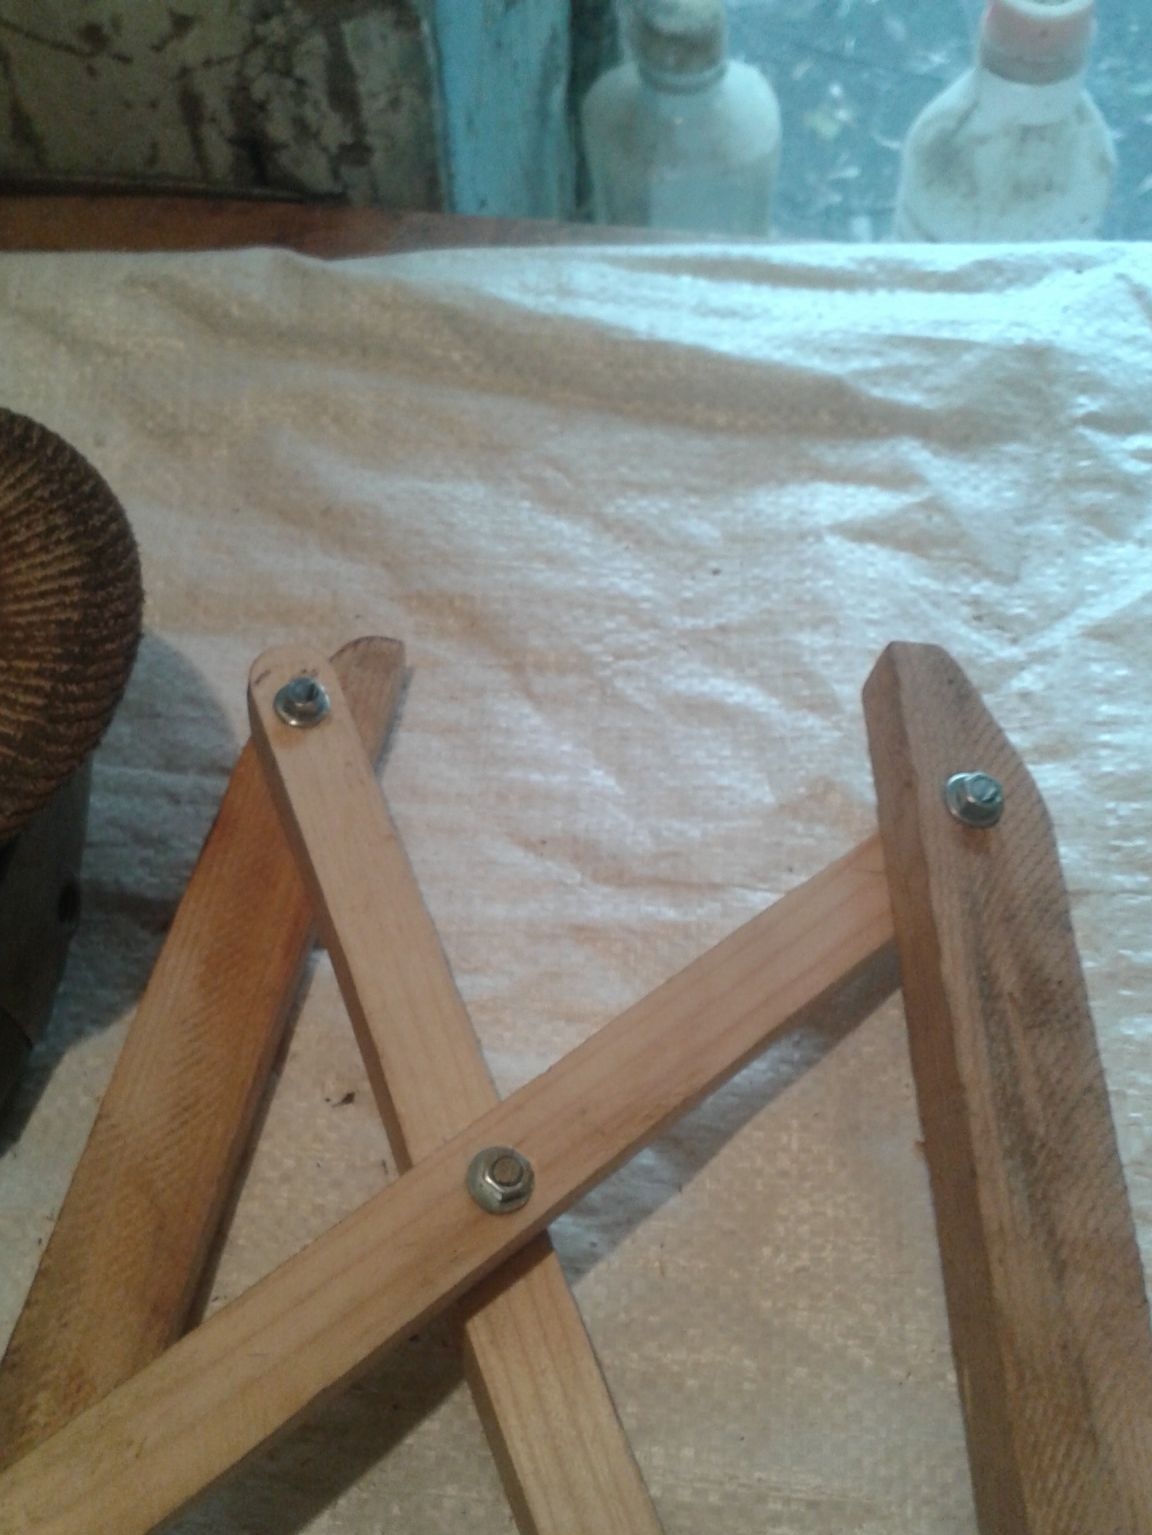
The photo shows that the nuts still will not allow the chair to fully fold. I did this with other bolts. Then I began to use with small heads, which are conveniently hidden in a recess, which we will drill into the details. To do this, you need a drill equal in diameter to the nut. We make a small depression in the part and hide the nut.
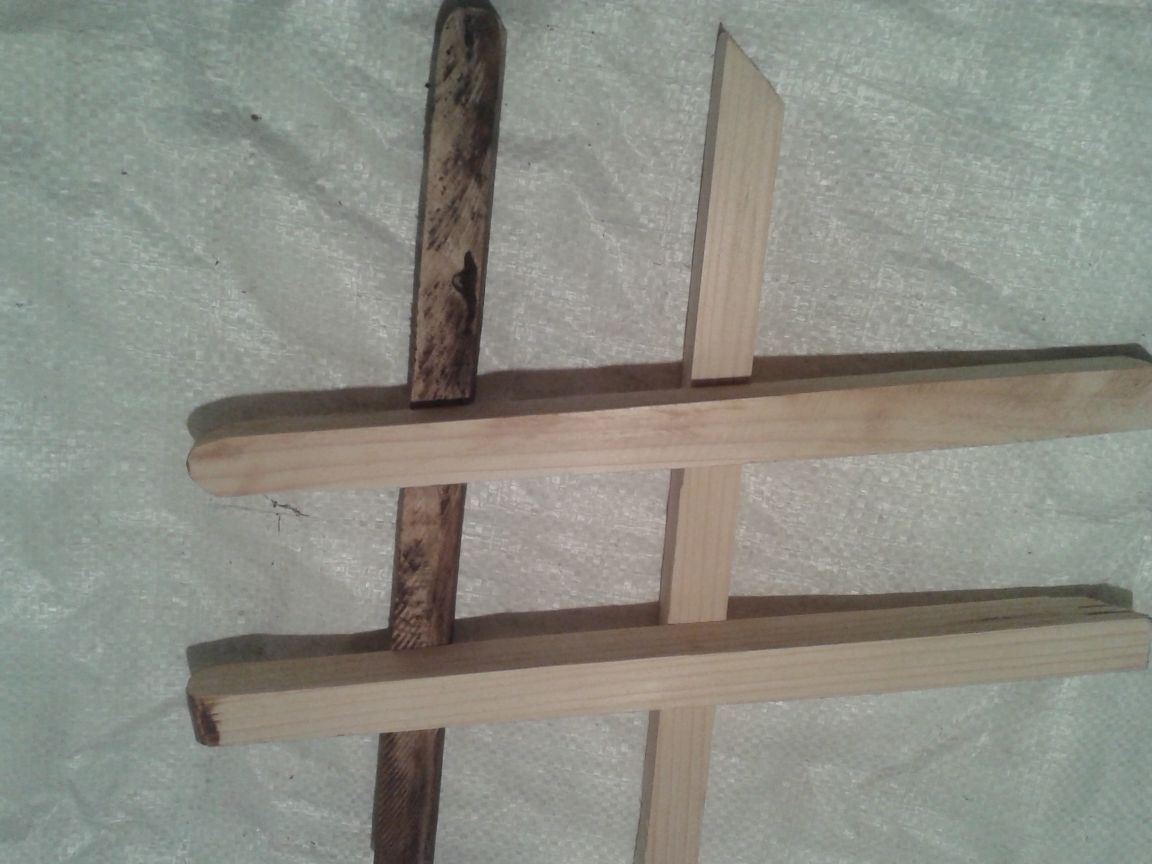
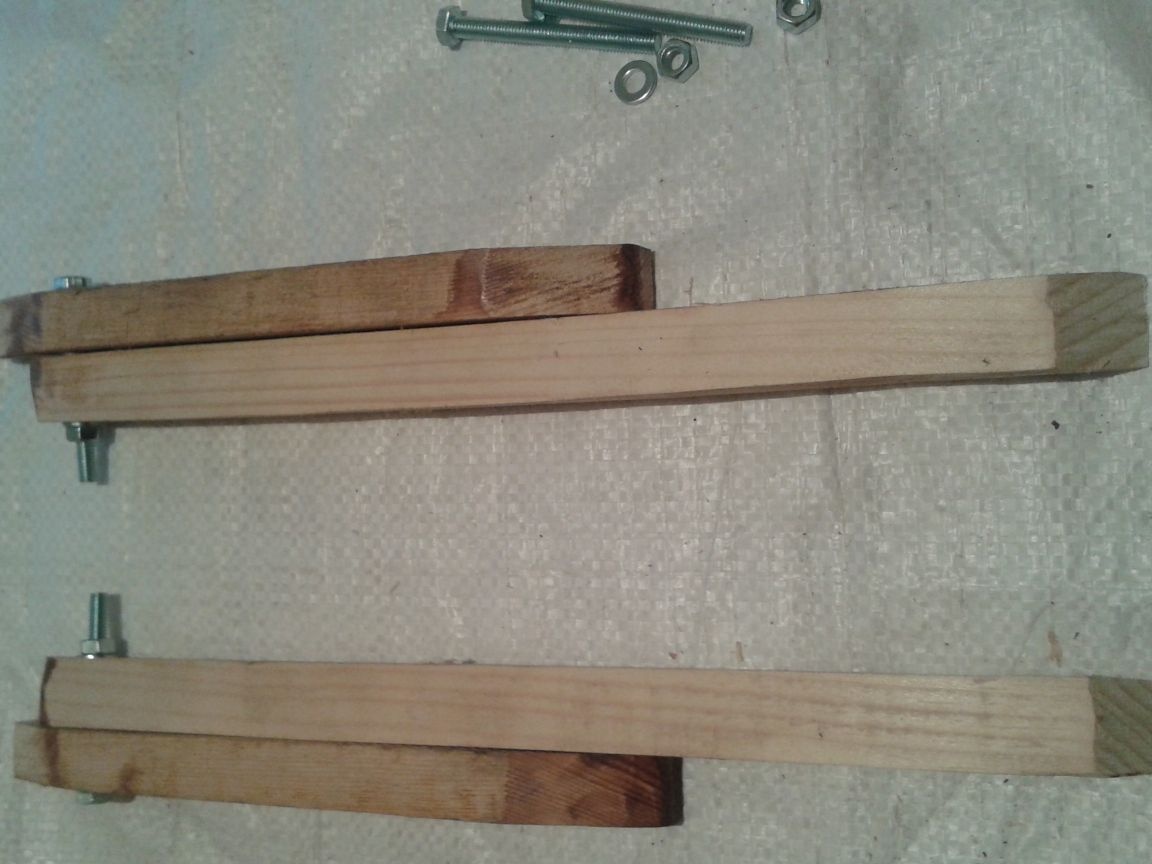
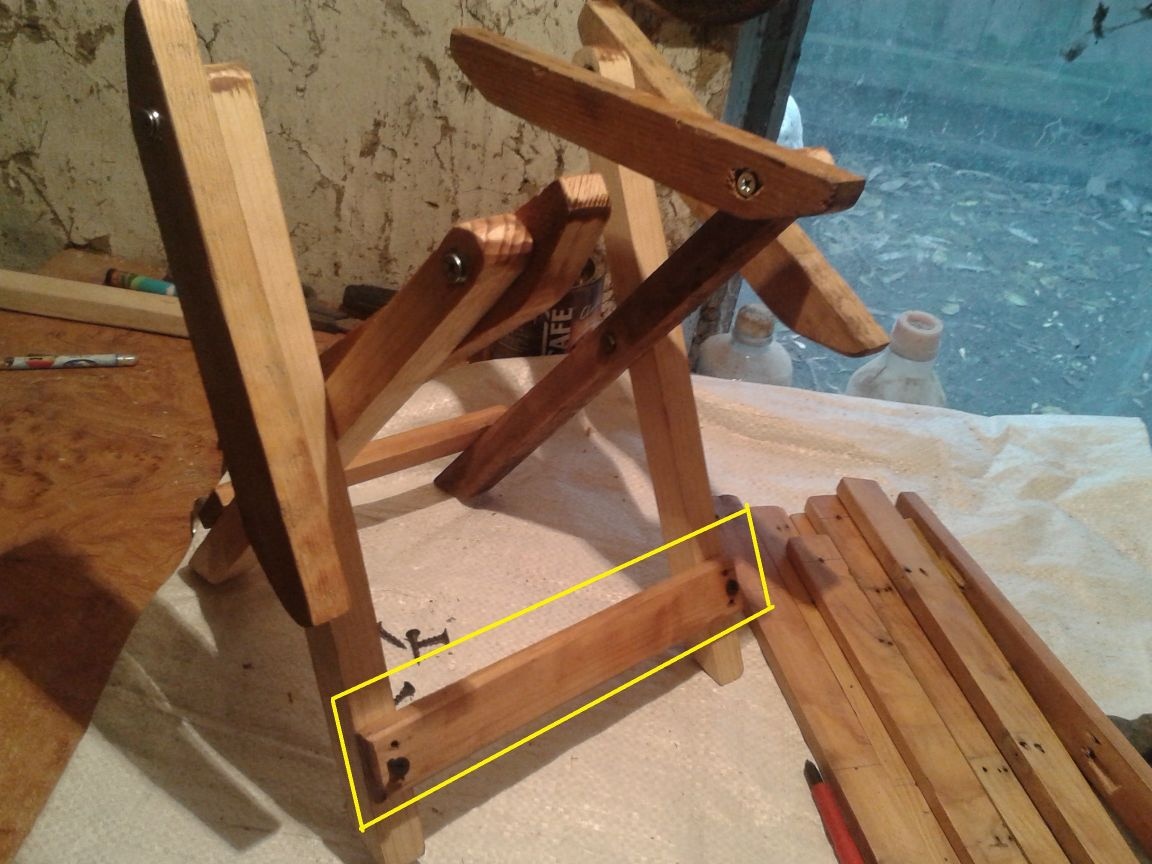
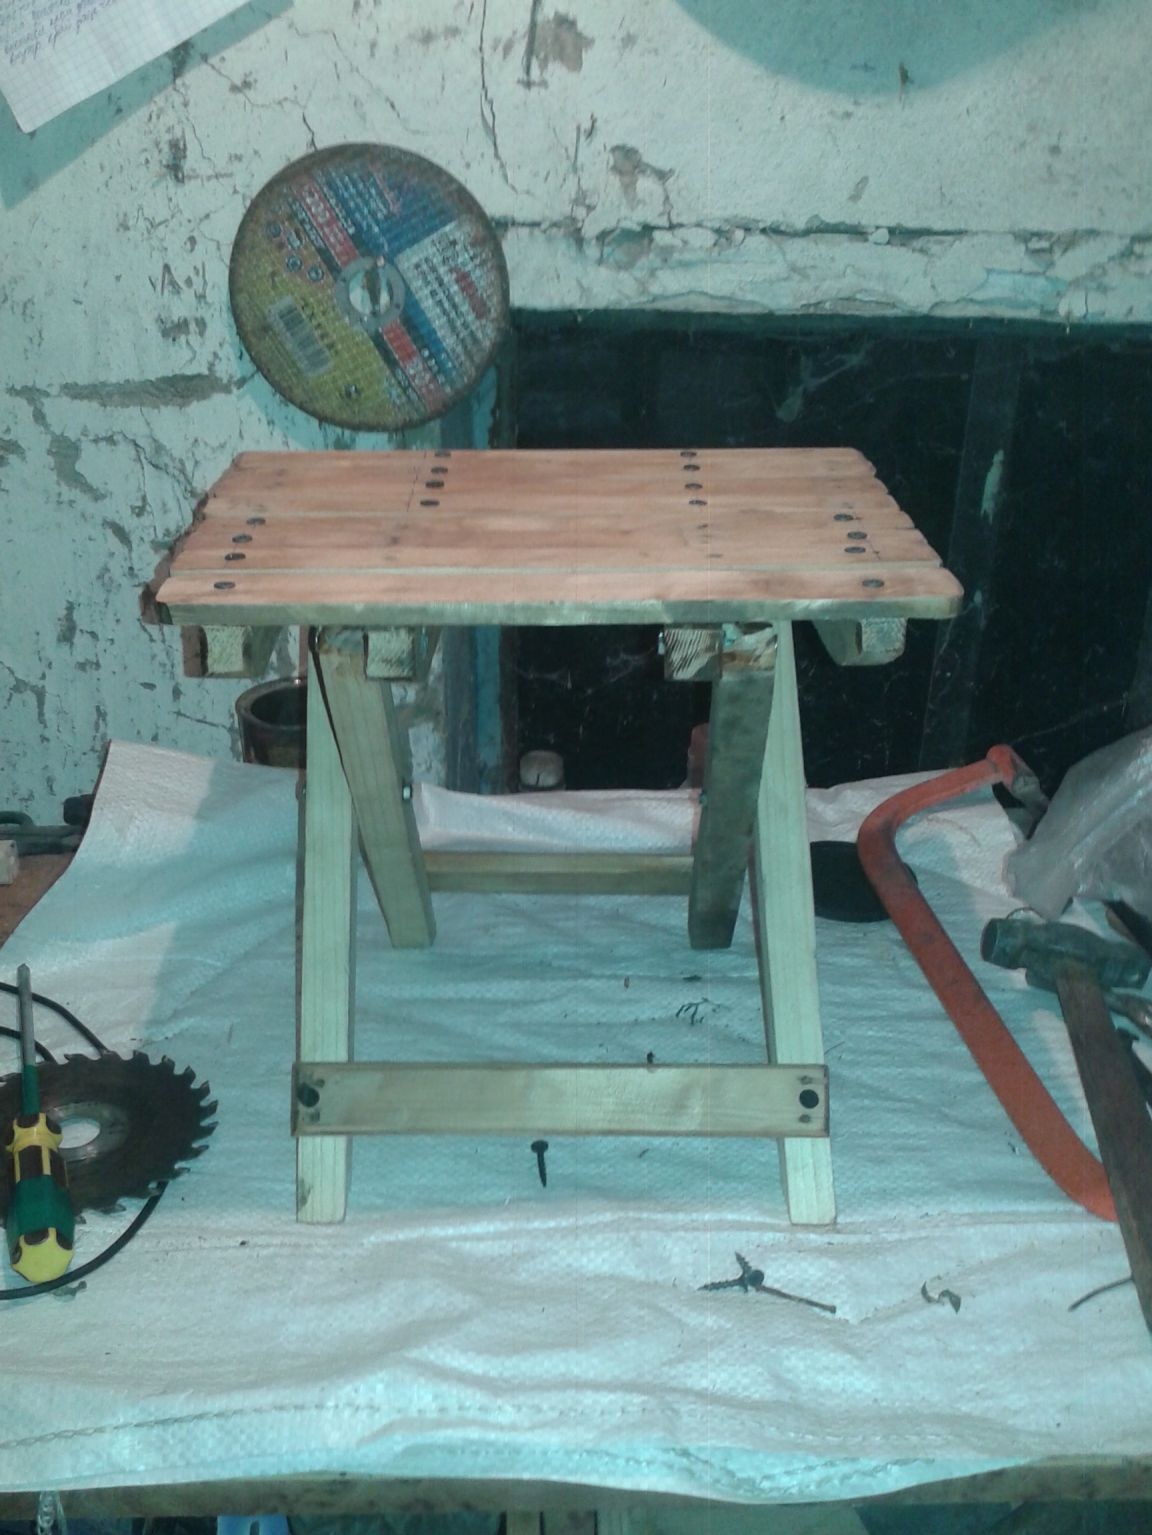
Step 12. Now we begin to connect the parts together. To do this, we fasten the two parts of the future chair with jumpers. They will be of different lengths. But here you yourself already see what sizes you will have.
Step 13
After all this, having already finished the base of our chair in hand, we proceed to the assembly of the seat.
To do this, I needed the planks that I found in the barn. Of course they are old and already attached to something, but this will not affect the strength of the structure. Here I will attach them to the base.
We grind them and mark the places for fastening the screws.
First, in the strips, we drill holes for self-tapping screws with a thin drill. If screwed just like that, then there is a high probability of splitting the board.
Holes for self-tapping screws are visible in the lumen.
For ease of assembly, I pre-made self-tapping screws to the slats. Then immediately fastened them to a chair.
First, I fastened the slats to the inner collets. We got four pieces to the side. You could add a fifth, but I had enough of this width of the seat. This is a top view after attaching the strips to the inside of the collets
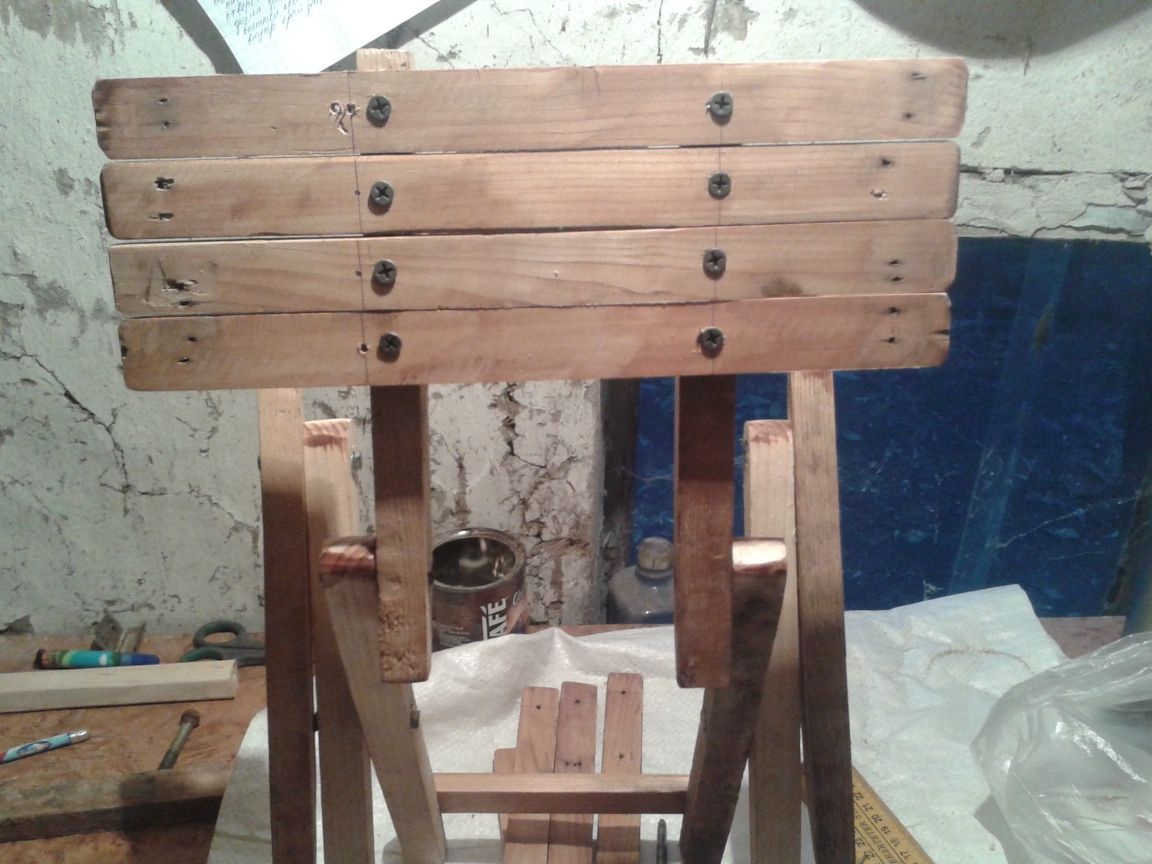
Here is a side view:
Step 14. Now we begin to fasten the planks to the outside of the collet. We do everything as described above. Nothing difficult. I fastened the seat rails tight to each other, without a compensating gap. I had enough planks. Whoever has a problem with this can be done with a small gap. Or simply attach a solid plank to every detail.
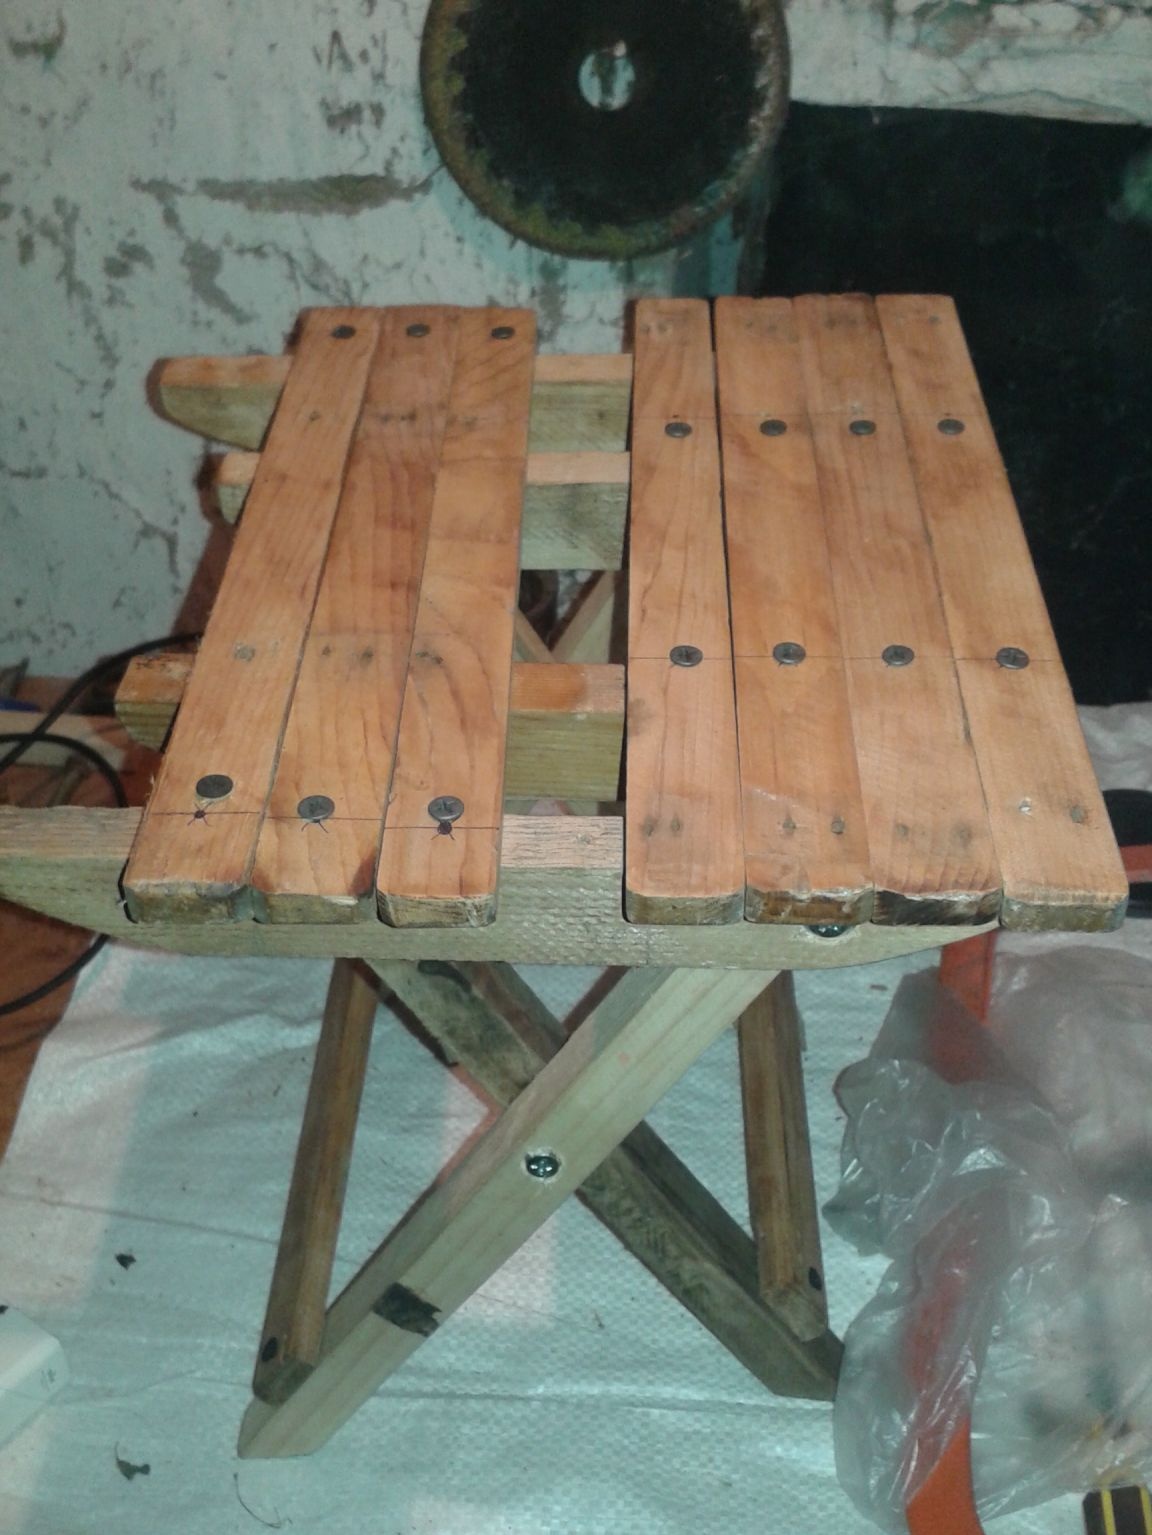
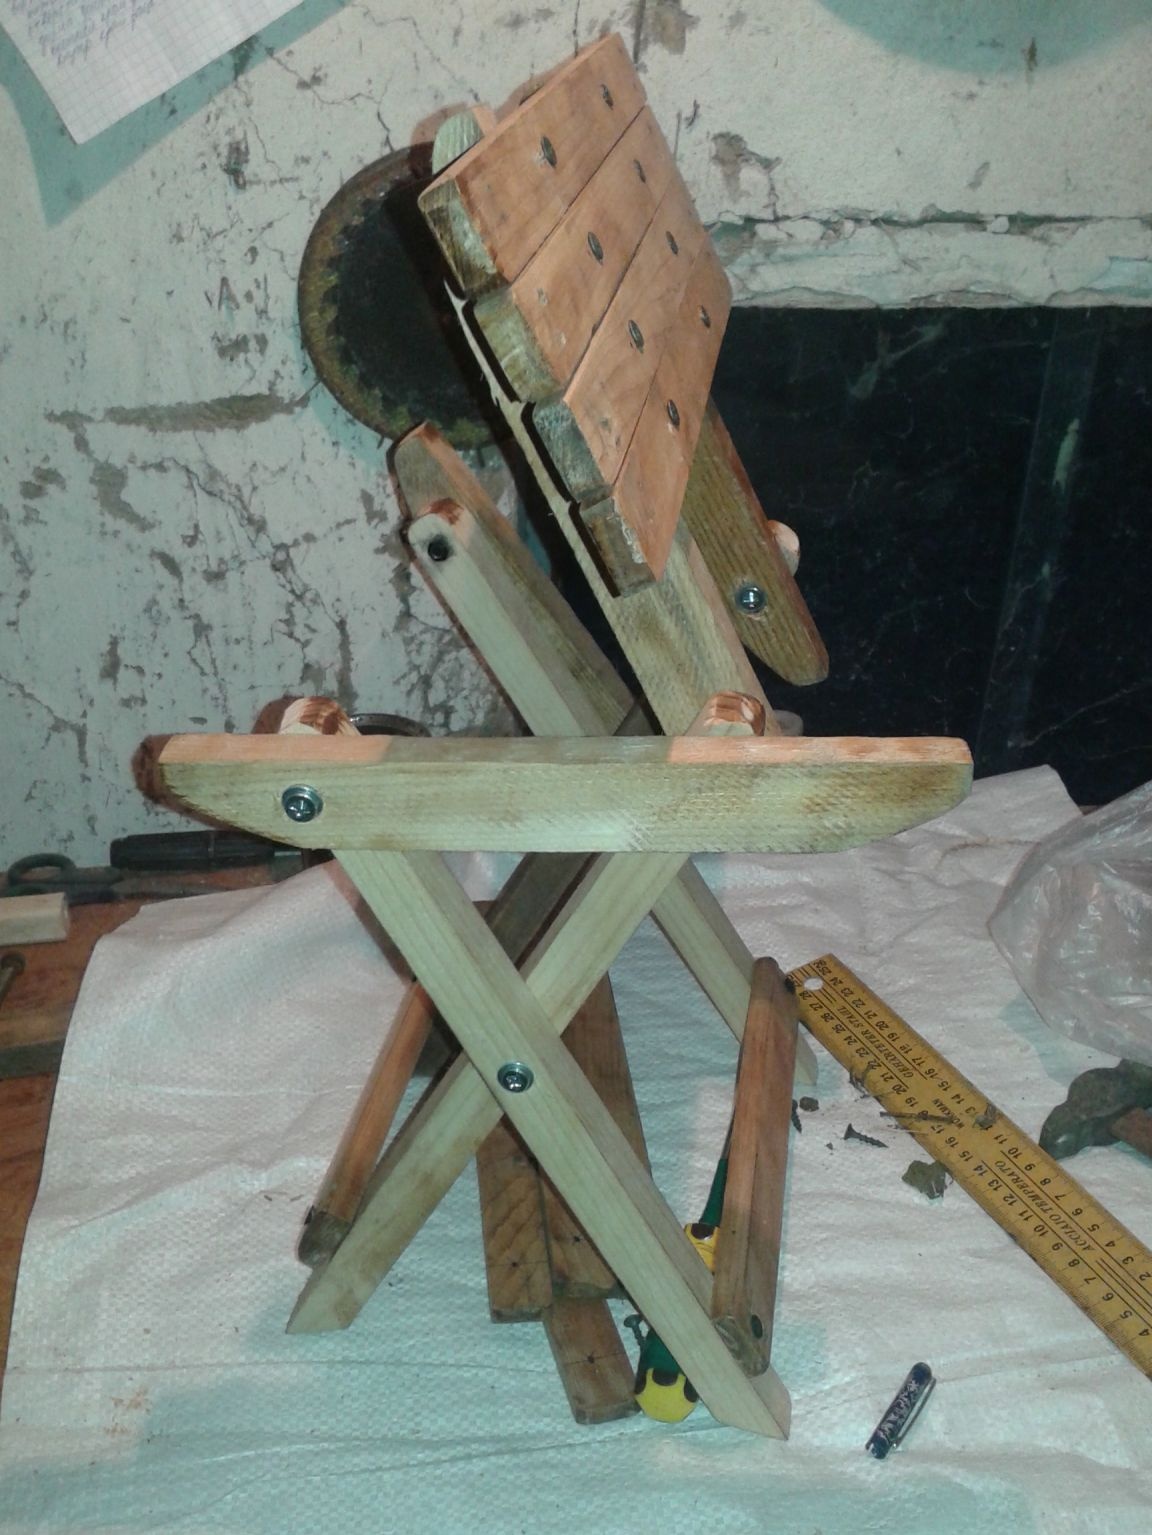
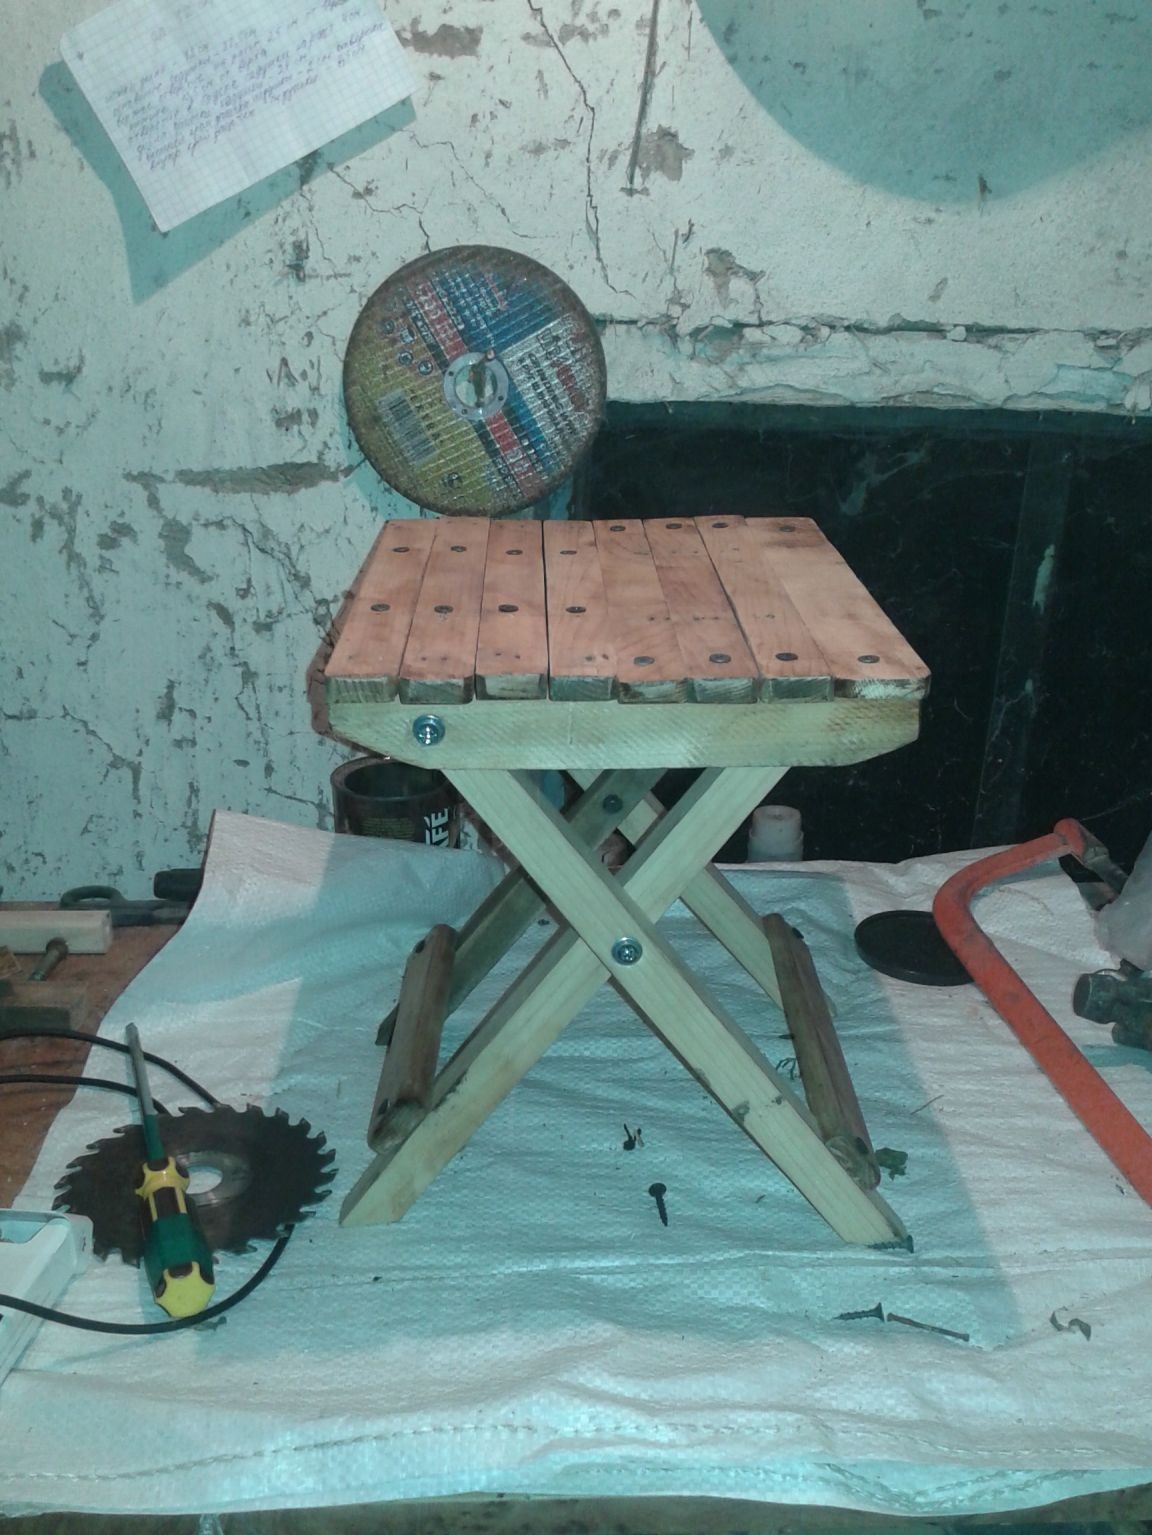
When we have fixed all the trims, we again go through the grinder. It turns out here is such a fairly compact chair for fishing or just sit in the garden in the summer
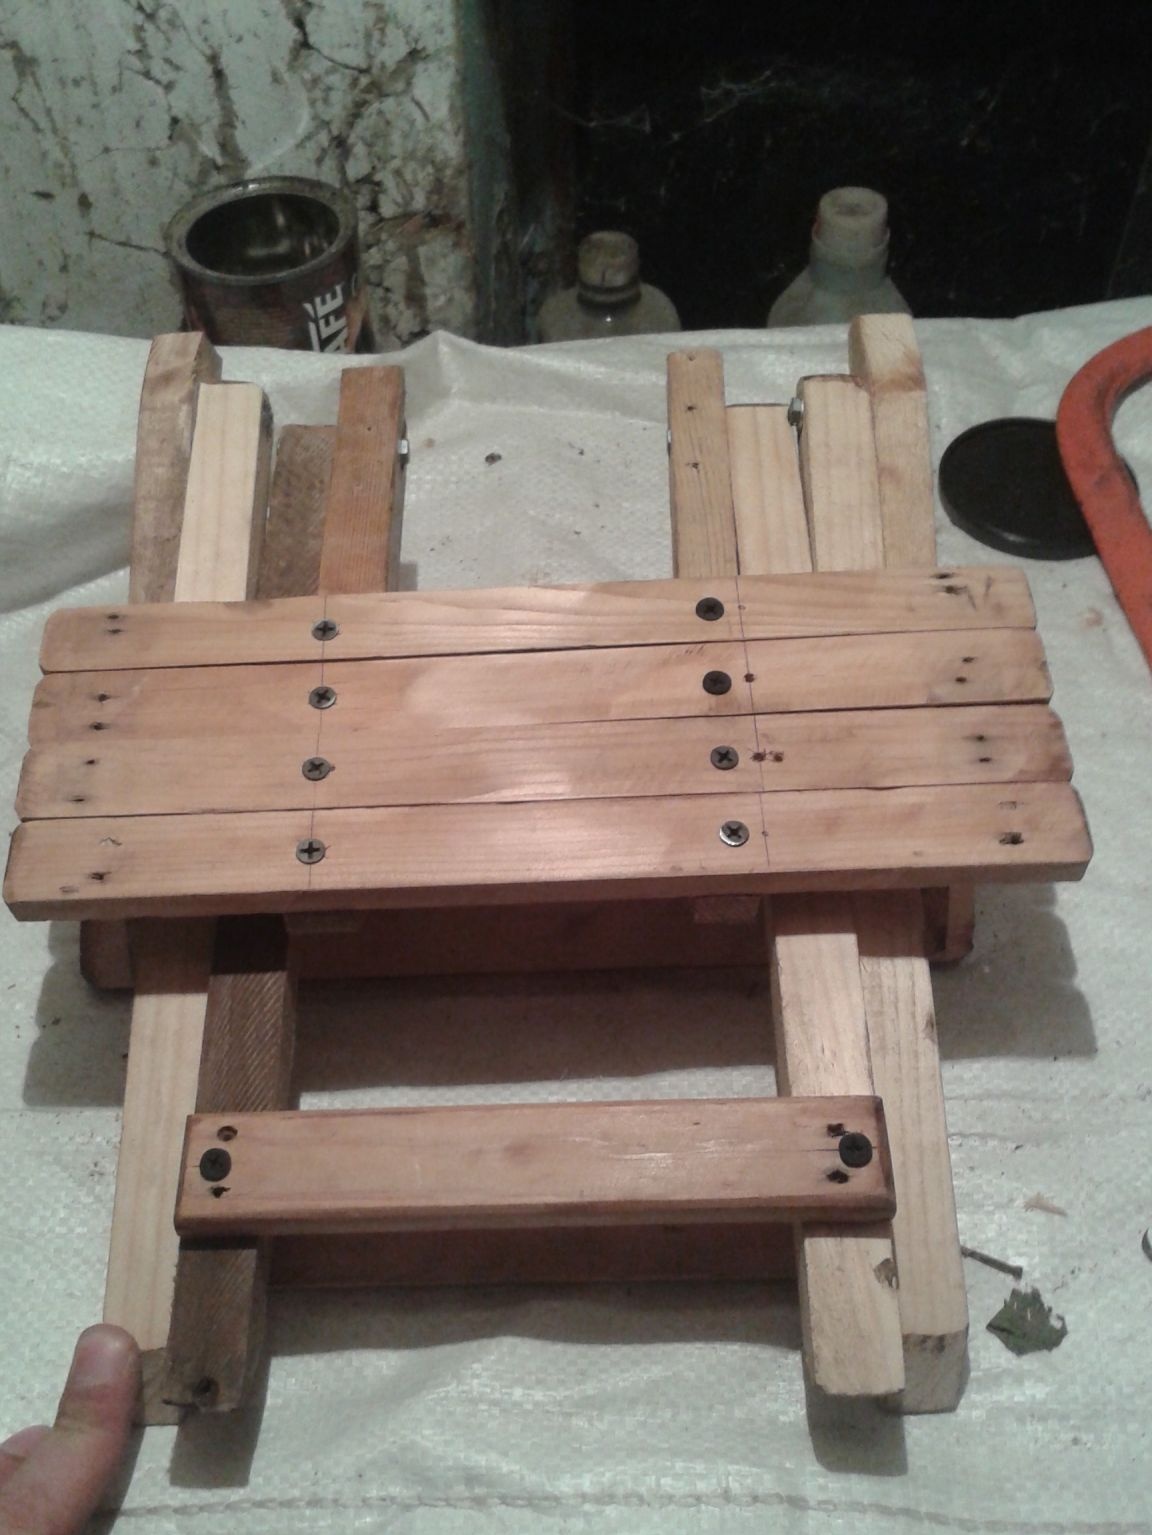
This chair is already folded.
So easily and simply, without any special costs, or even without costs, we do the necessary thing in the household. For sim let me take my leave. I wish you all new creative ideas.
Nikolay