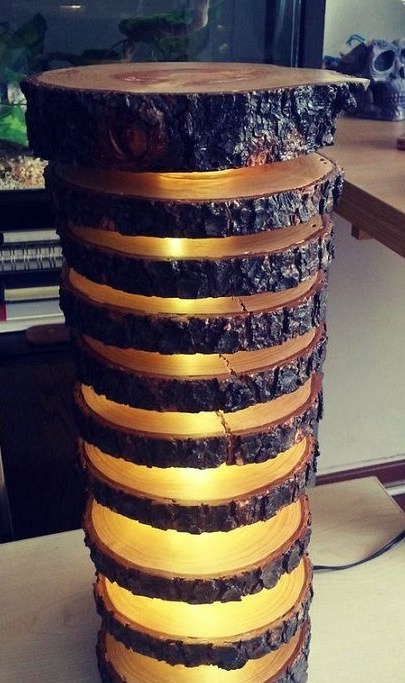
The article will consider how do it yourself You can make a simple, stylish and most importantly eco-friendly lamp. It can be successfully used both in residential premises and at work. The author used part of a tree trunk as the basis of the lamp. The manufacturing process of such a lamp is quite simple, and all the necessary materials can be easily found.
Materials and tools for manufacturing:
- part of the tree trunk (base for the lamp);
- hot glue;
- epoxy resin;
- carpentry glue;
- PVC pipe (transparent);
- LED strip and wires;
- drill (you need a core drill);
- soldering iron with solder;
- saw.
The manufacturing process of the lamp:
Step one. Create a stock
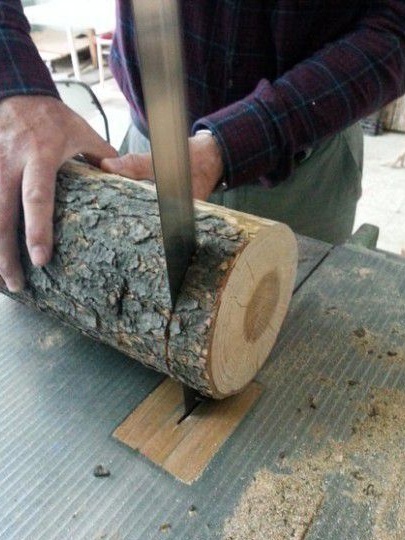
First you need to find the right piece of tree trunk. You need to choose an even trunk, preferably without knots, the wood should not have any signs of decay. The barrel length in the considered option was 50 cm, the excess must be cut off. Now the barrel needs to be thoroughly cleaned of dirt and dust.
When the barrel is ready, it needs to be cut into pieces 2 cm wide.
As for the wood itself, the author decided to use pine. Firstly, such material is easier to find, and secondly, it looks pretty good.
Step Two We drill holes in the saw cuts
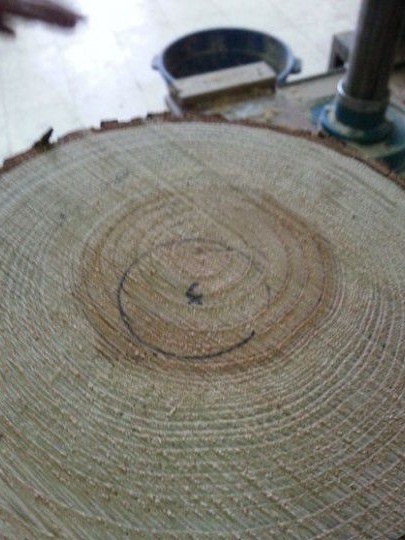
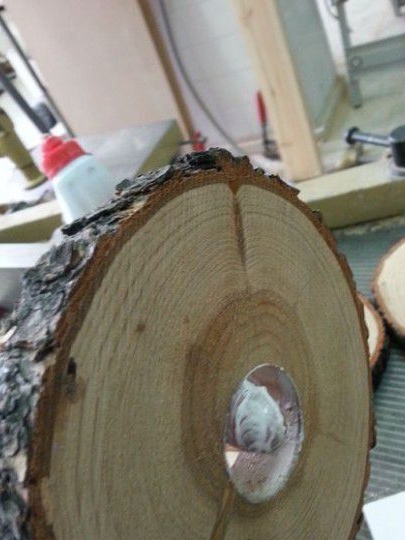
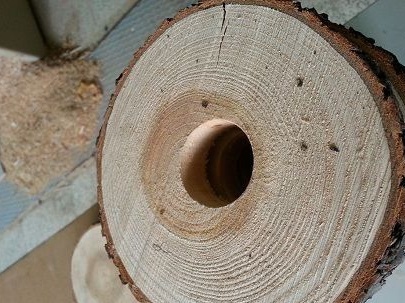
Now you need to take the prepared workpieces and find the center on all of them, here you will need to drill a hole. In this case, the diameter of the hole should be at least the diameter of the PVC tube, which was found to create a lamp. But the diameter of the hole should not be too large, the pipe should go into the cut with a little effort.
In addition, in the cuts of the upper and lower parts, it is also necessary to make recesses, but the holes should not turn out through.
Step Three Workpiece processing
Next, you need to take sandpaper and carefully sand the workpieces. They should become smooth, the more thorough the processing, the more beautiful the lamp will be. First you need to process paper with large grains, then finer.After that, wood glue is applied to the wood, it must be allowed to dry for 24 hours.
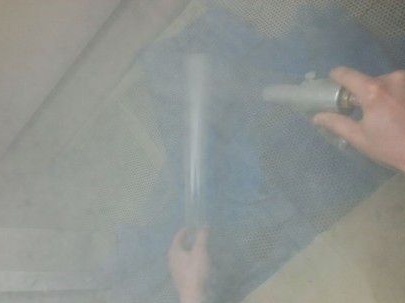
After the glue has dried, the workpieces must be carefully opened with varnish. In total, you need to apply about three to four layers. This will make the lamp more beautiful, and will also protect the wood from moisture and dirt, in case of contamination, it will not be difficult to clean it.
Step Four Final build phase
Now all the components are ready and the lamp can be assembled. A piece of 40 cm long must be cut from the PVC pipe. An LED strip must be installed in the prepared pipe. To fix the tape, the author used hot glue, it is fixed at both ends. Even in the lower part of the log house, you need to drill a hole through which the wires will come out. As for the fastening of the wire, it needs to be soldered.
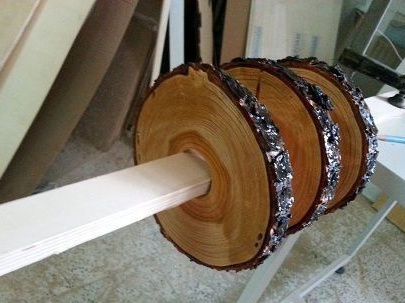
Then a PVC pipe is taken and saw cuts are put on it. A gap must be left between saw cuts, the size of these gaps will determine how the lamp shines. If the gaps are too large or too small, you need to add or remove one element.
As for the fixation of cuts, for these purposes, you can use epoxy resin. However, if the elements are worn on the pipe with a certain tension, it is not necessary to fix them additionally. In any case, it is necessary to fix the upper and lower parts of the lamp with epoxy resin.

That's all, the lamp is ready. Now all that remains is to connect the LED strip to the power source and you can enjoy a warm, pleasant light. Such a lamp will be a great addition to the interior of a country house.
