The article will discuss how do it yourself You can make an electric boiler, which can be connected to a conventional water heating system instead of a gas boiler. The process of its manufacture is quite simple, and profitability depends on how well the house is insulated. The author used heating elements as a heating element. The only possible drawback of such a design is safety, since cheap heating elements can pierce the case and, as a result, the battery can be shocked. But this problem can be easily solved, for example, you can make grounding or equip the system with a special sensor that would turn off the electric current when piercing the case.
Materials and tools for making an electric boiler:
- welding machine (best suited inverter type);
- electrodes (the most popular - 3 mm);
- A large grinder with a disk for 230;
- A small Bulgarian with a disk of 125;
- metal disks of size 230 * 3, 125 * 1.5, as well as a grinding disk of 125;
- tape measure, marker, chalk and other trifles;
- hammer.

From the materials you will need:
- a pipe 65 cm long and 120 mm in diameter, its thickness must be at least 3 mm;
- two metal drives with a diameter of 1.25 inches;
- three metal runaways with a diameter of 0.5 inches;
- thick steel plate with dimensions not less than 120 * 120 mm;
- to seal threaded joints, you need a fum tape;
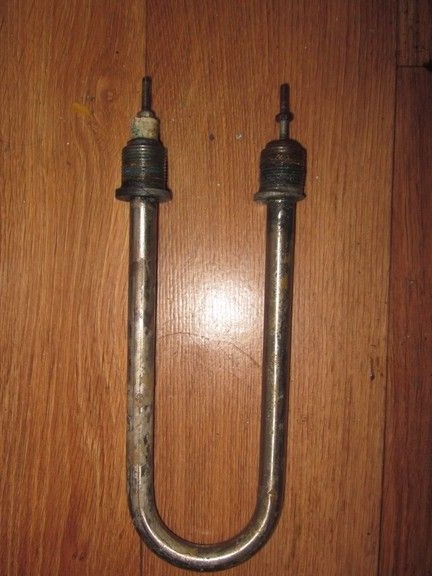
- Well, the heating elements, the author has two of them, this is 1.5 and 0.9 kW.
The process of manufacturing an electric boiler:
Step one. Weld the boiler
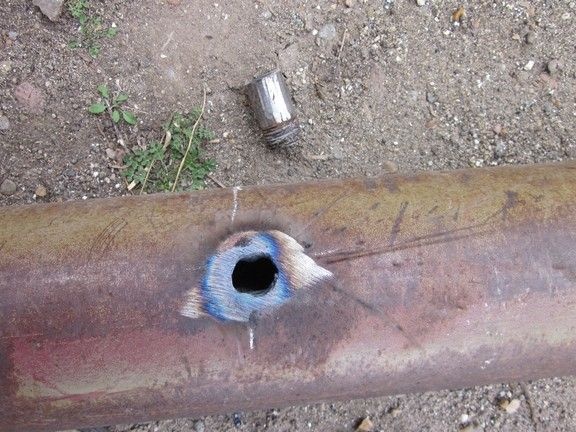
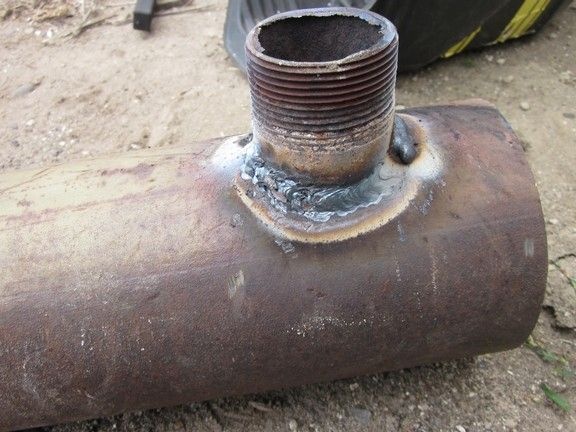
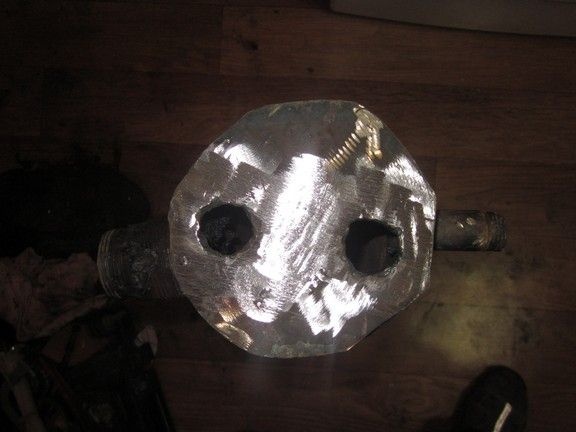
First of all, you need to make a heat exchanger, as a material for these purposes, the author used a piece of steel pipe. Holes were burned in the right places with the help of electric welding, if there is an autogen, then of course it is much easier to do with it. The holes should match the outputs on the battery.
The formed holes must be carefully knocked with a hammer to remove the slag. Further, these places are ground using a grinding disc.
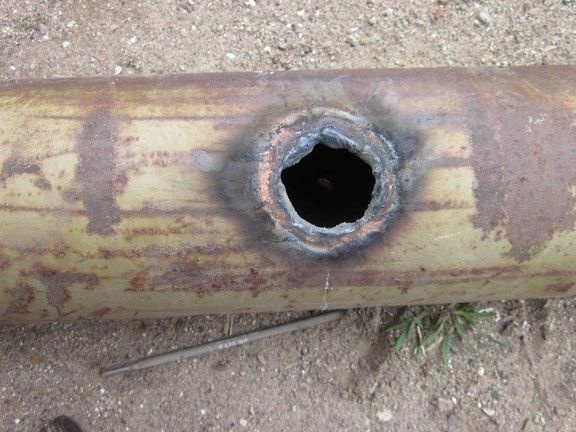
Further on the prepared holes, the bends are welded. The diameter of the upper and lower runoff is 1.25 inches, they serve to supply and reverse the movement of water.
A thick-walled steel plate is used as the bottom of the heat exchanger. It is cut out by a grinder to the desired size and then welded to the bottom of the pipe. Now it only remains to grind the surface and remove all the bumps.
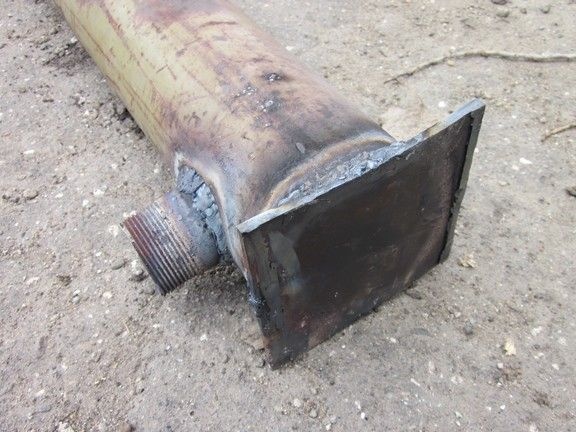
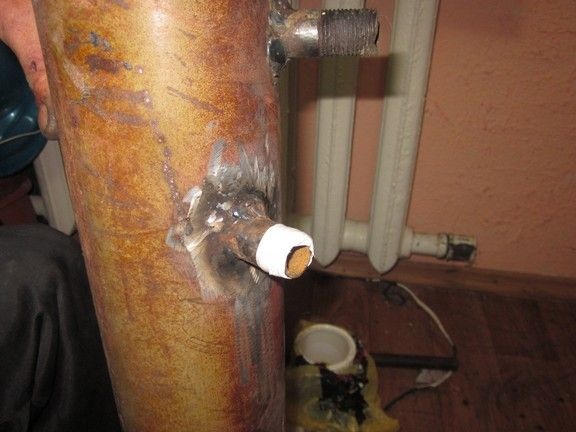
In addition, a 0.5-inch squelch is welded at the bottom of the boiler, it is needed to drain the water. Another 0.5-inch bend is also needed to install additional heating elements. Well, another drain is needed to connect the expansion tank, since the water tends to expand.
Step Two Installation of heating elements
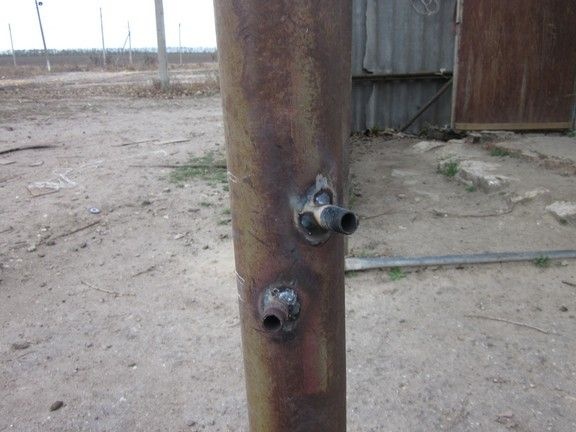
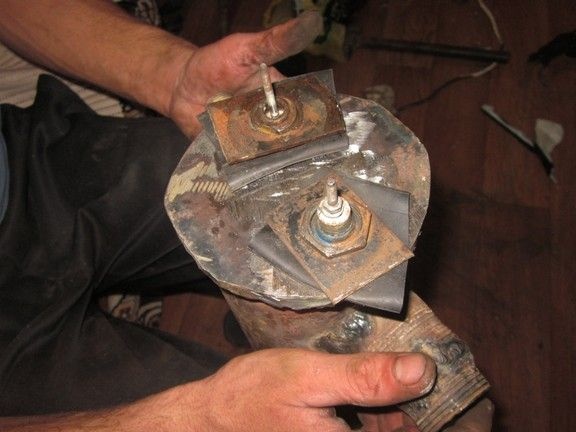
The main heater is installed in the lower part of the boiler; for these purposes, holes of the corresponding diameter are drilled. The author used welding for these purposes, that is, the holes were burned, and then finalized with a file.
After installing the heater before fixing with nuts, be sure to install seals, otherwise the heat exchanger will leak. For these purposes, pieces of cameras from a bicycle are suitable, from above everything is pressed with wide washers. The second heater is installed at the top, the author's length was about 50 cm, he is with a thermostat.
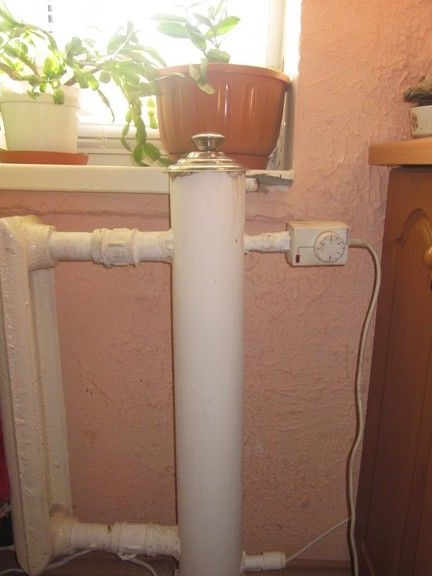
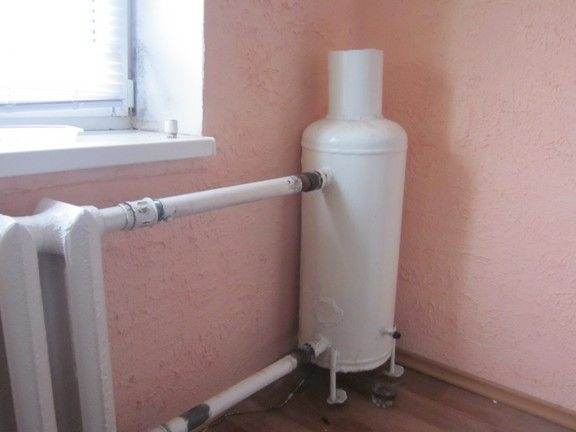
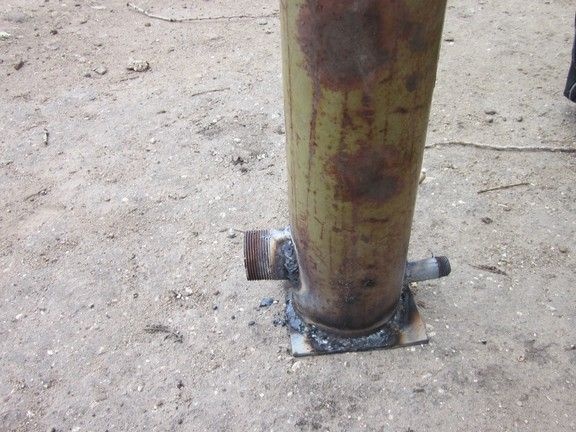
Step Three Boiler installation
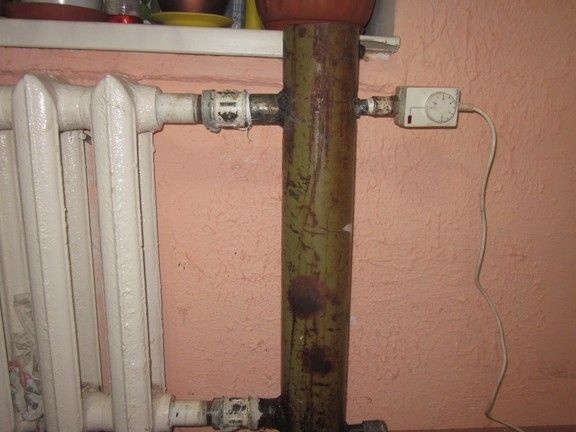
All the most difficult is already behind, now you just need to install the boiler and connect to the mains. Before connecting the boiler, you need to wrap the fum tape on the threaded connections, otherwise there will be leaks. All you need to do about 10 revolutions. Well, then the boiler is connected according to the scheme conceived, that is, the return pipe to the return pipe, and the supply pipe to the supply pipe. All this is connected by couplings and then finally well fixed with locknuts.
You can install a dummy or a crane on the run.
Step Four Electric boiler connection
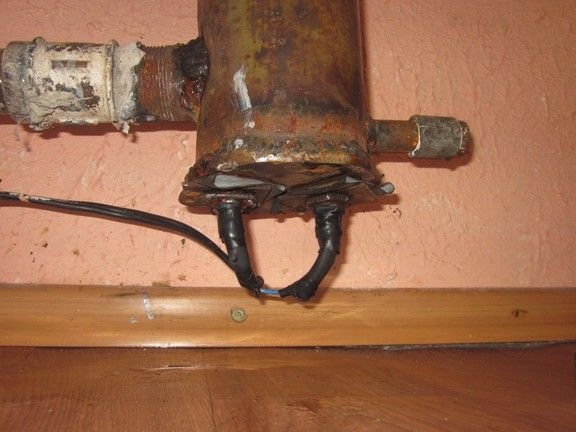
First of all, you need to connect the lower heating element to the network. The wires must be carefully insulated, the author passed the wiring through the tube. In order to protect the system from possible short circuit, it is necessary to install 16 A circuit breakers on suitable wires. Also, grounding must be done so that the battery does not break.
As for the upper heating element, if necessary, it is connected directly through the outlet.
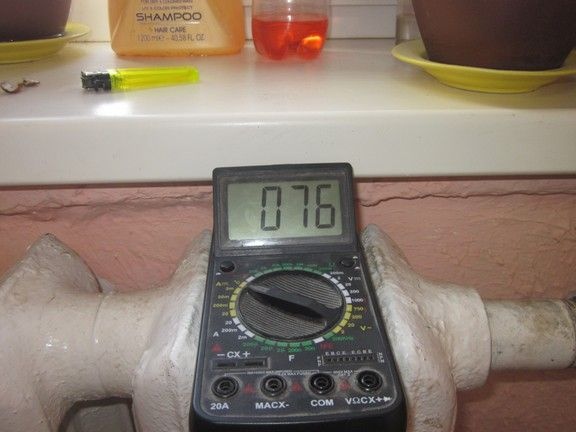
Testing the device exceeded all expectations. When both heating elements were turned on, the water temperature rose to 76 ° C. After a couple of hours, the house became unbearably hot and had to turn off the upper heating element.
According to the author, at a temperature not lower than -10 only the lower heating element works, while the apartment is warm enough and the temperature does not drop below 22 degrees.
After painting, the design has become pretty pretty, but its main advantage is efficiency, compactness and economy.