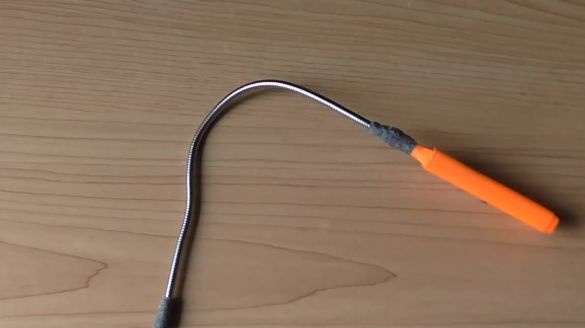
Let's start by watching the author’s video
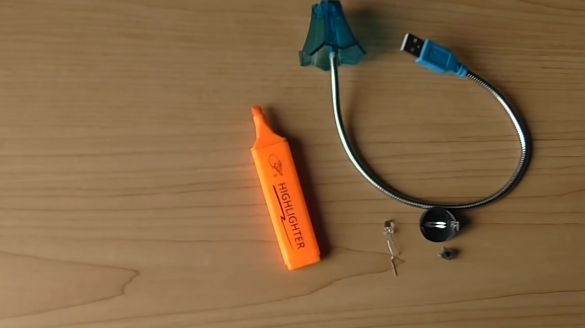
We will need:
- flexible USB-lamp;
- a small clip for the battery;
- old marker;
- white LED;
- switch.
We will use a marker as a case. If desired, it can be replaced with anything - the main thing is to be comfortable to hold.
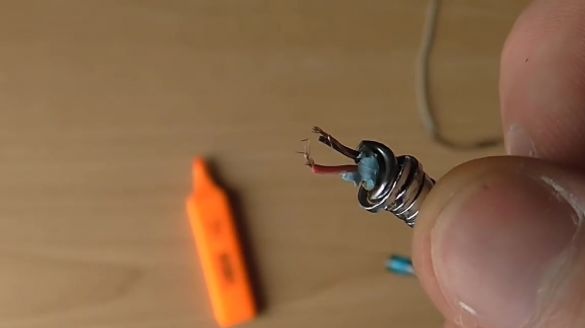
Let's start with the disassembly of the lamp. Remove the USB, then the top, leaving a bendable wire.
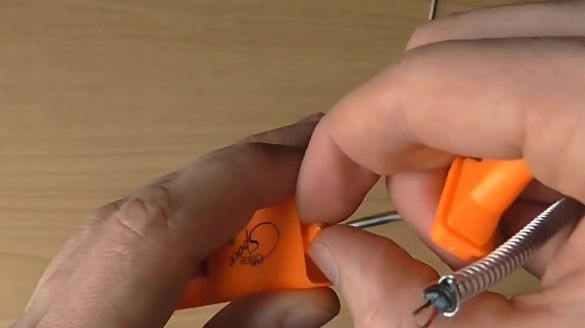
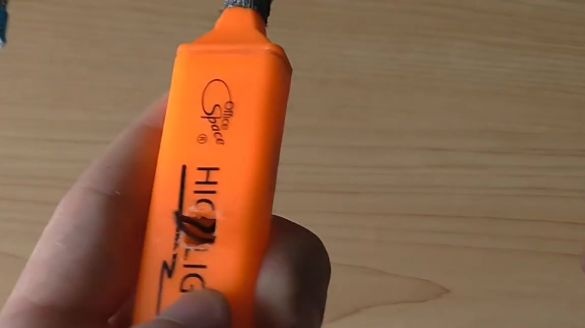
Next, go to the body. We disassemble the marker, pull out the rod.
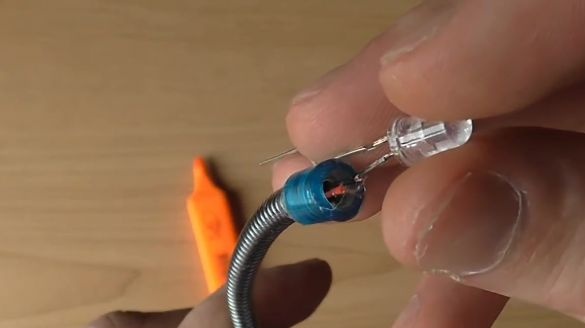
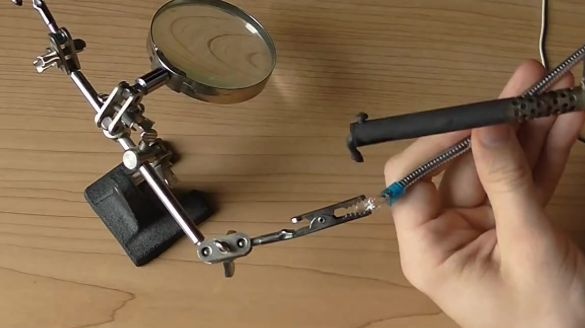
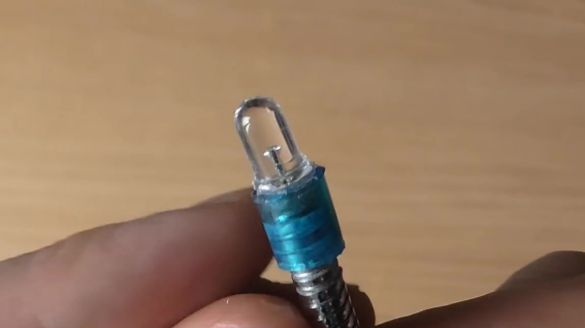
Solder the LED to the wires at one end of the flexible cord. Do not forget to glue the bulb tightly with hot glue.
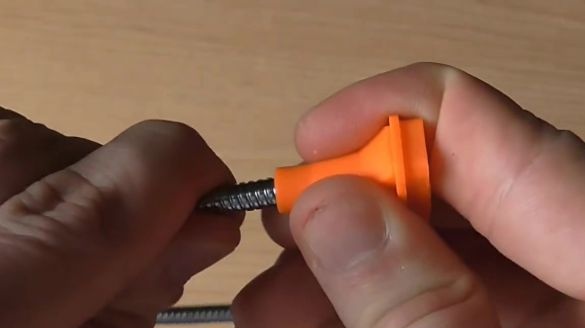
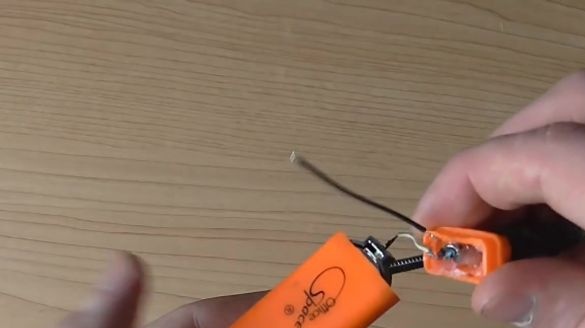
The second end is inserted into the top of the marker.
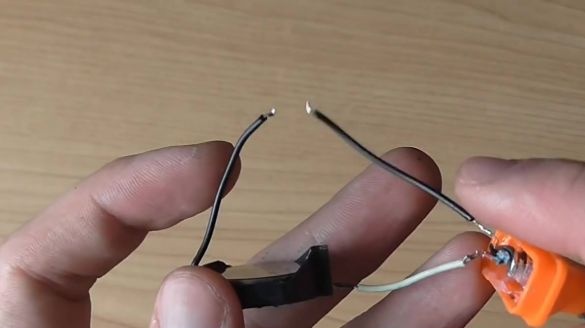
Next, we take the clip for the battery and solder it plus to the plus wire of the flexible cord.
The negative wire should go through the switch.
We make a small hole in the case for the switch.
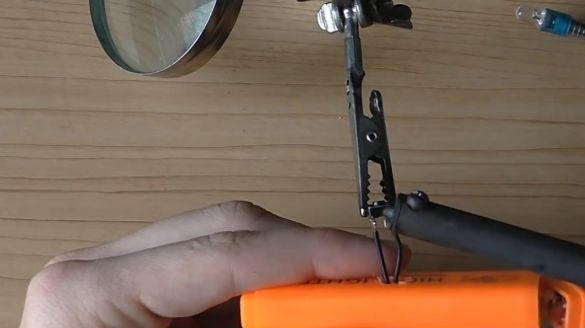
We bring out the wires and solder them on the switch. The button itself is sealed with superglue.
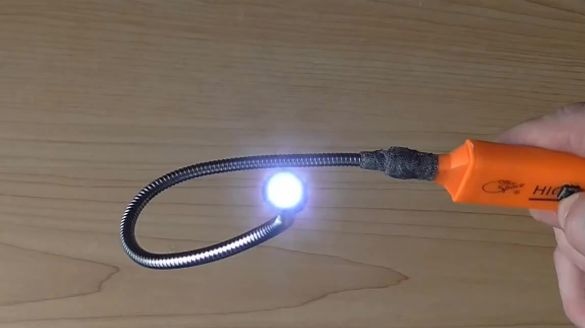
The flexible flashlight is ready.

