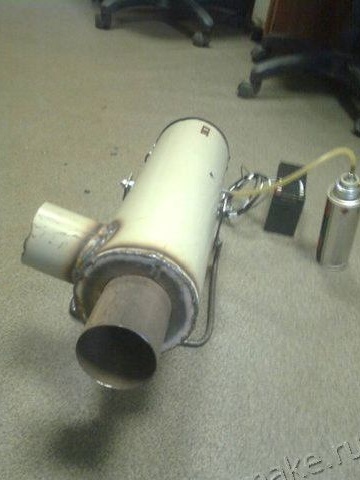
The article will discuss how you can do it yourself assemble a simple and effective gas gun. From the materials for these purposes, you will need an old 12V car fan, a Chinese propane burner, as well as a piece of iron pipe. Of course, you will need to prepare the necessary set of tools. According to the author, despite the simplicity and cheapness of the design, the device turned out to be quite reliable, economical and productive. Let's look at an example of how such a gas gun is assembled.
Materials and tools for manufacturing:
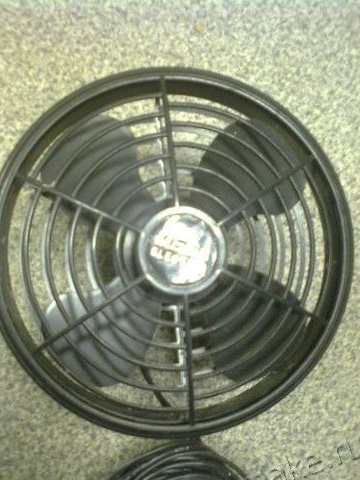
- car fan for the interior (suitable from the stove);
- Chinese burner with a small cylinder;
- drill with drills;
- welding;
- ventilation pipes (diameter 80 and 180 mm);
- grinder;
- marker, ruler and other little things.
Gas gun manufacturing process:
Step one. Redoing the burner
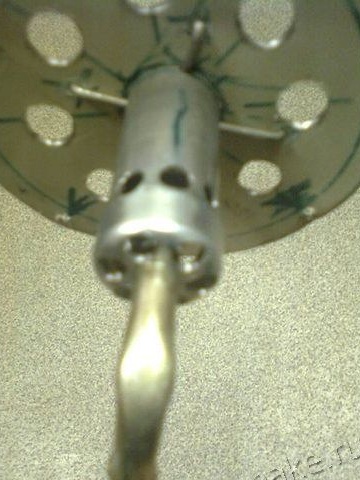
It all starts with the remodeling of the burner. You need to take a drill with a drill of 5 mm and drill into it already existing holes. With the same drill, you need to drill another 8 holes on the burner body to increase its efficiency. If at this stage of work you try to set the burner on fire, the flame will be unstable. To fix this with a 1 mm drill, you need to drill a nozzle to increase its throughput. Now the flame will become steady and stable.
You also need to extend the burner tube.
Step Two Create the body of the gas gun
The author used ventilation steel pipes with a diameter of 80 and 180 mm as a body. For the manufacture of a burner, a pipe of 80 mm is required, and a pipe with a diameter of 180 mm is suitable for creating a heat exchanger. A clamp is subsequently put on the pipe, with the help of which the heat exchanger and burner will be connected.
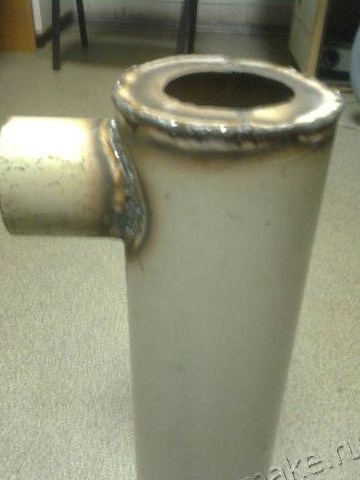
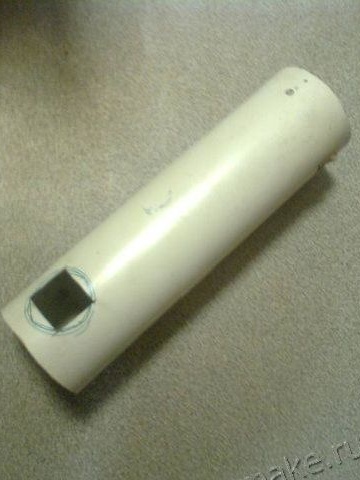
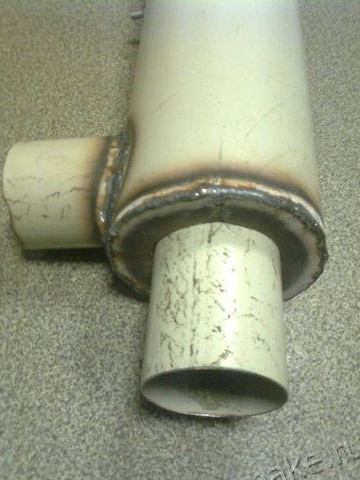
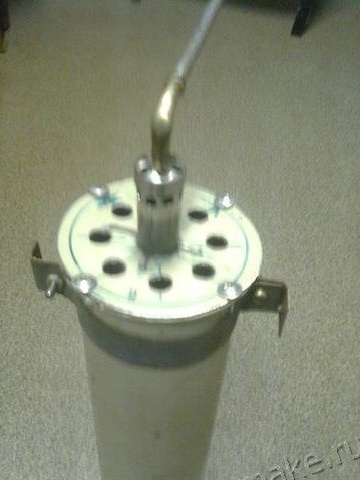
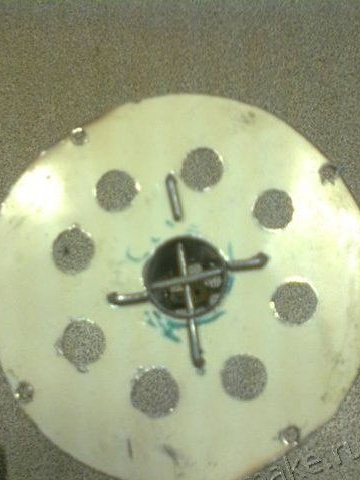
To be able to put on the corrugation gun, you need to weld a pipe with a diameter of 80 cm. Next, using the corrugation, heat can be removed to any part of the room. The end face of the 180 mm pipe is subsequently welded and 80 mm holes are made in it, that is, under the diameter of the smaller pipe (burner).
Step Three The final stage. Assembling the design
Now you need to connect the burner to the gas gun. What the burner looks like can be seen in the photo. For fastening inside the case, a clamp is used, which is worn on a pipe of a smaller diameter. Then there is a fixation using self-tapping screws. As for the other end of the pipe, it is inserted directly into the heat exchanger.
A hole must be drilled in the side of the heat exchanger. It is necessary in order to remove the gas pipe from the burner. Further, gas will be supplied to the system through this tube. Now it remains to install a fan, apply gas to the system and start the gun.
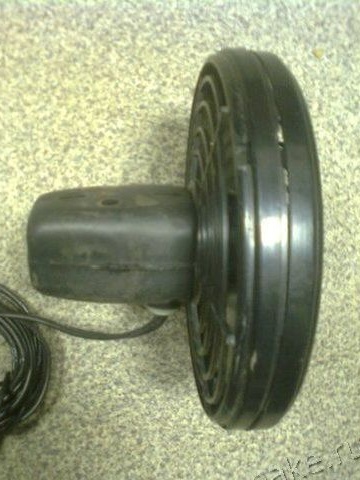
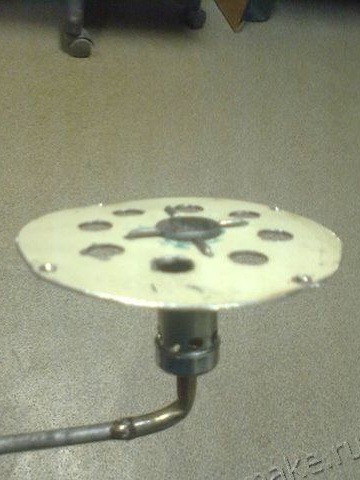
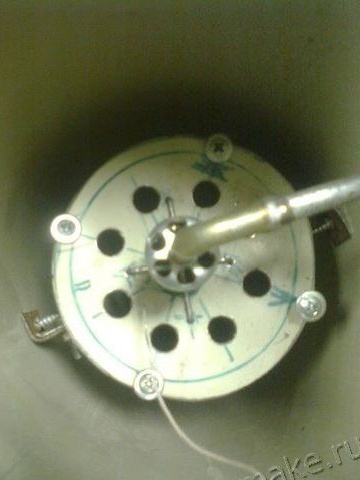
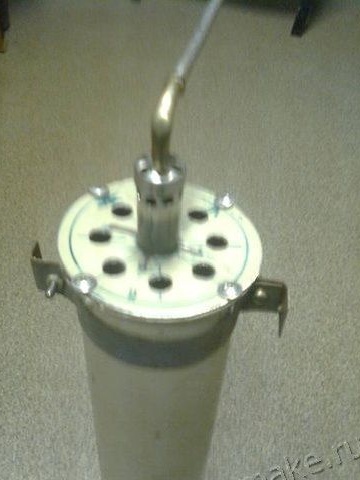
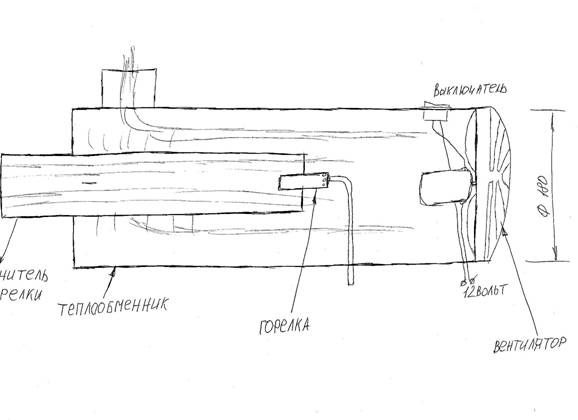
As you might guess, carbon dioxide will be released during the operation of the device. In this regard, the pipe through which it will exit is inserted into the furnace or connected to another ventilation system. The author decided to combine business with pleasure. He connected the output end of the gun to a conventional wood-burning stove. Now the furnace will also heat up and will additionally generate heat, thereby increasing the efficiency of the system.
Inside the oven, the author made special hangers on which meat, fish and other food in foil are hung. As a result, during the operation of the gun, food is simultaneously prepared.
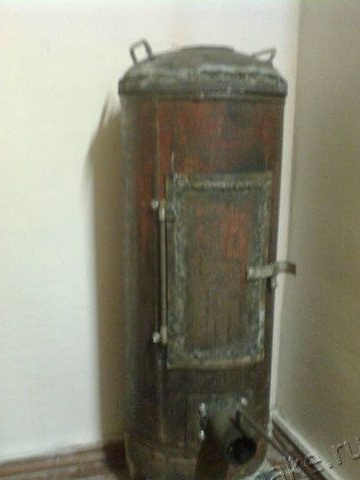
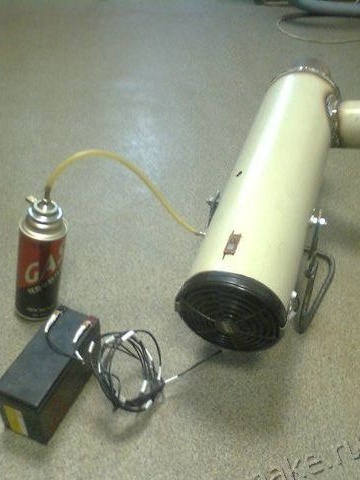
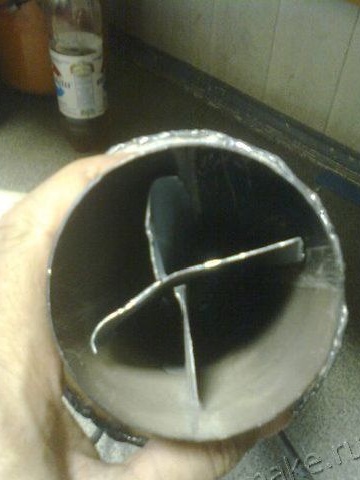
To ensure better combustion of the mixture, two strips with a width of 1 mm should be installed on the exhaust pipe. They are located to each other with a cross. They can be fixed by welding. As a result, a small whirlwind will appear in this place, in which the fuel that has not burned inside will burn out.
